
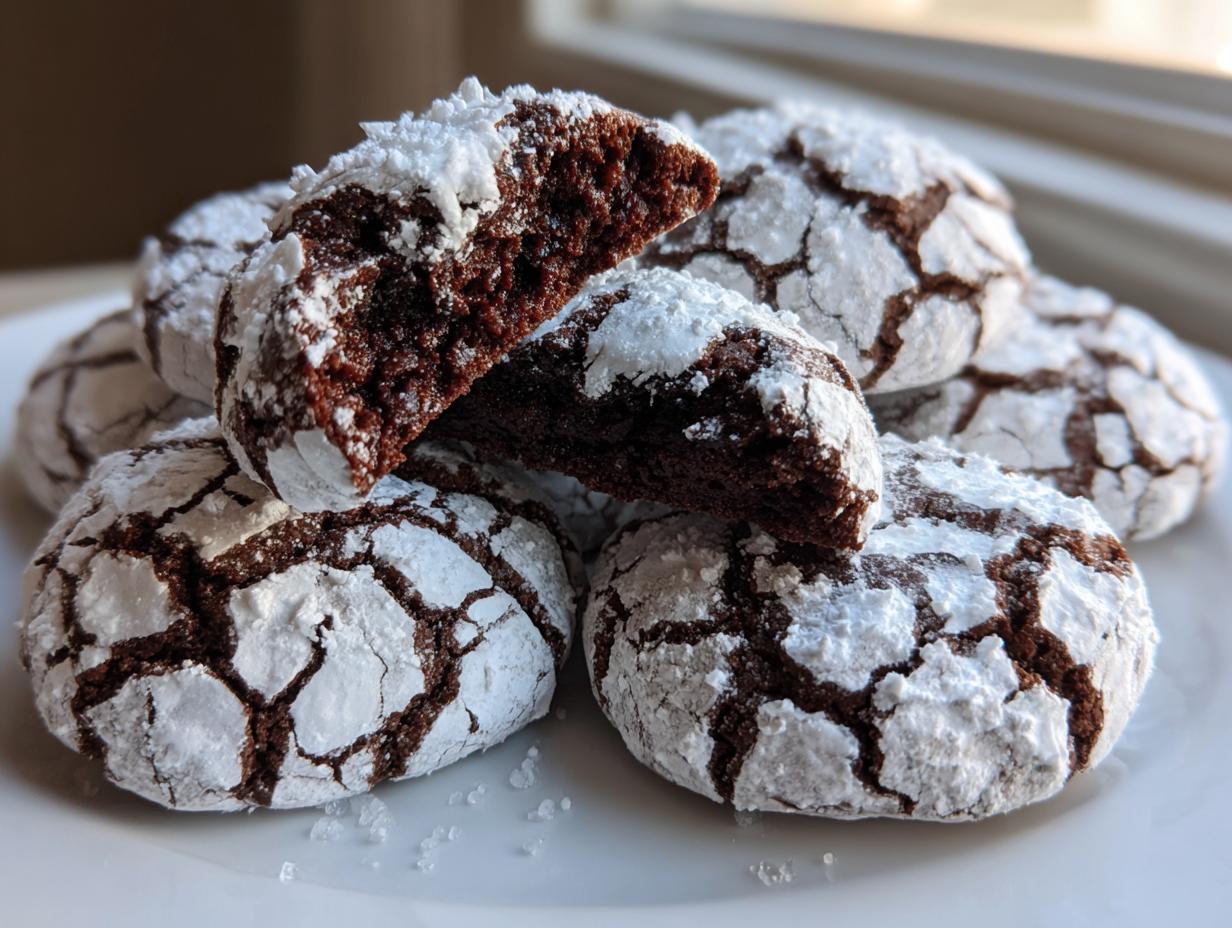

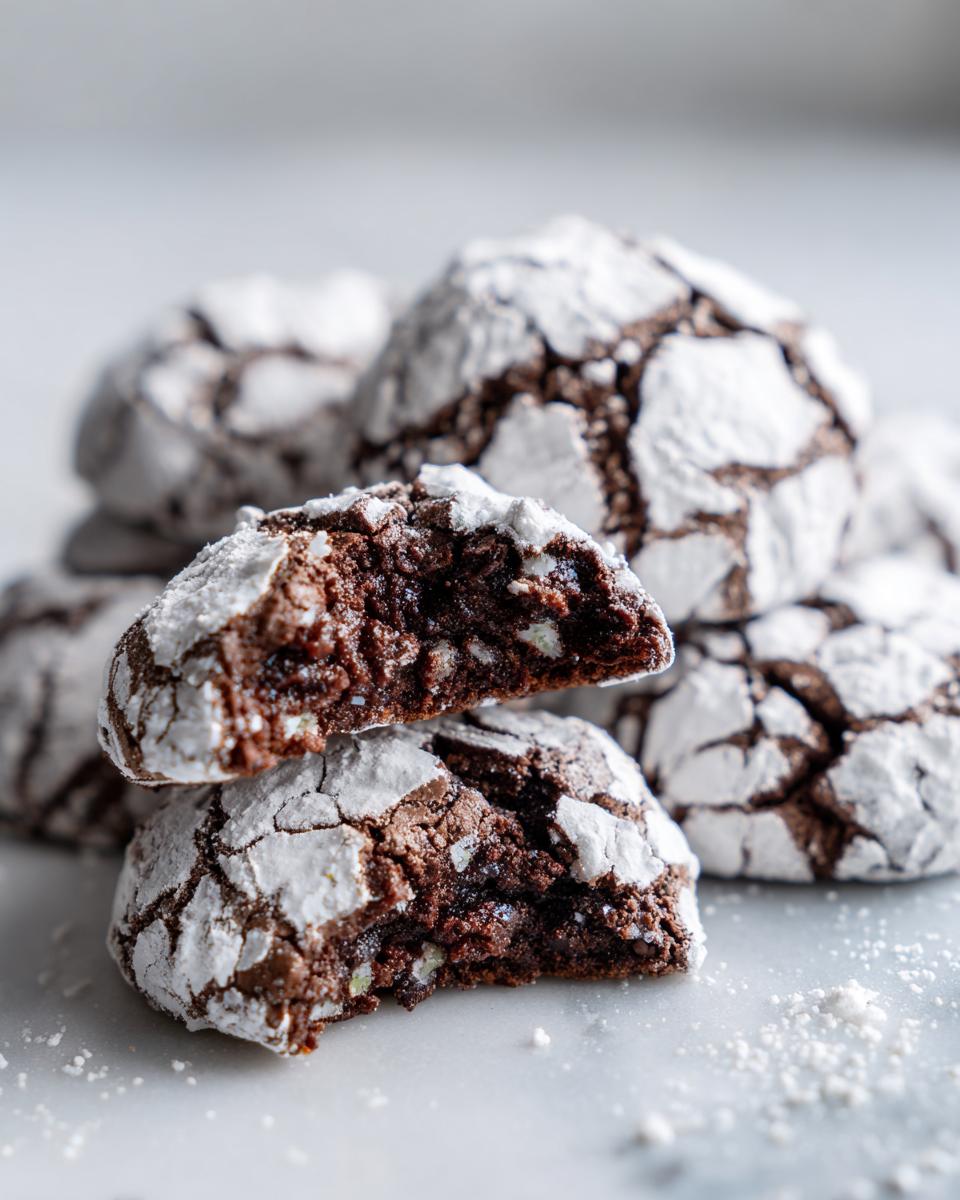
When the holidays roll around, I live for that moment everyone sees a cookie box filled with deep, dark chocolate mounds absolutely dusted white—those iconic **crinkle cookies**. Trust me, transitioning from analyzing marketing analytics to perfecting the chemistry of a perfect cookie has been my greatest adventure. I’ve tossed out batch after batch until I cracked the code. What you are getting here isn’t just another recipe; this is the formula I developed right here in my kitchen to guarantee two things: an unbelievable, fudgy center and that picture-perfect, dramatic powdered sugar crackle. If you’re looking for reliability so these become your go-to Christmas cookie recipes, you’ve found the right place. We’re making sure these cookies look as incredible as they taste!
- Why This is the Best Recipe for Fudgy Crinkle Cookies
- Essential Ingredients for Classic Crinkle Cookie Recipe
- Step-by-Step Instructions for Homemade Crinkle Cookies
- Tips for Success with Your Chocolate Crinkle Cookies
- Crinkle Cookie Variations Beyond Chocolate
- Storage and Reheating Instructions for Chewy Crinkle Cookies
- Frequently Asked Questions About Crinkle Cookies
- Estimated Nutritional Data for These Simple Cookie Recipes
- Share Your Homemade Holiday Cookies Creations
Why This is the Best Recipe for Fudgy Crinkle Cookies
Look, I’ve made simpler cookies, ones based on cake mix or shorter ingredient lists, but they always fall flat—they dry out too quickly! These classic **crinkle cookies** are different because they lean into the fat and cocoa, which means they bake up dense, decadent, and intensely chocolatey. This texture makes them the absolute ultimate Cookie Exchange Favorites. When you’re looking for a recipe that lasts through transport and keeps its fudginess, you need the structure provided here. You can see how well these hold up in holiday boxes by checking out this great guide on chewy chocolate crinkle cookies. We aren’t aiming for a light, airy cookie here; we want that dramatic contrast between the intensely moist interior and the snowy, cracked top!
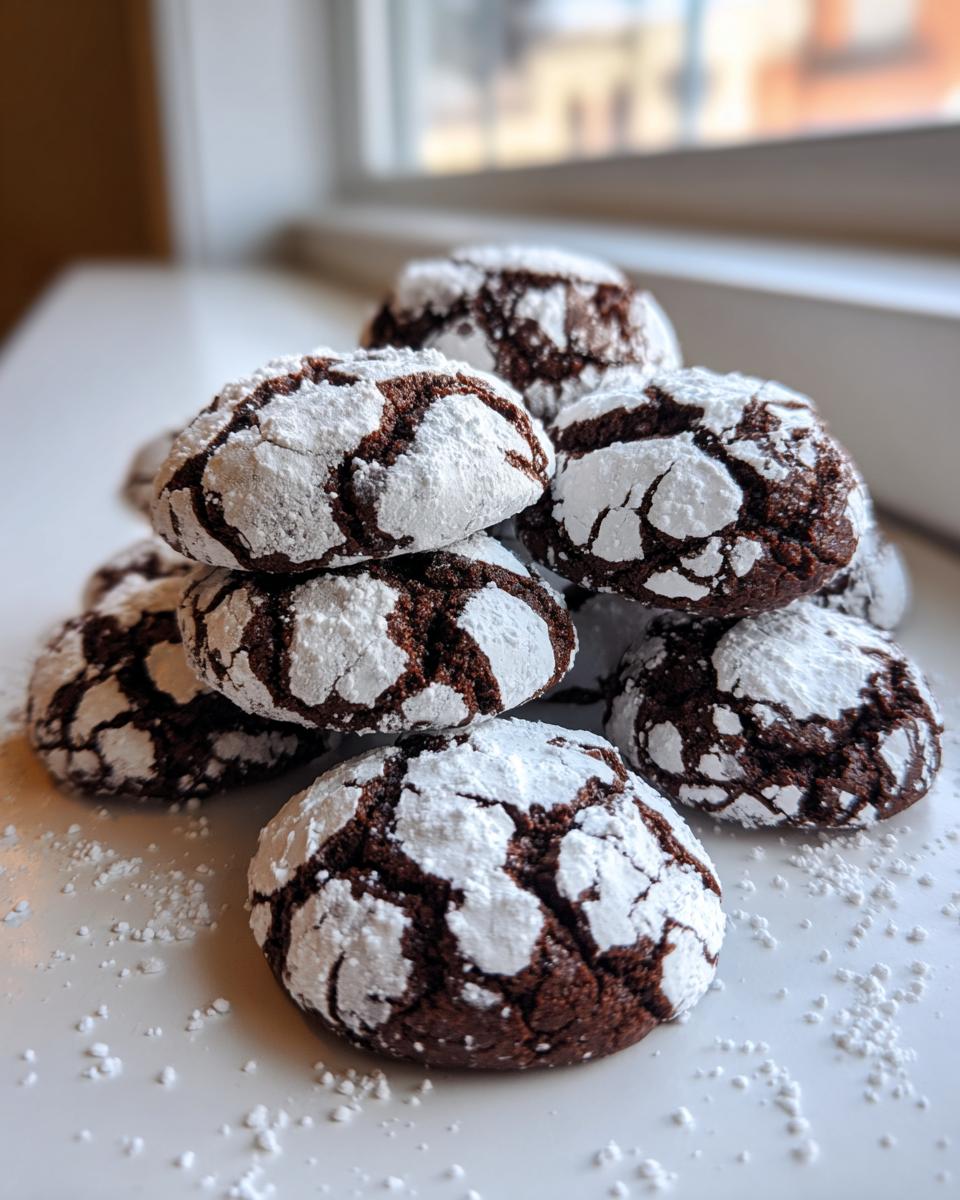
Achieving the Perfect Soft Powdered Sugar Cookies Texture
The secret to keeping these delicious as Soft Powdered Sugar Cookies days later comes down to two things: using a good amount of butter and ensuring you don’t substitute the cocoa powder for something else. Cocoa powder absorbs liquid aggressively, so we balance that out with plenty of fat in the creaming stage. My expert tip? Don’t be tempted to bake until they look completely dead in the center. Pull them when they look soft; they finish setting up as they cool, guaranteeing that wonderful chewy texture.
Essential Ingredients for Classic Crinkle Cookie Recipe
You can’t fake flavor, especially when it comes to crinkle cookies. I’ve laid out the exact ingredient list from my tested recipe card right here for you to follow. Pay close attention to the specifics—like making sure that butter is truly softened, not melted, and using exactly one cup of all-purpose flour. The foundation of that deep chocolate flavor relies on a good quality, unsweetened cocoa powder. Don’t skimp here; it makes all the difference in getting that rich, fudgy look!
Ingredient Notes and Substitutions
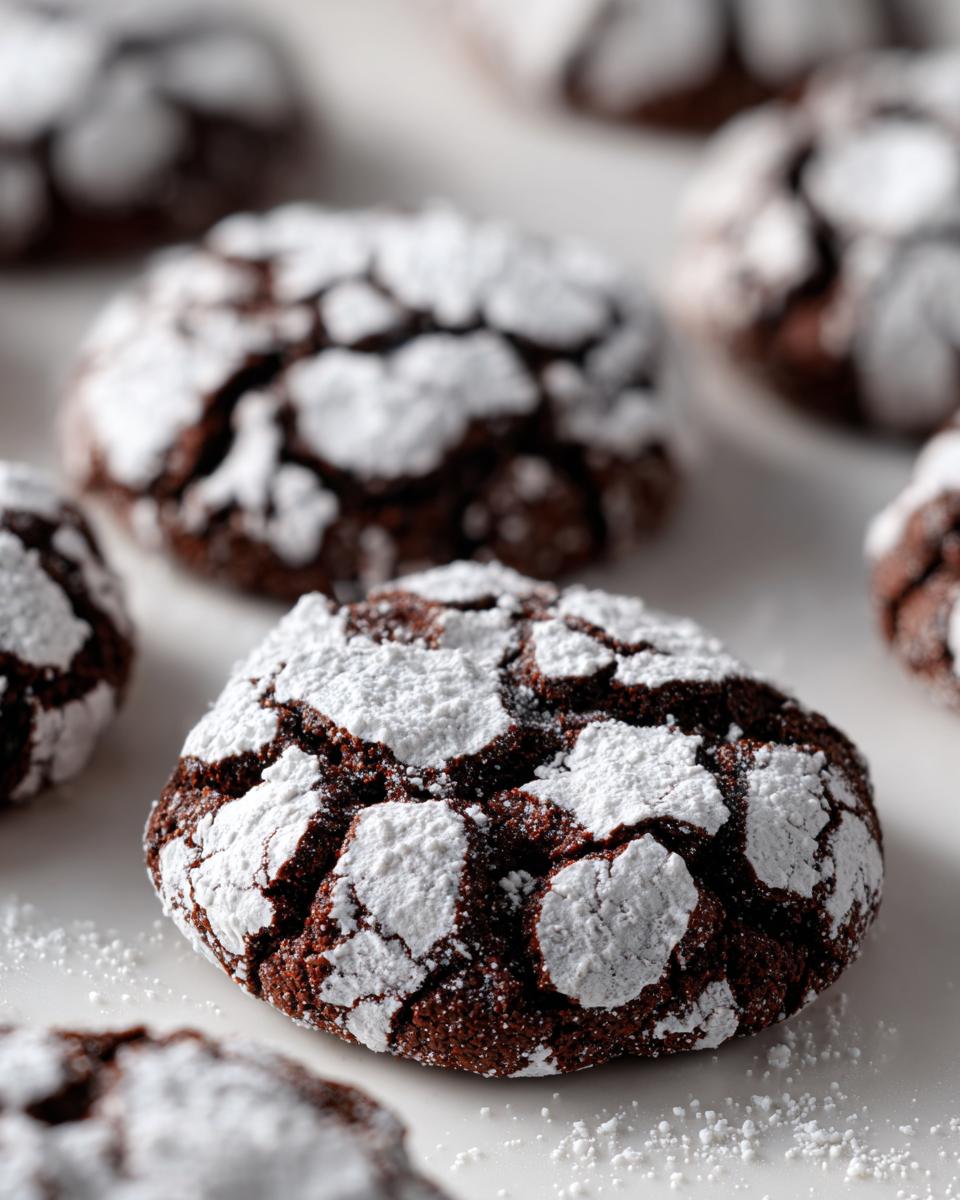
When we talk about sugar, I insist on using that specific amount of granulated sugar for rolling *before* the powdered sugar coat. Granulated sugar gives the dough something to grip! If you try to skip that first step, the powdered sugar just slides right off, and you lose that signature crackle. Also, please note that while you could potentially use Dutch-process cocoa powder, it changes the pH balance and can affect how much the cookie spreads and cracks. For the most reliable results in this Classic Crinkle Cookie Recipe, stick to standard unsweetened cocoa powder.
Step-by-Step Instructions for Homemade Crinkle Cookies
Alright, let’s get down to the business of making these beautiful crinkle cookies! Getting the procedure right is nearly as important as the ingredients themselves. We start by preheating your oven to 350 degrees F (175 degrees C) and getting those baking sheets ready with parchment paper—presentation matters, remember? The whole process moves quickly once you start mixing, so have your two separate shallow dishes ready for the double coating. We’re moving fast because we want these baked in about 10 to 12 minutes. You can grab visual guidance on the layering process similar to this great recipe here if you need a quick check-in!
Mixing the Dough for Best Results
When you cream that butter and sugar, you need it light and fluffy—that’s where the lift comes from! Add your eggs slowly, one at a time, making sure each one is incorporated before the next goes in. When you bring in the dry elements, just mix until you don’t see streaks of flour anymore. Seriously, stop mixing! Overworking the dough kills the finesses we need for that soft texture we’re aiming for.
The Secret to Picture Perfect Cookies Coating
This is the step that makes or breaks the look of your crinkle cookies. Don’t just dunk them straight into the white powdered sugar! First, roll the dough ball completely in that spare granulated sugar. That gritty layer gives the final coating something substantial to stick to. Then, you give it a heavy, thorough blanket coating in the powdered sugar. This double layer ensures that as the cookie expands, you get those gorgeous, dramatic white cracks—that’s how you get true Picture Perfect Cookies!
Tips for Success with Your Chocolate Crinkle Cookies
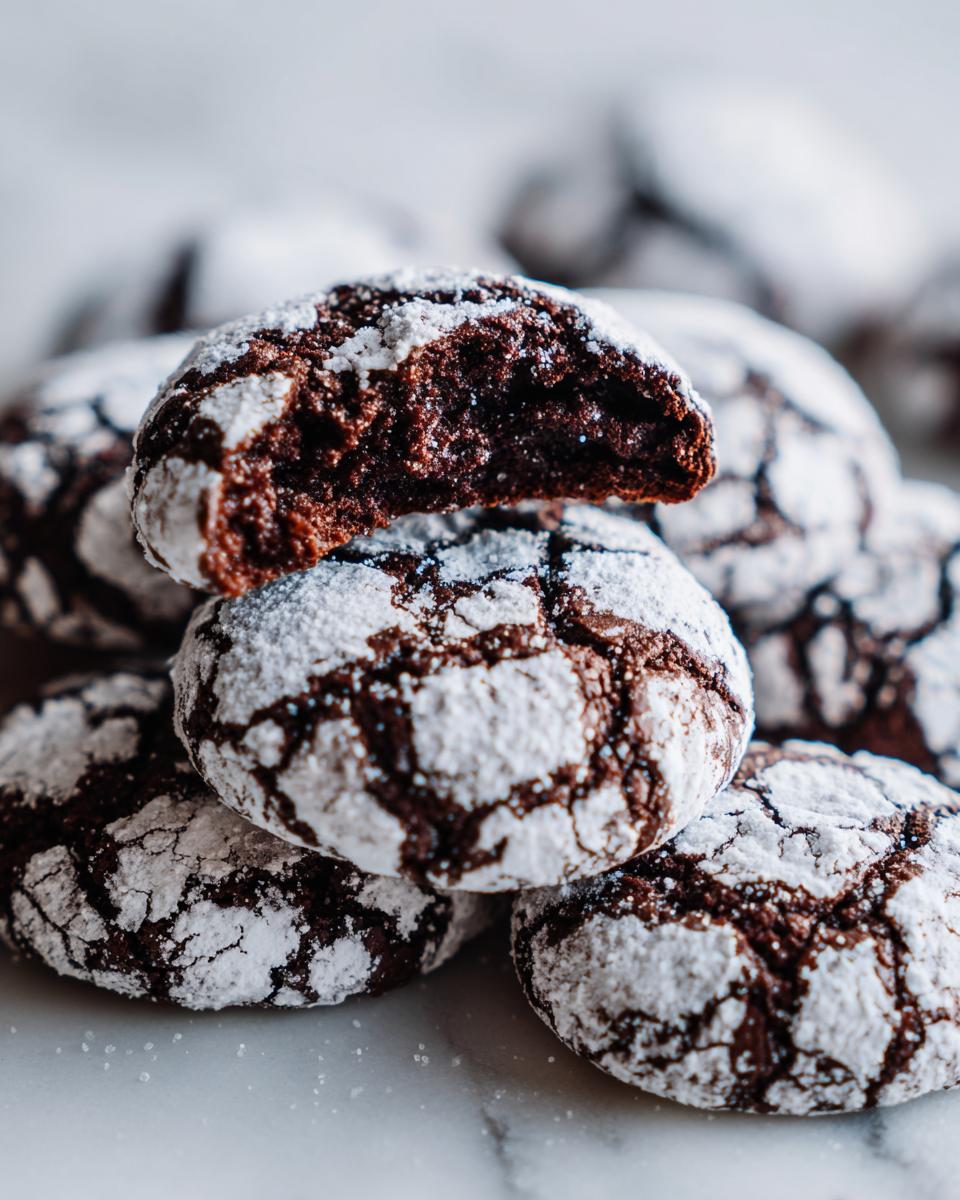
Even the best recipe needs a little trust and technique to shine, especially when dealing with crinkle cookies. Remember those notes I gave you? Follow them like gospel! You absolutely need to make sure those dough balls are *heavy* with powdered sugar; if they look light, they won’t crackle dramatically enough. I learned this the hard way during a very rushed baking session last year when I skipped the heavy coating—the texture was fine, but they looked more like cracked pavement than snowy mounds!
My fix, which you should adopt now, is chilling the dough for at least 30 minutes if your kitchen is a little warm, or if you just want extra insurance. Chilled dough holds its shape so much better during those critical early moments in the oven. When you check them halfway through baking, aim for that slightly set edge; if they look completely matte or hard, they’ve gone too long. For guaranteed perfection every time, it’s always worth taking a peek at another seasoned baker’s approach, like what Ahead of Thyme offers!
Crinkle Cookie Variations Beyond Chocolate
While I stand by our deep, dark chocolate version—it truly is the king of crinkle cookies—sometimes you just need a little zing or spice, especially when planning a big array of Homemade Holiday Cookies. Don’t feel locked into just chocolate! If you want something bright and citrusy, you absolutely must try the Lemon Crinkle Cookies variation. They offer that same beautiful, snowy crackle but with a sharp, sunny flavor profile that cuts through the sweetness. You can see how bright these look on Herbs & Flour.
Then there’s the cozy essential: Gingerbread Crinkle Cookies. These trade out the cocoa for warm molasses and spices like ginger and clove, making them smell like Christmas morning exploded in your oven. You can find an amazing recipe for that one over at Emma’s Cake Studio. And if you’re feeling truly bold or playful, look up the vibrant green Grinch version—even though it’s a novelty, the base formula holds up amazingly well, as you can see with this Grinch idea. Who knew so many flavors worked with the basic crinkle cookie structure?
Storage and Reheating Instructions for Chewy Crinkle Cookies
Now, the hardest part: waiting for them to cool! Once cooled, these Chewy Crinkle Cookies store beautifully, which is why they are perfect for making ahead for your holiday baking schedule. Transfer them to a completely airtight container—and here is the key—pack them in a single layer if you can, or use parchment paper between the layers so that gorgeous powdered sugar doesn’t stick to the tops of the layer below. They keep perfectly well at room temperature for about five days. If you make too many Homemade Holiday Cookies (which, let’s be honest, you will), they freeze wonderfully for up to three months!
Frequently Asked Questions About Crinkle Cookies
I know you might have a few burning questions before diving in, especially if you’re aiming for those impressive looking crinkle cookies for a party. Home baking always comes with little mysteries, but I’ve tried to solve the biggest ones right here!
This recipe delivers the ultimate Soft Powdered Sugar Cookies, but readers often ask about making them even easier. If you are running short on time, some people have success using a box cake mix as a base, like the one featured here on Janet’s Recipes, but I still prefer creating the base from scratch for that true fudgy depth. Also, many people ask if these cookies are similar to the fudgy ones featured on Delicrunch. Yes, they share that intensely rich center, but the key difference in this specific guide is the sugar coating technique!
Why Did My Crinkle Cookies Not Crackle?
This is the most common heartbreak when baking these beauties! Usually, it comes down to two culprits: either your dough balls weren’t chilled enough and spread too thin immediately, or you skipped the crucial double-roll. You must roll them in granulated sugar first, letting that grit act as a foundation before giving them a thick, heavy coat of powdered sugar. That double layer is what separates during baking to give you that stunning crackle effect!
Another thing to remember is that these are meant to look a little underbaked in the center when you pull them out. If you bake them until they look firm, they won’t have the necessary moisture left to expand and show off those gorgeous cracks once they hit the cooling rack. Always trust the edges looking set, not the center!
Estimated Nutritional Data for These Simple Cookie Recipes
Now, I know some of you, like me when I was balancing spreadsheets, need the quick facts. Here is the estimated nutritional breakdown for one of these glorious, fudgy chocolate **crinkle cookies**. Please remember, since we are using real butter and quality cocoa, these are just estimates based on the ingredient breakdown listed above. Your precise values might shift slightly depending on the brands you use, but this gives you a fantastic ballpark idea for your planning!
- Serving Size: 1 cookie
- Calories: 185
- Fat: 10g
- Carbohydrates: 23g
- Protein: 2g
- Sugar: 18g
For a deeper look at how these treats compare, you can check out some interesting data points shared by fellow bakers over at Korean Bakery. Happy enjoying!
Share Your Homemade Holiday Cookies Creations
That’s it! You now hold the secrets to making the most absolutely perfect, fudgy, and visually stunning **crinkle cookies**. I truly cannot wait to see what you create! Once you’ve pulled your first batch, please come back here and leave a rating—your feedback helps my recipes become even more reliable for other home cooks.
If you tried that tricky double-roll for the signature crackle, let me know in the comments how it went! And please, tag me on social media if you post a picture of your beautiful holiday spread. If you’re looking for more fun holiday inspiration, check out this playful idea for Grinch Cookies. Now go enjoy that feast for the eyes and the soul!
PrintPerfect Chocolate Crinkle Cookies: Fudgy Centers and Powdered Sugar Crackle
Make these classic chocolate crinkle cookies for a soft, fudgy texture and the perfect powdered sugar coating. This recipe is simple and ideal for holiday cookie exchanges.
- Prep Time: 20 min
- Cook Time: 12 min
- Total Time: 32 min
- Yield: 24 cookies 1x
- Category: Dessert
- Method: Baking
- Cuisine: American
- Diet: Vegetarian
Ingredients
- 1 cup unsalted butter, softened
- 1 3/4 cups granulated sugar, divided
- 2 large eggs
- 1 teaspoon vanilla extract
- 1 cup all-purpose flour
- 3/4 cup unsweetened cocoa powder
- 1 teaspoon baking powder
- 1/4 teaspoon salt
- 1/2 cup powdered sugar, for rolling
Instructions
- In a large bowl, cream together the softened butter and 1 cup of the granulated sugar until light and fluffy.
- Beat in the eggs one at a time, then stir in the vanilla extract.
- In a separate medium bowl, whisk together the flour, cocoa powder, baking powder, and salt.
- Gradually add the dry ingredients to the wet ingredients, mixing until just combined. Do not overmix.
- Place the remaining 3/4 cup granulated sugar in a shallow dish. Place the powdered sugar in another shallow dish.
- Scoop the dough into balls, about 1.5 tablespoons each. Roll each dough ball first in the granulated sugar, then thoroughly coat it in the powdered sugar.
- Place the coated dough balls onto baking sheets lined with parchment paper, spacing them about 2 inches apart.
- Bake at 350 degrees F (175 degrees C) for 10 to 12 minutes. The edges should look set, but the centers will still look soft.
- Let the cookies cool on the baking sheet for 5 minutes before transferring them to a wire rack to cool completely. The crinkle effect develops as they cool.
Notes
- For the best crackle effect, make sure the dough balls are heavily coated in powdered sugar before baking.
- Chill the dough for 30 minutes if your kitchen is warm; this helps the cookies hold their shape.
- These are excellent for Christmas cookie exchanges and holiday baking events.
Nutrition
- Serving Size: 1 cookie
- Calories: 185
- Sugar: 18
- Sodium: 45
- Fat: 10
- Saturated Fat: 6
- Unsaturated Fat: 4
- Trans Fat: 0
- Carbohydrates: 23
- Fiber: 2
- Protein: 2
- Cholesterol: 35