
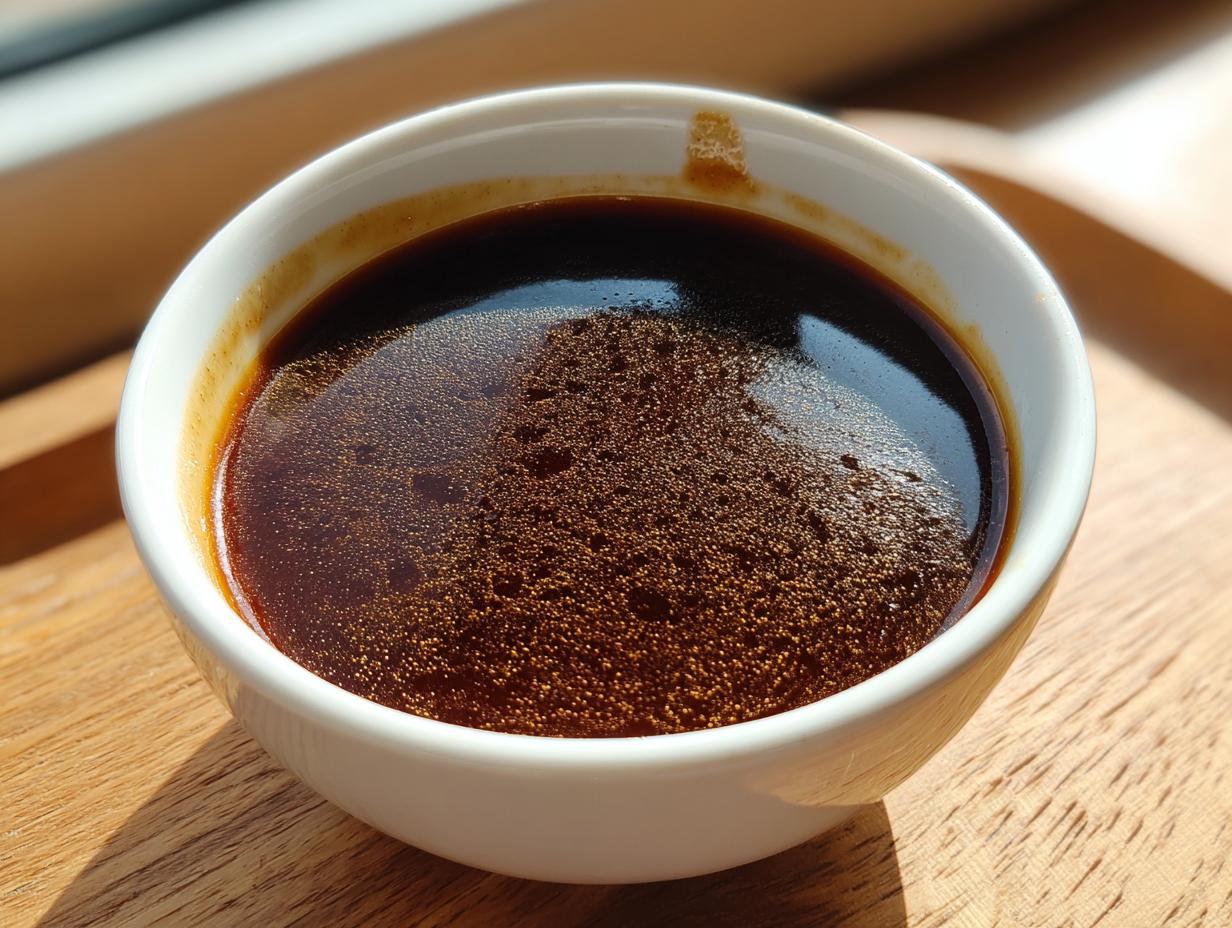

I’m just going to be honest with you: nothing kills the cozy vibe of a dinner like thin, watery, flavorless gravy. It happens every time you rely on those chalky little packets, right? You stir and stir, and it just stays translucent and sad. Well, back when I was running around in my corporate life, constantly stressed, I swore I’d never settle for sad gravy again. That pivot from spreadsheets to sauces meant mastering comfort food staples, and this recipe? This is the pinnacle of that study.
Forget scouring your roast pan for enough drippings—this is the ultimate homemade brown gravy recipe that requires absolutely zero meat drippings to achieve that deep, rich, velvety smooth texture you dream about. In about 15 minutes, we turn basic pantry items into the kind of glorious, savory sauce that makes everyone ask for seconds.
- Why This Homemade Brown Gravy is Your New Pantry Staple
- Essential Ingredients for Rich Homemade Brown Gravy
- Step-by-Step Instructions for Quick Stovetop Gravy
- Tips for the Best Thick Gravy Without Drippings
- Serving Suggestions for Your Classic Brown Gravy
- Storage and Reheating Homemade Brown Gravy
- Frequently Asked Questions About Homemade Brown Gravy
- Nutritional Estimates for This Savory Sauce Recipe
- Share Your Experience Making This Homemade Brown Gravy
Why This Homemade Brown Gravy is Your New Pantry Staple
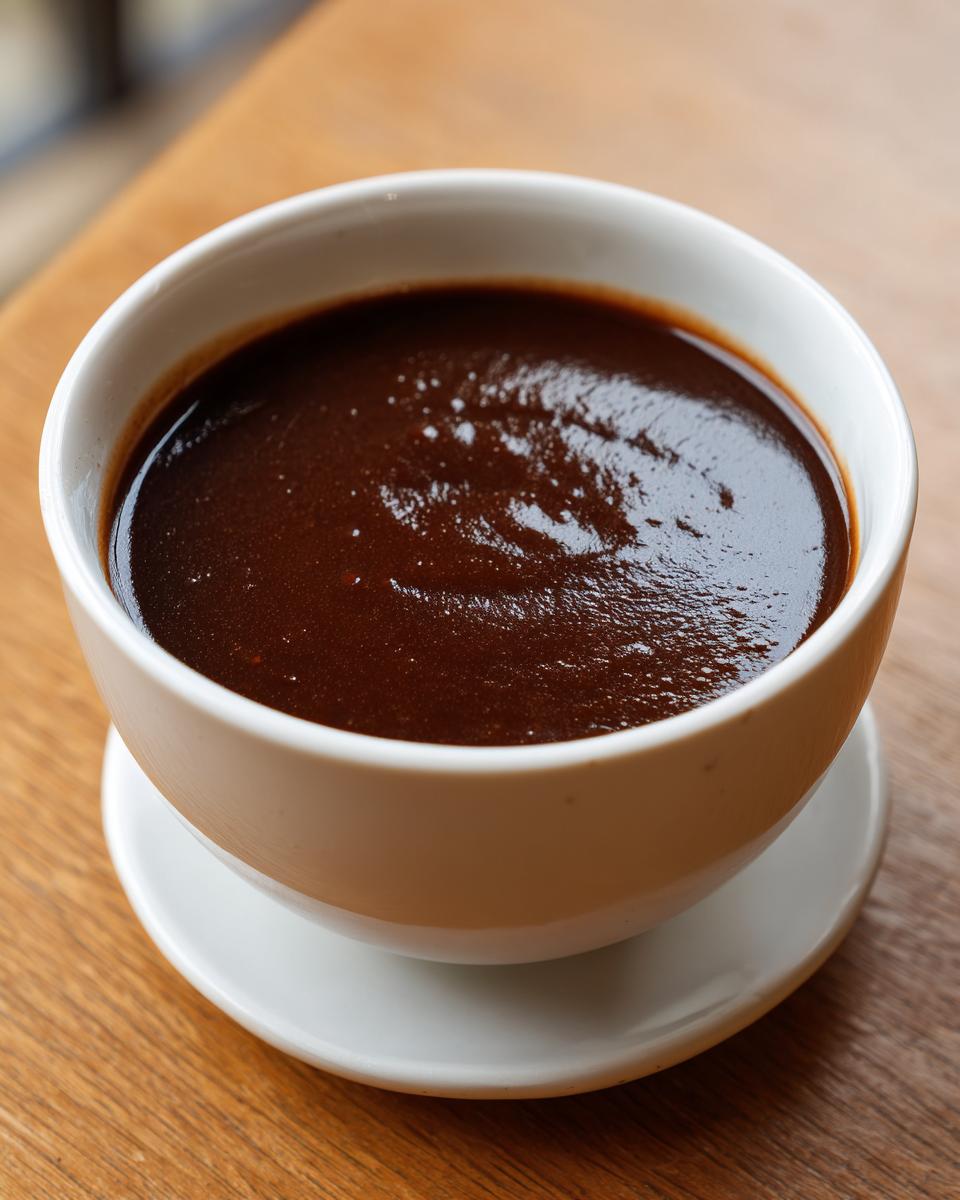
This isn’t just another sauce; this is that essential, comforting blanket for your mashed potatoes and roast beef that you can whip up lightning fast. Because we’re skipping the drippings entirely, this becomes your go-to quick stovetop gravy for any weeknight emergency. The goal here is deep, savory flavor without the waiting game. We want that wonderful, perfectly velvety brown gravy texture, and trust me, this simple method delivers that rich quality every single time. You only need an exciting dash of technique to turn pantry staples into pure gold. You can read more about some of my foundational cooking explorations on the Gourmet Gaze blog!
Achieving Perfect Velvety Brown Gravy Texture
The secret to avoiding lumps is that beautiful initial step: the roux. When you cook the flour and butter together first, you’re essentially locking in the structure for a totally smooth outcome. Don’t just dump the flour in! Always whisk that roux constantly while the broth goes in slowly. If you see a small lump trying to form, just hit it hard with the whisk until it disappears into the beautiful, thickening liquid.
Essential Ingredients for Rich Homemade Brown Gravy
To get that deep, restaurant-quality look without relying on drippings, you need precision with the simple components. Forget those dust-filled spice jars; quality matters here. We are focusing on four tablespoons of quality butter, four tablespoons of flour for our powerhouse roux, and, most importantly, two cups of beef broth. That broth is carrying the heavy lifting for that deep flavor we want in our homemade brown gravy.
- 4 tablespoons unsalted butter
- 4 tablespoons all-purpose flour
- 2 cups beef broth (low sodium preferred)
- 1 teaspoon Worcestershire sauce
- 1/2 teaspoon onion powder
- 1/4 teaspoon garlic powder
- 1/4 teaspoon dried thyme
- Salt and black pepper to taste
Ingredient Notes and Substitutions
I almost always grab low-sodium beef broth. It gives me maximum control over the final saltiness, which is key for a truly rich savory gravy. However, if you’re out of beef stock, don’t panic! Chicken or turkey stock works perfectly fine if you are aiming for a lighter flavor profile, or perhaps you’re planning to use this base for some leftover poultry. The Worcestershire sauce is non-negotiable for that foundational umami that makes people think you worked on this for hours.
Step-by-Step Instructions for Quick Stovetop Gravy
This whole process is shockingly fast—we’re looking at about 15 minutes total cook time, which is why I call this my go-to easy brown gravy recipe. If you’re serving this with my famous meatloaf for two, you can seriously have this sauce ready before the potatoes even finish mashing! The key, which I know I keep hammering, is the order of operations. We have to build that flavor base right at the start.
- First things first: get your medium saucepan on the stove over medium heat, and melt your four tablespoons of butter until it’s nicely foamy.
- Now, time for the critical part: whisk in your flour quickly. You’re building a roux here, and you need to keep stirring it constantly. We’re cooking this raw flour taste out until it turns a light, nutty brown—that signals it’s done doing its job.
- Once it’s that perfect light brown (don’t let it burn, or you’ll start over!), slowly pour in your two cups of room-temperature beef broth. And I mean slowly! Whisk like your dinner depends on it to keep everything silky smooth.
- Keep whisking occasionally as you bring the mixture up to a gentle simmer. You’ll see the gravy magically start to thicken right before your eyes.
- Once it’s simmering nicely, whisk in the Worcestershire sauce, onion powder, garlic powder, and that hint of thyme.
- Now, drop the heat down to low and let it bubble gently for about three to five minutes. This is where all those wonderful flavors marry up and the gravy hits that thick consistency you want.
- Give it a quick taste test, season with salt and pepper—remember, we used low-sodium broth, so you might need a decent pinch!
- Pull it off the heat and serve immediately. If you’re having this alongside a big chunk of meatloaf, make sure you check out the best way to handle savory sauces when serving smaller portions, like in my meatloaf recipe!
Mastering the Roux for Homemade Brown Gravy
Please, do not rush the roux! This is how we get smooth gravy that coats the back of a spoon beautifully. You need that flour and butter cooked together until you see that light, nutty brown color. If it’s still pale yellow, it’s going to taste starchy, like paste. If it turns dark tan or even slightly darker, that’s excellent because it means you have a deeper, richer beef flavor—just stop stirring if you see it threatening to burn! That quick cook time ensures we eliminate the raw flour flavor before adding any liquid.
Tips for the Best Thick Gravy Without Drippings
Even with the perfect roux recipe, sometimes things go slightly sideways, especially when you’re trying to hit that ideal thickness without relying on those fatty drippings. I remember my very first attempts trying to elevate a simple side dish—I probably added too much broth at once, and ended up with a thin, sad puddle on my plate that offered zero comfort. Trust me, I’ve been there, so here are the little tricks I learned to ensure you always nail that perfect consistency.
If you want a seriously deep color, which translates directly into a richer flavor for your thick gravy without drippings, push your roux a little further. Instead of stopping at that pale, nutty brown, let it simmer until it reaches a darker tan color—but you must watch it like a hawk! You want that deep background note that artificial mixes can never replicate. If you’re making my tomato gravy Swiss steak, you’ll notice a darker base is essential, and the same principle applies here.
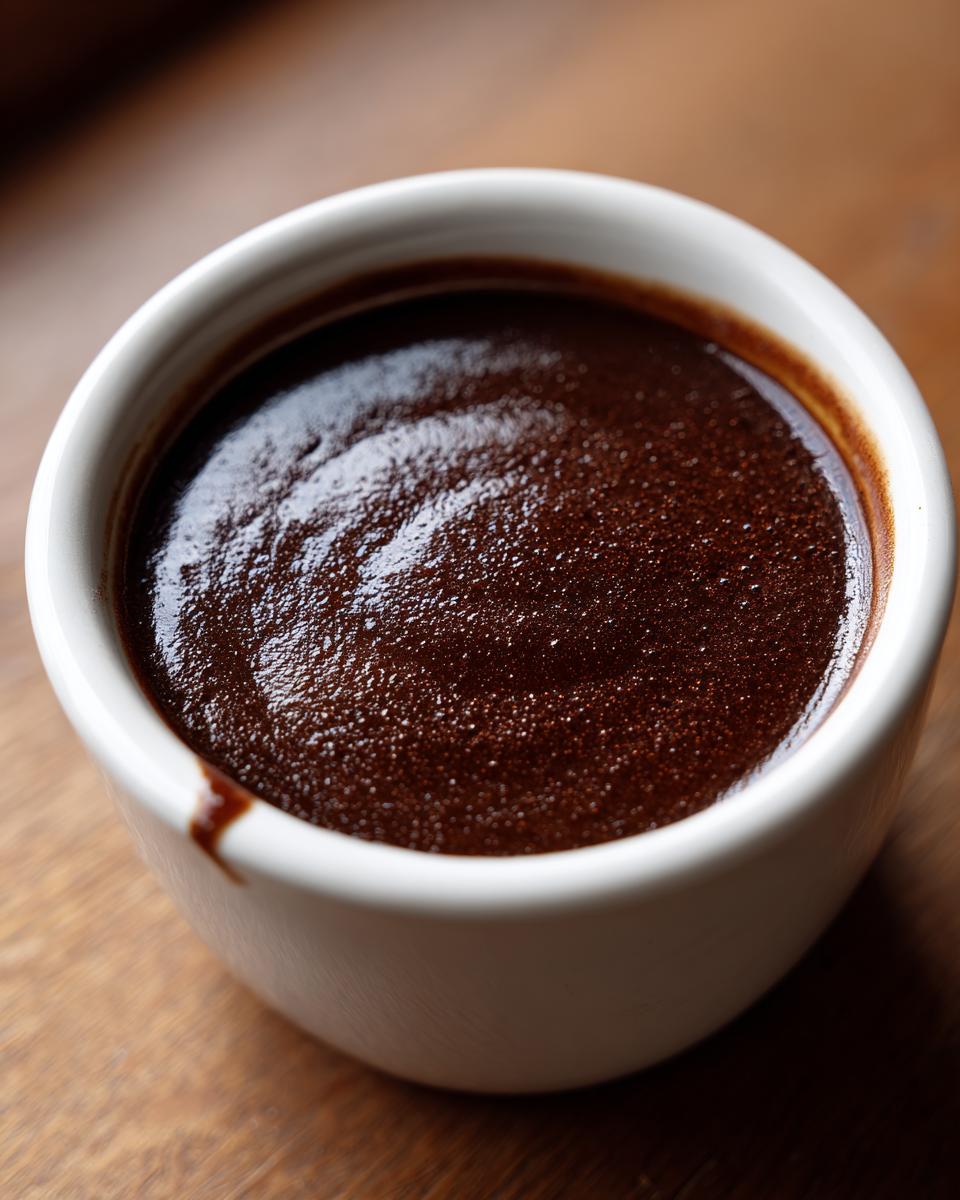
Now, let’s talk about thickness. Gravy is tricky because it thickens as it cools, but you need it ready *now*. If you find your sauce is just a touch too loose, the absolute easiest fix is to wait until it cools just slightly off the heat, then whisk in just half a teaspoon of flour mixed with a *teaspoon* of cold water. This slurry (a slurry is just a fancy word for flour mixed with cold liquid) gets whisked in gently until it thickens. If it suddenly seizes up and gets too thick, the remedy is simple: just whisk in a tablespoon of warm broth or water until it loosens back up to that lovely velvety texture.
Another key here, which I learned from a wonderful older chef in Oregon, is that aromatics like thyme and garlic powder contribute to the perception of depth. Even without drippings, these seasonings trick your brain into thinking the gravy has been simmering for hours, bringing out that classic brown gravy savoriness you crave!
Serving Suggestions for Your Classic Brown Gravy
Now that you have this gorgeous, rich, classic brown gravy ready to go, where should it go first? My immediate thought is always over a giant mountain of creamy mashed potatoes—it just melts right in! But don’t stop there; this sauce is incredibly versatile. It’s the perfect finishing touch for a perfectly roasted beef joint or smothered over a hearty slice of meatloaf. If you’re looking for the perfect centerpiece for this, you have to try my phenomenal Jalapeño Popper Meatloaf; it needs this gravy! You can also find some fantastic scratch gravy inspiration over at Recipe Diaries.
The Best Gravy for Mashed Potatoes
There is absolutely no competition: this is hands-down the best gravy for mashed potatoes. A truly velvety sauce clings perfectly to the peaks and valleys of fluffy potatoes, soaking in without immediately turning them watery. If you’re making my Colcannon potatoes, the savory nature of this beef gravy truly cuts through the richness of the butter. Pour generously; that’s the rule when serving gravy over potatoes!
Storage and Reheating Homemade Brown Gravy
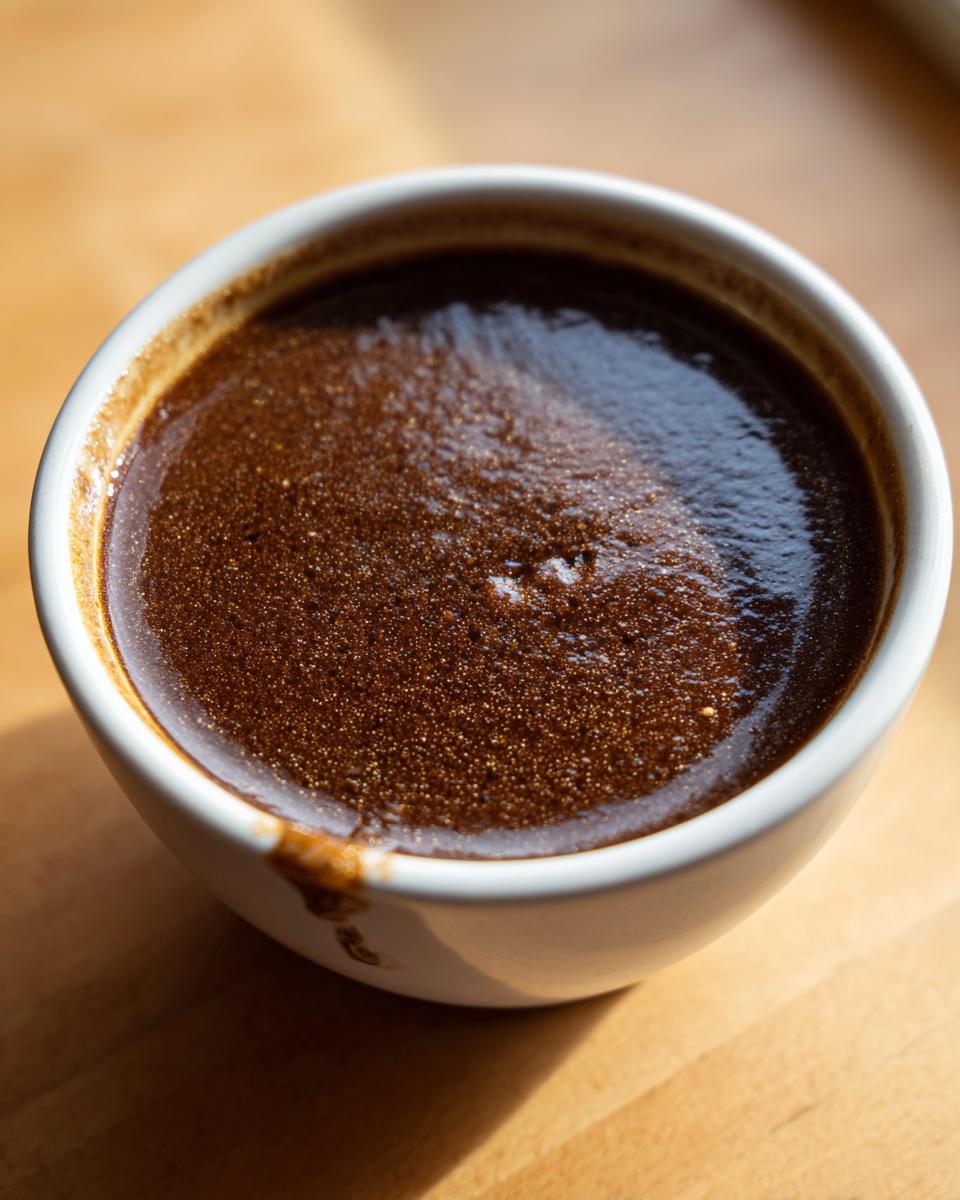
One of the best things about mastering this homemade brown gravy from scratch is that you don’t have to make it fresh every single time! This recipe is fantastic for batch cooking. You can easily double the recipe and keep the leftovers tucked away for a quick weeknight side dish later in the week. It truly helps me manage those hectic evenings when I need something like this on the table in under five minutes.
When storing your gravy, let it cool down completely on the counter first—never put hot liquids straight into the fridge, it’s not good for your unit! Once cool, transfer it to an airtight container. It keeps beautifully in the refrigerator for about three to four days. Because we use butter and flour, it’s going to get quite solid and firm once chilled. Seriously, it turns into almost a soft block of savory goodness!
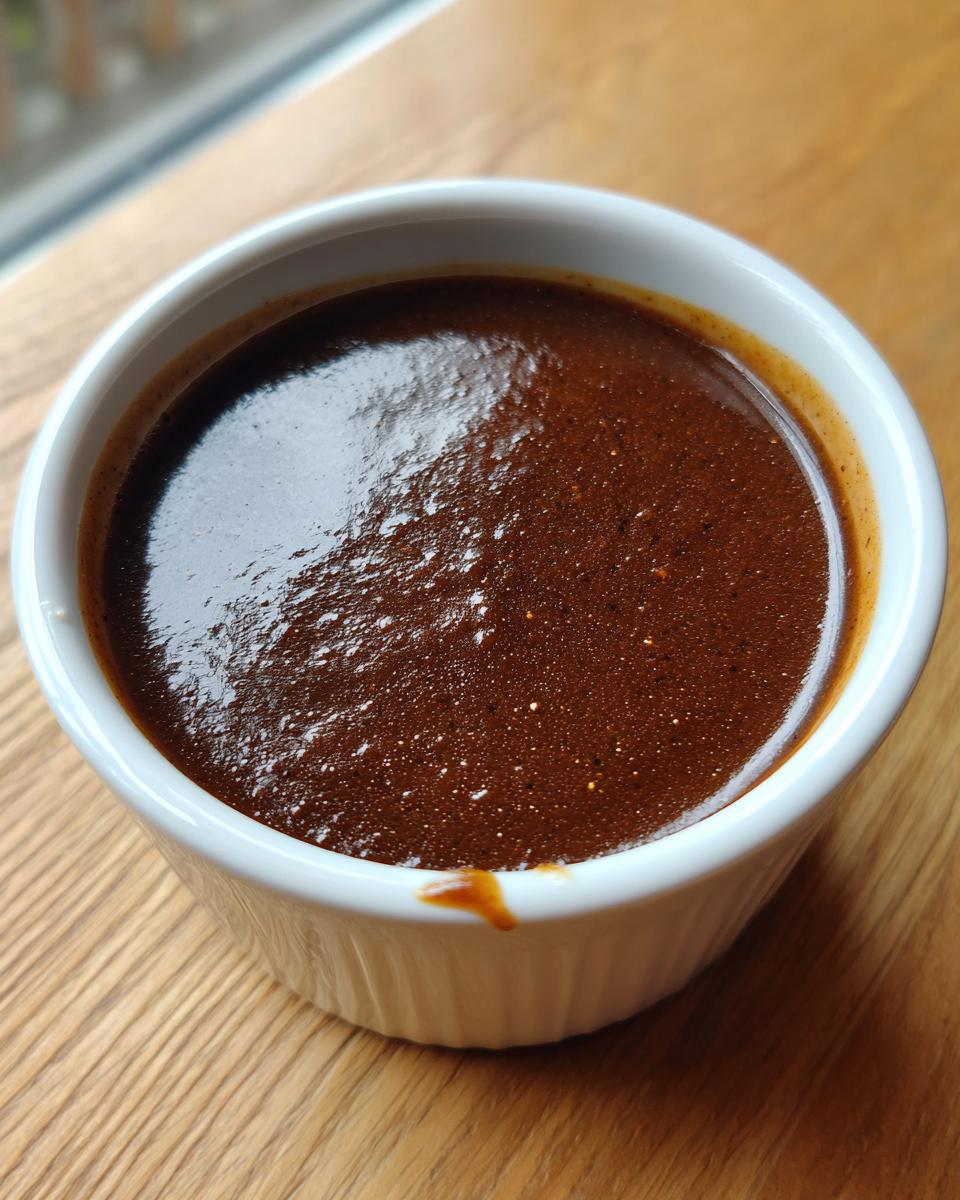
Reheating is easy, but you need to manage that thickness. The stovetop is my preferred method. Scrape the solidified gravy into a small saucepan over low heat. Whisk in warm broth or water, just a tablespoon at a time, until you reach your desired consistency again. Don’t rush this; low and slow prevents scorching the bottom.
If you’re in a true rush, the microwave works too. Pop about a cup of cooled gravy into a microwave-safe bowl, add a splash of broth, and heat it in 30-second blasts, stirring well in between each blast. Keep adding that liquid until it loosens up. It’s amazing how resilient this simple recipe is, which is another reason I trust it so much!
Frequently Asked Questions About Homemade Brown Gravy
I know you might have a few lingering questions about ditching the mix for something truly homemade. That’s totally fine! When I was first transitioning my cooking style away from convenience foods, I had pages of notes about ingredient swaps and timings. Let’s clear up some of the common things I get asked about this easy brown gravy recipe, so you can feel fully confident when you tackle it.
Is this Homemade Brown Gravy Vegetarian?
That’s a great question, especially since many folks looking for a scratch recipe might be looking across vegetarian dishes! Technically, because the recipe calls for beef broth for that signature depth, it is not strictly vegetarian. However, it is incredibly easy to make it vegetarian! Just use a very robust, high-quality vegetable broth instead of the beef broth. You’ll still get that beautiful savory sauce recipe base from the butter and roux, just with a lighter, earthier flavor profile. It turns into a fantastic base for vegetable-centric comfort meals.
Can I make this ahead of time?
Absolutely, and I highly encourage it! As I mentioned in the storage section, this homemade brown gravy keeps so well. Making it ahead of time is key for reducing stress on busy nights, like when you’re serving up a big roast. Just be sure to store it in an airtight container and remember it will solidify when cold. You’ll have to re-warm it gently on the stovetop, adding a splash of warm liquid to loosen it back up to that perfect pourable consistency.
What if I don’t have Worcestershire sauce?
Don’t panic if it’s missing! The Worcestershire sauce provides a specific type of fermented tanginess and saltiness—that deep umami. If you’re out, you can substitute it by adding an extra half teaspoon of salt and whisking in a tiny splash (like half a teaspoon) of balsamic vinegar or soy sauce. Either of those will help give it that savory background complexity you’re looking for in a rich savory gravy. You can read about some of my favorite potato pairings, which always need a good gravy, over at my recipe for creamy colcannon potatoes!
Can I use chicken broth for this Easy Brown Gravy Recipe?
Yes, you certainly can use chicken broth for this Easy Brown Gravy Recipe! It’s a great substitution if you have leftover chicken stock from another preparation. Just know that the resulting sauce will taste slightly cleaner and less ‘beefy’ compared to using dedicated beef broth, but it will still be incredibly flavorful thanks to the roux and the seasonings like thyme and onion powder. It leans much more toward a classic chicken gravy base this way, which is wonderful on chicken fried steak or chicken and biscuits. For more inspiration on great sauces, check out the tips on Sweetly Splendid!
Nutritional Estimates for This Savory Sauce Recipe
When we talk about pure comfort food, we often forget that the ingredients themselves are quite simple. Because this is a savory sauce recipe built on butter, flour, and broth, the numbers are fairly modest, especially considering how much flavor you’re getting! I always measure my results against what you’d find in a highly processed mix, and frankly, I think ours wins out on ingredient quality every time.
Please keep in mind that these details are estimates only. They are calculated using standard, common pantry items and brand averages. If you use, say, high-sodium broth or a different ratio of butter, your final figures will shift a bit, but this gives you a solid ballpark understanding of what you’re consuming!
- Serving Size: 1/4 cup
- Calories: 85
- Sugar: 0.5g
- Sodium: 280mg
- Fat: 6g
- Saturated Fat: 3.5g
- Unsaturated Fat: 2.5g
- Trans Fat: 0g
- Carbohydrates: 5g
- Fiber: 0.2g
- Protein: 2g
- Cholesterol: 15mg
See? Nothing huge! It’s all about enjoying the richness without the guilt. This is why achieving that homemade brown gravy quality in just 15 minutes is so powerful, honestly. It fits perfectly into a balanced meal plan!
Share Your Experience Making This Homemade Brown Gravy
Now comes the best part for me—seeing how this luxurious, homemade brown gravy fits into *your* life! I’ve poured all my efforts into making sure this stovetop recipe beats any packet mix, but the proof is in the plating (which, as you know from my background, is half the fun!). I truly want to see what you drizzled this beautiful sauce over.
Did you manage to make it so thick it barely needed a spoon? Did it become the crowning glory on your holiday sides? Head down to the comments section below and let me know!
I encourage you to give this recipe a star rating if it earned a spot in your comfort food rotation. Did you serve it with mashed potatoes, or maybe over some of my famous meatloaf? If you snap a picture of your finished plate featuring this incredible, no drippings gravy, tag me! Connecting with you all and seeing my recipes bring joy to your tables is precisely why I walked away from the spreadsheets and started Gourmet Gaze.
If you’ve got any lingering questions or want to shout out the wonderful flavor of this rich savory gravy, feel free to reach out through my contact page. And if you loved this scratch version, you should definitely see the great tips they have over at Crave Cook Create on perfecting gravy!
PrintUltimate Homemade Brown Gravy (No Drippings Needed)
Make rich, savory, velvety brown gravy from scratch without needing meat drippings. This easy stovetop recipe delivers classic comfort flavor perfect for mashed potatoes, roast beef, or meatloaf.
- Prep Time: 5 min
- Cook Time: 10 min
- Total Time: 15 min
- Yield: About 2 cups 1x
- Category: Sauce
- Method: Stovetop
- Cuisine: American
- Diet: Vegetarian
Ingredients
- 4 tablespoons unsalted butter
- 4 tablespoons all-purpose flour
- 2 cups beef broth (low sodium preferred)
- 1 teaspoon Worcestershire sauce
- 1/2 teaspoon onion powder
- 1/4 teaspoon garlic powder
- 1/4 teaspoon dried thyme
- Salt and black pepper to taste
Instructions
- In a medium saucepan, melt the butter over medium heat.
- Whisk the flour into the melted butter. Cook this roux, stirring constantly, for 1 to 2 minutes until it turns a light, nutty brown color. Do not let it burn.
- Slowly pour in the beef broth while whisking continuously to prevent lumps from forming.
- Bring the mixture to a simmer, still whisking occasionally. The gravy will begin to thicken as it heats.
- Stir in the Worcestershire sauce, onion powder, garlic powder, and thyme.
- Reduce the heat to low and let the gravy simmer for 3 to 5 minutes, allowing the flavors to combine and the gravy to reach your desired thickness.
- Taste the gravy and season with salt and pepper as needed.
- Remove from heat and serve immediately over your favorite dishes for a truly rich savory sauce.
Notes
- For a deeper brown color, cook the roux for an extra minute or two until it reaches a darker brown shade before adding the liquid.
- If the gravy becomes too thick upon standing, whisk in a tablespoon of warm broth or water until it loosens.
- This recipe works well as a base for chicken or turkey gravy; simply substitute the beef broth with the appropriate stock.
Nutrition
- Serving Size: 1/4 cup
- Calories: 85
- Sugar: 0.5
- Sodium: 280
- Fat: 6
- Saturated Fat: 3.5
- Unsaturated Fat: 2.5
- Trans Fat: 0
- Carbohydrates: 5
- Fiber: 0.2
- Protein: 2
- Cholesterol: 15