
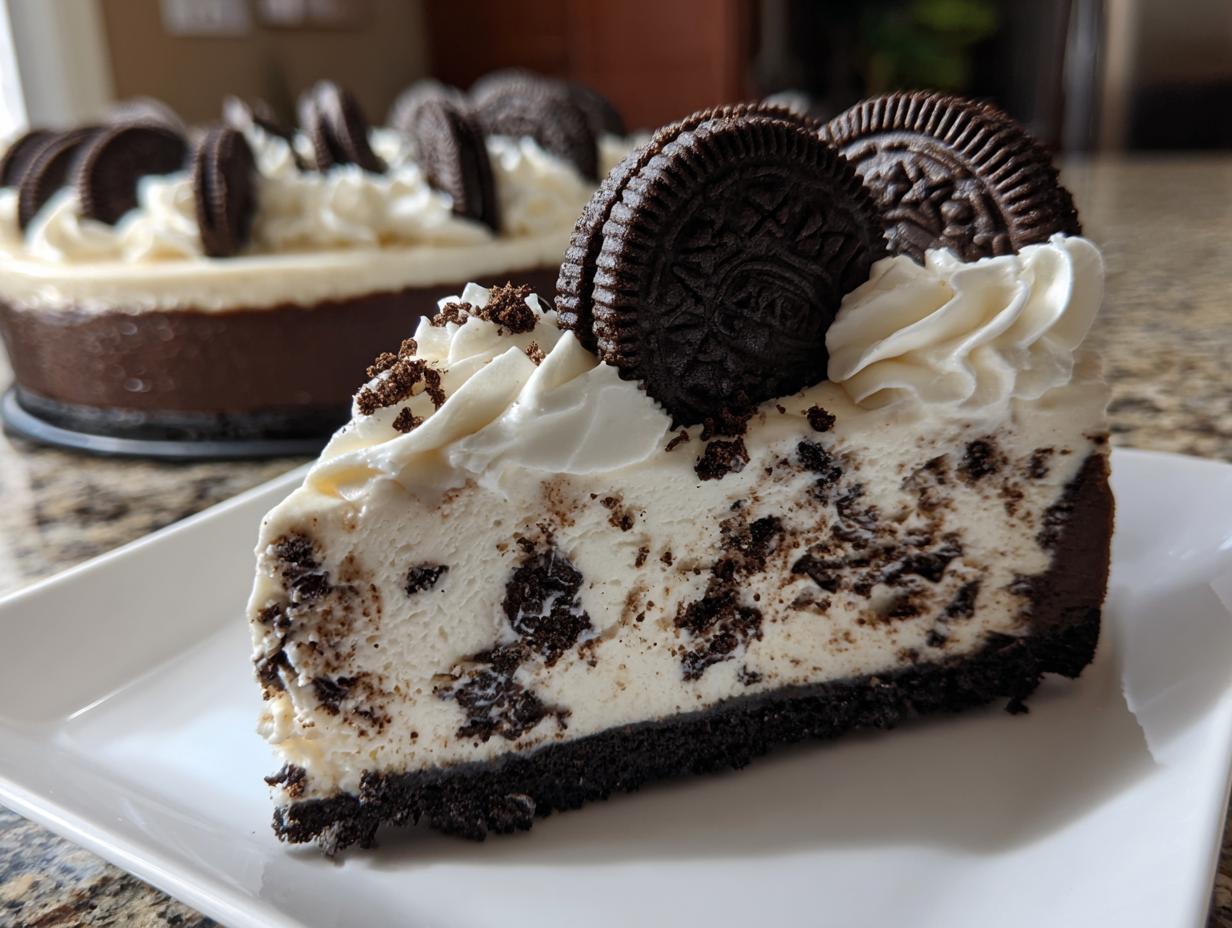

When that specific, deep craving for crushed chocolate cookies and rich, cool cream hits you, there’s no substituting the perfection of a classic Oreo cheesecake. I remember when I first started cooking; I wanted desserts that looked stunning—a true feast for the eyes, as we say here at Gourmet Gaze—but didn’t require babysitting an oven. This No Bake Oreo Cheesecake is the answer to that prayer. It’s incredibly reliable, brilliantly easy, and delivers that intense cookies and cream flavor we all love, layered throughout the crust, filling, and topping. Trust me, this oreo cheesecake recipe is a certified crowd-pleaser, whether you’re planning for a big holiday bash or just need a quick, satisfying treat tonight. You can find more of my favorite show-stopping yet simple recipes over in my Desserts collection.
- Why This No Bake Oreo Cheesecake is Your New Favorite Cookies and Cream Dessert
- Gathering Ingredients for the Best Oreo Cheesecake
- Step-by-Step Instructions for No Bake Oreo Cheesecake
- Tips for the Ultimate Easy Oreo Cheesecake Success
- Variations: Mini Oreo Cheesecakes and Oreo Cheesecake Bars
- Storage and Reheating Instructions for Your Chilled Cheesecake
- Common Questions About This Oreo Dessert Recipe
- Nutritional Estimate for One Serving
- Share Your Gourmet Gaze Creations
Why This No Bake Oreo Cheesecake is Your New Favorite Cookies and Cream Dessert
When you need a showstopper without using the oven, this is the recipe you turn to. I promise this chilled cheesecake hits all the right notes. It’s proof that you don’t have to spend hours baking to achieve that ultra-luxurious Creamy Chocolate Dessert texture.
What makes this recipe so universally loved? It boils down to speed and dedication to the flavor profile. It slides right into that list of essential No Bake Dessert Ideas you keep tucked away for busy times.
Quick Prep Time for Your Easy Oreo Cheesecake
Seriously, you are only looking at about 20 minutes of active work here. That’s incredibly fast for something that tastes this decadent! If you get a spontaneous craving for dessert after dinner, this becomes your go-to choice. It fits perfectly into the category of Quick & Easy Desserts because once the mixing is done, the refrigerator does all the heavy lifting. No waiting around for ovens, no worrying about cracks—just pure, simple satisfaction.
The Triple Threat: Oreos in Every Layer of Your Oreo Cheesecake
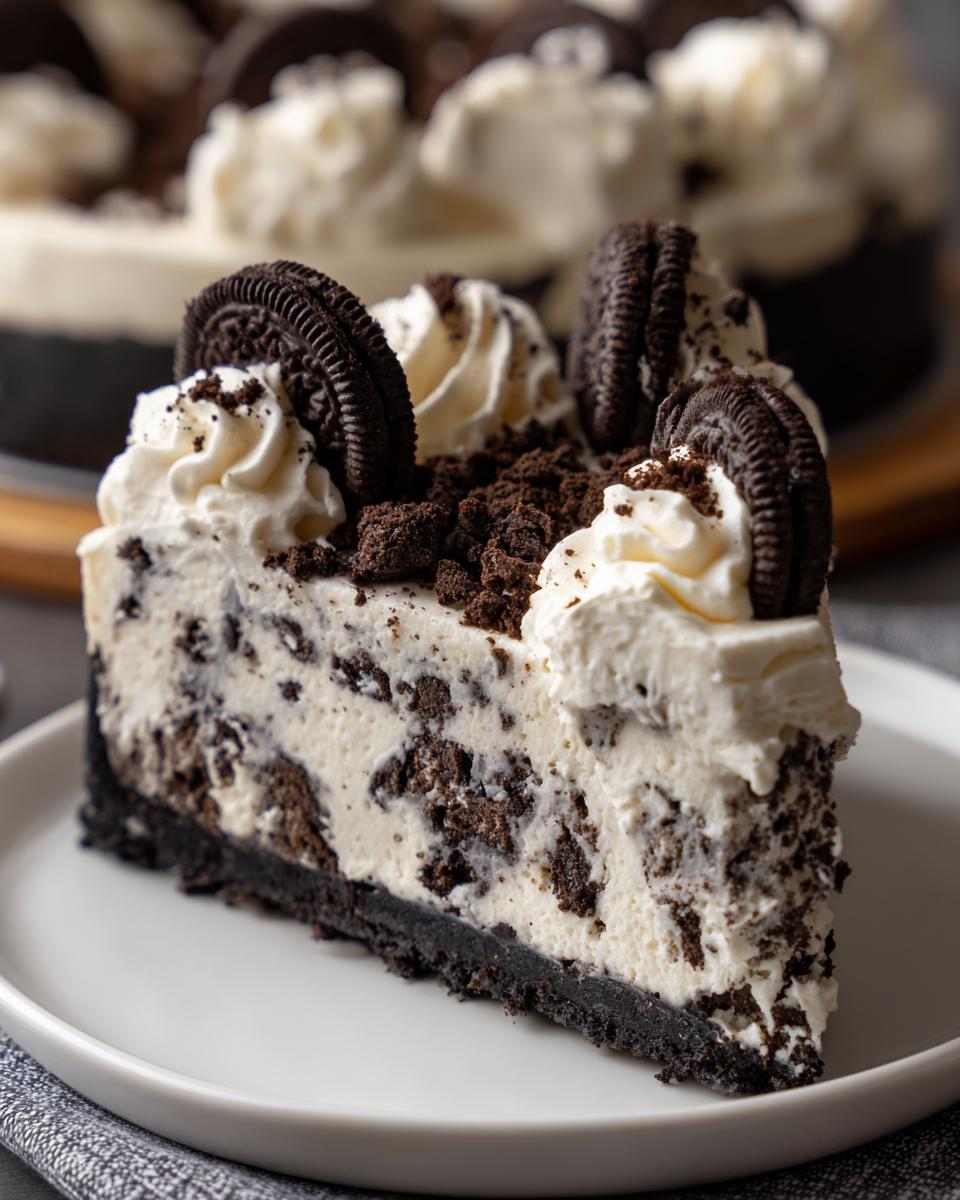
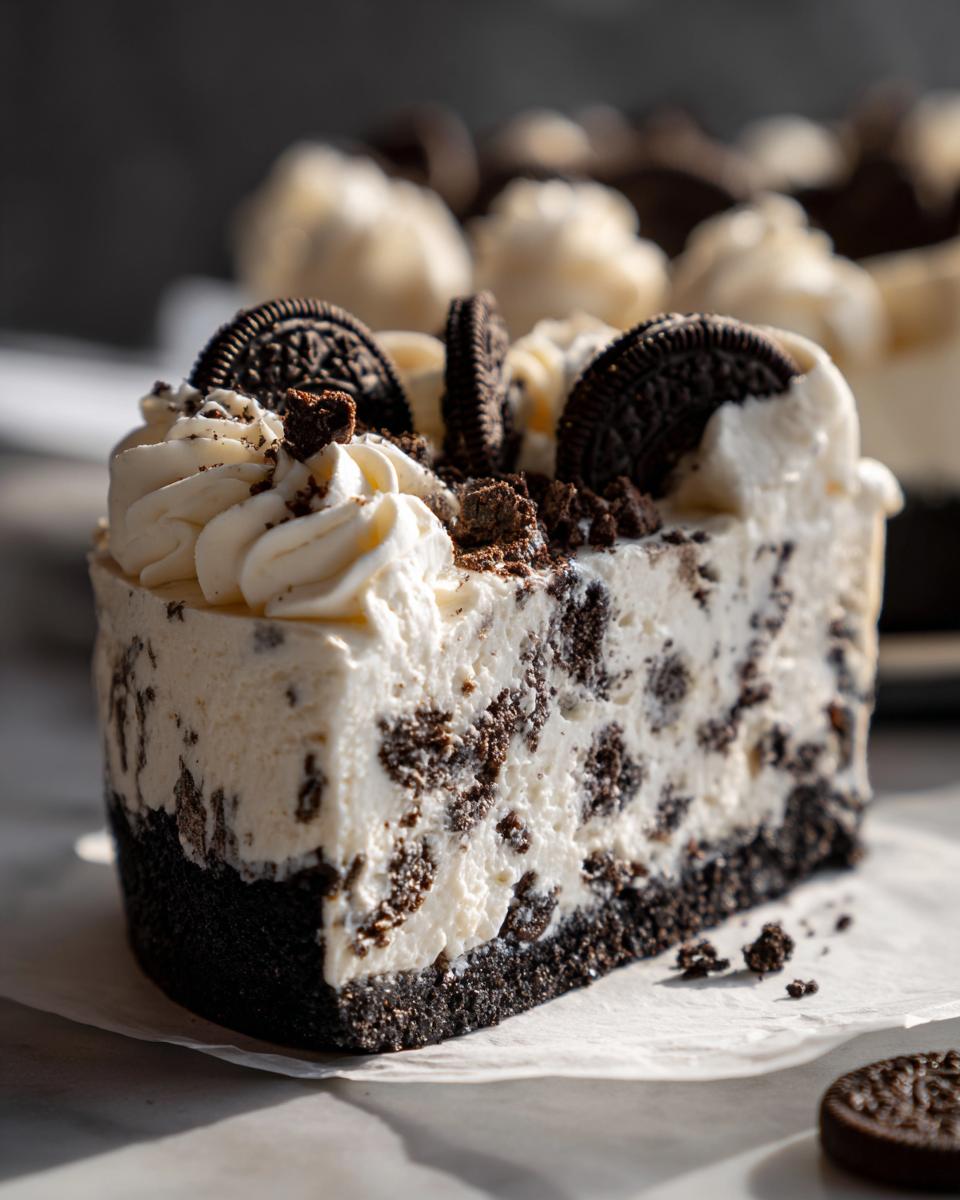
This isn’t a subtle cookies and cream flavor; this is a full-on love letter to the Oreo! We are maximizing that chocolate crunch in three distinct ways. First, the crust gets the full cookie treatment. Then, we break up even more cookies right into the filling base. Finally, the topping gets a generous layer of crushed cookies and whole ones for height.
This heavy inclusion is what makes it the Best Oreo Cheesecake. You get that signature cookie texture paired with the cool, tangy filling in every single bite.
Gathering Ingredients for the Best Oreo Cheesecake
To nail this Homemade Cheesecake, we need precision—even though it’s no-bake! I always lay out my ingredients before I even think about touching the mixer. This way, nothing sneaks up on me, and we keep that active prep time under 20 minutes. Remember, baking is chemistry, and we want perfect results every time we pull this out of the fridge!
You’ll need three big 8-ounce packages of cream cheese, and please, make sure they are fully softened to room temperature. Nothing ruins a creamy texture faster than cold clumps! I also insist on a full cup and a half of *sifted* powdered sugar; sifting removes those sneaky little lumps that can spoil the smoothness of our filling.
Here’s the full lineup you’ll need for this glorious Oreo Dessert Recipe:
- 1 1/2 cups Oreo cookie crumbs (that’s about 25 cookies, crushed finely)
- 1/4 cup unsalted butter, melted (don’t substitute this one!)
- 3 (8 ounce) packages cream cheese, softened perfectly
- 1 1/2 cups powdered sugar, definitely sifted
- 1 teaspoon pure vanilla extract
- 1 1/2 cups heavy whipping cream, kept nice and cold
- 1 cup more crushed Oreo cookies (for mixing into the filling!)
- 1/2 cup mini chocolate chips (these are optional but honestly, encouraged)
- 1/2 cup whipped topping or fresh whipped cream (for that finishing touch)
- 8 whole Oreo cookies, reserved for garnish
Ingredient Notes and Substitutions for Your Homemade Cheesecake
A quick note on those cookies: for the crust, I always crush the entire Oreo—cream filling and all! That little bit of extra fat from the cream helps bind the crust beautifully. If you’re in a rush, buying pre-crushed Oreos is fine, but make sure you measure correctly. I find that crushing them myself in a Ziploc bag with a heavy rolling pin just feels more satisfying, you know?
Also, don’t feel like you have to use the whole cookies for the garnish. If you want a cleaner look for your Party Dessert Ideas, just chop the 8 reserved cookies roughly. But for me? I like seeing those whole, recognizable cookies staring up at me—it’s a promise of what’s inside this incredible Cookies and Cream Dessert.
Step-by-Step Instructions for No Bake Oreo Cheesecake
Okay, the ingredients are measured, the mixer bowls are ready, and excitement is building! Since we’re whipping up this masterpiece in about 20 minutes of active time, we move fast. Keep an eye on your mixer speeds versus your assembly time. Remember, this whole process, from start to finish, including that crucial chill time, brings our Total Time in just over 6 hours, but the payoff is huge for such an Easy Oreo Cheesecake.
Creating the Perfect Oreo Crust Dessert Base
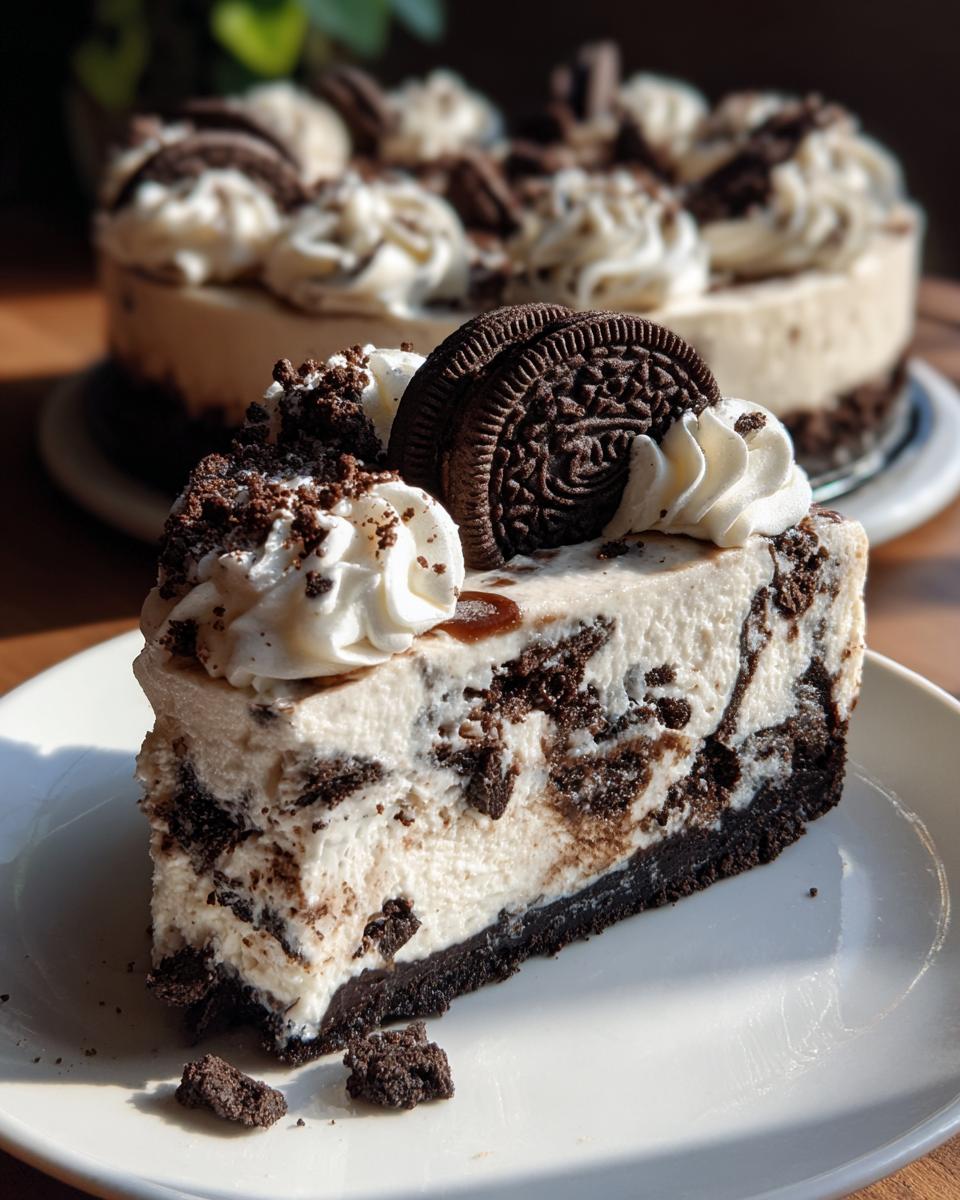
First things first, we lock in that foundation. Take your combined crumbs and melted butter—it should look like wet sand, ready to hold a shape. Press that mixture *firmly* into the bottom of your 9-inch springform pan. I mean really pack it down; use the bottom of a measuring cup to get it even and tight. A solid crust is what keeps this Chilled Cheesecake from falling apart when you slice it. Once it’s packed, right into the freezer it goes while you deal with the glorious filling!
Achieving Creaminess in Your Chocolate Cream Cheese Dessert Filling
This step separates the great from the good! Get that softened cream cheese beating on medium speed until it’s velvety smooth—no lumps allowed! Then, gently mix in your sifted sugar and vanilla. Now, here’s the secret handshake for that fluffy texture: whip your *cold* heavy cream separately in a chilled bowl until you get stiff peaks. When you fold that whipped cream into your cream cheese base, do it gently! You want to keep all those beautiful air bubbles you just created in there. That’s the magic that makes this the oreo cheesecake recipe so light and airy.
Once everything is folded together beautifully, stir in that cup of crushed Oreos. Give me a shout on our contact page if you have any trouble getting those peaks to hold!
Tips for the Ultimate Easy Oreo Cheesecake Success
I’ve made this Easy Oreo Cheesecake more times than I can count—for my first dinner party after moving to the city, for quick weekend treats, and even when I was testing recipes for the blog. Knowing how easily things can go wrong in a no-bake setting is half the battle, so let me share the guardrails I set up for myself to ensure utter perfection every time.
The biggest pitfall people run into is temperature control, hands down. If your cream cheese isn’t perfectly soft, your filling will be lumpy, period. If your heavy cream is warm, you won’t get stiff peaks—you’ll get sweet soup. So, my first tip is simple: plan ahead! Get that cream cheese out an hour before you start mixing.
My second, and maybe most important, piece of advice concerns patience. Look, I know you want to dive right into that amazing Cookies and Cream Dessert, but the chilling time is non-negotiable. Trying to rush the 6-hour chilling process means you’ll have a delicious puddle instead of a sliceable cake. You need that time for the structure to set up properly, especially since there’s no egg binder locking everything in place like a baked version.
If you’ve followed all the steps correctly, you should be looking at a cheesecake that holds its shape beautifully when you release the springform pan. If you’re ever nervous about the edges sticking, run a thin, sharp knife lightly around the inside edge *before* you chill it. That little bit of prep work saves you massive headaches later! You can read more of my general kitchen wisdom over on the main Gourmet Gaze blog page.
Variations: Mini Oreo Cheesecakes and Oreo Cheesecake Bars
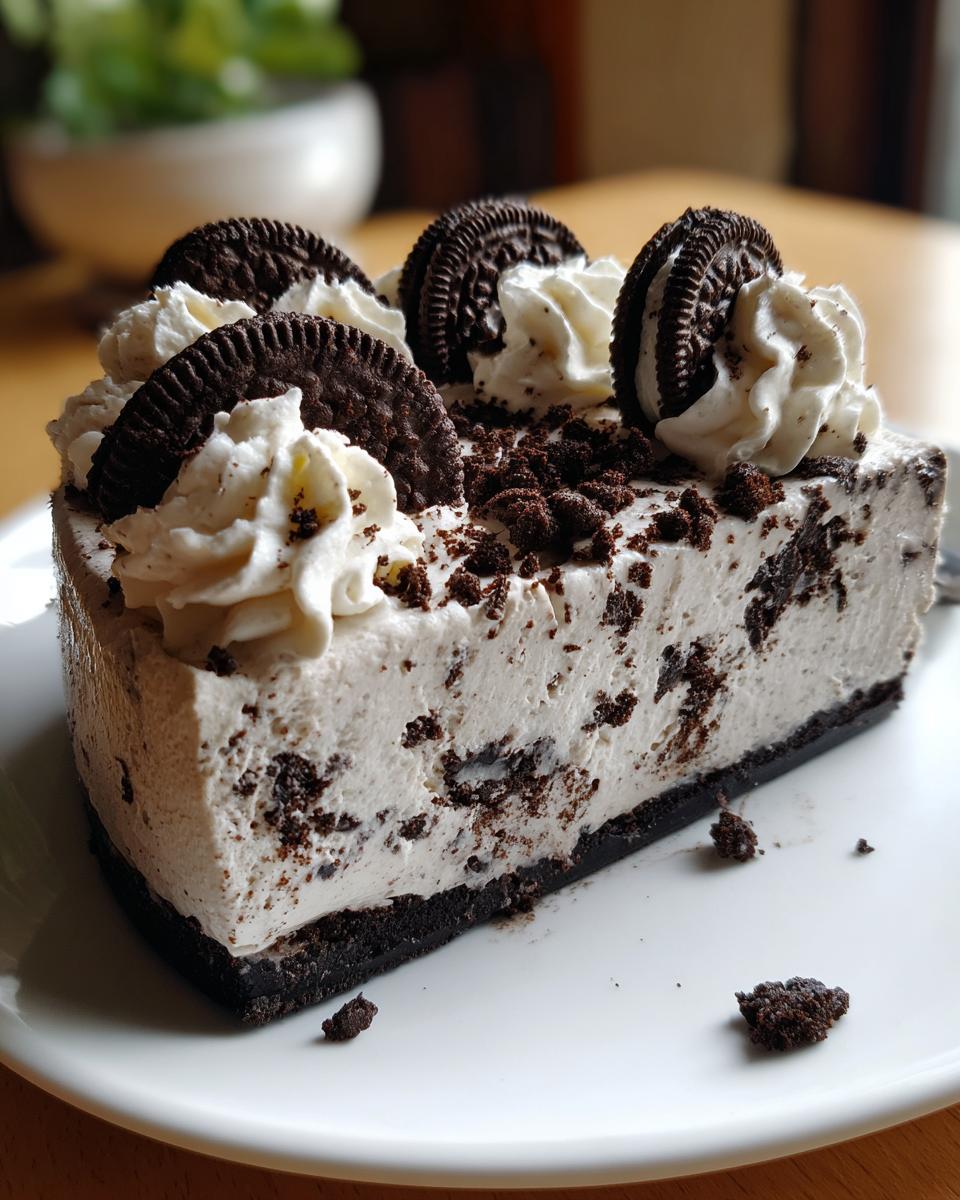
One thing I love about this particular No Bake Oreo Cheesecake is how adaptable it is. It’s fantastic as a full, gorgeous centerpiece, but sometimes you’re hosting a big event, or maybe you just want a perfectly portioned treat that doesn’t require a huge commitment for one slice. This recipe truly shines when adapted for other formats, making it perfect for those large gatherings where you need plenty of Party Dessert Ideas.
We can keep this recipe versatile for all occasions. Whether you want something incredibly cute or something easy to cut for a crowd, we have you covered. Don’t forget to check out my guide on Appetizers and Snacks later for balancing out all that sugar!
Making Adorable Bite Sized Cheesecake Treats
If you’re looking for those perfect little mouthfuls, turning this into Bite Sized Cheesecake is super simple. Grab a standard muffin tin and line it with paper cupcake liners. You’ll use the exact same crust mixture, but instead of pressing it into a 9-inch pan, just press about a tablespoon of the crumb mixture into the bottom of each liner.
Then, simply spoon the finished filling over the top of the crust in each cup. Because these are smaller, they chill much faster! You can reduce the chilling time down to about 4 hours in the refrigerator, though overnight is still safest if you have the patience. Garnish each one individually, and you have instant party perfection before everyone even gets there.
Slicing Up Easy Oreo Cheesecake Bars
Need something that travels easily or something you can cut into uniform, sturdy squares? We pivot to the Oreo Cheesecake Bars format! You won’t pour this into a springform pan; instead, grab a 9×13 inch baking pan. Line it thoroughly with parchment paper, making sure there are ample ‘slings’ or overhangs on the sides. This overhang will be your handle later!
Pour the crust mixture into the bottom and press it down evenly, freezing it as directed. Then, pour all the filling over top. By using a square pan, you get more surface area, which means you get more of the crunchy top garnish in every square piece. Since this is a thicker layer than the mini bites, stick to the minimum 6-hour chill time, or overnight is always better for those clean, beautiful bar cuts!
Storage and Reheating Instructions for Your Chilled Cheesecake
This is a Chilled Cheesecake, which means storage is simple but crucial for taste and texture! Since there’s no baking involved, we don’t have to worry about cooling it gently or reheating it, which is a huge win for an Easy Holiday Dessert, right? The texture is best when served straight from the fridge, but you have a couple of flexible options here for keeping that wonderful oreo cheesecake fresh.
First, the standard storage: Keep any leftovers tightly covered right in the springform pan (if you can manage it) or transferred to an airtight container. It needs to stay chilled, always. In the refrigerator, this glorious dessert will keep beautifully for about 4 to 5 days. I find the flavor actually deepens a little bit by day two, making those leftovers just as exciting as the first slice!
Now, for making ahead, which is my favorite trick for party planning! You can definitely freeze this No Bake Oreo Cheesecake. Cover the entire cheesecake (pan and all, if it fits) tightly with a double layer of plastic wrap, followed by a layer of heavy-duty aluminum foil. This double wrap is essential to prevent freezer burn and odor absorption.
When you freeze it, it should hold up well for about one month. When you decide it’s time to eat it, I strongly recommend transferring the frozen cheesecake—still wrapped—to the refrigerator about 24 hours before you plan to serve it. Let it thaw slowly in the cold. Once it’s finished thawing in the fridge, you can remove the wrappings, refresh the topping if it looks a little sad, and serve. Never try to microwave leftovers of this! You’ll completely mess up that delicate, creamy texture we worked so hard to achieve by whipping the cream properly.
Common Questions About This Oreo Dessert Recipe
When you’re ready to tackle a recipe like this, questions always pop up, and that’s perfectly normal! Finding the Best Oreo Cheesecake solution often means knowing exactly how flexible the recipe is. I’ve gathered the most frequent things people ask me about this beloved Cookies and Cream Dessert to make sure your experience is flawless. Since this is a no-bake preparation, a lot of the concerns revolve around structure and timing, which are easy to manage once you know the rules.
Don’t forget to check out the site’s Privacy Policy if you’re curious about how we handle site information!
Can I use other cookies besides Oreos in the crust?
You absolutely *can*, but I have to be honest; you’ll be losing some of the charm when you stray from the original sandwich cookie. If you are completely out of Oreos, chocolate wafer cookies work as a decent substitute for the crust, adding a dark, crumbly texture that mimics the look. Graham crackers are always an option for a less chocolatey base, but if you do that, you’re officially making a standard cheesecake crust with Oreos mixed in, not the full Oreo Cheesecake Recipe experience.
What is the minimum chilling time for the No Bake Oreo Cheesecake?
This is where patience becomes your secret ingredient! The absolute minimum time you can get away with is 6 hours. That’s enough time for the cream cheese and whipped cream to set up enough so that the cheesecake holds its general form. However, if you want a truly firm slice that looks pristine when plated—the kind that really screams ‘feast for the eyes’—you must let it chill overnight. That extra time in the fridge allows everything to marry together and firm up perfectly, giving you that wonderful density without any baking required.
Nutritional Estimate for One Serving
When we create something this indulgent, it’s important to be transparent about what’s in that beautiful slice! While I focus on flavor and technique here at Gourmet Gaze, I also believe in giving you the full picture. These values are based on the precise measurements in the recipe, yielding 10 generous servings. That means you can enjoy your Easy Oreo Cheesecake dessert knowing exactly what you’re in for!
This really is a rich, creamy treat, so keep in mind that quantities like saturated fat reflect that wonderful cream cheese and butter base. Since ingredients like cream cheese brands can differ slightly, these numbers are a solid guideline, not a strict guarantee. Every time I look at these numbers, I’m reminded that making something from scratch and eliminating all those weird artificial fillers makes any indulgence taste that much better.
Here is the estimated breakdown per slice:
- Serving Size: 1 slice
- Calories: 450
- Sugar: 35g
- Fat: 30g
- Saturated Fat: 18g
- Trans Fat: 0.5g
- Carbohydrates: 40g
- Protein: 5g
- Cholesterol: 95mg
Remember, this indulgence is best enjoyed in moderation! It’s perfect for those special occasions or when you simply need a deeply satisfying Quick & Easy Dessert moment.
Share Your Gourmet Gaze Creations
Now that you’ve made this stunning, no-bake Homemade Cheesecake, I genuinely want to hear all about it! Creating food should always be a conversation, not just a set of instructions that end when the oven timer goes off—or in this case, when the fridge timer finishes its job!
Did you manage to keep your hands out of the filling while you were folding in those Oreos? Did your crust set up like a rock, just as mine does? Please, don’t keep those victories to yourself! Drop down to the comments section right below this and leave a rating for the recipe. Stars are wonderful, but hearing the specific details about your experience is the real treat.
If you snapped a photo of your finished dessert—maybe you garnished it exactly like mine, or perhaps you went rogue and added peanut butter chips—I absolutely encourage you to share it! Tag us on social media so I can see your beautiful work. Connecting with you and seeing the food you create is what truly turns my kitchen into a destination.
Once you’ve polished off that last slice of this incredible oreo cheesecake, I hope you’ll stick around. We have so many other simple, magnificent desserts waiting for you on the site, like my incredible fudgy brownies or my 3-ingredient fudge. Send me a message through the contact page if you have any questions, and happy creating!
PrintEasy No-Bake Oreo Cheesecake
Make this simple, chilled Oreo cheesecake that uses crushed cookies in the crust, filling, and topping. It is a quick and satisfying cookies and cream dessert perfect for any gathering.
- Prep Time: 20 min
- Cook Time: 0 min
- Total Time: 6 hr 20 min
- Yield: 10 servings 1x
- Category: Dessert
- Method: No Bake
- Cuisine: American
- Diet: Vegetarian
Ingredients
- 1 1/2 cups Oreo cookie crumbs (about 25 cookies)
- 1/4 cup unsalted butter, melted
- 3 (8 ounce) packages cream cheese, softened
- 1 1/2 cups powdered sugar, sifted
- 1 teaspoon vanilla extract
- 1 1/2 cups heavy whipping cream, cold
- 1 cup crushed Oreo cookies (for filling)
- 1/2 cup mini chocolate chips (optional topping)
- 1/2 cup whipped topping or whipped cream (for topping)
- 8 whole Oreo cookies (for garnish)
Instructions
- Prepare the crust: Mix the Oreo cookie crumbs and melted butter in a bowl until fully combined. Press the mixture firmly into the bottom of a 9-inch springform pan. Place the crust in the freezer while you prepare the filling.
- Beat the cream cheese: In a large bowl, beat the softened cream cheese with an electric mixer until smooth. Add the sifted powdered sugar and vanilla extract, beating until fully incorporated and creamy. Scrape down the sides of the bowl as needed.
- Whip the cream: In a separate, chilled bowl, whip the cold heavy whipping cream until stiff peaks form.
- Fold together: Gently fold the whipped cream into the cream cheese mixture until just combined. Be careful not to overmix and deflate the cream.
- Add Oreos: Fold in the 1 cup of crushed Oreo cookies into the cheesecake filling.
- Assemble: Spread the filling evenly over the chilled crust. Cover the pan loosely with plastic wrap.
- Chill: Refrigerate the cheesecake for at least 6 hours, or preferably overnight, until firm. This is a key step for a chilled cheesecake.
- Garnish and serve: Before serving, remove the sides of the springform pan. Top the cheesecake with whipped topping, mini chocolate chips, and whole Oreo cookies for decoration. Slice and serve this easy Oreo dessert.
Notes
- For a richer chocolate flavor, use chocolate cream cheese instead of plain cream cheese in the filling.
- If you prefer mini Oreo cheesecakes, press the crust into the bottom of lined muffin tins and chill for 4 hours before topping with filling.
- This recipe is a great option for easy holiday desserts when you need to save oven space.
Nutrition
- Serving Size: 1 slice
- Calories: 450
- Sugar: 35g
- Sodium: 320mg
- Fat: 30g
- Saturated Fat: 18g
- Unsaturated Fat: 12g
- Trans Fat: 0.5g
- Carbohydrates: 40g
- Fiber: 1g
- Protein: 5g
- Cholesterol: 95mg