
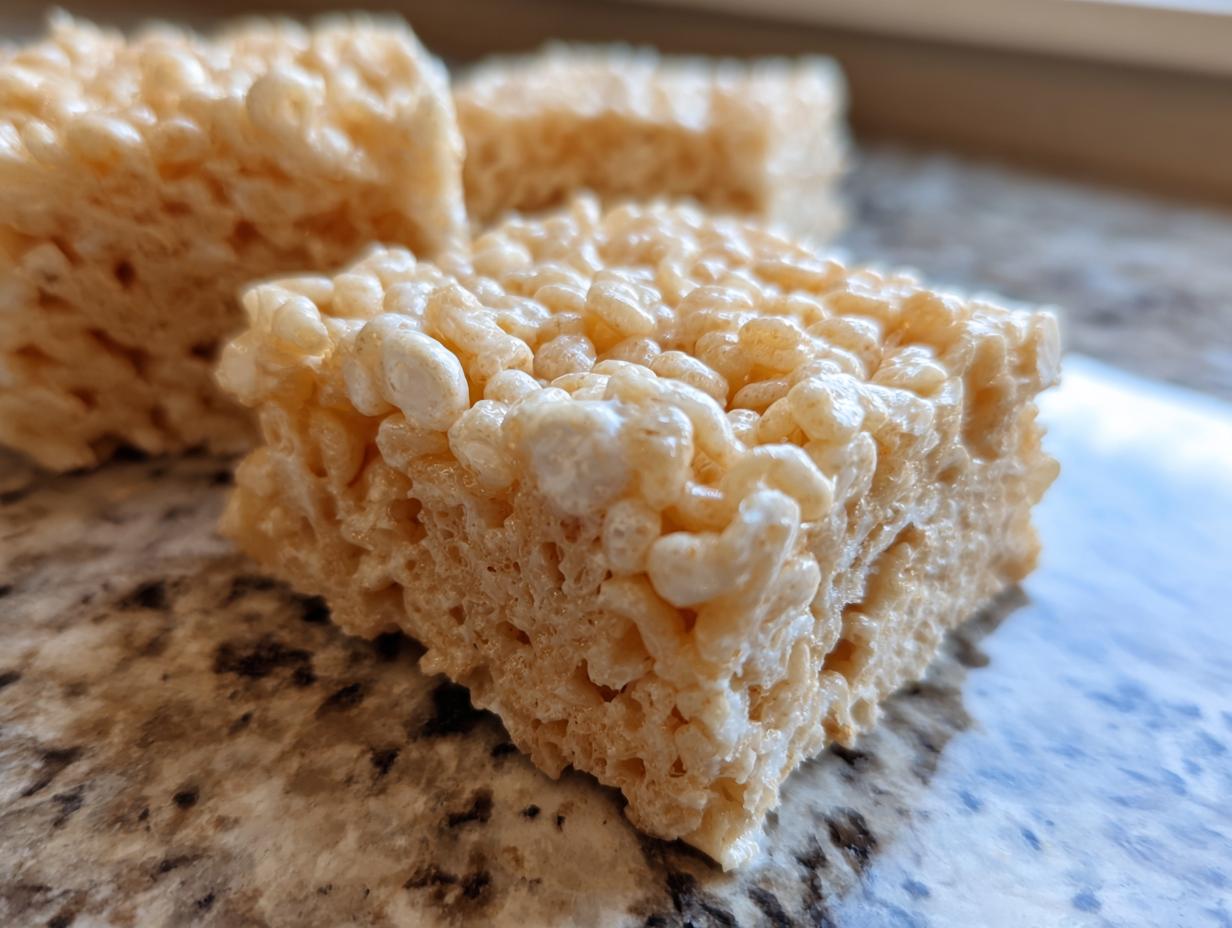

Oh, you know those classic comfort foods that just instantly take you back? For me, it’s all about the nostalgia, and nothing screams childhood memories quite like a perfectly gooey Rice Krispie treat. It’s funny, when I first started cooking again after leaving my marketing job, I was so focused on fancy stuff. But then I rediscovered the magic in simple things, like these incredibly easy, extra gooey Rice Krispie treats you can whip up in just about 10 minutes. Seriously, it’s my go-to for pretty much any craving or when I need a quick win in the kitchen, and I think you’re going to love them just as much as I do.
- Why You'll Love These Classic Rice Krispie Treats
- The Secret to Extra Gooey Rice Krispie Treats
- Gather Your Ingredients for Rice Krispie Treats
- Simple Steps to Make Gooey Marshmallow Bars
- Tips for the Best Rice Krispie Treats
- Serving and Storing Your Rice Krispie Treats
- Frequently Asked Questions about Rice Krispie Treats
- Nutritional Information for Gooey Marshmallow Bars
- Share Your Classic Rice Krispie Treats Creations
Why You’ll Love These Classic Rice Krispie Treats
Honestly, why wouldn’t you love these? They’re just the best!
- Super Speedy: We’re talking 10 minutes, start to finish. Perfect for those times when you need a delicious treat, like, yesterday!
- Irresistibly Gooey: That perfect chewy, gooey texture is so satisfying. Trust me, you won’t be able to stop at just one.
- Seriously Easy: No baking required! It’s a foolproof no-bake dessert that anyone can master.
- Totally Versatile: They’re amazing for bake sales, after-school snacks, or just a little pick-me-up. Plus, they’re a crowd-pleaser every single time.
The Secret to Extra Gooey Rice Krispie Treats
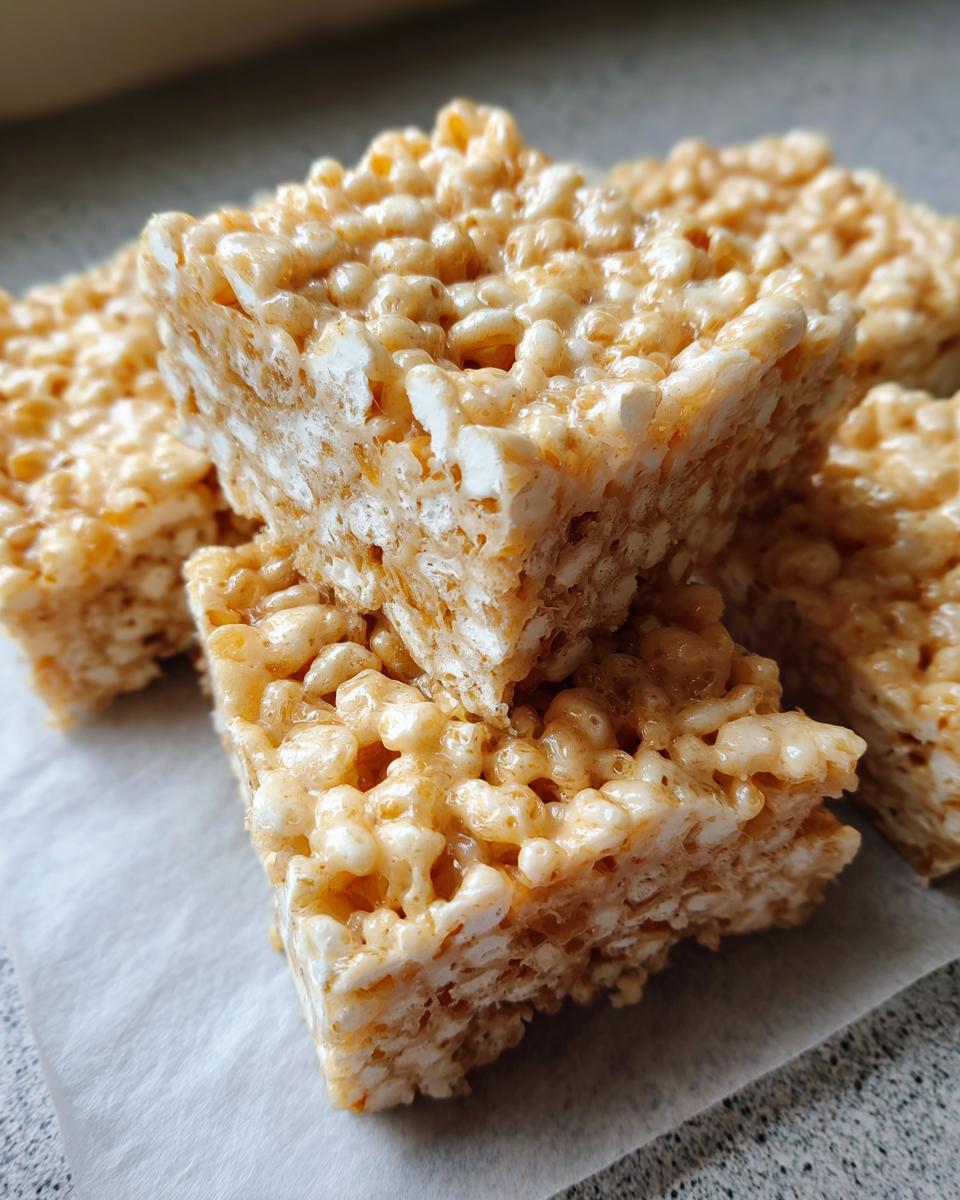
Okay, let’s get down to business. The real secret to those incredibly gooey Rice Krispie treats isn’t some fancy ingredient; it’s all about the ratio and how you treat the mixture! We want that perfect, slightly sticky-pull pull, you know? It comes down to using a little extra marshmallow love and, crucially, not packing them down too hard in the pan. If you press too much, they get dense and chewy, not gooey. Lean into the stickiness; that’s where the magic happens.
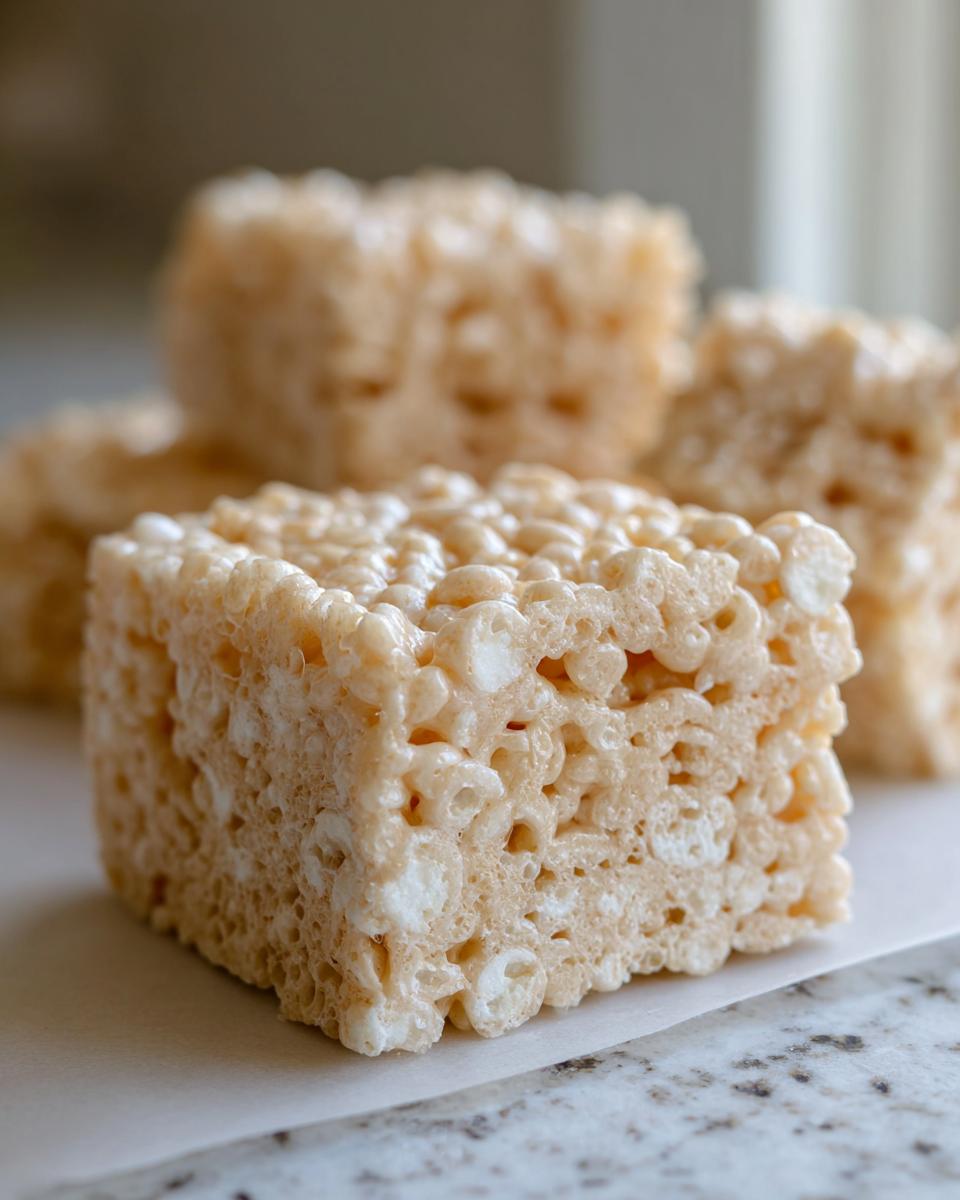
Ingredient Spotlight: Marshmallows
Marshmallows are the heart and soul of these bars, seriously! Make sure you’re using fresh ones – stale marshmallows just don’t melt the same way. I’ve noticed that mini marshmallows tend to melt a bit quicker and more evenly than the big ones, which can sometimes leave little chewy pockets. But honestly, either works great! Just remember, more marshmallows equal more gooeyness, and that’s never a bad thing in my book.
Gather Your Ingredients for Rice Krispie Treats
Alright, let’s get everything ready so we can whip these up super fast. You’ll need about 6 cups of those crispy rice cereal puffs – not too many, not too few. For the gooey factor, we’re going big: 10 ounces of marshmallows. That’s roughly 40 of the big ones, or about 4 cups if you’re using the mini ones. Oh, and have 3 tablespoons of butter handy. If you want a little extra flavor pop, a teaspoon of vanilla extract is totally optional but super yummy. And for that extra-special touch, some extra marshmallows for sprinkling on top are never a bad idea!
Simple Steps to Make Gooey Marshmallow Bars
Alright, get your biggest pan ready because we’re about to make the best gooey marshmallow bars you’ve ever had, and it’s going to take, like, 10 minutes! Seriously, it’s that fast. First things first, you’re going to melt your butter over on low heat. Low and slow is the name of the game here so we don’t scorch anything precious. Then, you’ll dump in all those marshmallows and stir them until they’re super smooth and totally melted. It’s like magic happening right in your pot! Once that’s looking perfect, stir in your vanilla if you’re using it, and then toss in all those Rice Krispies cereal puffs. Give it a good, gentle stir to make sure every single piece gets coated in that delicious marshmallow goodness.
Melting the Marshmallows for Your Rice Krispie Treats
This is honestly the most crucial part for getting those perfect Rice Krispie treats. You want to melt the butter first in a nice big saucepan over really low heat. Like, the lowest setting your stove has. Then you add your marshmallows and stir them constantly until they are completely melted and smooth. No lumps allowed! If you rush this or turn up the heat, you risk getting that weird, tough texture, and nobody wants that. We’re going for pure gooey-ness here, so a little patience pays off big time.
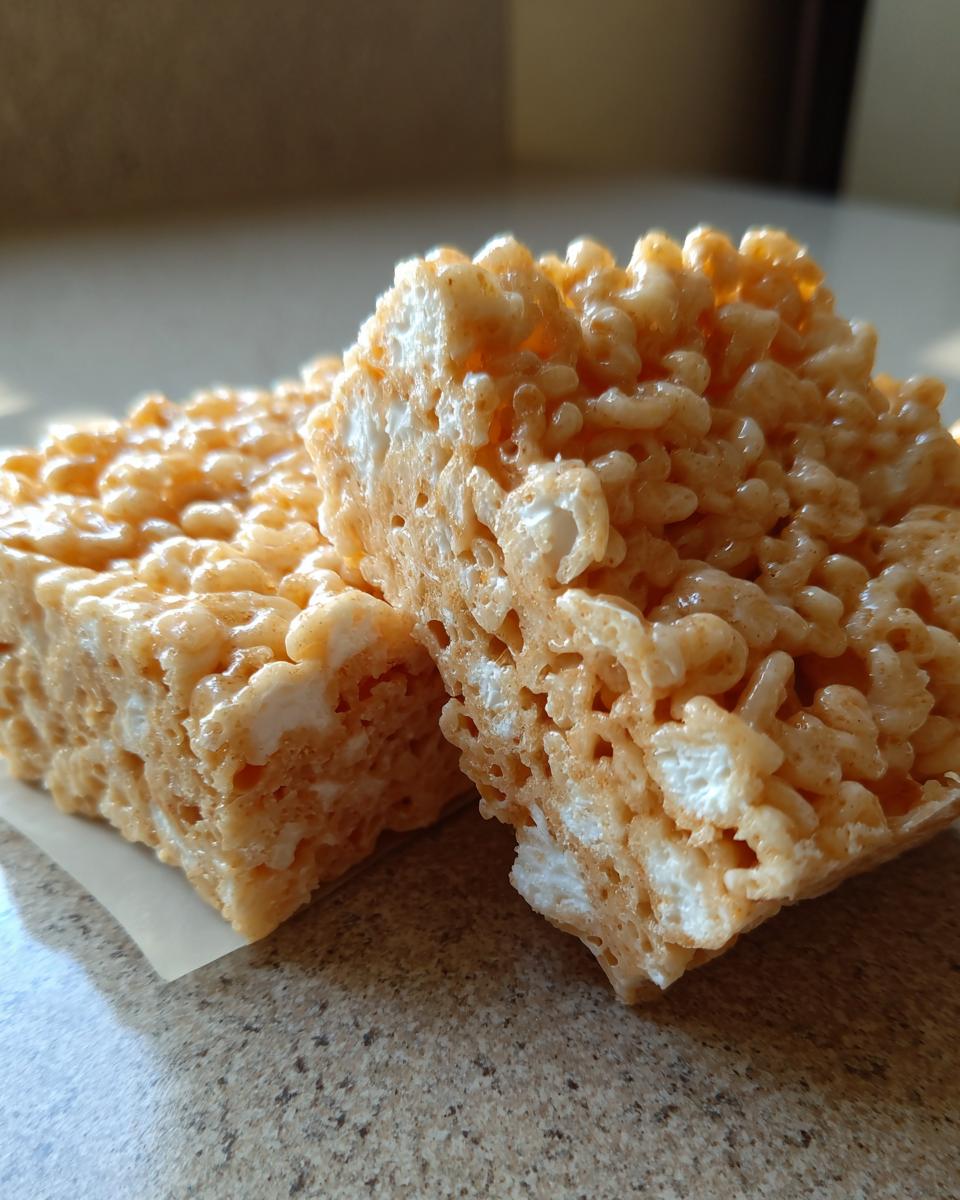
Combining Cereal and Marshmallow Mixture
Okay, now for the fun part! Once your marshmallow mixture is all smooth and luscious, turn off the heat. This is important so things don’t get too sticky or tough. Gently fold in the Rice Krispies cereal a little at a time. You want to make sure everything gets coated evenly, but be careful not to overmix or mash the cereal. We want that light, airy crunch to shine through, not a dense, hard brick. Just stir enough so all those crispy puffs are covered in marshmallow goodness.
Pressing and Topping Your Rice Krispie Treats
Now, grab your greased 9×13 inch pan. You can use a little butter or cooking spray to keep things from sticking. Dump that glorious cereal mixture into the pan and gently press it down. Remember what I said about not pressing too hard? Use lightly greased hands or a spatula to press it evenly, but don’t squish it down with all your might! If you’re feeling fancy, now’s the time to sprinkle a few extra marshmallows right on top and give them a gentle press to help them stick. It looks so pretty and adds another layer of gooeyness.
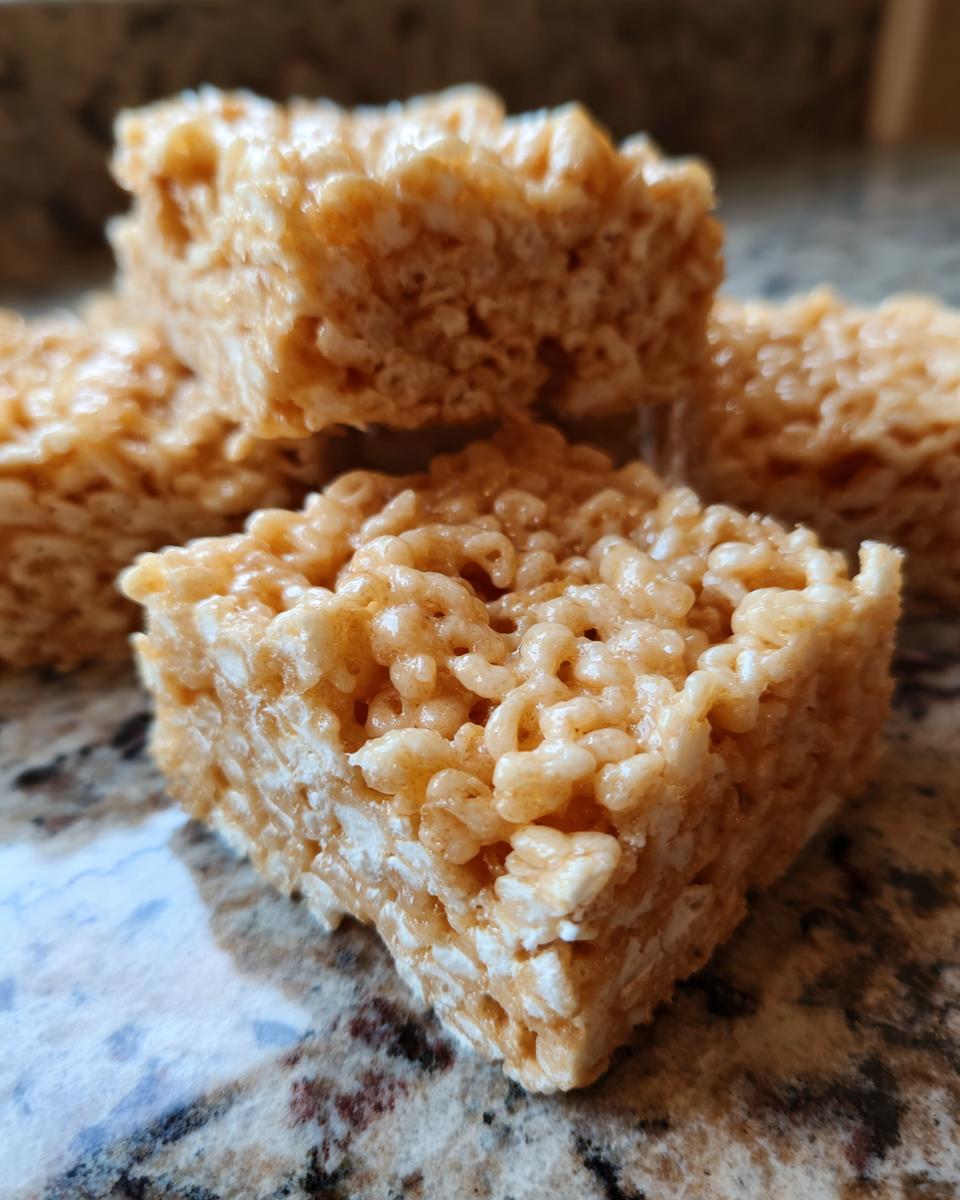
Tips for the Best Rice Krispie Treats
Okay, so we’ve got the gooey magic down, but let’s talk about making them *perfect* every single time. My biggest tip? Grease your pan really well! Whether you use butter, cooking spray, or even a thin layer of oil, make sure it’s coated so these sticky little guys don’t cling for dear life. And be patient with the cooling; letting them set completely before cutting is key to clean squares, not a messy blob. I’ve totally messed this up before, trying to cut them too soon. That’s kind of like when I rush my smores brownies and they fall apart. Remember, these aren’t brownies; they need a little chill time. Making these classic Rice Krispie treats is so forgiving, though, so don’t stress too much!
Variations for Your Gooey Marshmallow Bars
Want to jazz these up a bit? It’s so easy! You can totally stir in some colourful sprinkles with the cereal for a funfetti vibe, or toss in a handful of chocolate chips for a double-treat situation. A little drizzle of melted chocolate over the top after they’ve cooled is also a game-changer, just like on my chocolate banana pops. And for a really sophisticated twist? Try browning your butter before you add the marshmallows. It adds this amazing nutty, caramel depth that’s seriously next-level for your gooey marshmallow bars!
Serving and Storing Your Rice Krispie Treats
Once your gooey marshmallow bars have cooled completely, you can cut them up. I like to use a sharp knife, maybe lightly greased if they’re super sticky, and cut them into nice squares. If you’re taking these to a bake sale or party, keeping them in the pan until you’re ready to serve is easiest. For storing leftovers – not that there are usually many! – just stack them between layers of wax paper or parchment paper in an airtight container. They’ll stay perfectly gooey at room temperature for a few days. I wouldn’t refrigerate them though, they can get a bit too firm!
Frequently Asked Questions about Rice Krispie Treats
Got questions about making the best Rice Krispie treats? I totally get it! Here are a few things people often ask me.
Can I use store-bought marshmallow fluff?
While marshmallow fluff is yummy, it won’t give you the same gooey, chewy texture that melted marshmallows do. Fluff is already processed differently, and it doesn’t really help bind the cereal the same way. Stick to actual marshmallows for that classic, perfect Rice Krispie treat experience!
How do I prevent them from getting hard?
Oh, the dreaded hard treats! It usually happens from over-pressing them into the pan, or sometimes from over-microwaving the marshmallows if you’re in a super hurry. Remember, gentle pressing is key! Also, make sure your marshmallows are fresh. Stale ones just don’t have that melty magic. Don’t overcook them either; once they’re smooth, it’s time to add the cereal and get them into the pan.
Can I make them gluten-free?
Absolutely! Rice Krispie cereal itself is usually gluten-free, but it’s always a good idea to check the package label just to be sure, as sometimes processing facilities can have cross-contamination risks. If you need a truly gluten-free version, look for brands specifically labeled as such. The rest of the ingredients (marshmallows and butter) are naturally gluten-free, so you’re good to go!
Nutritional Information for Gooey Marshmallow Bars
Just a quick heads-up, these numbers are estimates, you know? Like, how many you cut, or if you add extra goodies, it can change things a bit. But based on our recipe, one of these delicious gooey marshmallow bars usually clocks in at about 150 calories. You’ll find roughly 18g of sugar and 4g of fat in there too. It’s mostly from the marshmallows and butter, which is what makes them so yummy, right?
Share Your Classic Rice Krispie Treats Creations
I’d absolutely love to see what you all make! Did you try out these classic Rice Krispie treats? Maybe you added some fun swirls or sprinkles? Snap a pic and share it in the comments below, or tell me about any awesome variations you came up with! And if you enjoyed them, please give them a star rating – it really helps other home cooks find them! You can also read more about my own kitchen adventures over on my about page!
PrintClassic Gooey Rice Krispie Treats
Make classic gooey Rice Krispie treats with an extra marshmallow ratio in just 10 minutes. Perfect for bake sales or a quick no-bake dessert.
- Prep Time: 5 min
- Cook Time: 5 min
- Total Time: 10 min
- Yield: 16 servings 1x
- Category: Dessert
- Method: No-Bake
- Cuisine: American
- Diet: Vegetarian
Ingredients
- 6 cups Rice Krispies cereal
- 10 oz marshmallows (about 40 large or 4 cups mini)
- 3 tbsp butter
- 1 tsp vanilla extract (optional)
- Extra marshmallows for topping (optional)
Instructions
- Melt butter in a large saucepan over low heat.
- Add marshmallows and stir until completely melted and smooth. Remove from heat.
- Stir in vanilla extract, if using.
- Add Rice Krispies cereal and stir until well coated.
- Press the mixture evenly into a greased 9×13 inch pan.
- If desired, sprinkle extra marshmallows on top and press gently.
- Let cool completely before cutting into squares.
Notes
- For an extra gooey treat, use more marshmallows than the recipe calls for.
- Press the mixture into the pan gently; over-pressing can make the treats hard.
- You can add a splash of vanilla extract for extra flavor.
- For brown butter flavor, brown the butter before adding marshmallows.
Nutrition
- Serving Size: 1 bar
- Calories: 150
- Sugar: 18g
- Sodium: 100mg
- Fat: 4g
- Saturated Fat: 2.5g
- Unsaturated Fat: 1.5g
- Trans Fat: 0g
- Carbohydrates: 27g
- Fiber: 0.5g
- Protein: 1.5g
- Cholesterol: 10mg