
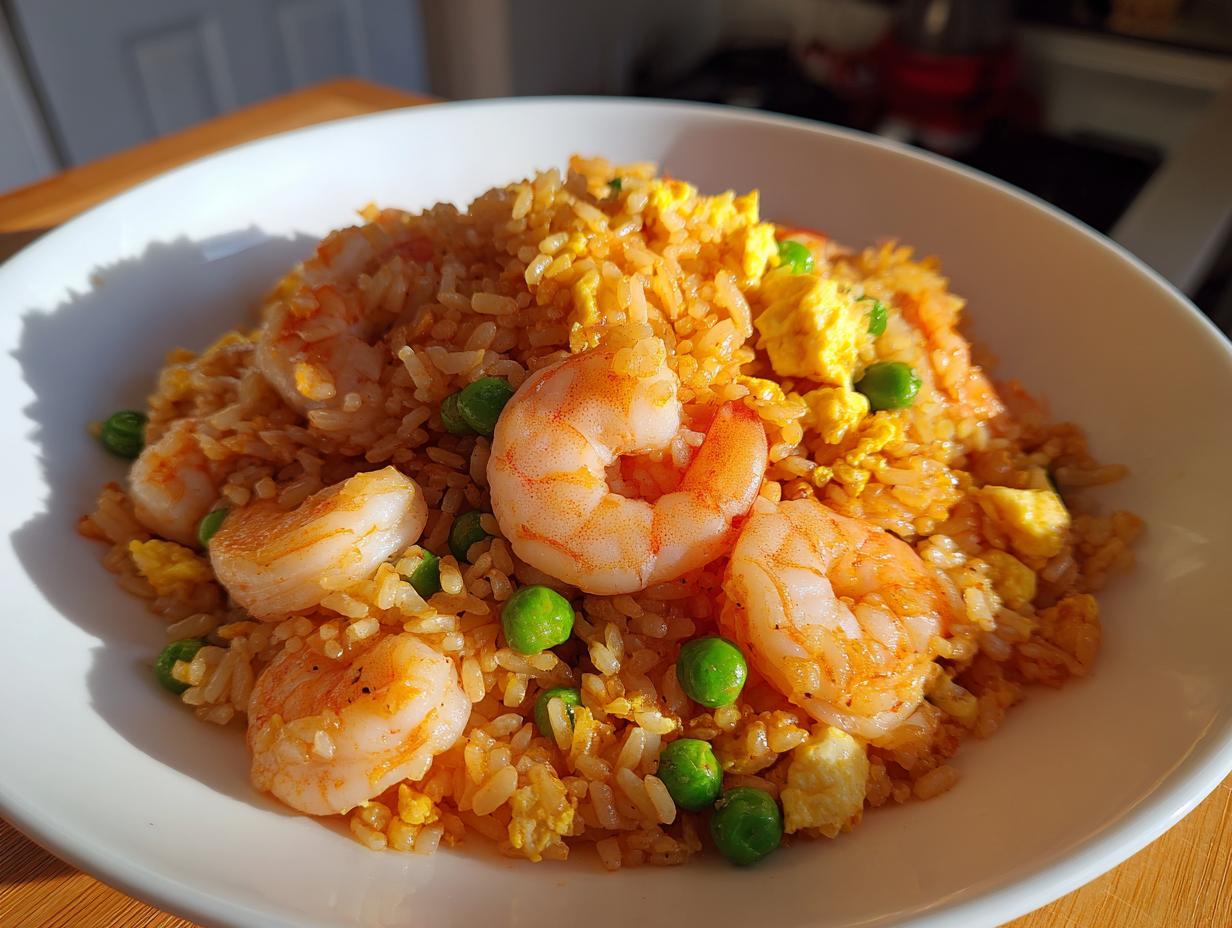

Oh, the tragedy of disappointing takeout! I remember those days clearly when ordering out felt like throwing money away because the rice was mushy and the flavor was just… sad. When I first transitioned from my intense corporate life to actually cooking (you can read more about that on my About page!), I vowed to conquer one of the most essential comfort foods: **shrimp fried rice**. That flabby texture and bland taste simply won’t do in my kitchen. Trust me, this recipe is the answer to your cravings. We’re delivering that authentic, savory, restaurant-quality experience in our 30-Minute Better-Than-Takeout Shrimp Fried Rice, and yes, it’s completely achievable on a weeknight.
- Why This Is the Best Shrimp Fried Rice Recipe You Will Make
- Essential Ingredients for Flavorful Shrimp Fried Rice
- Step-by-Step Instructions: How to Make Shrimp Fried Rice
- Tips for Success with Your Homemade Shrimp Fried Rice
- Ingredient Notes and Simple Substitutions
- Serving Suggestions for This Savory Seafood Rice Dish
- Storage and Reheating Instructions
- Frequently Asked Questions About Making Fried Rice
- Nutritional Estimates for Your Homemade Shrimp Fried Rice
Why This Is the Best Shrimp Fried Rice Recipe You Will Make
If you’re looking for that amazing, slightly smoky flavor you usually have to fight traffic to get, this is it. This fast recipe delivers truly **better than takeout fried rice** without all the fuss. We manage restaurant-level taste in a fraction of the time, which is why this is my go-to **quick shrimp fried rice** whenever I need something satisfying fast. Check out my Garlic Chicken Fried Rice if you want variety!
Achieving True Takeout Style Shrimp Fried Rice Flavor
The secret that separates this from bland home cooking is all about heat and sauce. You need a ripping hot wok or skillet—don’t skimp on the temperature! That high heat caramelizes the rice and mushrooms the liquid right away. We balance the savory punch with just the right mix of soy and oyster sauce; it creates that deep, satisfying umami that screams, “I ordered this!”
Ready in Under 30 Minutes: Perfect for Weeknight Seafood Meals
This is honestly one of my favorite 30 minute dinner recipes because cleanup is minimal. Everything happens fast since the shrimp cooks nearly instantly. It’s such an **easy shrimp fried rice recipe** that you can whip this up even after a long day. It makes having a delicious **weeknight seafood meal** feel completely effortless, I promise.
Essential Ingredients for Flavorful Shrimp Fried Rice
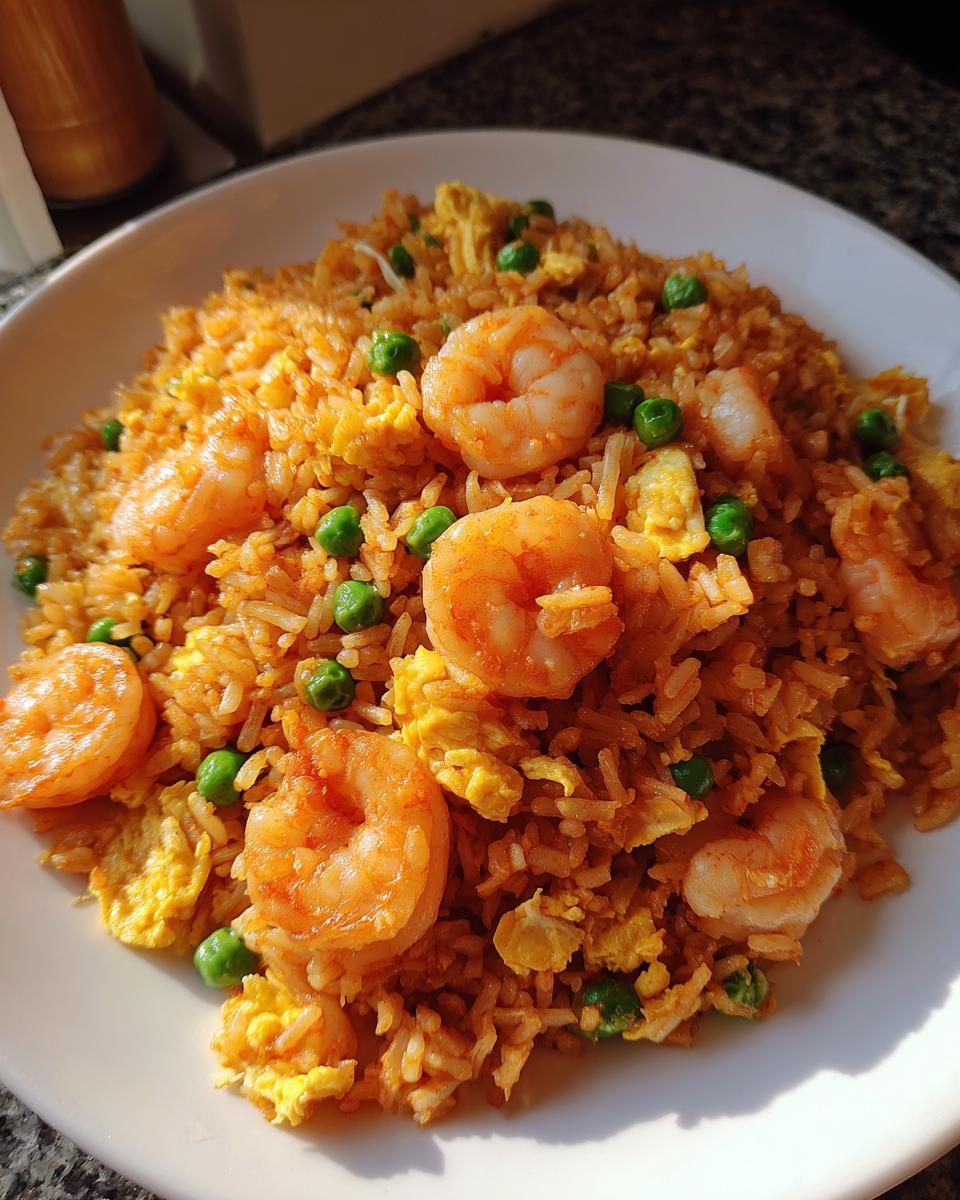
When we talk about making the absolute best **homemade shrimp fried rice**, the ingredients have to be spot on—and prepared correctly! I’ve learned that grabbing everything and prepping it before you even turn on the heat is half the battle. You need those 8 ounces of raw shrimp peeled and deveined, sitting right next to your two cloves of garlic, minced fine. Don’t forget the frozen peas and carrots mix; it’s fantastic for speed and color. For the liquid magic, have your soy sauce, oyster sauce, sugar, and that essential white pepper mixed and ready to go. And please, grab your green onions, sliced, keeping the white bits separate from the green tops for different stages of cooking. You can check out my Shrimp Orzo if you need another seafood inspiration!
The Critical Role of Cold, Leftover Rice in Shrimp Fried Rice
Listen to me closely on this one: fresh rice is the enemy of perfect fried rice. I learned this the hard way early on—I made the mistake once, and the whole thing turned into a sticky, soupy mess! You absolutely must use cold, cooked rice, preferably day-old rice straight from the fridge. When it’s cold, the starches firm up, allowing the grains to separate beautifully in the high heat of the wok. This separation is what gives you that signature loose, fluffy texture. If you try to use steaming hot, freshly made rice, you’re basically making porridge, not a fantastic **flavor-packed rice dish**.
Step-by-Step Instructions: How to Make Shrimp Fried Rice
This is where the magic happens quickly, so have your spatula ready! We are aiming for that high-heat wok action that gives you that perfect char, so make sure your skillet is hot before anything touches it. This method ensures we’re knocking out this incredible **how to make shrimp fried rice** dish in minutes. If you love fast cooking, make sure you check out my Chicken Zucchini Stir Fry next!
Searing the Shrimp and Building the Flavor Base for Shrimp Fried Rice
First things first, heat up your largest skillet or wok until it’s smoking hot and add your vegetable oil. Once it shimmers, toss in the shrimp. Cook them fast, only about two or three minutes, until they turn that lovely pink color. Pop them out and set them aside immediately—we don’t want rubbery seafood! Now, drop in the sesame oil, garlic, and the white parts of those green onions. You’ll smell that incredible aroma in about 30 seconds—don’t let the garlic burn! Next, toss in the frozen peas and carrots; stir fry those for two minutes until they’re softened up a bit. Now, clear a space on one side of the pan, pour in your eggs, and let them scramble quickly before breaking them up and mixing them with the veggies.
The Final Toss: Combining Ingredients for Perfect Shrimp Fried Rice
This is the crucial moment for texture. Bring that cold rice into the pan and use your spatula to aggressively break up any clumps. You want to press that rice against the hot surface for a few minutes to actually toast it a little—that’s what keeps it from getting gummy. While that’s happening, you’ll quickly whisk together your sauce mix: soy sauce, oyster sauce, sugar, and pepper. Pour that rich sauce right over the rice and toss everything vigorously until every grain is coated. It should turn a nice light brown color. Finally, fold in the cooked shrimp and the green tops of the green onions. Give it one last quick toss for 60 seconds just to heat the shrimp through, and you are done! Seriously, look at that beautiful, **flavorful rice dish**.
Tips for Success with Your Homemade Shrimp Fried Rice
Now that you have the technique down for making this incredible **easy copycat takeout**, I want you to know the little secrets that take it from *good* to *amazing*. Remember what I said about cold rice? I’m going to tell you a quick story as proof! The first time I tried to rush this recipe, I used rice straight from the cooker because I was starving. Within two minutes in the hot pan, it clumped into this dense, sticky mass that was impossible to stir-fry. It was a total disaster, and I had to throw it out!
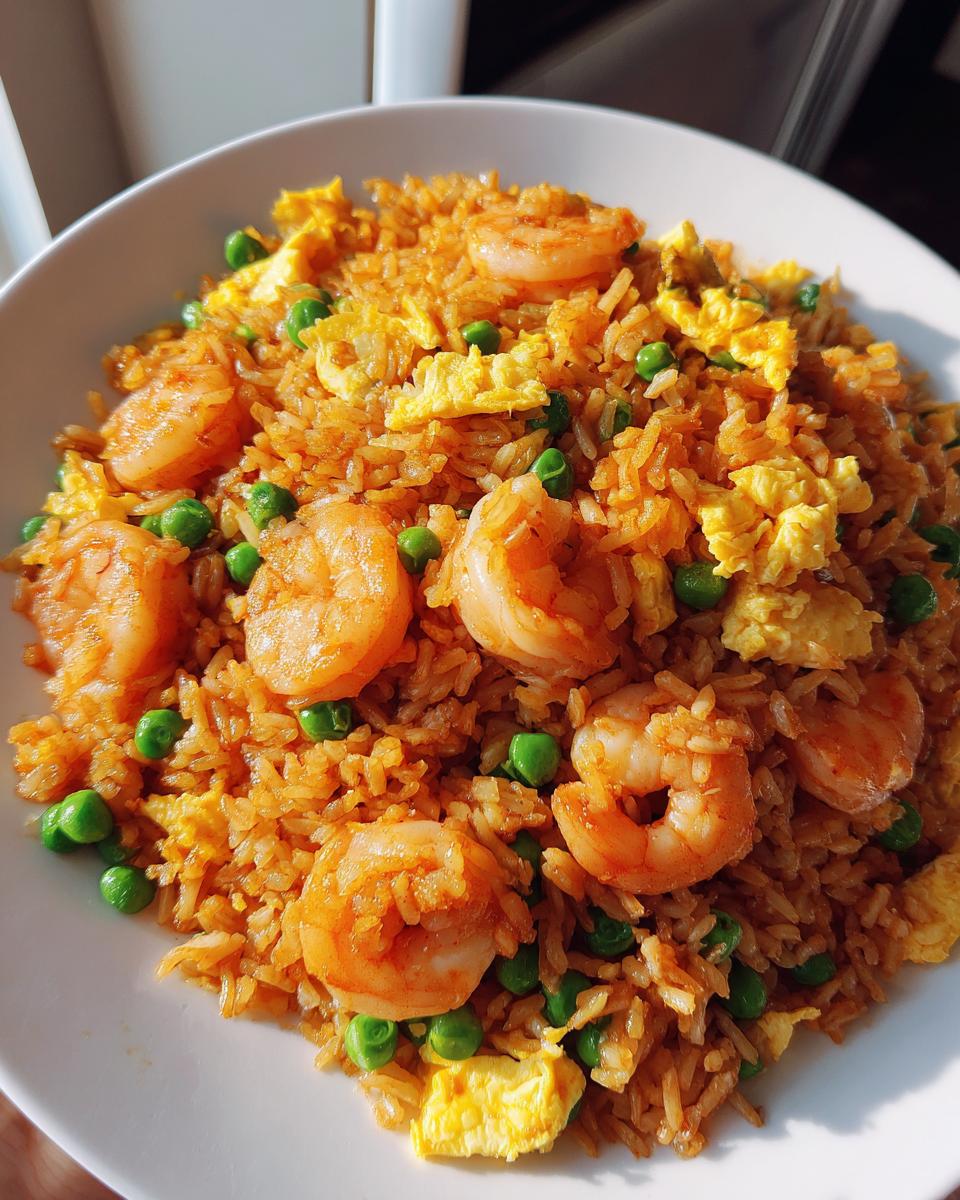
For the boldest flavor possible, I highly recommend using dark soy sauce for color instead of swapping out a full teaspoon of your regular soy sauce. It gives you that gorgeous, deep mahogany hue that really screams “authentic!” Also, if you crave a little heat in your **Asian comfort food dinner**, don’t hesitate. Add a dash of chili garlic sauce right when you pour in the main sauce mixture. It blends right in and gives you that welcome kick without overwhelming the delicate flavor of the shrimp.
These little adjustments, based on my own messy trial-and-error, are what make this the most reliable **flavorful rice dish** on the site. Happy cooking; you can find more of my favorite ideas over on the main blog page!
Ingredient Notes and Simple Substitutions
I want this recipe to work for everyone, even if your pantry isn’t stocked exactly like mine! People often ask me about swapping out key components in this **quick family dinner idea**. The most common question is about oyster sauce, which brings a fantastic savory depth. If you can’t grab it, no worries! You can substitute it with an extra teaspoon of soy sauce mixed with half a teaspoon of brown sugar for a similar sweet-and-salty profile. It won’t be 100% identical, but it stays delicious.
Another big question revolves around the rice itself. While day-old jasmine rice is my gold standard, I know some folks prefer brown rice. It *can* work, but since brown rice is denser, you need to cook it a little longer in the pan—maybe an extra two minutes—to let it warm through properly without steaming. Just promise me you won’t try to use rice you cooked this morning!
If you’re out of vegetable oil and need alternatives, just make sure the oil you use has a high smoke point, like canola or peanut oil. Olive oil is too delicate for this kind of high-heat cooking. You can also check out my Almond Butter Tofu if you need inspiration for plant-based meals!
Vegetable Variations for This One Skillet Meal
The frozen pea and carrot mix is great for speed, but I love tossing in other vivid veggies if I have them on hand. Because we are aiming for a **one skillet shrimp rice** that stays quick, you only want things that cook fast! Diced yellow or red bell peppers work wonderfully; they add a nice crunch and sweetness. Slice them thinly so they heat through in the same time as the frozen mix.
Mushrooms are another fantastic addition—I prefer cremini mushrooms, sliced thinly. Toss them in right after the garlic because they need a minute or two to release their moisture. If you add broccoli, make sure you cut the pieces super small, or maybe even steam them lightly before adding them to the pan. We want crisp-tender veggies, not steamed-until-limp vegetables in our **flavorful rice recipes**!
Serving Suggestions for This Savory Seafood Rice Dish
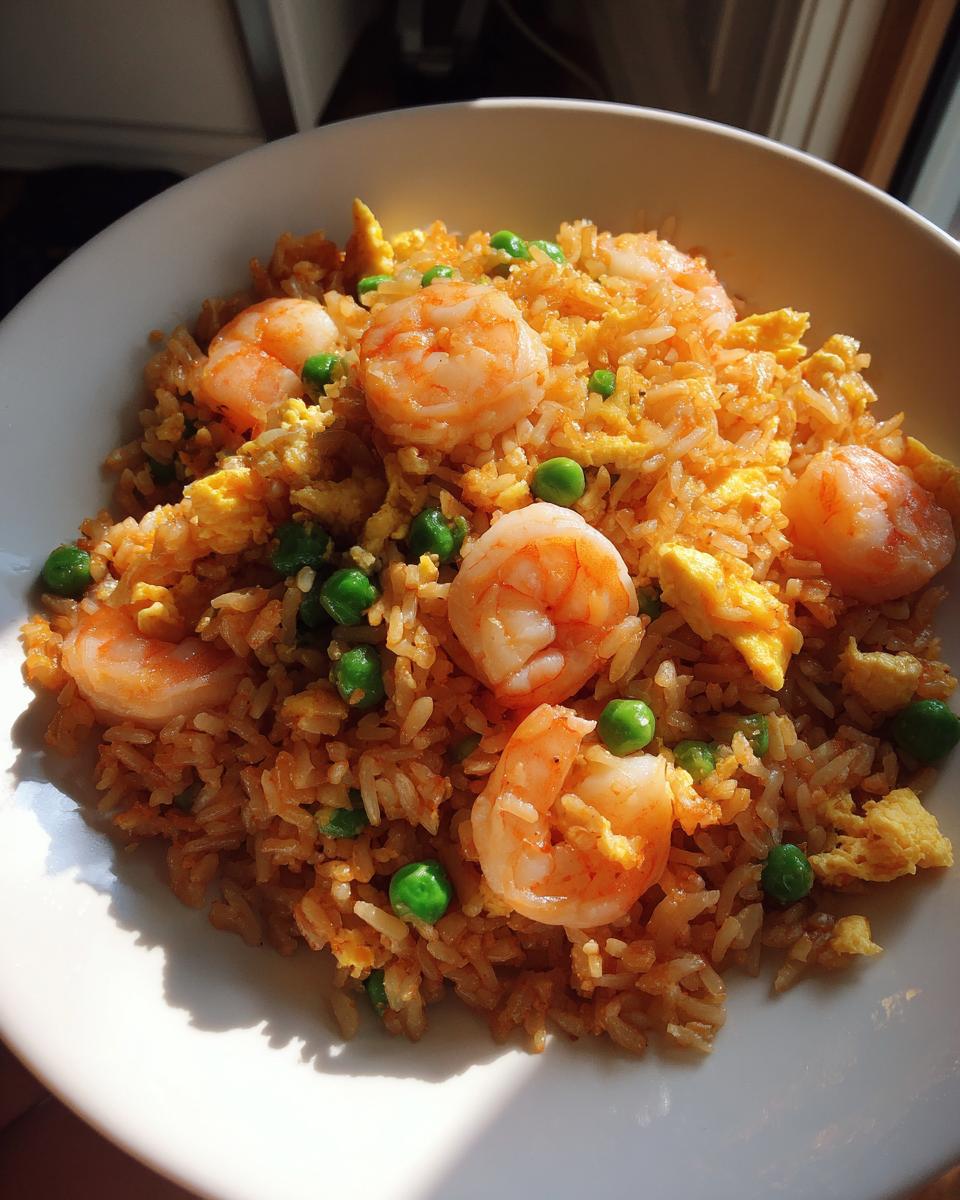
You’ve made your gorgeous, deeply savory creation, and now you’re wondering, “What else goes with this marvelous **savory seafood rice dish**?” It’s already pretty complete since it has shrimp, egg, and vegetables, but sometimes you want to stretch it into a bigger feast, right? I get it! The richness of the oil and sauces in the rice pairs beautifully with something very light and bright to cut through it.
My absolute favorite pairing is a simple, crisp green salad. I often throw together a quick salad with just romaine, thinly sliced cucumber, and maybe some radish, dressed lightly with rice vinegar, a touch of oil, and maybe a sprinkle of sesame seeds. It’s fresh, crunchy, and the acidity cleanses the palate between bites of the rich rice. You can find my favorite light dressing recipe on my Strawberry Chicken Salad post—just swap the chicken for some nuts or skip the fruit entirely!
If you’re looking for something warmer, a light, clear soup is a dream alongside this. Think about a simple egg drop soup or maybe even a very easy miso soup. These soups don’t compete with the intense savory profile of the fried rice; they just offer a nice, comforting warmth. Having a light, brothy soup makes the entire meal feel much more complete, like you’re sitting in a real Asian restaurant!
Honestly, though, if you’re short on time, just serve a bowl of this beautiful creation with a side of sliced avocado for healthy fat and a bowl of sliced orange wedges for a sweet, juicy finish. It keeps the meal quick but checks all the boxes: salty, savory, fresh crunch, and sweet fruit to balance it all out. Perfection!
Storage and Reheating Instructions
The best part about making a big batch of anything savory is having leftovers, right? This **quick stir fry dinner** holds up really well, but only if you store it correctly. Once everything has cooled down—I mean, truly cooled, don’t try to seal a steaming wok—transfer your **seafood rice dish** into a flat, airtight container. Keeping it flat helps the leftover rice cool faster, which is important to prevent any unwanted bacteria growth. I usually keep mine refrigerated, and it tastes fantastic for up to three days.
Now, reheating is where people often mess up and end up with dry, hard rice. You can zap it in the microwave, sure, but if you want that original flavor back, you need a little bit of steam. Take the amount you want to eat and put it back into that hot skillet over medium heat. Here’s the trick for that authentic texture: splash in just a tiny bit—maybe a teaspoon—of water or chicken broth right over the rice before you start tossing it.
Toss it quickly until the water evaporates and the steam rehydrates those rice grains just enough. You want it warmed through and tender, not steaming hot like it just came off the burner the first time. This little bit of moisture keeps the rice from becoming dusty and dry. It’s a simple step that ensures your **flavorful rice recipes** taste just as good on day two as they did fresh out of the pan!
Frequently Asked Questions About Making Fried Rice
Whenever I post about my **easy shrimp fried rice recipe**, my inbox lights up with great questions! It shows me you all are really thinking about how to master this technique. Here are some of the most common things folks ask me when trying to achieve that perfect **takeout style fried rice at home**.
Can I actually use fresh rice instead of leftover rice?
Oh, I really wish the answer was yes, but I have to be honest with you: please don’t! Using freshly cooked rice is the number one mistake people make when trying to create a **simple stir fry dinner**. Fresh rice is too moist and soft; when you put it in a hot wok, it steams instead of frying, and you end up with sticky clumps, not fluffy grains. You need that cold, day-old rice because it’s partially dried out, allowing it to puff up and absorb the sauce without dissolving. It’s the key to keeping this a fantastic, non-mushy **Asian comfort food dinner**!
What is the absolute best oil to use for stir-frying rice?
You want a neutral oil with a high smoke point because we are cooking this dish hot and fast. My go-to for general stir-frying is standard vegetable oil, but I always use sesame oil for flavor! So, my recommendation is a two-part approach, just like in the recipe: use vegetable oil (or canola) to handle the initial high heat of cooking the shrimp and veggies. Then, once the high-heat work is done, you drizzle in the sesame oil right before you toss the rice. That way, you get the amazing nutty perfume without burning the delicate sesame oil during the searing phase. This is essential for those rich **flavorful rice recipes**!
I don’t have shrimp. Can I use chicken or beef instead?
Absolutely, my friend! This recipe is highly adaptable, which is why it’s such a great staple for **quick family dinner ideas**. If you swap the shrimp for chicken breast or thigh, cut it into nice bite-sized pieces, and cook it thoroughly first, just like you would the shrimp. You might need to pull the chicken out and set it aside a minute early, as chicken sometimes takes a touch longer than shrimp to stop turning pink. If you use ground beef, it cooks even faster! Just treat the meat exactly as you would the shrimp: cook it first, remove it, and add it back in at the end. It becomes a fantastic **easy copycat takeout** variation!
Does the oyster sauce really make a difference, or can I skip it?
Honestly, yes, it makes a huge difference, and I think it’s worth the trip to the Asian aisle! Oyster sauce brings that specific savory thickness and a deep, almost smoky color that soy sauce alone just can’t deliver. It’s a component of what makes the final result a truly **better than takeout fried rice**. If you absolutely cannot find it, you can try mixing 1 teaspoon of extra soy sauce with about half a teaspoon of brown sugar and a tiny splash of Worcestershire sauce to mimic the depth, but if you can grab the oyster sauce, do it—it’s the easiest way to guarantee that bold flavor you are looking for.
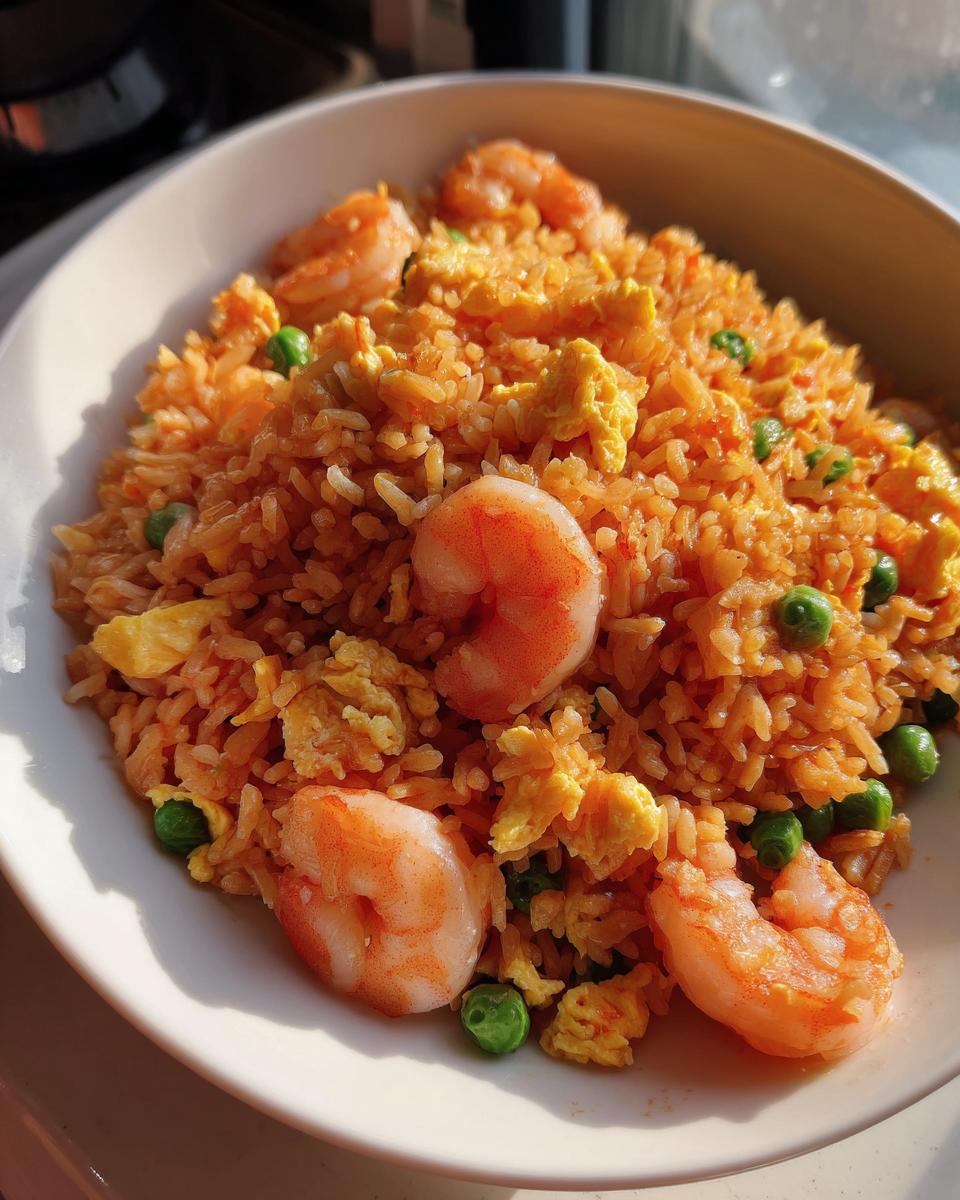
If you have any more questions about technique, substitutions, or just want to say hello, please don’t hesitate to reach out through the Contact Page. I love hearing from you all!
Nutritional Estimates for Your Homemade Shrimp Fried Rice
Okay, let’s talk fuel! Since we’re making **Asian comfort food dinner** that is hearty and packed with flavor, people often ask me about the nutritional breakdown of this delicious meal. Remember, I’m a chef, not a registered dietitian, so these numbers are based on standard measurements using moderate sodium soy sauce and typical vegetable oils. But they should give you a solid idea of what you’re putting on your plate when you enjoy this **flavorful rice dish**!
When you sit down to a generous serving of this **quick shrimp fried rice**, here is what you can generally expect from one serving (based on 4 servings total):
- Calories: Around 420 a serving. Pretty reasonable for a satisfying, full meal!
- Protein: About 25g, thanks to that lovely shrimp and all the eggs. Great for keeping you full!
- Fat: Around 15g total fat. We use oils for high heat, but it’s not overly greasy, I promise.
- Carbohydrates: About 50g, which is mostly coming from that fluffy rice base.
- Sodium: Roughly 850mg. This is higher, as expected with soy sauce, which is why I always suggest low-sodium soy if you’re watching your salt intake.
This is a fantastic, balanced meal that brings so much comfort to the table without requiring hours of prep time. It’s proof that you don’t need to choose between speed and satisfying flavor when you’re making a **simple stir fry dinner** at home!
Print30-Minute Better-Than-Takeout Shrimp Fried Rice | Easy Weeknight Meal
Make restaurant-quality shrimp fried rice at home in just 30 minutes. This easy recipe uses leftover rice, tender shrimp, and a savory sauce for a flavorful, satisfying weeknight dinner.
- Prep Time: 10 min
- Cook Time: 20 min
- Total Time: 30 min
- Yield: 4 servings 1x
- Category: Dinner
- Method: Stir Fry
- Cuisine: Asian
- Diet: Pescatarian
Ingredients
- 1 tablespoon sesame oil
- 1 tablespoon vegetable oil
- 8 ounces raw shrimp, peeled and deveined
- 2 cloves garlic, minced
- 1 cup frozen peas and carrots mix
- 3 cups cold, cooked leftover rice (day-old is best)
- 2 large eggs, lightly beaten
- 3 tablespoons soy sauce (use low sodium if preferred)
- 1 tablespoon oyster sauce
- 1 teaspoon sugar
- 1/2 teaspoon ground white pepper
- 2 green onions, sliced (white and green parts separated)
Instructions
- Heat a large skillet or wok over medium-high heat. Add the vegetable oil. When the oil shimmers, add the shrimp and cook for 2-3 minutes until pink and cooked through. Remove the shrimp from the skillet and set aside.
- Add the sesame oil to the same skillet. Add the minced garlic and the white parts of the green onions. Stir fry for 30 seconds until fragrant.
- Add the frozen peas and carrots to the skillet. Stir fry for 2 minutes until heated through. Push the vegetables to one side of the skillet.
- Pour the beaten eggs into the empty side of the skillet. Scramble the eggs until just set, then break them up and mix them with the vegetables.
- Add the cold rice to the skillet. Break up any clumps with your spatula. Stir fry for 3-4 minutes, pressing the rice against the hot surface to toast it slightly.
- In a small bowl, whisk together the soy sauce, oyster sauce, sugar, and white pepper. Pour this sauce mixture over the rice. Toss everything together quickly until the rice is evenly coated and heated through, about 2 minutes.
- Return the cooked shrimp to the skillet. Add the green parts of the sliced green onions. Toss everything together for one final minute to combine the flavors.
- Serve your homemade shrimp fried rice immediately.
Notes
- Using cold, day-old rice is crucial for achieving fluffy, separate grains in your fried rice. Do not use freshly cooked rice.
- For a deeper flavor, substitute 1 teaspoon of the soy sauce with dark soy sauce for color.
- If you prefer a spicier kick, add a dash of chili garlic sauce when adding the main sauce mixture.
Nutrition
- Serving Size: 1 serving
- Calories: 420
- Sugar: 5g
- Sodium: 850mg
- Fat: 15g
- Saturated Fat: 3g
- Unsaturated Fat: 12g
- Trans Fat: 0g
- Carbohydrates: 50g
- Fiber: 2g
- Protein: 25g
- Cholesterol: 180mg