
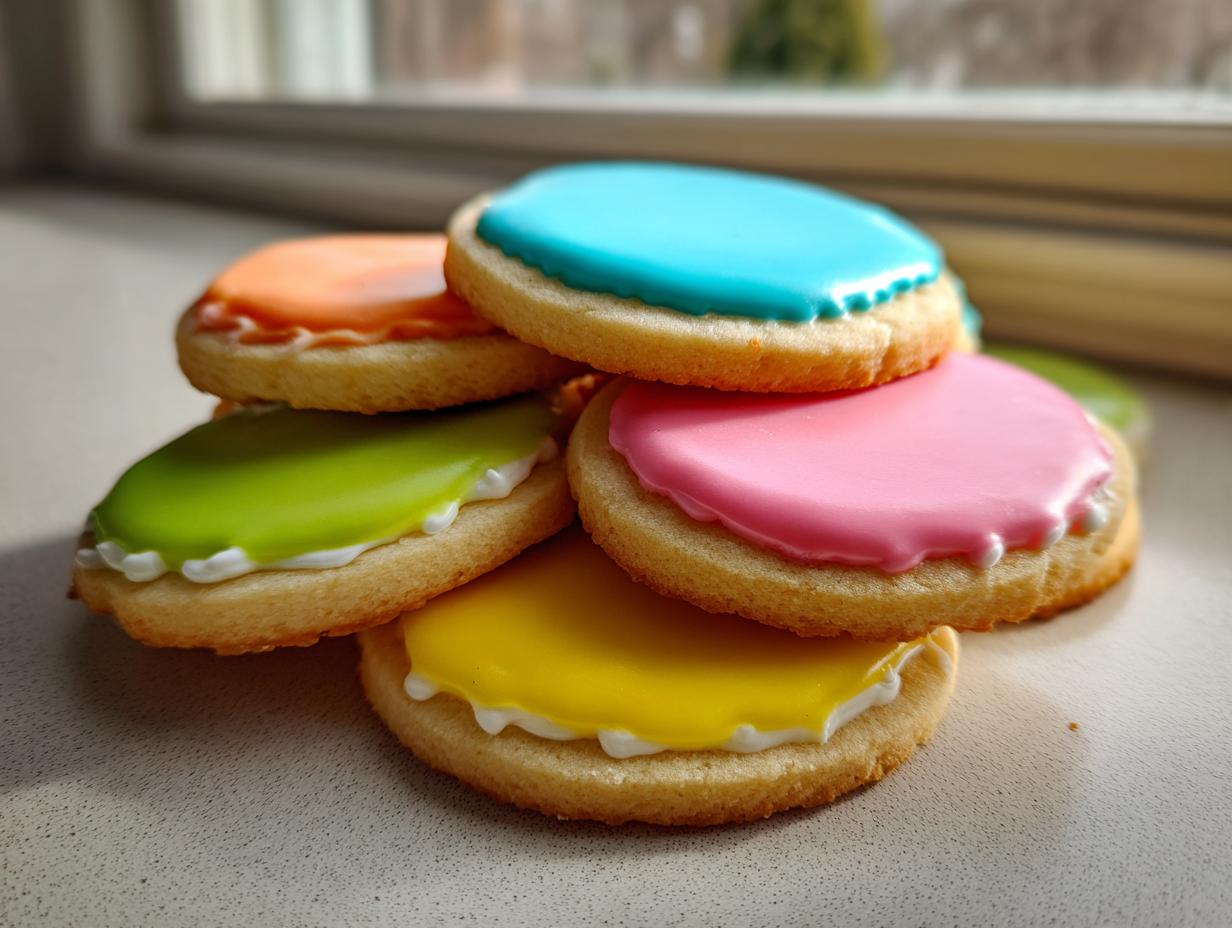

Oh, I know the frustration intimately. You spend hours rolling, cutting, and baking the most beautiful sugar cookies, then you apply the icing, and… it stays sticky. It’s a disaster for stacking, ruins gift boxes, and makes you rethink decorating altogether. Trust me, it used to happen to me constantly!
But I promise you, those days are over. After countless batches in my kitchen—because here at Gourmet Gaze, we demand a feast for the eyes that actually performs—I’ve perfected the one recipe for sugar cookie icing that hardens completely. This glaze dries smooth, achieves that professional, glossy cookie icing secret finish, and it’s completely reliable for gifting.
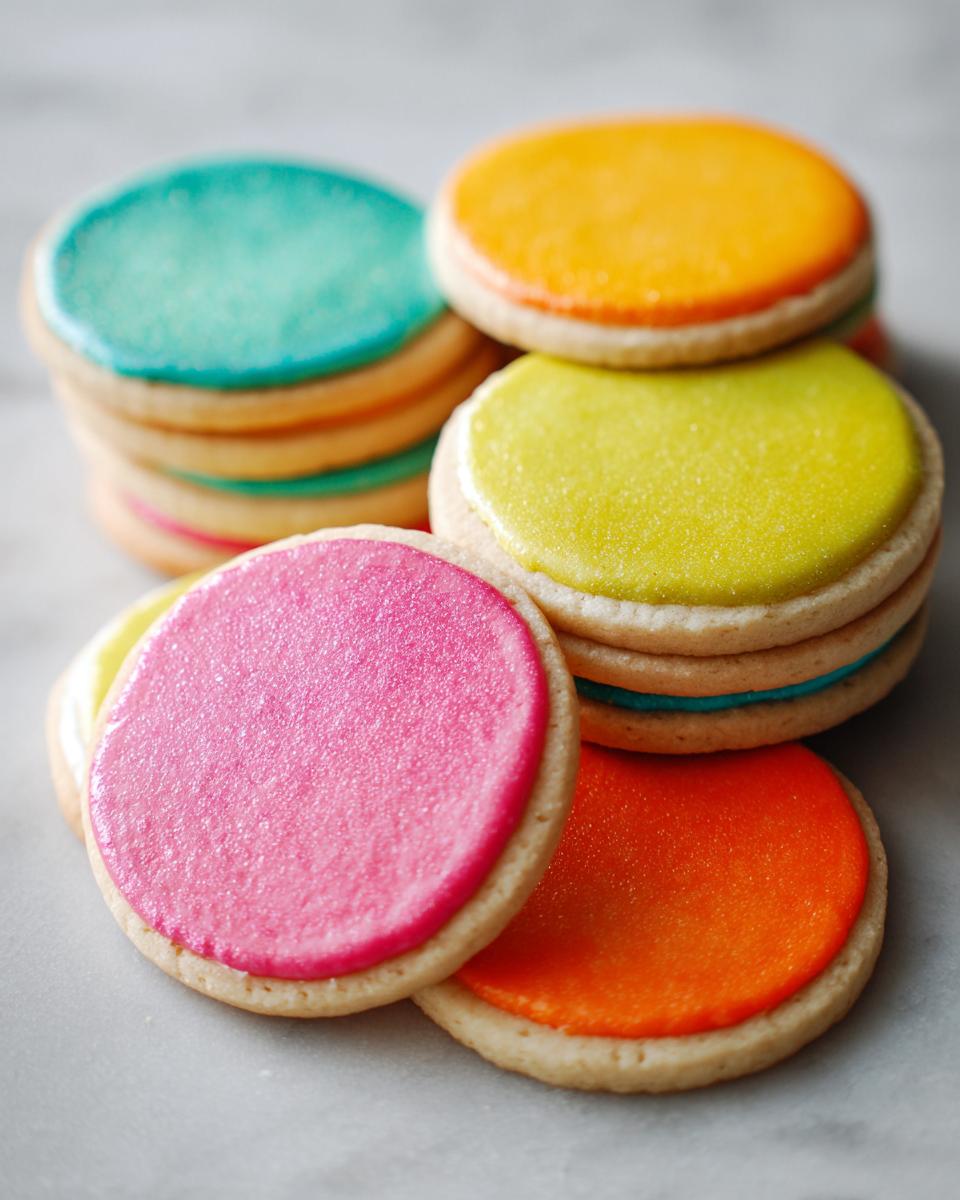
This isn’t just luck; it’s technique nailed down. We’re going to ensure your cookies look stunning and stay that way. You can find more of my perfected dessert recipes over in the main Desserts section.
- Why This is the Best Sugar Cookie Icing That Hardens
- Ingredients for Your Sugar Cookie Icing That Hardens
- Instructions: Making Your Cookie Icing Recipe That Hardens
- The Drying Process: Drying Cookie Icing Tutorial for Solid Results
- Tips for Bakery Style Cookie Icing Success
- Storage and Display for Your Perfect Cookie Frosting for Gifts
- Frequently Asked Questions About Royal Icing for Cookies
- Estimated Nutritional Data for This Sugar Cookie Icing That Hardens
- Share Your Beautifully Decorated Cookies
Why This is the Best Sugar Cookie Icing That Hardens
When I test recipes for this site, I’m not satisfied until the result is flawless and dependable. This icing delivers every single time. It skips the dreaded tackiness that plagues so many other recipes, giving you that superior, almost professional look.
Here’s why you need this recipe in your holiday arsenal:
- It sets rock solid, making it truly stackable cookie frosting for gifts and cookie swaps.
- It dries with an incredible, almost glass-like sheen.
- It works perfectly for both outlining tricky shapes and flooding large areas beautifully.
Achieving a Smooth Finish and Glossy Cookie Icing Secret
The secret here, my friend, is the light corn syrup. Don’t skip it! It’s the magic ingredient that keeps the icing from looking dull or chalky once it dries. It lends that beautiful shine that makes people ask where you bought your cookies. That’s how you get that high-end, glossy cookie icing secret finish.
The Key to How to Make Icing Set Firm
Unlike a simple confectioner’s sugar glaze that might just skin over, this recipe uses precise ratios of sugar to liquid. This creates a strong crystalline structure as it dries, forming a true, hard shell. It’s designed specifically to be a durable, sugar cookie icing that hardens completely, separating it from soft, short-term frostings.
Ingredients for Your Sugar Cookie Icing That Hardens
Getting the right ingredients is the first step toward perfectly solidified cookies. I always measure these out carefully because, believe me, small differences here can lead to a runny mess later! We need structure for this sugar cookie icing that hardens, so weigh your sugar if you’re serious, though cups work just fine for home bakers.
- 2 cups powdered sugar, sifted—this is non-negotiable!
- 3 tablespoons milk (whole milk gives the best texture, but water works too)
- 1 tablespoon light corn syrup
- 1 teaspoon vanilla extract
- Gel food coloring (if you’re making colors)
Ingredient Notes and Substitutions for Hardening Icing Consistency
If you want that glossy, bakery-style finish, you absolutely must include the light corn syrup. It prevents the icing from drying chalky; it’s the secret to the shine!
Also, when adding color, please, please use gel or paste colors rather than liquid drops. Liquid colors add too much extra moisture, and that tiny bit of extra water can ruin your ideal hardening icing consistency. Gel colors give you amazing depth without upsetting the ingredient balance needed for the icing to set firm.
Instructions: Making Your Cookie Icing Recipe That Hardens
This is where the magic happens, and trust me, Leo knows his mixing methods! Getting the base right is everything for this cookie icing recipe that hardens perfectly. First things first: sift that powdered sugar right into your medium bowl. No one wants little gritty lumps sticking out of their beautiful cookie art, right?
Whisk the sifted sugar with the light corn syrup first. Then, add your vanilla and 2 tablespoons of the milk. Mix this on low speed. I use the whisk attachment on my stand mixer, but keeping it low speed initially prevents powdered sugar explosions all over my clean counters—a lesson I learned the hard way!
Now, we decide the fate of the cookie! This next part is the key differentiator between outlining and flooding. If you need to decorate your cookies for the first time, check out my fruit pizza recipe for inspiration on presentation, right here: sugar cookie fruit pizza recipe.
Achieving the Right Hardening Icing Consistency
This is the make-or-break moment! If the icing is too thick, you won’t be able to flood your cookies smoothly. If it’s too thin, it runs right off the edges and onto the counter. We need two textures here.
For outlining the edges of your cut-out sugar cookies, you want a thick mixture that flows slowly off the whisk. If you lift the whisk, the icing falling off should create a ribbon that sits on top of the mixture for a solid 3 to 5 seconds before sinking back in. That’s your tight outline consistency.
For flooding the middle, you need more liquid. Add milk, just a drop or two at a time, until that ribbon flows off the whisk and disappears back into the main bowl in about 10 seconds flat. That’s the sweet spot for a great, smooth finish.
Coloring and Applying the Easy Cookie Decorating Icing
Once you have your consistencies, divide the icing into bowls for your colors. Remember to use gels! Pipe your borders first. Let those outlines **crust over** for about 10 to 15 minutes—this traps the wet flood icing inside later, which is crucial for preventing spreading.
When flooding, work quickly but gently. Use a toothpick or a scribe tool—I love my scribe!
—to gently guide the wet icing right up to the established border. Once flooded, gently tap the cookie on the counter a few times. This forces any sneaky air bubbles to the surface where they’ll pop, leaving you with that beautiful, flawless, smooth finish cookie icing we’re aiming for toward that hard-set result.
The Drying Process: Drying Cookie Icing Tutorial for Solid Results
This is probably the hardest part because I’m always so excited to move on to the next layer or, worse, stack them up for a party! But you absolutely have to let this dry properly if you want that fantastic, hard finish. I learned this the terrible way, once, when preparing cookies for a big office swap.
I thought they looked dry after about four hours, so I put them into neat little stacks in a tin. When I pulled them out the next morning? Disaster. The tops wrinkled, and the bottom layers got tacky. We wasted half a batch just because I rushed the final step of this sugar cookie icing that hardens process.
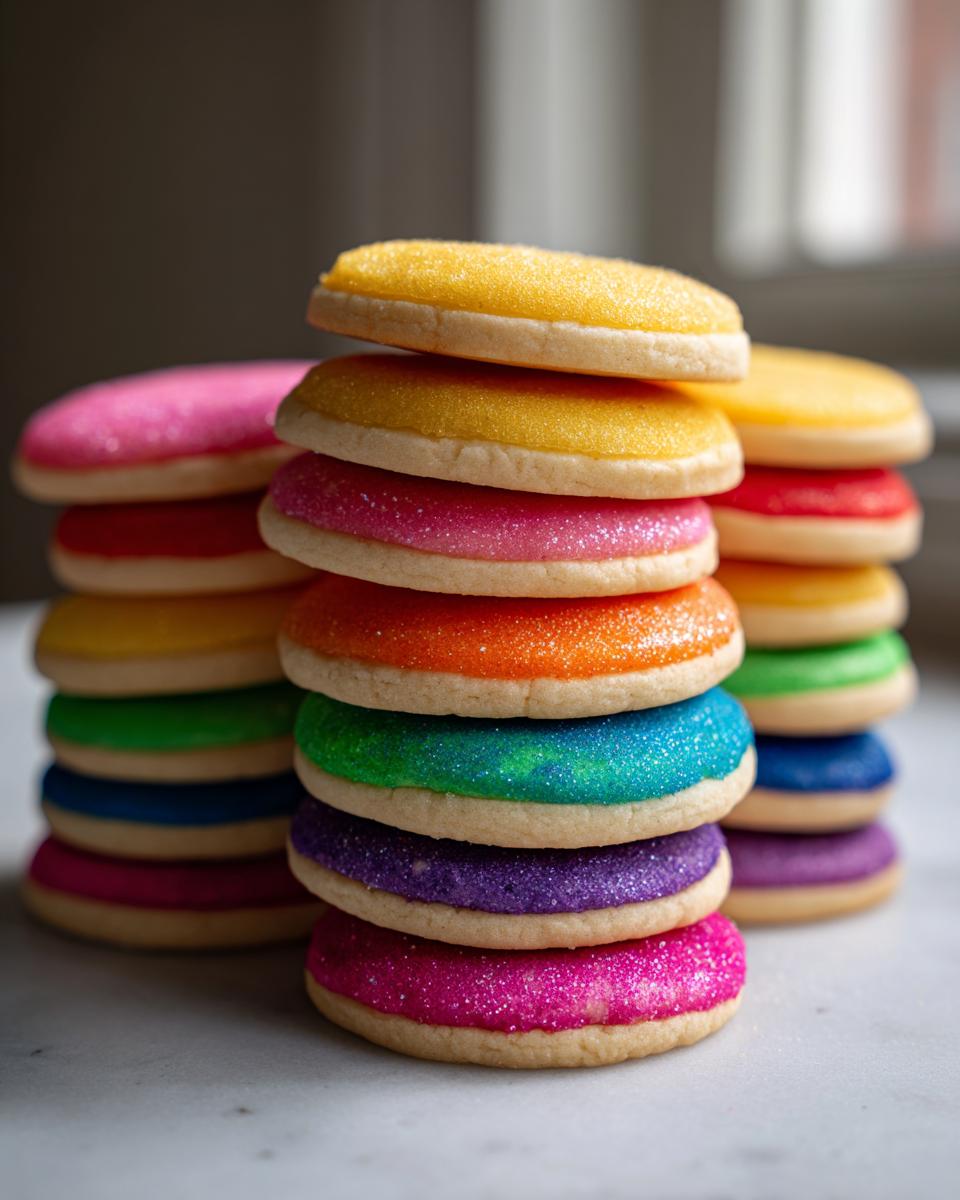
You need a full 6 to 12 hours for the icing to dry completely at room temperature. Patience is the final ingredient! Humidity is your enemy here, so if it’s a really damp day, consider running a dehumidifier in the room where they are setting.
Tips for How to Prevent Sticky Cookie Icing
The biggest reason people end up with sticky cookie icing is rushing the dry time or storing them incorrectly while they are still slightly soft. Never, I repeat, never try to put these cookies in the refrigerator or an airtight container before they are totally, 100% firm to the touch.
I test them by gently pressing the center of the icing. If I feel any give or tackiness whatsoever, they go back out on the counter. Once they are completely solid, they are ready to be stacked for gifting or packed away. This solid shell is what makes them so durable!
Tips for Bakery Style Cookie Icing Success
Now that we know how to get that rock-hard, glossy shell, let’s talk about leveling up. Even the best recipe can fall flat with minor mistakes in technique. When I started trying to replicate the look of professional cookie decorating, these little details were what made all the difference between a cute home cookie and one that looks worthy of a showcase. It’s all about the finish, isn’t it?
If you want that truly stunning, bakery style cookie icing look, pay close attention to your prep work. If you want a pure, brilliant white background for your designs—especially around the holidays—I always recommend swapping out that regular vanilla extract for clear vanilla extract. It sounds minor, but liquid vanilla is brownish, and that slight tint can dull down an otherwise stunning white base, and nobody wants beige icing! You can find some of my deeper dives into technique on the Gourmet Gaze Blog.
Here are two quick tips I rely on for absolute perfection:
- Mix on Low: When you’re first bringing the liquid into the powdered sugar, always start on the lowest possible speed or mix very gently by hand. If you blast the mixer, you’ll send a cloud of powdered sugar across your kitchen. Trust me, cleanup adds ten minutes you don’t need when you’re excited to decorate.
- The Final Whisk: Once everything is totally incorporated and you’ve adjusted your flood consistency, run the mixer on medium speed for a single minute. This incorporates just a tiny bit more air than hand-whisking, giving the icing that extra silky texture that helps it flow beautifully and settle flawlessly flat.
Follow these steps, and the only thing sticky will be your fingers from eating the scraps before they’re even decorated!
Storage and Display for Your Perfect Cookie Frosting for Gifts
Alright, your cookies are glazed, they’re rock hard, and they look stunning—the definition of perfect cookie frosting for gifts! Now, let’s talk about keeping them looking that way until the moment of truth. This is another area where so many bakers accidentally sabotage their hard work!
The main thing to remember is that we are dealing with a very firm sugar shell here, and we want to preserve that hardness. That means resisting the urge to put them in the refrigerator! I know, I know, it feels safer to keep baked goods cold, especially if they have frosting.
But here’s the thing with this technique for sugar cookie icing that hardens: moving a cold cookie into a warmer room causes condensation. That condensation means moisture buildup on the surface of the icing, and moisture equals stickiness overnight. We worked so hard to dry them solid, so don’t let the fridge undo it!
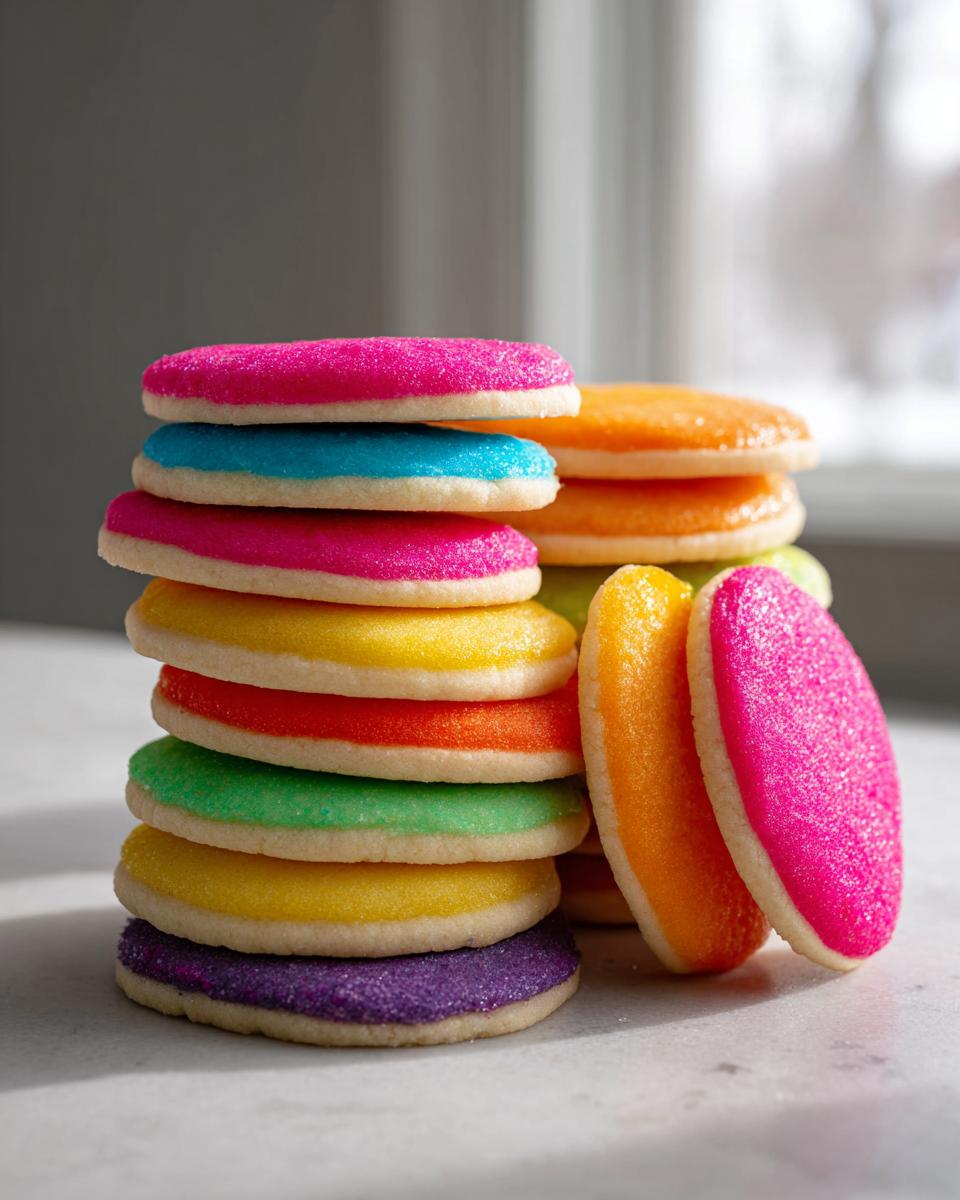
Keep them at room temperature. Find a clean, flat cookie sheet or a large, sturdy box. Cover them loosely with plastic wrap or a clean kitchen towel if you’re worried about dust, but honestly, they don’t need it if they’re fully dry. The best environment is simply dry and cool.
If you are planning on creating cookie boxes for gifting or taking them to a cookie swap, let them cool completely on the counter for that full, solid dry time first. Then, layer them with parchment paper or wax paper sheets between the layers. This buffer protects that beautiful, glossy finish, preventing any scratching while allowing airflow so they don’t sweat. They will hold up beautifully for a week or more this way without losing that perfect, non-tacky seal!
Frequently Asked Questions About Royal Icing for Cookies
It’s funny how the simplest-looking recipes always have the trickiest little details, isn’t it? My comment section blows up most often when people have questions about the final set, so let’s tackle those common sticking points right here. I want everyone to have that perfect, hard shell!
Can I use water instead of milk in this Sugar Cookie Glaze for Cut Out Cookies?
You absolutely can! If you’re avoiding dairy, water works just fine as the liquid. However—and this is important for that glossy look—milk tends to create a slightly richer texture that dries a bit smoother and shinier because of the small amount of fat content. If you use water, you’ll still get a hard set, but the gloss might be slightly less pronounced compared to the result using milk. It’s a small trade-off if you need to avoid dairy.
How long does this **10 Minute Cookie Icing** truly take to dry?
Ah, the “10 Minute Icing” confusion! While the mixing itself is incredibly fast—you can whip up the base in about 10 minutes flat—the drying time is non-negotiable for a truly hard finish. Remember, that 10 minutes is just prep time. For that perfect, stackable cookie frosting that won’t smudge on the plate or stick together in the box, you need that full 6 to 12 hours, minimum, at room temperature. Don’t rush the science of setting!
What if my icing is too thin for outlining?
This happens if your powdered sugar was too fine or humidity made everything slosh around a bit. If you’ve already added all your liquid and it’s just dripping off the whisk like water, don’t panic! Just grab a spoonful of your reserved, sifted powdered sugar and whisk it in very slowly, a teaspoon at a time. Keep mixing until you reach that thick ribbon stage we talked about where it sits on top for a few seconds. This is the fastest fix for getting back to an ideal outline consistency.
Estimated Nutritional Data for This Sugar Cookie Icing That Hardens
Because we are aiming for absolute perfection in appearance and texture with this sugar cookie icing that hardens, I always provide the nutritional breakdown, too. While cookies are definitely a treat, it’s nice to know what you’re working with, especially when you’re making big batches for holiday parties that require serious willpower!
Keep in mind that exact figures can shift slightly based on the brand of powdered sugar you use or if you add gel colors, but these estimates are based on the core recipe ingredients serving the full yield.
| Nutrient | Amount Per Serving (1 Tbsp) |
|---|---|
| Calories | 55 |
| Sugar | 14g |
| Fat | 0g |
| Sodium | 2mg |
| Protein | 0g |
| Carbohydrates | 14g |
I need to be upfront with you all: this ingredient list is built around sugar, which is what allows us to achieve that beautiful, hard shell! So yes, the sugar content is high, but remember, this recipe is intended for decorating cut-out sugar cookies, not for eating by the spoonful!
*A note on accuracy: These are detailed estimates based on the primary ingredients listed. If you substitute water for milk or use different brands of corn syrup, your final values, especially sodium and sugar, might vary slightly. But I promise, the glossy, hard finish will be totally consistent!
Share Your Beautifully Decorated Cookies
When you finish decorating, I truly do want to see them! Once you’ve mastered this sugar cookie icing that hardens, you’ve unlocked a core skill in baking that looks impressive but takes real practice to perfect. Seeing your hard work come to life—those smooth, glossy surfaces on your holiday cut-outs—is genuinely the best part of running Gourmet Gaze.
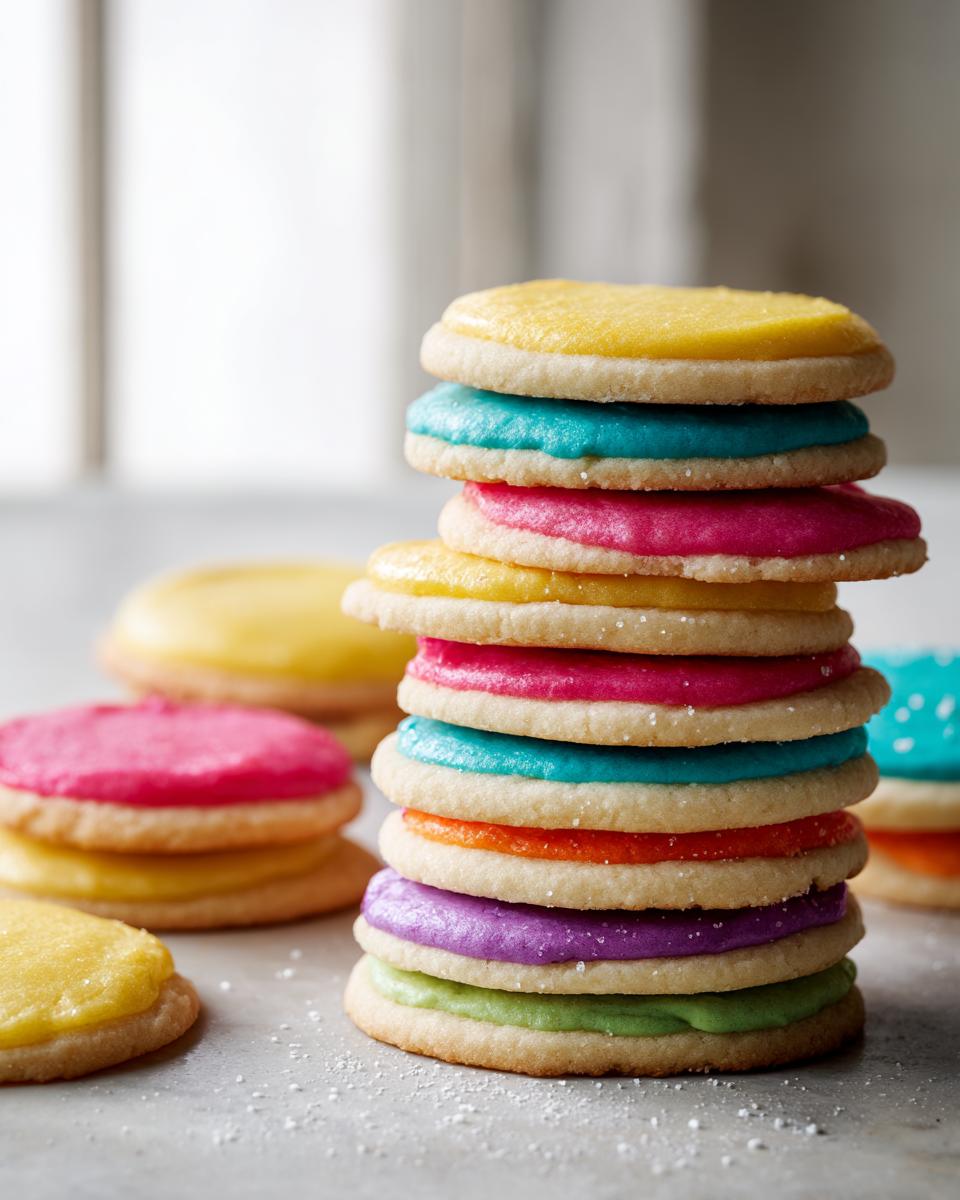
If this recipe gave you that flawless, stackable finish you’ve been searching for, please take a moment to leave a star rating right down below. Those ratings are everything to me; they help me know I’m delivering reliable, crave-worthy recipes that focus on both the “Gaze” and the soul of the dish.
And don’t keep those gorgeous cookies hidden away! Snap a photo of your perfectly set designs and tag me on social media. I love featuring reader creations! It lets me see your artistry up close.
If you have any lingering questions about consistency adjustments or storage challenges that we didn’t cover, please don’t hesitate to reach out directly via my Contact page. Let’s keep creating food that is both beautiful and deeply satisfying together!
PrintGlossy, Hardening Sugar Cookie Icing: The Foolproof Recipe for Stackable Cookies

Stop struggling with sticky frosting. This easy sugar cookie icing recipe sets firm, dries smooth, and delivers a professional, glossy finish perfect for gifting and holiday decorating.
- Prep Time: 10 min
- Cook Time: 0 min
- Total Time: 10 hours 10 min
- Yield: Covers approximately 2 dozen medium cookies 1x
- Category: Dessert
- Method: No-Bake
- Cuisine: American
- Diet: Vegetarian
Ingredients
- 2 cups powdered sugar, sifted
- 3 tablespoons milk (whole or water)
- 1 tablespoon light corn syrup
- 1 teaspoon vanilla extract
- Gel food coloring (optional)
Instructions
- In a medium bowl, whisk together the sifted powdered sugar and light corn syrup until combined.
- Add the vanilla extract and 2 tablespoons of milk. Mix with a whisk or electric mixer on low speed until the mixture is smooth.
- Check the consistency. If the icing is too thick to flow slowly off the whisk, add the remaining milk, one teaspoon at a time, until you reach a smooth, thick consistency suitable for outlining cookies.
- For flooding consistency, add a few more drops of liquid until the icing flows slowly off the whisk, taking about 10 seconds to disappear back into the bowl when drizzled on top.
- Divide the icing into separate bowls if you plan to use multiple colors. Add gel food coloring to each portion and mix until the color is uniform.
- Use a piping bag fitted with a small round tip (like Wilton #2) to outline your cut-out sugar cookies.
- Allow the outlines to dry for 10 to 15 minutes until they form a slight crust.
- Use a scribe tool or toothpick to gently spread the flood consistency icing within the outlines, pushing it to the edges.
- Tap the cookie gently on the counter to release air bubbles and achieve a smooth surface.
- Let the cookies dry completely, uncovered, at room temperature for 6 to 12 hours, or until the icing is completely hard and not tacky to the touch. This ensures stackable cookie frosting.
Notes
- For the brightest white icing, use clear vanilla extract instead of standard vanilla extract.
- To prevent sticky cookie icing, ensure you use the correct ratio of liquid to sugar and allow adequate drying time. Humidity affects drying time.
- This recipe creates a durable finish ideal for professional cookie icing results.
Nutrition
- Serving Size: 1 tablespoon
- Calories: 55
- Sugar: 14
- Sodium: 2
- Fat: 0
- Saturated Fat: 0
- Unsaturated Fat: 0
- Trans Fat: 0
- Carbohydrates: 14
- Fiber: 0
- Protein: 0
- Cholesterol: 0