
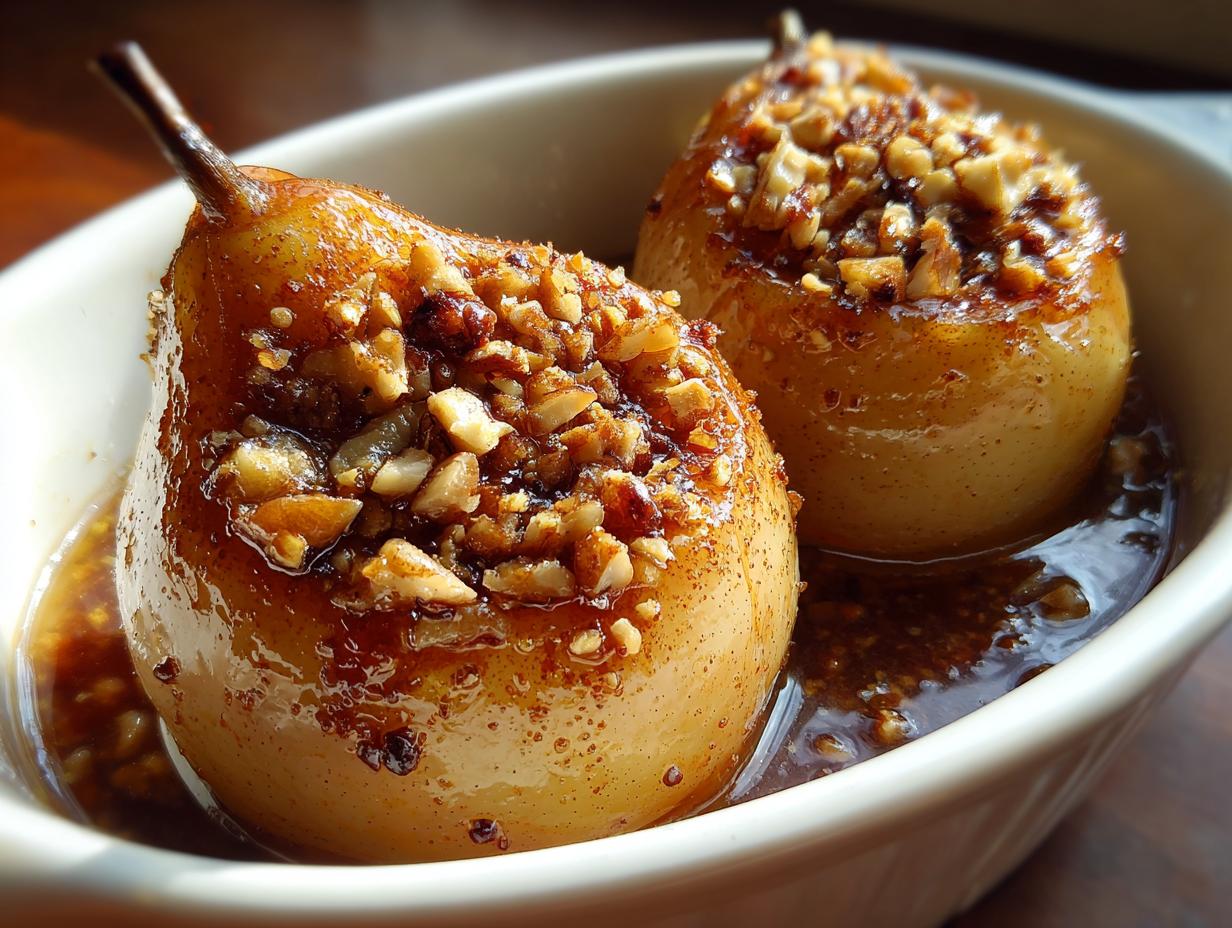

When those first crisp days hit and the steam from your coffee cup turns into actual visible clouds, you know it’s time to switch gears in the kitchen. Forget fussy, layered desserts for a moment. What we really crave is something that smells like autumn and wraps itself around you like a favorite blanket. That’s why I’m obsessed with these baked pears. They capture that entire cozy feeling in under an hour. When I left my corporate life behind, I realized the best thing about food wasn’t complexity—it was reliability and profound, simple flavor. This About Me section details my journey, and this Easy Cinnamon Honey Baked Pears with Toasted Walnuts recipe is the perfect example of that philosophy: elegant, heartwarming, and unbelievably simple to pull off.
- Why This Easy Baked Pears Recipe is a Warm Fall Dessert Staple
- Gathering Ingredients for Your Honey Baked Pears
- Expert Tips for Perfect Cinnamon Baked Pears
- Step-by-Step Instructions for Simple Pear Dessert
- Serving Suggestions for Elegant Fruit Dessert
- Storage and Reheating Instructions for Baked Pears
- Troubleshooting Common Issues with Baked Pears
- Frequently Asked Questions About Baked Pears
- Estimated Nutritional Data for Baked Pears with Nuts
- Share Your Comfort Food Dessert Creations
Why This Easy Baked Pears Recipe is a Warm Fall Dessert Staple
When I was still stuck behind a desk, the idea of making an “elegant” dessert seemed out of reach—it always meant hours of fiddly work. That changed when I made these easy baked pears recipe for the first time. I just halved the fruit, poured honey over it, and stuck it in the oven. Wow. The aroma alone was transformative! That scent of cinnamon and warm fruit is my go-to marker for a true warm fall dessert. These aren’t just good; they look like they took serious effort, which is the best kind of secret to keep up your sleeve! You can check out more of my favorite ways to make fruit the star in my overall Desserts collection.
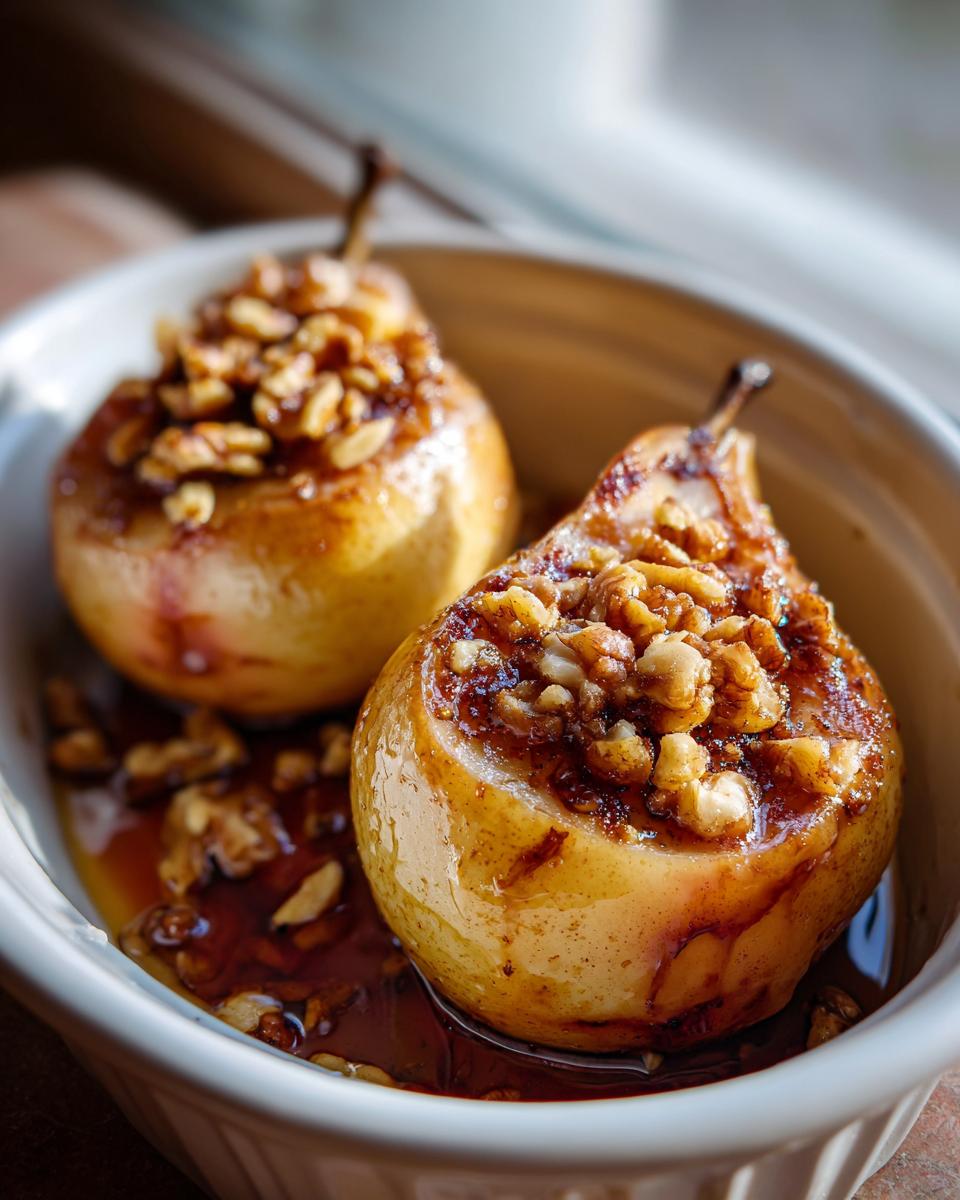
Quick Dessert Ideas for Busy Evenings
You absolutely cannot beat the speed here. With only about ten minutes of active prep time, these are perfect when the evening is winding down, but you suddenly realize you need something sweet. If you need quick dessert ideas that don’t involve opening a box of something questionable, this is your answer. It’s fast comfort food, beautifully presented.
Gathering Ingredients for Your Honey Baked Pears
Part of the magic of making these honey baked pears is how few things you actually need. Seriously, half the glamour of this dish is how much flavor you get from such basic pantry staples. When you gather your supplies, remember that quality truly matters here, even though the list is short. We’re making cinnamon baked pears that shine because of the fresh components we use right up front.
Choosing the Right Pears for Baking
Listen, you can’t just grab any pear off the counter. If you use something too ripe, it’ll turn to watery mush in the oven, and we are aiming for that luxurious, tender baked pears texture! I always reach for Bosc or Anjou pears. They are firm enough to stand up to the honey glaze and the oven heat without collapsing into nothingness. They keep their beautiful shape, so your presentation stays elegant.
Expert Tips for Perfect Cinnamon Baked Pears
Even though these are simple baked pears, a few little tricks—things I picked up when I was finally focusing on the ‘why’ behind the flavors—can elevate them from tasty to absolutely unforgettable. You see, baking fruit means managing moisture and sugar caramelization. If you nail these small details, you guarantee success every single time you make them. I try to walk through these steps whenever I’m developing a new recipe for the Gourmet Gaze blog because reliability is everything in home cooking.
Achieving Caramelized Baked Pears
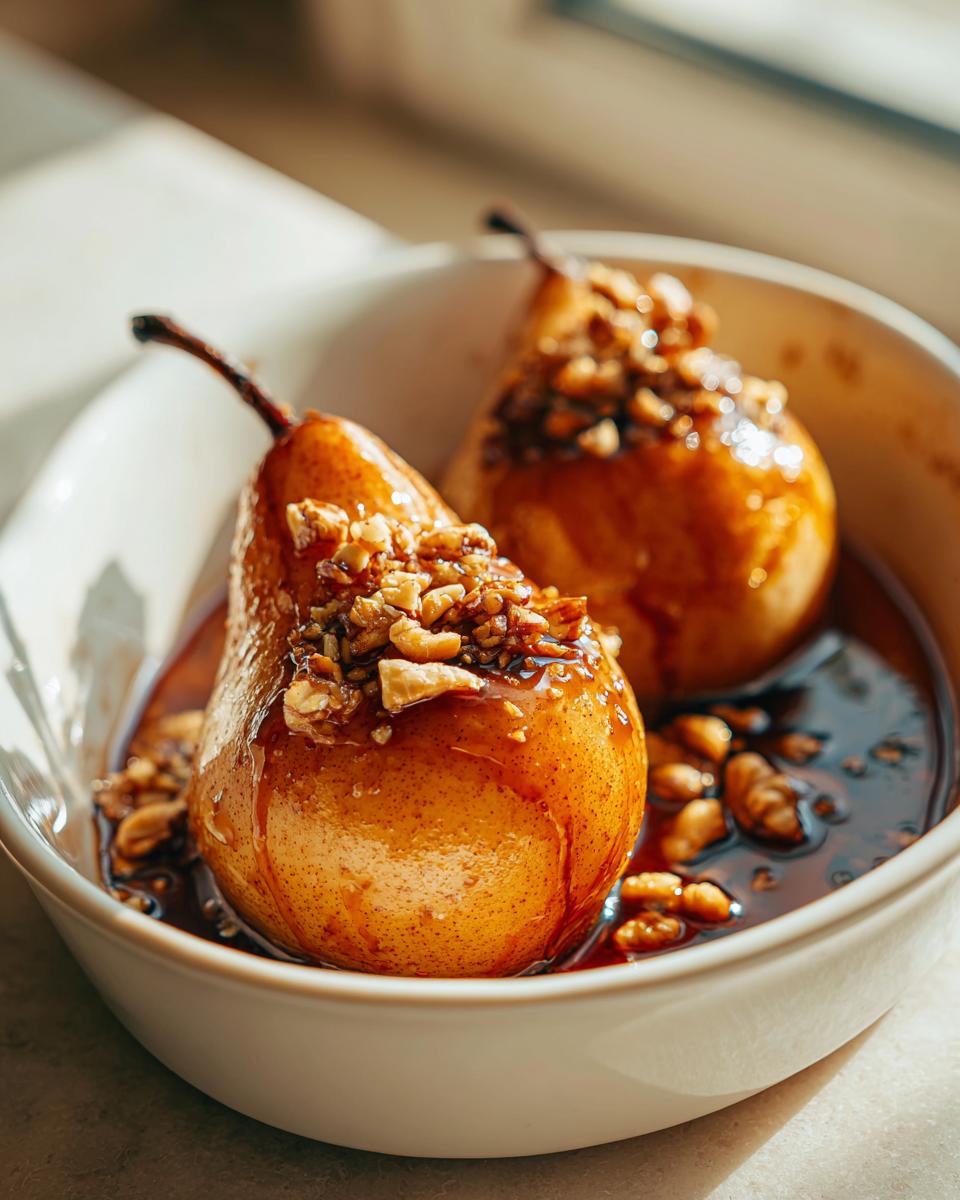
The secret to those gorgeous, glossy rims that make these look so elegant rests with the honey and the butter interacting with the heat. Don’t crank your oven higher than 375°F right away! That high, steady heat allows the natural sugars in the honey to gently melt and mingle with the butter, creating that beautiful **caramelized baked pears** effect without burning the spice. The lemon juice in the instructions isn’t just for brightness; the acidity helps deepen that rich, golden color during the bake.
How to Toast Walnuts for Maximum Crunch
If you use walnuts right out of the bag, they’re just… fine. But when you toast them? They transform! Never skip this step if you want the best texture contrast for your baked pears with nuts. Take those chopped walnuts and toss them into a completely dry skillet over medium heat. You need to stir them constantly—seriously, don’t walk away—for just three to five minutes. You’ll know they are ready when you can actually smell that deep, nutty aroma filling your kitchen. That quick toast releases their oils and gives you an unbeatable crunch against the tender fruit.
Step-by-Step Instructions for Simple Pear Dessert
Alright, now that we have our beautiful ingredients ready, let’s turn this collection of items into the most gorgeous simple pear dessert you’ve ever made. Remember, I learned this process making mistakes so you don’t have to! The steps are straightforward, but the care you put into each one really pays off. If you are following along with another great recipe resource, like this one I found over at Recipes Louna, you’ll notice the fundamentals stay the same.
Preparing the Pears and Glaze Mixture
First things first: get that oven warmed up to 375°F. Don’t let it be an afterthought! You need a nice dish ready too. Now, for the pears. Wash them well, and slice them right down the middle lengthwise. This is where you need patience—use a small spoon or a melon baller to gentle scoop out every bit of the core and those pesky seeds. You want a clean valley there for the glaze to sit! In a separate little bowl, you’re going to whisk together your honey, the melted butter, cinnamon, and nutmeg until they are totally gorgeous and combined. Take your time here; you want that spice evenly distributed. Then, using a pastry brush, paint that mixture *generously* over the cut surface of every single pear half.
Baking Time and Testing for Tenderness
Once the pears are nestled snuggly in their dish, make sure you brush any leftover glaze over the top—no waste here! Sprinkle those toasted walnuts on top for that crucial crunch. Now, pop them into the preheated oven. We’re aiming for 30 to 35 minutes total bake time. That’s the magic window. You’ll know they’re done because they should yield easily when you poke them with the tip of a fork—that’s how you check for that perfect tender baked pears quality. We aren’t looking for mush; we want them soft enough to cut with a spoon, but still holding their beautiful structure. Once they come out, let them hang out for a few minutes before serving so the glaze settles in nicely. For an easy weeknight side dish, these are fantastic, though I love them most as a sweet treat. If you’re looking for more easy bakes, check out my Easy Apple Crumble!
Serving Suggestions for Elegant Fruit Dessert
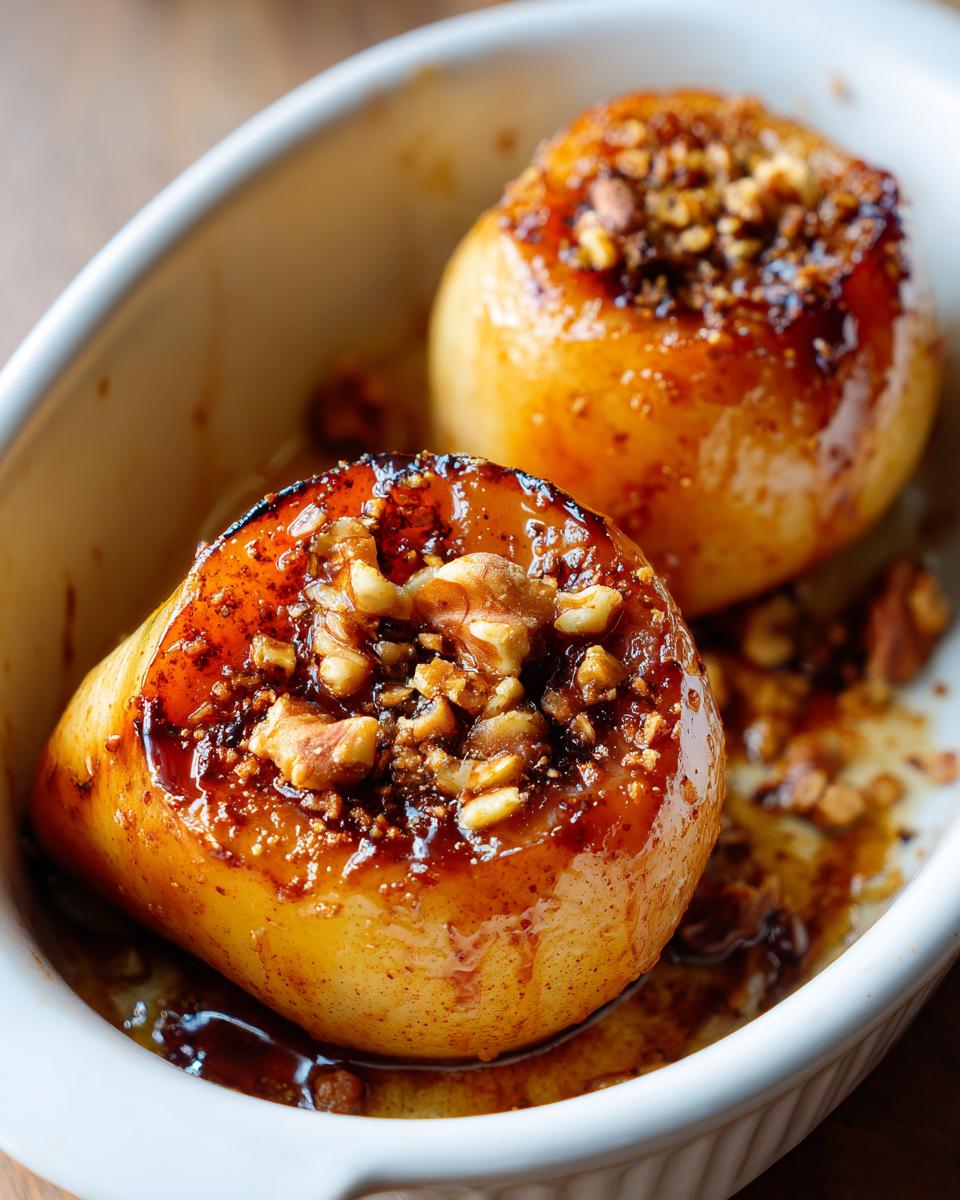
These baked pears are naturally sweet, but honestly, serving them warm with a cold element takes them straight to showstopper status. For a truly decadent finish, a scoop of high-quality vanilla bean ice cream is sublime; the contrast between the hot, spiced fruit and the cold cream is just heaven on a plate. If you’re keeping it a little lighter, don’t forget the Greek yogurt mentioned in my notes—it adds a wonderful tang that cuts through the honey beautifully.
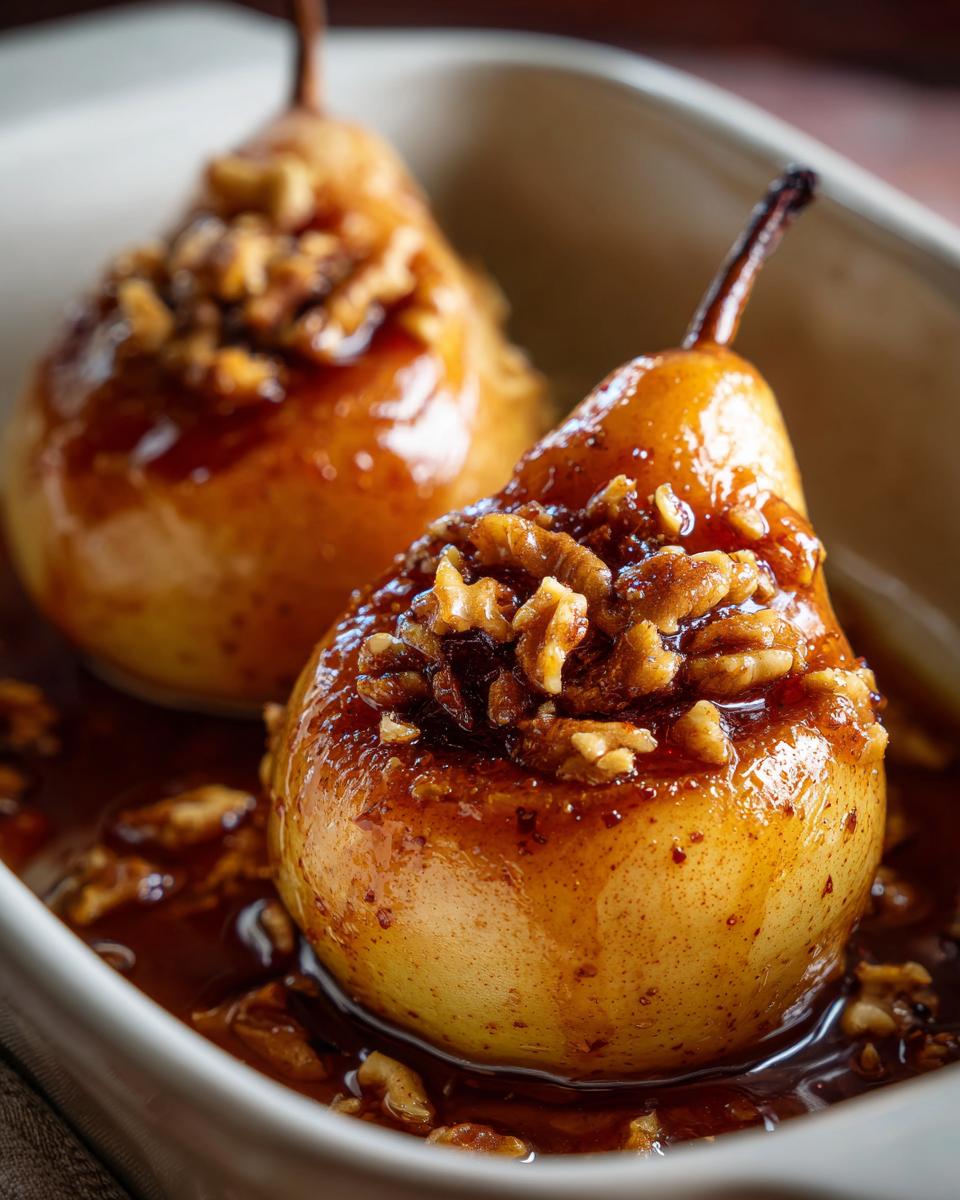
Whether you present these in the baking dish or plated individually, they scream elegant fruit dessert. It’s the kind of simple dish that truly satisfies that craving we have for something warm and comforting after a long meal. If you’re looking for more fun, easy dessert ideas that look fantastic, you might want to peek at my recipe for Chocolate Banana Pops!
Storage and Reheating Instructions for Baked Pears
Even the very best baked pears rarely last long in my house, but if you manage to have leftovers, storing them correctly is key to keeping that lovely texture. Place any uneaten fruit in an airtight container right after they’ve cooled completely. You’ll want to keep these in the refrigerator—they should be good for about three to four days.
Reheating is super easy: just pop the pear halves into a microwave for about 20 to 30 seconds, or briefly warm them in a low oven (around 300°F) if you want to maintain that slight crispness in the walnut topping. Don’t overdo the reheating, though; we want them warm and tender, not cooked into mush!
Troubleshooting Common Issues with Baked Pears
Sometimes, no matter how careful we are in the kitchen, the oven has other ideas! Don’t panic if your result isn’t picture-perfect the first time. If you find your fruit still feels a little too hard after the time is up, just slide that dish back in for another five to ten minutes. We all want those fork-tender results!
Now, if your beautiful walnut topping starts looking a little too dark before the pears themselves are soft, that’s a sign the top heat is too intense. Just grab a piece of foil and lightly tent it over the dish for the remaining bake time. This protects the walnuts while letting the fruit steam through gently. And if your pears look a bit slumped over? That just means you needed a firmer pear next time—stick to Bosc or Anjou, trust me on this one!
Frequently Asked Questions About Baked Pears
Can I make baked pears ahead of time?
Yes, you absolutely can! This is one of the best things about these baked pears. You can bake them completely, let them cool, and keep them in the fridge. When you’re ready to serve, just reheat them gently. They make fantastic leftovers, which is great for holiday prep or just having a quick snack or comfort food dessert later in the week!
What is the best way to core pears for baking?
I recommend cutting the pear in half first, which gives you a perfect view of the center. Then, skip grabbing a complicated tool. I use a small melon baller or even just a tiny spoon to scoop out both the seeds and the fibrous core around them. You want a nice divot waiting for that delicious honey and cinnamon mixture to pool in! It is crucial for making beautiful baked pears.
Are these baked pears a healthy baked fruit dessert?
Overall, yes, these are fantastic as a healthy baked fruit dessert! Pears are naturally sweet, and we use mostly honey. The main way you can sway this is on the topping—if you add a giant scoop of ice cream, it moves into indulgence territory, which is fine sometimes! If you have questions about any of my recipes, feel free to reach out via my contact page.
Estimated Nutritional Data for Baked Pears with Nuts
When you’re enjoying these beautiful baked pears with nuts, it’s always nice to have a general idea of what you’re consuming. Since we use fresh ingredients and the honey amount can vary slightly depending on how you brush it on, these numbers are just an estimate, but a good baseline!
- Serving Size: 1 pear half
- Calories: 240
- Sugar: 35g
- Fat: 10g
- Protein: 2g
- Fiber: 7g
Keep in mind these figures reflect the base recipe. If you add a big scoop of premium ice cream, that will certainly change the final count, but even so, this remains a far better choice than many standard desserts!
Share Your Comfort Food Dessert Creations
Now I’ve shared all my secrets for getting those perfect, tender baked pears—from choosing the right fruit to getting that gorgeous honey glaze just right—the only thing left is for you to try it! I truly believe this recipe is an instant classic for any cozy night.
When you make this, I truly want to see it! Snap a photo of your beautiful caramelized baked pears, maybe sitting next to a scoop of melting vanilla ice cream, and share it on social media. Tag Gourmet Gaze so I can see how you’re enjoying this comfort food dessert!
And hey, while you’re enjoying that warm fruit, take two seconds to leave a rating below. Did you give it five stars? Did you add a twist, like a splash of bourbon to the honey, like I sometimes do? Drop your thoughts, tips, and star rating in the comments. Your feedback helps me keep creating recipes that are both beautiful and deeply satisfying. Happy cooking, everyone!
PrintEasy Cinnamon Honey Baked Pears with Toasted Walnuts
Bake tender pears drizzled with a sweet cinnamon-honey glaze and topped with crunchy walnuts. This simple recipe makes an elegant, warm fall dessert ready fast.
- Prep Time: 10 min
- Cook Time: 35 min
- Total Time: 45 min
- Yield: 4 servings 1x
- Category: Dessert
- Method: Baking
- Cuisine: American
- Diet: Vegetarian
Ingredients
- 4 firm pears (Bosc or Anjou work well)
- 4 tablespoons honey
- 2 tablespoons unsalted butter, melted
- 1 teaspoon ground cinnamon
- 1/4 teaspoon ground nutmeg
- 1/4 cup chopped walnuts, toasted
- 1 tablespoon fresh lemon juice
Instructions
- Preheat your oven to 375 degrees Fahrenheit. Lightly grease a small baking dish that fits the pears snugly.
- Wash the pears. Cut each pear in half lengthwise. Use a melon baller or small spoon to carefully scoop out the core and seeds from each half.
- In a small bowl, whisk together the honey, melted butter, cinnamon, and nutmeg.
- Place the pear halves cut-side up in the prepared baking dish. Brush the cinnamon-honey mixture generously over the cut surfaces of the pears. Drizzle any remaining mixture over the pears.
- Sprinkle the toasted walnuts evenly over the tops of the pear halves. Add the lemon juice to the bottom of the baking dish to prevent sticking and add brightness.
- Bake for 30 to 35 minutes, or until the pears are tender when pierced with a fork and the topping is lightly caramelized.
- Remove from the oven. Let the baked pears cool slightly before serving warm.
Notes
- For an extra rich flavor, substitute brown sugar for half of the honey.
- Serve these tender baked pears with a scoop of vanilla bean ice cream or Greek yogurt for a complete dessert experience.
- Toast the walnuts in a dry skillet over medium heat for 3 to 5 minutes, stirring often, until fragrant.
Nutrition
- Serving Size: 1 pear half
- Calories: 240
- Sugar: 35
- Sodium: 5
- Fat: 10
- Saturated Fat: 3
- Unsaturated Fat: 7
- Trans Fat: 0
- Carbohydrates: 40
- Fiber: 7
- Protein: 2
- Cholesterol: 10