
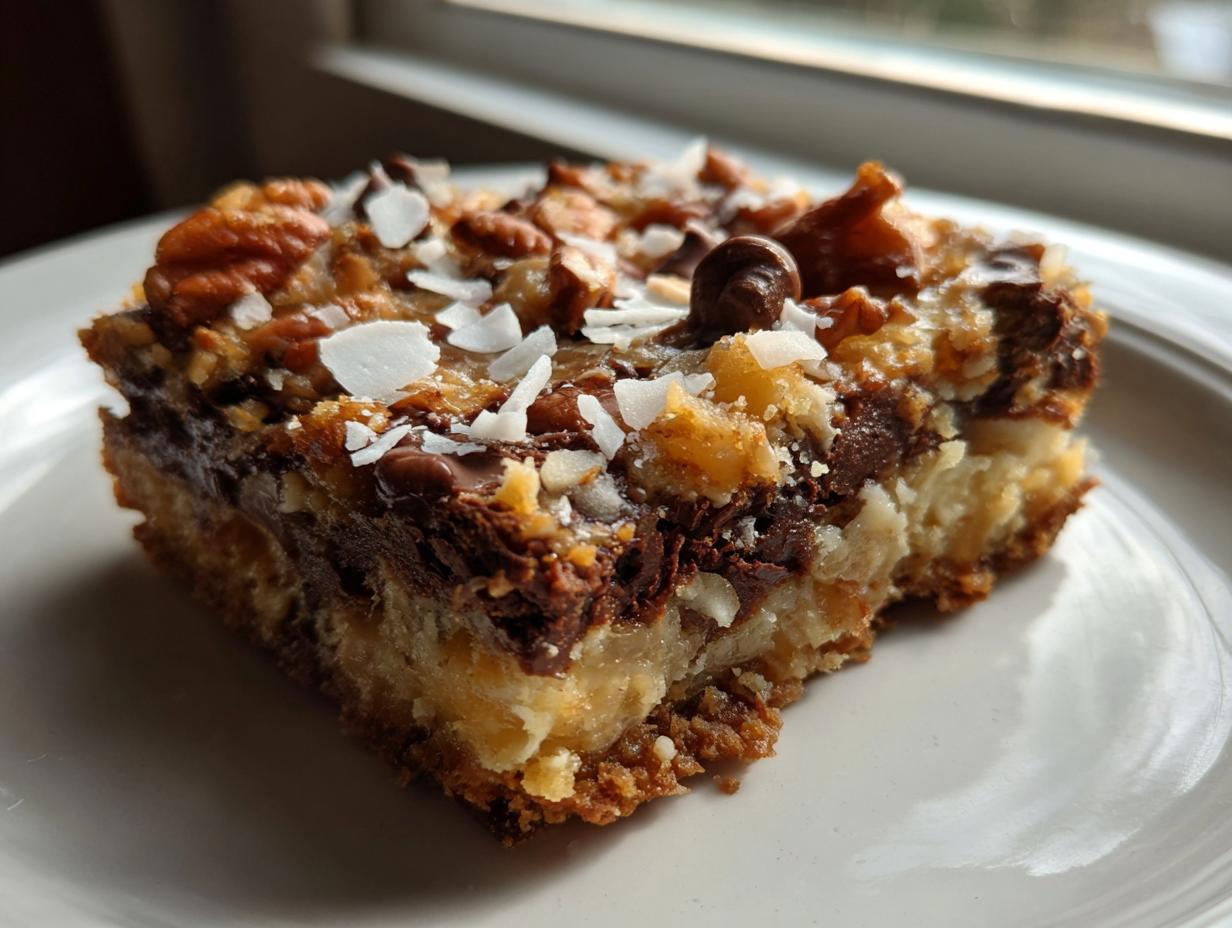

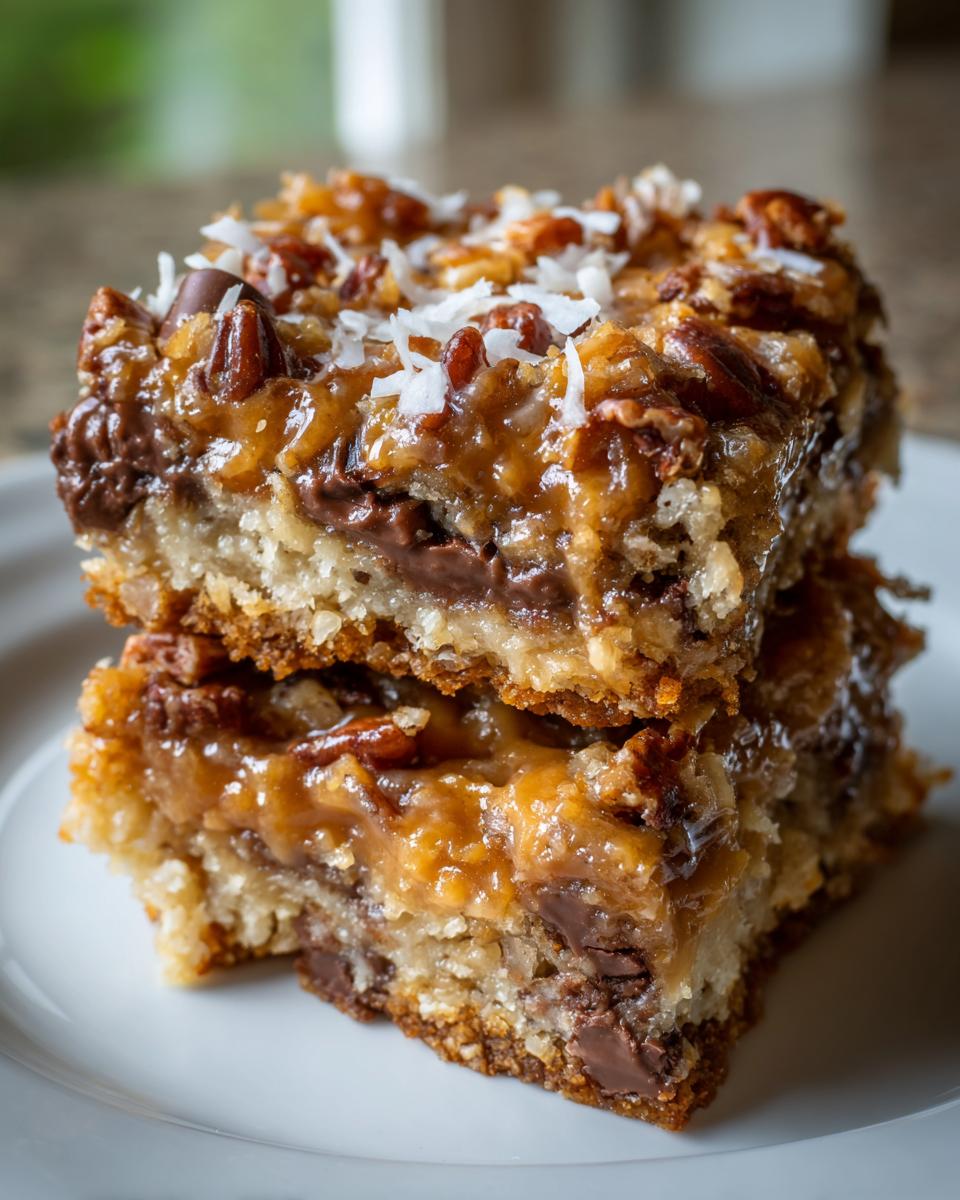
Do you ever just need a dessert that tastes exactly like childhood but takes virtually no effort? I know I do. When I left the world of spreadsheets and quarterly reports for the kitchen, I realized the desserts I missed most were the ones tied to instant nostalgia. That’s why I’m so excited to share what I call The Ultimate Chewy Magic Cookie Bars Recipe. These aren’t complicated, but when you see the seven distinct layers come together, you’ll understand why they earned the name.
As I developed my culinary voice here at Gourmet Gaze, I committed to making reliable recipes—the kind you can trust whether you’re making them for a holiday party or just a Tuesday night craving. These magic cookie bars perfectly embody that mission. They are simple, they are deeply comforting, and trust me, they are incredibly gooey. If you’re looking for dependable delicious dessert bars, we’ve found the one.
- Why This Magic Cookie Bars Recipe is the Best (Crowd Pleasing Desserts)
- Gathering Your Ingredients for Magic Cookie Bars
- Step-by-Step Instructions for the Best Magic Cookie Bars
- Tips for Success When Making Magic Cookie Bars
- Storage and Reheating Instructions for Homemade Magic Bars
- Variations on the Ultimate Layered Dessert
- Frequently Asked Questions About Magic Cookie Bars Recipe
- Nutritional Estimate for these Simple 7 Layer Bars
- Share Your Experience with These Nostalgic Cookie Bars
Why This Magic Cookie Bars Recipe is the Best (Crowd Pleasing Desserts)
Honestly, these bars are my secret weapon when I need serious impact with minimal fuss. They look complicated because of the layers, but the actual hands-on time is laughably short. When I bring these to a gathering, they disappear before anything else—I always have people asking me for the recipe immediately afterward.
- They deliver truly gooey dessert bars heaven thanks to that pour of milk.
- They are the definition of easy bar cookies; mix, layer, bake, done!
- These classic layer bars tap right into that delicious, comforting nostalgia we all crave.
The Appeal of Classic Layer Bars
What makes this assembly so brilliant is how the ingredients interact under heat. That graham cracker crust provides the perfect salty, buttery foundation. Then, you have the chips—chocolate melting into the butterscotch—and the coconut and nuts adding texture. It’s not supposed to be a cake; it needs to be dense and chewy. If you bake it too long, you’ve lost the magic. We are aiming for that rich, sticky texture that makes you pull out a napkin immediately after the first bite.
If you love an easy bake that wows a crowd, you’ll adore how these stack up against fancier recipes. If you are looking for another fail-safe baked treat, check out my recipe for S’mores Brownies—another phenomenal sticky square!
Gathering Your Ingredients for Magic Cookie Bars
When you’re aiming for something this iconic, ingredient quality really matters. But don’t panic, this assembly list is super short, which brings down the cost and the required trips to the specialty aisle. We are building these bars from the bottom up, so make sure you have everything measured out before you even think about turning on the oven. This is what you’ll need for that famous multi-layered experience. If you ever need a rich, smooth dip for fruit, my Cream Cheese Caramel Dip is worth a look, but today, we focus on the bars!
- 1 1/2 cups graham cracker crumbs
- 1/2 cup unsalted butter, melted
- 1 (14 ounce) can sweetened condensed milk
- 1 cup semi-sweet chocolate chips
- 1 cup butterscotch chips
- 1 1/2 cups flaked coconut, sweetened
- 1 cup chopped pecans or walnuts
Ingredient Notes and Substitutions for Your Magic Cookie Bars
The key player here, without a doubt, is the sweetened condensed milk. While my recipe lists it generically, nine times out of ten, folks are reaching for the classic Eagle Brand—that creamy, thick liquid is what binds all those layers into the ultimate magic cookie bars heaven. It caramelizes beautifully while baking. As for nuts, pecans and walnuts are standard, but if you have a severe allergy concern, feel free to substitute that cup with an extra cup of chocolate chips or even an equal amount of finely chopped pretzels for a salty crunch!
Step-by-Step Instructions for the Best Magic Cookie Bars
Alright, this is where the magic happens! When I first started making these, I worried about keeping the layers straight, but honestly, it’s just a matter of sprinkling things on top of each other. It’s that easy! While you are gathering things, go ahead and set your oven temperature—we need it ready to go. For these magic cookie bars, we are preheating to a moderate 350 degrees Fahrenheit. Remember to line that 9×13 inch pan with parchment paper, making sure you have plenty hanging over the sides. That overhang is your built-in handle for lifting them out later, trust me on this detail! If you are looking for other simple baked goods that require minimal assembly, take a peek at my Easy Apple Crumble Recipe.
Building the Graham Cracker Crust Base
First things first, let’s make that foundation. In a separate bowl, mix your graham cracker crumbs with the melted butter until it looks like wet sand. Now, dump that into your prepared pan. Don’t just pat it down with your hands—you want an even, firm crust so your top layers don’t sink later on. I always grab the flat bottom of a glass measuring cup and really press down hard across the entire bottom. Get it packed in there nice and tight!
Layering the Ingredients for Perfect Seven Layer Bars
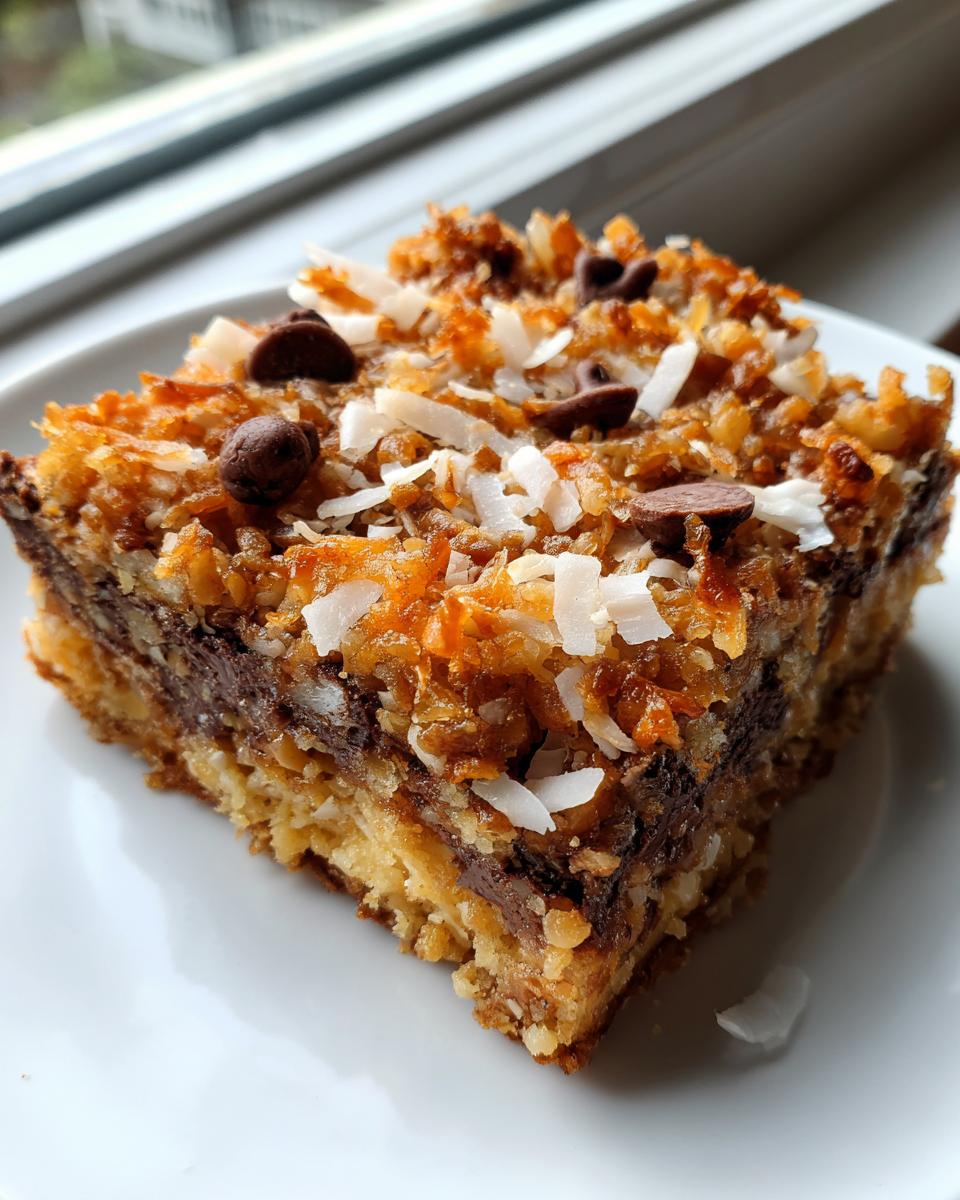
This is the fun part where it starts looking like a treasure chest. Once the base is set, you just work your way up evenly. First, sprinkle all your semi-sweet chocolate chips. Next, do the same with the butterscotch chips—don’t leave any bare spots! Then, distribute that sweetened, flaked coconut evenly over the chips. Finally, scatter those chopped nuts across the top. The goal here is coverage; you want every section of the bar to get a little bit of everything.
Baking and Cooling Your Gooey Dessert Bars
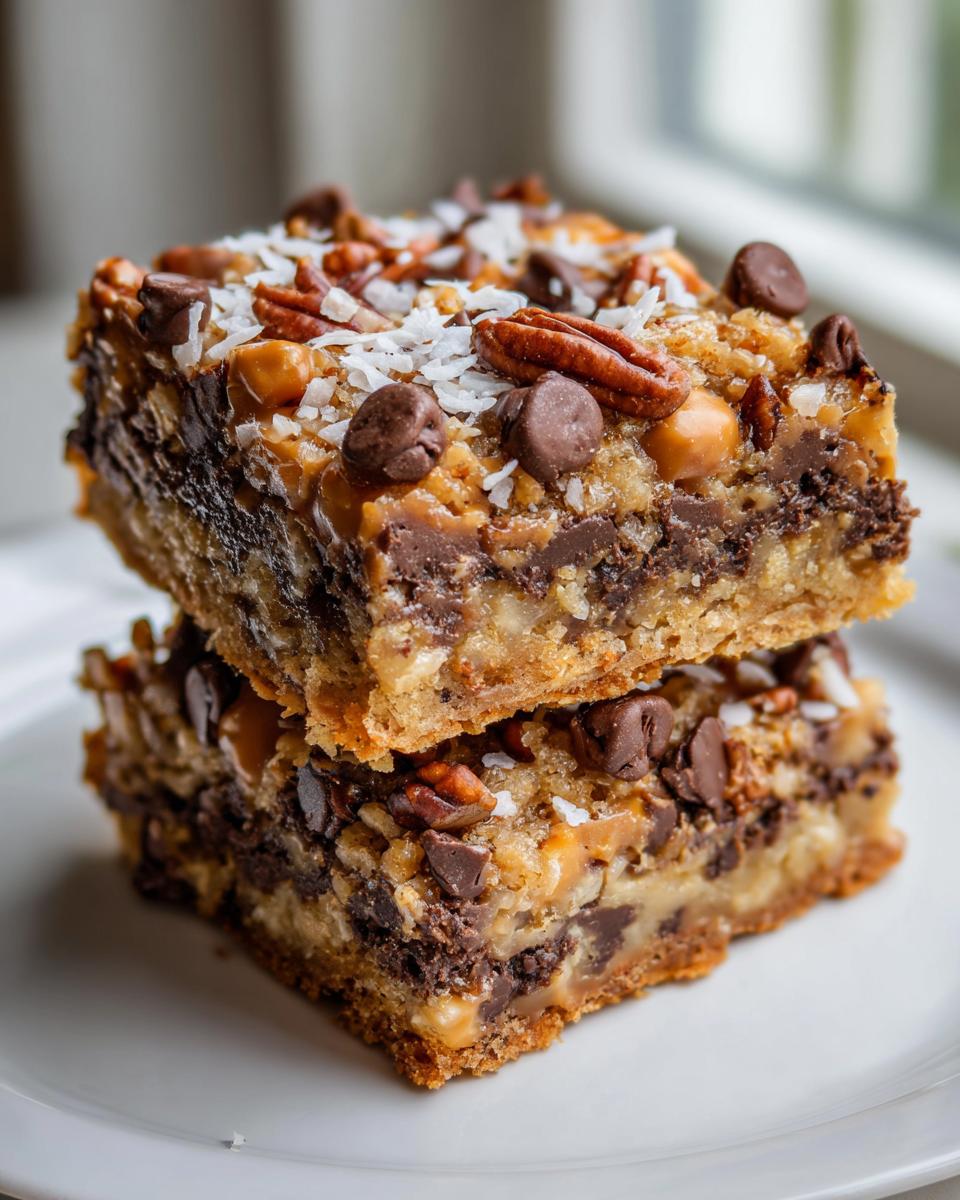
The final layer—the key to texture heaven—is pouring that entire can of sweetened condensed milk slowly and deliberately over all those beautiful layers. Take your time to ensure it seeps into all the nooks and crannies. Pop the pan into the preheated oven for about 25 to 30 minutes. Here’s the most important part: you are baking until the edges start turning golden brown and the milk layer is bubbly, but watch closely! If you bake them too long, you lose that essential chew. Once they come out, they need to cool completely in the pan on a wire rack—I mean fully cooled, sometimes waiting an hour or two—before you even attempt to slice them. That cooling time sets the structure for perfect cutting!
Tips for Success When Making Magic Cookie Bars
Even though these are simple, like all the best easy peanut butter cookies recipes that become staples, having a few tricks up your sleeve ensures perfection every time. The main hurdle for this recipe is always cutting them neatly, but a couple of simple steps make all the difference when dealing with these rich, sticky treats.
First, that parchment paper overhang I mentioned earlier? It’s non-negotiable. It acts like a sling, letting you lift the entire block of magic cookie bars out of the pan at once. This saves your edges from getting smashed while cooling. Secondly, be brave and take them out early! If the edges look set and golden but the middle looks *just* soft, they are done. Overbaking is the enemy of the gooey texture we are chasing.
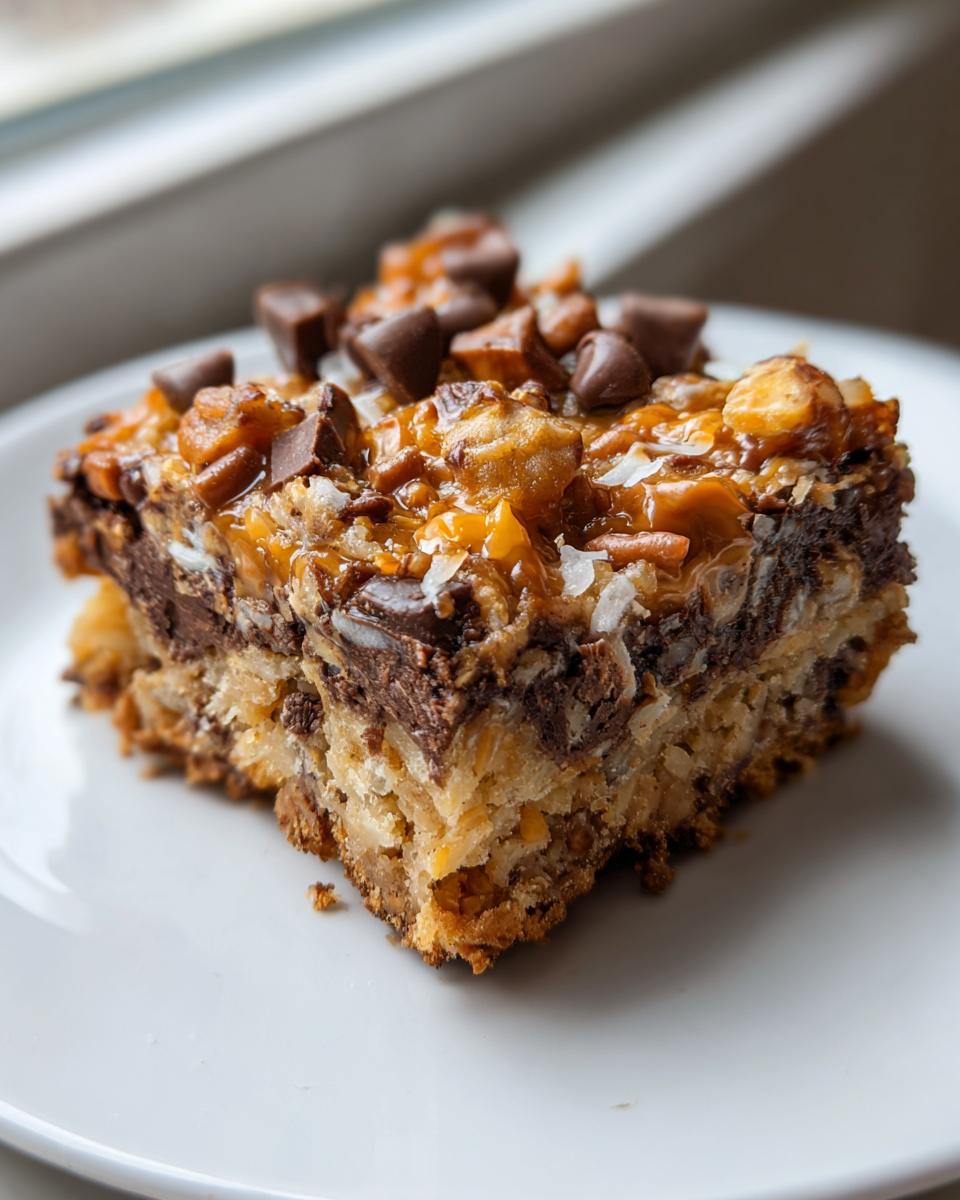
Finally, here’s one I learned the hard way: make sure your butter is fully melted when you mix it with the graham crackers. A slightly firm crust turns into a crumbly mess when you try to slice it later. When you nail these little details, you get the most satisfying, chewy dessert squares possible!
Storage and Reheating Instructions for Homemade Magic Bars
Because these bars are so rich with melted butter and milk, how you store them truly impacts that lovely texture. If you manage to have any leftovers after the first day—which is rare in my house—you must keep them airtight. I find the best results come from storing them at room temperature for up to three days in a single layer inside a good container. If you plan on keeping them longer, say, approaching a week, pop them into the fridge. They firm up a bit in the cold, but they are spectacular served straight from the fridge!
If those refrigerated squares feel too hard, don’t worry about reheating them fully. Just pop one or two out on a plate for about 15 minutes to come slightly closer to room temperature. That slight softening brings back the chewiness beautifully. We definitely don’t want to microwave them; that risks making the edges tough! If you are looking for a fun, non-baked alternative, you must try my Chocolate Banana Pop recipe.
Variations on the Ultimate Layered Dessert
Part of the fun with magic cookie bars is realizing they are fundamentally just a perfect framework ready for your own flair. Since we already rely on that wonderful sweetened condensed milk to hold everything together, you have total freedom with the middle layers! I think these are fantastic for customizing for holiday platters or just what you have on hand.
My favorite swap, especially around Christmas, is replacing the butterscotch chips with white chocolate chips—it makes for a much sweeter, creamier profile. Another simple switch is using finely chopped peanuts instead of pecans; they add an extra dimension of saltiness. If you want to get really wild with the graham cracker crust base, try crushing some shortbread cookies or vanilla wafers instead of just crackers. These variations let you reinvent the ultimate layered dessert without changing the core 30-minute bake time!
If you’re looking for a totally different, but equally easy, layered bake, check out my recipe for Cottage Cheese Microwave Brownies next!
Frequently Asked Questions About Magic Cookie Bars Recipe
It’s totally normal to have questions when you’re working with a classic recipe like this one—people have been making these magic cookie bars recipe versions for decades! I wanted to consolidate the most common things I hear about building these layers perfectly, especially when it comes to the richness found in Sweetened Condensed Milk Recipes.
I often get asked about where people go to see the original inspiration, and if you want to see the recipe that started it all, you can check out the great source from Eagle Brand right here: Magic Cookie Bars from Eagle Brand. For more simple recipes perfect for sharing, check out my guide to Appetizers and Snacks.
Can I make these Magic Cookie Bars without nuts?
Absolutely, yes! Nuts add a nice textural contrast, but they are entirely optional, especially if you are serving someone with an allergy or just someone who isn’t a fan of pecans or walnuts. If you skip the nuts, I strongly recommend replacing that volume with an equal amount of extra chocolate chips or even adding some dried cherries or toffee bits for a new flavor pop. You still get that fantastic gooey layer holding everything together.
What is the best way to cut Chewy Dessert Squares?
If you try to cut these when they are even slightly warm, you will end up with a beautiful, sticky mess that resembles melted cake rather than neat squares! The answer is simple patience. You must let them cool completely—ideally for at least two hours at room temperature, or even chill them briefly. Once they are totally firm, use a long, sharp knife, wiping the blade clean between each cut. That clean blade glides right through the firm layers for beautiful chewy dessert squares.
Nutritional Estimate for these Simple 7 Layer Bars
Now, let’s talk numbers, though I always say you should eat these bars for joy, not for mathematics! Because these magic cookie bars are built on chocolate, coconut, and sweetened condensed milk, they are definitely on the richer side. Remember, this breakdown is strictly an estimate based on standard brand ingredients and serving 24 squares. I wouldn’t stress too much over these figures; just savor the decadence!
- Calories: 220
- Fat: 13g
- Carbohydrates: 25g
- Protein: 3g
Share Your Experience with These Nostalgic Cookie Bars
Now that you have the secrets to creating the absolute best, go forth and bake! Honestly, I live to see your creations. Whether you stuck strictly to the seven layers or got adventurous with your substitutions, I want to know how they turned out!
Did these magic cookie bars bring back memories for you, too? Did they disappear instantly at your next potluck? Please drop a rating down below and leave me a comment telling me your favorite layer combination. If you share photos on social media, tag me so I can see my favorite gooey dessert bars shining on your feed. And if you ever have questions about adjustments or storage, don’t hesitate to reach out through my Contact Page. Happy baking, friends!
PrintThe Ultimate Chewy Magic Cookie Bars Recipe (Seven Layer Bars)
Make these classic, gooey Magic Cookie Bars, also known as Seven Layer Bars. This simple recipe uses sweetened condensed milk to create a rich, chewy dessert perfect for any gathering.
- Prep Time: 15 min
- Cook Time: 30 min
- Total Time: 45 min
- Yield: 24 servings 1x
- Category: Dessert
- Method: Baking
- Cuisine: American
- Diet: Vegetarian
Ingredients
- 1 1/2 cups graham cracker crumbs
- 1/2 cup unsalted butter, melted
- 1 (14 ounce) can sweetened condensed milk
- 1 cup semi-sweet chocolate chips
- 1 cup butterscotch chips
- 1 1/2 cups flaked coconut, sweetened
- 1 cup chopped pecans or walnuts
Instructions
- Preheat your oven to 350 degrees Fahrenheit. Line a 9×13 inch baking pan with parchment paper, leaving an overhang for easy removal.
- In a medium bowl, combine the graham cracker crumbs and melted butter. Press this mixture firmly and evenly into the bottom of the prepared pan to form the crust.
- Sprinkle the chocolate chips evenly over the crust.
- Next, sprinkle the butterscotch chips over the chocolate layer.
- Distribute the flaked coconut evenly over the chips.
- Scatter the chopped nuts over the coconut layer.
- Slowly pour the entire can of sweetened condensed milk over all the layers, making sure to cover everything evenly.
- Bake for 25 to 30 minutes, or until the edges are golden brown and the condensed milk is bubbly.
- Remove the pan from the oven and let the bars cool completely in the pan on a wire rack. Cooling is important for clean cutting.
- Once fully cooled, lift the bars out using the parchment paper overhang. Cut into squares.
Notes
- For the chewiest bars, do not overbake. The center should still look slightly soft when you remove them from the oven.
- If you prefer a richer flavor, substitute half of the butterscotch chips with white chocolate chips.
- This recipe is excellent for potlucks and holiday cookie platters because it travels well once cooled.
Nutrition
- Serving Size: 1 square
- Calories: 220
- Sugar: 20
- Sodium: 75
- Fat: 13
- Saturated Fat: 7
- Unsaturated Fat: 6
- Trans Fat: 0
- Carbohydrates: 25
- Fiber: 1
- Protein: 3
- Cholesterol: 15