
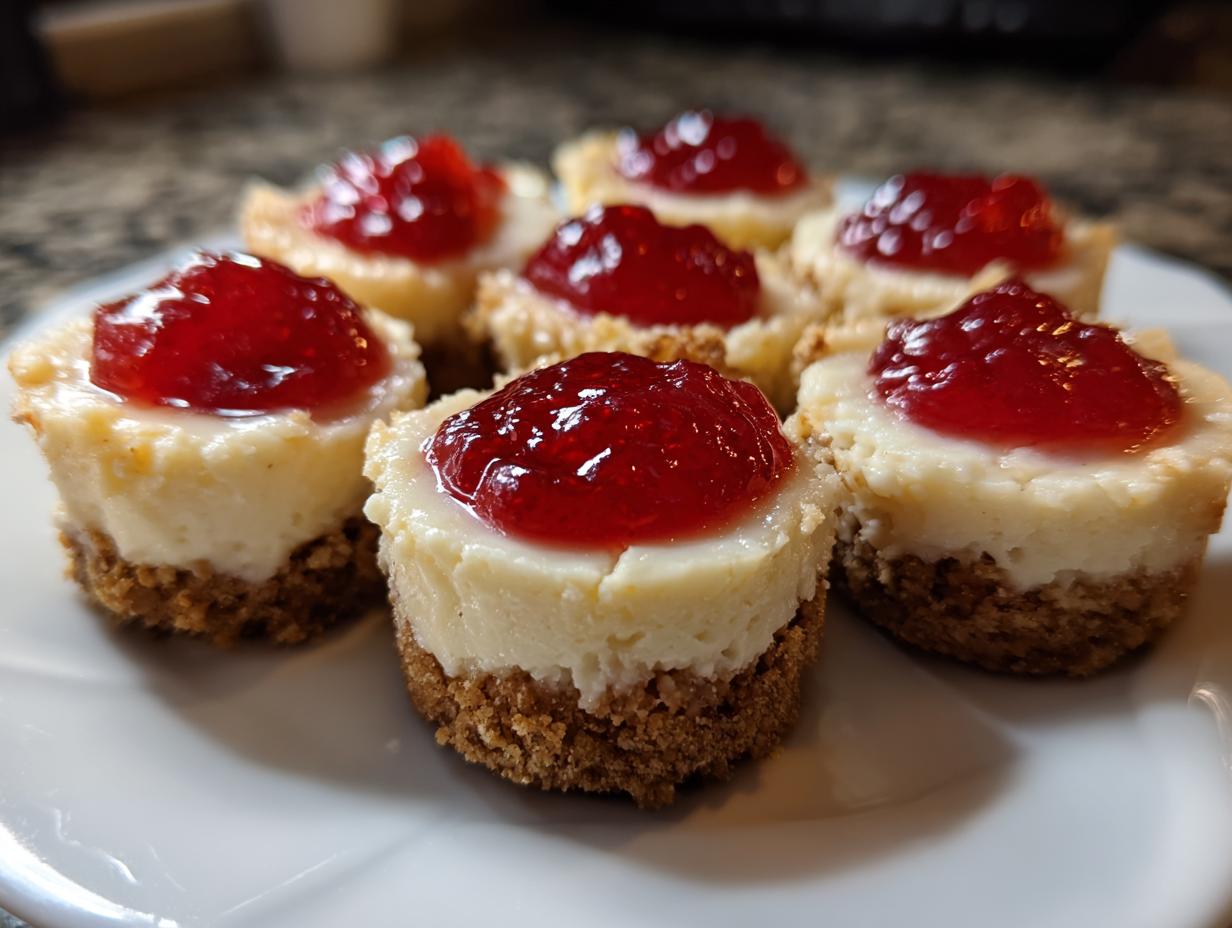

When summer humidity hits, or frankly, any time I want to avoid heating up my kitchen, I reach for my secret weapon: **No-Bake Mini Cheesecake Bites**. I know that feeling—the corporate grind leaves you drained, and the last thing you want is a fussy recipe. That’s exactly why I fell in love with developing reliable, straightforward desserts like these after I left my director role and started seeking joy in simple cooking. These aren’t just cute; they are the most satisfying, creamy **cheesecake bites** you’ll ever make. They look incredibly impressive for entertaining, yet require zero oven time. This recipe is proof that deeply satisfying food can be quick, visually stunning, and perfect for your own journey back to the kitchen. For more gorgeous sweet inspirations, check out my general desserts page!
- Why These No-Bake Cheesecake Bites Are Your New Favorite Party Dessert Ideas
- Gathering Ingredients for Your Easy Cheesecake Bites
- Step-by-Step Guide to Making No Bake Cheesecake Bites
- Tips for Perfect Cheesecake Bites Every Time
- Creative Cheesecake Toppings Ideas for Individual Portion Desserts
- Storage and Make-Ahead Tips for Your Cheesecake Bites
- Frequently Asked Questions About Easy Cheesecake Bites
- Nutritional Estimate for Your Creamy Cheesecake Servings
- Share Your Delicious Cheesecake Bites Creations
Why These No-Bake Cheesecake Bites Are Your New Favorite Party Dessert Ideas
Look, when you’re planning a gathering, you need desserts that perform. These **Bite Size Desserts** are pure genius because they solve so many host headaches at once. I absolutely adore making these because I can pull them together in a flash and know they’ll look phenomenal without me sweating over a hot oven. They really are some of the best **Party Dessert Ideas** out there!
- Zero Oven Time: Seriously, we keep the kitchen cool. This is key for summer parties or when the oven is already full of savory dishes.
- Perfect Portion Control: Everyone gets one perfect little cup. No awkward slicing or serving disasters!
- Stunning Presentation: Lined up in a pretty tray, these look exactly like something from a high-end bakery.
They travel well too! If you’re heading out to a friend’s house, these small treats are easy to transport and set up. Check out my tips for other easy entertaining foods over on the Appetizers and Snacks section!
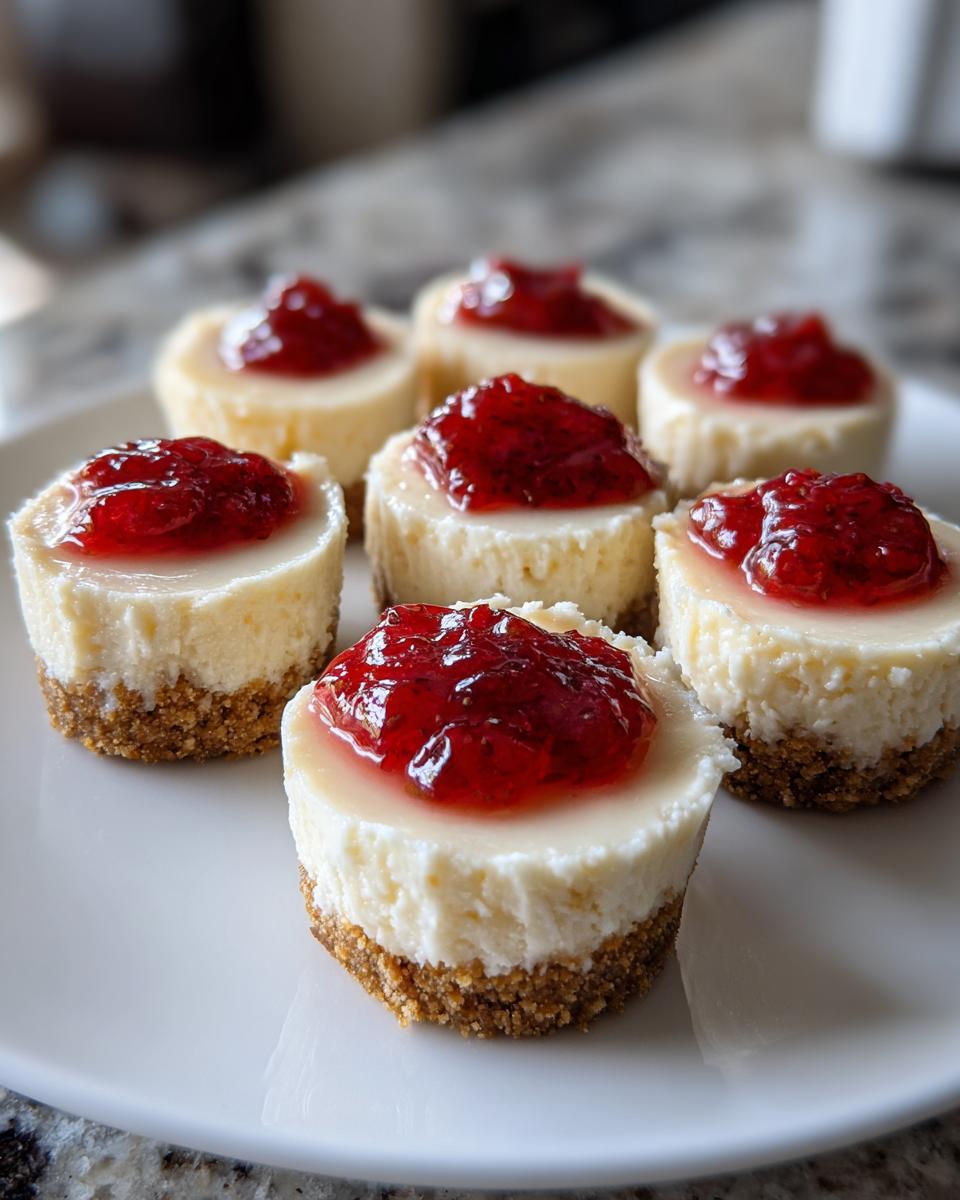
Gathering Ingredients for Your Easy Cheesecake Bites
I always tell people that the secret to a reliable **Simple Cheesecake Recipe** is making sure you have everything measured and ready *before* you start mixing. Since these are no-bake, we need our cream cheese to be soft, and we need those crust ingredients ready to press!
We’re keeping things straightforward here, but precision matters, especially when dealing with perishable ingredients. Trust me, having everything laid out makes the assembly phase fly by, ensuring we get those perfect, lump-free treats!
For the Graham Cracker Crust
- 1 1/2 cups graham cracker crumbs
- 1/4 cup granulated sugar
- 6 tablespoons unsalted butter, melted
For the Creamy Cheesecake Filling
This filling is where the real magic happens. The addition of sour cream, that’s my little trick, gives these **Creamy Cheesecake Servings** an extra luxurious texture that people rave about.
- 16 ounces cream cheese, softened
- 1/2 cup granulated sugar
- 1 teaspoon vanilla extract
- 1 large egg (Yes, even in no-bake, it helps stabilize!)
- 1/4 cup sour cream
- 1/2 cup strawberry or cherry topping (this is optional, but highly recommended for color!)
Step-by-Step Guide to Making No Bake Cheesecake Bites
Okay, let’s get your **No Bake Cheesecake Bites** assembled! This process is incredibly straightforward, but speed and temperature are key when you aren’t using the oven to help things set up. Having your mini muffin tin ready with those paper liners makes all the difference in the world. Pay close attention to that chilling step—it’s what keeps these from getting droopy!
Preparing the Crust and Tin
First things first, line those 24 cups in your mini muffin tin with the paper liners. Nobody wants to wrestle a stuck cheesecake out of a tin, right? Next, whip up the crust—just mix those crumbs, the quarter cup of sugar, and the melted butter until it looks like wet sand. Then, press about one tablespoon of that mixture firmly into the bottom of every liner. Don’t be shy about pressing it down tight! Once that’s done, pop the whole tin right into the freezer while we make the filling. That chill jump-starts the setting process.
Mixing the Creamy Filling
Grab your big bowl and start with the cream cheese and the half cup of sugar. Beat them until they are completely smooth—we are aiming for zero lumps here, so keep mixing until pale and velvety. That’s where we build our structure! Next, beat in the egg and the vanilla. Once those are just combined, gently fold in the sour cream. Here’s my E-E-A-T tip: Stop mixing as soon as you see everything come together. Over-beating the sour cream or egg can introduce too much air, and we want dense decadence, not fluffy foam!
Assembling and Chilling Your Cheesecake Bites
Pull that crust-filled tin out of the freezer. Now, carefully spoon the creamy filling over the chilled crusts, filling them about three-quarters of the way up. If you’re using that lovely strawberry or cherry topping, just spoon a little dollop right onto the center of each one. If you feel fancy, take a toothpick and gently swirl it once or twice, but honestly, letting it sit proud on top looks great too. This is the agonizing part: you must refrigerate these beauties for a minimum of four hours. If you can hold out overnight, even better! That time allows the **cheesecake bites** to firm up completely before serving.
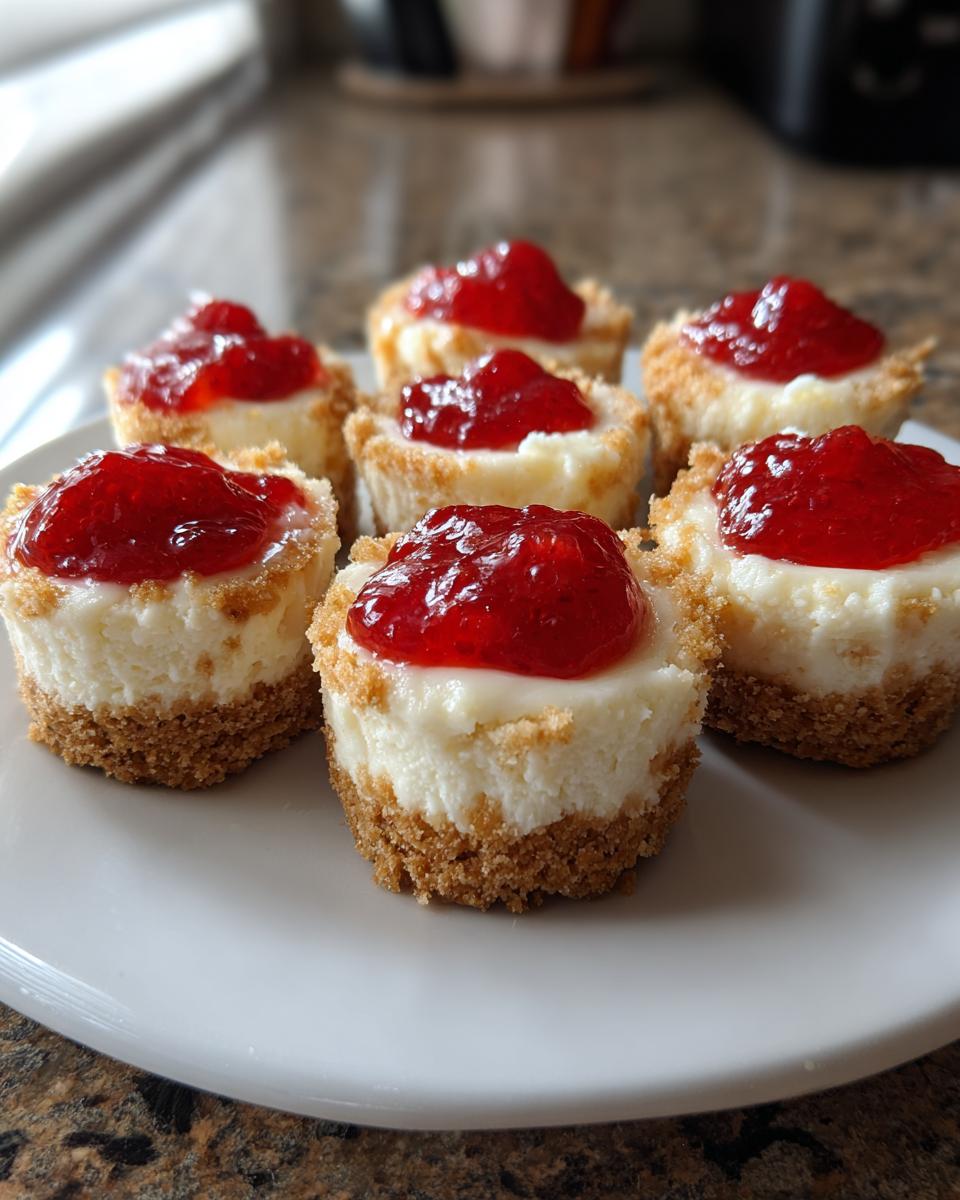
Once they’re perfectly chilled, just peel off those paper liners, and they are ready! Feel free to check out my recipe for a Cream Cheese Caramel Dip if you are looking for another decadent spread to serve alongside!
Tips for Perfect Cheesecake Bites Every Time
Even with a **Simple Cheesecake Recipe** like this, a few little tricks can elevate your **Creamy Cheesecake Servings** from good to absolute showstoppers. Because we aren’t baking them, temperature control during the mixing process is really where we build our trust in the final texture. If you follow these pointers, you’ll get foolproof results every single time you make these treats.
Ingredient Temperature Matters for Creamy Cheesecake Servings
I cannot stress this enough: your cream cheese must be truly softened—I mean finger-dent soft, not just slightly pliable. If it’s too cold, you end up with tiny, frustrating cream cheese chunks in your filling, and no amount of beating will fix that once the sugar is in! Also, if you can swing it, let your sour cream sit out for about 15 minutes too. Room temperature sour cream folds in much more smoothly than cold sour cream, guaranteeing that flawlessly uniform texture we are aiming for in these delicate little cups.
Crust Variations for Bite Sized Cheesecake
While the graham cracker crust is a classic partner for cheesecake, don’t feel locked into it! If you want to get creative with your **Bite Sized Cheesecake**, play around with the base. Crushed vanilla wafers work beautifully—they offer a slightly vanilla-forward flavor that pairs wonderfully with the creaminess. I’ve also had great success crushing shortbread cookies, which adds a buttery, almost sandy texture that mimics a pastry shell. Just make sure whatever you use, you bind it well with that melted butter!
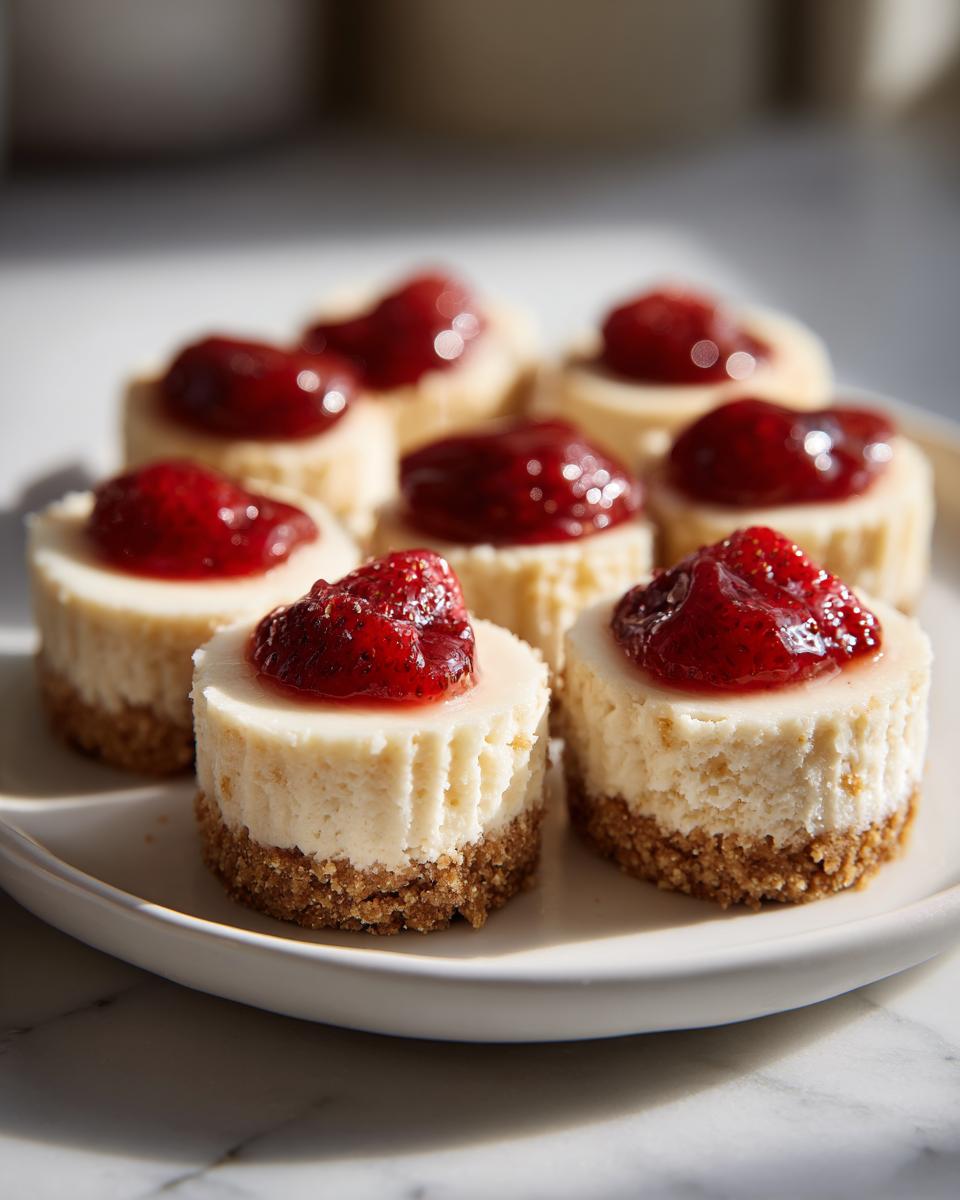
If you want to see another refreshing, no-fuss recipe, you should take a look at my Easy Lime Sorbet for a totally different kind of cold treat!
Creative Cheesecake Toppings Ideas for Individual Portion Desserts
While that simple strawberry swirl is beautiful, presentation is everything when you are serving these **Individual Portion Desserts**! If you have a little extra time, dressing up your chilled **cheesecake bites** really takes them to the next level for a party. You should definitely experiment with these topping combinations once the bites are fully set.
- Rich Chocolate Ganache: This is simple but feels so decadent. Melt good quality dark chocolate with a splash of heavy cream until you have a smooth, glossy drizzle. A little chocolate goes a long way on these small treats! You can find my quick stovetop recipe for chocolate fudge frosting if you want something extra fudgy.
- Tangy Lemon Curd: If your crowd likes a bright counterpoint to the cream cheese richness, a dollop of lemon curd is fantastic. The bright yellow pops beautifully against the white filling.
- Peanut Butter Drizzle: For my savory-sweet fans, melt creamy peanut butter down with a tiny bit of milk or coconut oil so it drizzles nicely. Sprinkle a few chopped peanuts on top for crunch!
- Salted Caramel: A slow pour of homemade or store-bought salted caramel adds that perfect salty-sweet finish. Just make sure it’s cool enough not to melt the cheesecake underneath!
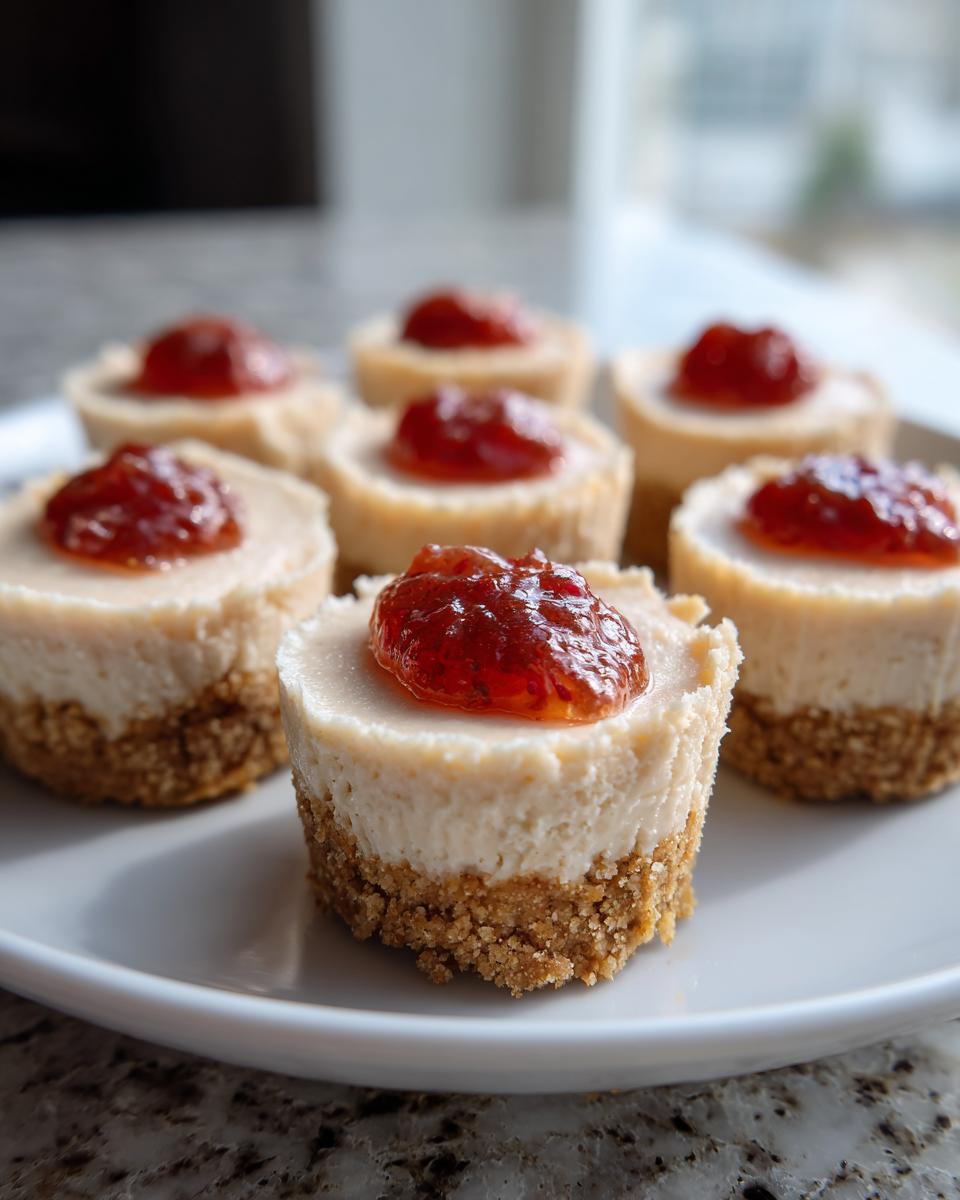
Remember, when applying toppings, work quickly since the cheesecakes are ice cold. These little variations ensure your **bite sized desserts** always feel new and exciting!
Storage and Make-Ahead Tips for Your Cheesecake Bites
One of the greatest advantages of these **Individual Cheesecake Cups** is that they are phenomenal make-ahead treats! I often assemble them a day or two before I have people coming over, which really cuts down on day-of stress. Once they are totally firm from their long chill—we want them rock solid for the best texture—transfer them gently into an airtight container.
If you keep them sealed up tight in the refrigerator, you can expect them to stay perfectly fresh and creamy for up to three full days. That’s fantastic news for meal preppers or busy hosts! It means you can knock out dessert on Wednesday even if the party isn’t until Friday. Just pull them out about 15 minutes before serving so they lose that deep fridge chill. If you have any leftovers that are approaching day three, you can try freezing them, though the texture changes slightly. For tips on freezing other baked goods, take a look at my guide for small-batch dinner rolls—the container advice is universal!
Frequently Asked Questions About Easy Cheesecake Bites
When you dive into making **Easy Cheesecake Bites**, you inevitably end up with a few quick questions. That’s perfectly normal! I’ve gathered the ones I get asked the most often about these **Quick Cheesecake Treats** to make sure your experience is totally smooth. We want reliability, right? That’s the core of the Gourmet Gaze philosophy. Check out my main blog page for more troubleshooting tips!
Can I make these cheesecake bites with a baked crust instead?
You absolutely could! If your oven is already going for dinner, you can absolutely bake the crust component for about 8 minutes until it’s lightly golden. However, the beauty of this recipe is that it’s entirely **No Bake Cheesecake Bites**, which keeps everything fast and cool. Baking the crust adds an extra step and time to an otherwise instantaneous preparation. I’d stick to the freezer chill for maximum convenience!
How long do the cheesecake bites need to chill?
The absolute minimum time you need to set these beauties is four solid hours in the refrigerator. That’s enough time for them to firm up nicely so you can peel off the liners. But, if you’re planning ahead—which I highly recommend for the best texture—chilling them overnight is perfection. They firm up just a touch more, becoming even more like those rich, decadent New York style desserts, just in **Small Batch Cheesecake** form.
What if I don’t have a mini muffin tin for these small batch cheesecake treats?
No problem at all! If you’re short on mini muffin tins, you can use an 8×8 inch square pan instead. Just make sure you line that pan really, really well with parchment paper, leaving some overhang on the sides. That overhang acts as handles later when you need to lift the whole sheet out! You’ll still press the crust to the bottom, pour the filling over, and chill for the same amount of time. The only difference is that once they are set, you’ll need to use a sharp knife to cut them into neat squares instead of popping out individual cups.
Nutritional Estimate for Your Creamy Cheesecake Servings
I know that for many of us who are trying to balance enjoyment with mindful eating, knowing the general nutritional breakdown is helpful. I always want to be completely transparent here at Gourmet Gaze, which is why I always share the estimates we used for this recipe. Please remember, these figures are calculated based on the core ingredients listed, and if you add creamy sauces or extra fruit swirls, those numbers will absolutely change!
This table reflects the data we calculated for a single serving of these **Individual Portion Desserts**, leaving off any optional toppings we discussed earlier.
- Serving Size: 1 bite
- Calories: 180
- Sugar: 12g
- Sodium: 110mg
- Fat: 13g
- Saturated Fat: 8g
- Unsaturated Fat: 5g
- Trans Fat: 0g
- Carbohydrates: 14g
- Fiber: 0g
- Protein: 3g
- Cholesterol: 45mg
Think of these gorgeous **bite sized desserts** as a fantastic treat balanced with high quality ingredients. Knowing what goes into your food, from the cream cheese base to the sugar content, lets you enjoy every decadent bite without any guesswork!
Share Your Delicious Cheesecake Bites Creations
And there they are! You now have the road map to creating some of the most impressive, yet ridiculously easy, **cheesecake bites** around. Seeing how quickly these come together is truly the best part of this **Mini Cheesecake Recipe** for me. I hope you feel inspired to get them made for your next gathering, or maybe just for a Tuesday night when you deserve a little something special!
I pour my heart into testing these recipes here at Gourmet Gaze, ensuring that when you recreate them, you get that amazing, satisfying result—the feast for the eyes *and* the soul. If you followed along and made the batch, please come back down to the comments section and let me know how they turned out!
I’d love to see your presentation, especially if you tried one of the creative topping ideas we talked about! Do leave a star rating so others know what a great **Quick Cheesecake Treat** this is. And if you share your gorgeous photos on social media, please tag us—I always love seeing the incredible work you home cooks are doing. If you’re looking for more ways to connect, you can always reach out via my Contact Page!
Happy indulging! If you’re looking for another recipe that generated a lot of buzz with home cooks, check out this delicious mini cheesecake recipe that always gets rave reviews!
PrintNo-Bake Mini Cheesecake Bites: Easy Party Dessert
You deserve a treat that tastes incredible without heating up the kitchen. These no-bake cheesecake bites use a simple graham cracker crust and a creamy filling, making them perfect for quick entertaining or any gathering. They are simple to prepare and look great on any dessert table.
- Prep Time: 20 min
- Cook Time: 0 min
- Total Time: 4 hr 20 min
- Yield: 24 bites 1x
- Category: Dessert
- Method: No Bake
- Cuisine: American
- Diet: Vegetarian
Ingredients
- 1 1/2 cups graham cracker crumbs
- 1/4 cup granulated sugar (for crust)
- 6 tablespoons unsalted butter, melted
- 16 ounces cream cheese, softened
- 1/2 cup granulated sugar (for filling)
- 1 teaspoon vanilla extract
- 1 large egg
- 1/4 cup sour cream
- 1/2 cup strawberry or cherry topping (optional)
Instructions
- Prepare a mini muffin tin by lining 24 cups with paper liners.
- Combine graham cracker crumbs, 1/4 cup sugar, and melted butter in a bowl. Mix until the crumbs are evenly moistened.
- Press about 1 tablespoon of the crumb mixture firmly into the bottom of each liner to form the crust. Place the tin in the freezer while you prepare the filling.
- In a large bowl, beat the softened cream cheese and 1/2 cup sugar with an electric mixer until smooth.
- Beat in the egg and vanilla extract until just combined. Do not overmix.
- Gently fold in the sour cream until the filling is uniform.
- Spoon the filling evenly over the chilled crusts, filling each liner about three-quarters full.
- If using a topping, gently spoon a small amount of strawberry or cherry topping onto the center of each bite. You can swirl it slightly with a toothpick if desired.
- Refrigerate the cheesecake bites for at least 4 hours, or until completely firm.
- Remove the paper liners before serving these bite-sized desserts. Keep chilled until ready to serve.
Notes
- For a firmer texture, chill the crust mixture for 10 minutes before adding the filling.
- You can substitute the graham cracker crust with crushed vanilla wafers for a different flavor profile.
- These individual cheesecake cups are excellent for making ahead; they keep well in the refrigerator for up to 3 days.
- If you want a chocolate version, add 2 tablespoons of cocoa powder to the cream cheese mixture.
Nutrition
- Serving Size: 1 bite
- Calories: 180
- Sugar: 12
- Sodium: 110
- Fat: 13
- Saturated Fat: 8
- Unsaturated Fat: 5
- Trans Fat: 0
- Carbohydrates: 14
- Fiber: 0
- Protein: 3
- Cholesterol: 45