
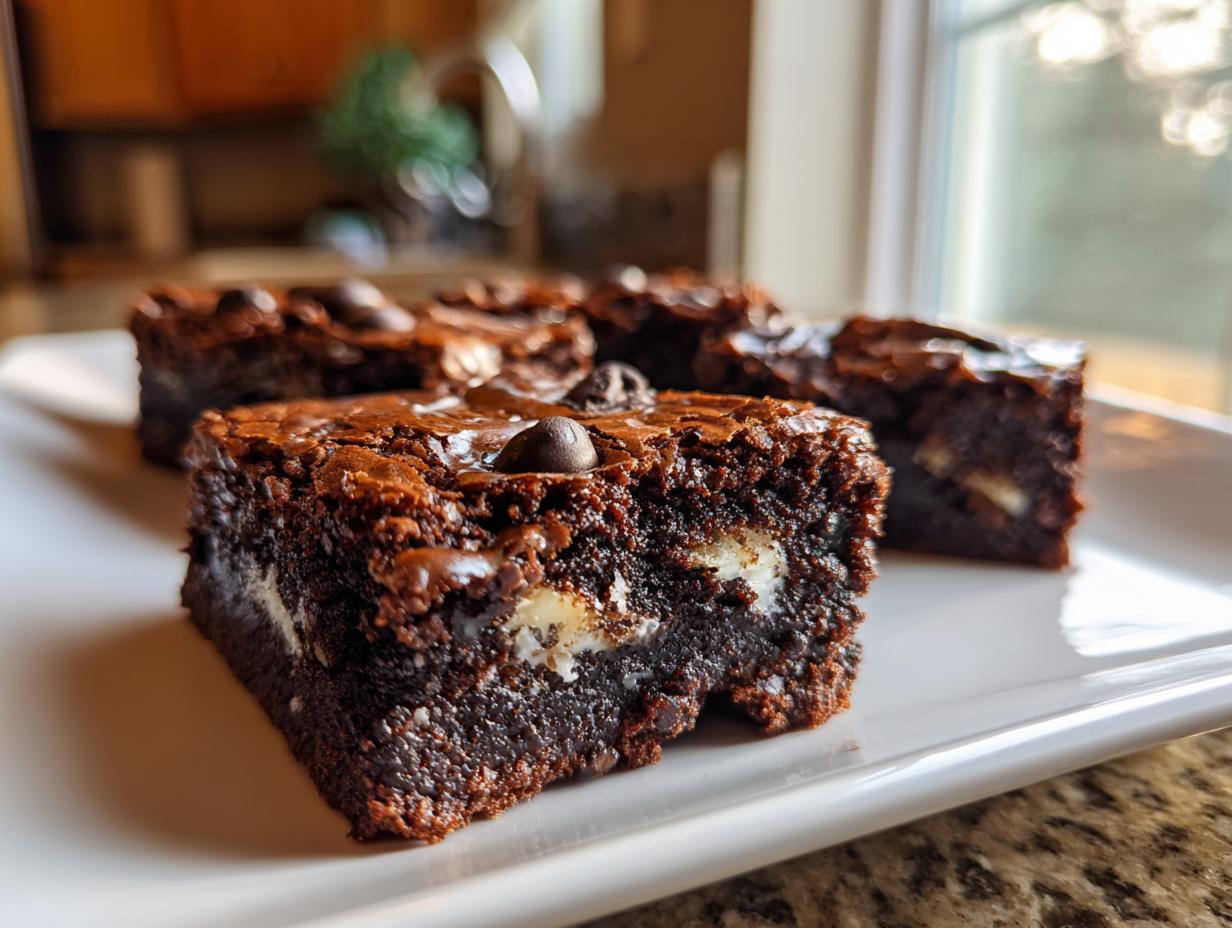

When that deep, undeniable chocolate craving hits—you know the one, the kind that settles deep in your soul—you need something more substantial than just store-bought candy. You need depth, you need crunch, and frankly, you need a shiny top. That is precisely why I am thrilled to share my signature creation: the Ultimate Fudgy Oreo Brownies with a Shiny, Crackly Top. After years spent staring at spreadsheets in an air-conditioned office, discovering the alchemy required to turn simple cocoa and sugar into this dense perfection felt like finding true freedom. These homemade oreo brownies aren’t just sweet; they are a textural masterpiece that proves you don’t need a box mix to achieve dessert Nirvana. If you are looking for other show-stopping final courses, be sure to browse my collection of truly stunning desserts.
- Why These are the Best Homemade Oreo Brownies
- Gathering Ingredients for Ultimate Fudgy Oreo Brownies
- Essential Equipment for Perfect Oreo Brownies
- How to Make Oreo Brownies From Scratch: Step-by-Step
- Tips for Next-Level Decadent Cookies and Cream Brownies
- Variations on Classic Oreo Brownies
- Serving Suggestions for Chocolate Dessert for Parties
- Storage and Reheating Rich Dense Brownies Recipe
- Frequently Asked Questions About Oreo Brownies
Why These are the Best Homemade Oreo Brownies
Look, I’ve had my share of lackluster brownies that either tasted strangely cakey or dissolved into a greasy puddle upon cooling. That’s never going to happen here. These fudgy oreo brownies recipe stars are everything you want in a homemade bar, eclipsing anything you can get from a box. When people ask me what makes them the best brownie recipe with oreos, I tell them it comes down to texture and the way we build the batter.
- Unbeatable density and chewiness.
- A beautiful, desirable sheen on top that looks professional.
- They hold up perfectly for packing into lunch boxes or slicing for parties.
Achieving the Perfect Fudgy Oreo Brownies Texture
The key to that incredible chew that everyone raves about? It’s all about the fat-to-flour ratio, especially how we handle the butter and sugar upfront. We are deliberately creating a batter heavy in moisture and sugar, which is what ensures we get that rich dense brownies recipe crumb, instead of a lighter, cake-like structure. That vigorous whisking we do early is what chemically encourages that coveted shiny top layer to form!
Quick Preparation for Easy Homemade Oreo Brownies
Even though these taste like they took hours, they are surprisingly fast. You genuinely only need about 15 minutes of active work before they head into the oven. I always say that if you have 15 minutes to melt some butter and crush some cookies, you have time to make these easy homemade oreo brownies. For more quick cooking inspiration, check out my latest posts on the baking blog.
Gathering Ingredients for Ultimate Fudgy Oreo Brownies
Before we even think about preheating the oven, we need to gather our cast of characters! Getting the right components ready makes the mixing process super smooth. Remember, precision matters here because we are aiming for that ultimate fudgy bite, not a crumbly mess. I always lay everything out on my counter first, just like a good chef!
Here is exactly what you’ll need to whip up sixteen perfect oreo brownies:
- 1 cup (2 sticks) unsalted butter, which needs to be fully melted.
- 2 cups granulated sugar.
- 1 cup packed light brown sugar—don’t skip packing it in!
- 4 large eggs, and please make sure these are at room temperature.
- 1 tablespoon vanilla extract.
- 1 cup all-purpose flour.
- ¾ cup unsweetened cocoa powder—I prefer Dutch-process for a deeper color.
- ½ teaspoon salt.
- ½ teaspoon baking powder.
- 1 cup chocolate chips (semisweet or dark work best for richness!).
- 12 Oreo cookies, which you should roughly chop right before you use them so they don’t get dusty.
Essential Equipment for Perfect Oreo Brownies
Even though these are some of the simplest brownies you’ll ever make, having the right tools just makes the process feel less like work and more like fun. When I was first experimenting and trying to nail the texture, I swore I didn’t need parchment paper, and believe me, I regretted that when I had to scrape half the batch out of the pan! Never again.
You won’t need a stand mixer for this recipe, which is great news for keeping cleanup easy. Here’s the short list of things I always pull out before I start melting the butter:
- A sturdy 9×13 inch baking pan. This size is crucial for getting that perfect thickness.
- Parchment paper! You need this to line the pan with an overhang. It acts as a sling so you can lift the entire cooled slab out in one piece.
- Two separate mixing bowls—one medium for the dry stuff and one large for mixing it all together.
- A good whisk. We rely on the whisk a lot in the beginning to beat air into the sugar mixture.
- A rubber spatula for folding in the Oreos gently at the very end.
Having these items ready means your 15 minutes of prep time stays right on target!
How to Make Oreo Brownies From Scratch: Step-by-Step
Now that we have our ingredients prepped and our pan organized, we get to the fun part: assembling these incredible oreo brownies from scratch! I promise you, the process is methodical but entirely satisfying. Just follow these steps carefully, and you’ll have those rich, dark squares ready for the oven in no time. Remember, we aren’t trying to whip air into this batter for a cake; we are aiming for density, which means less mixing later on.
First things first: get that oven up to temperature—350°F (175°C) is where we want to be. Lay down your parchment paper sling in that 9×13 pan, give it the lightest grease, and let’s get whisking! If you’re looking for an amazing glossy finish on a different cocoa treat later, you might check out my guide for quick stovetop glossy frosting.
Creating the Shiny Top on Your Oreo Brownies
This is critical for getting that magazine-worthy look! Once your butter is melted, dump in both sugars and whisk them together like mad. You mustn’t stop until the mixture turns visibly lighter and feels slightly grainy as the sugar dissolves. This step dissolves those sugar crystals just enough so they migrate to the surface while baking, creating that signature glassy, **brownies with shiny top recipe** look. After you beat the eggs in one by one, you’ve set the stage for success!
Baking and Cooling for Chewy Chocolate Oreo Bars
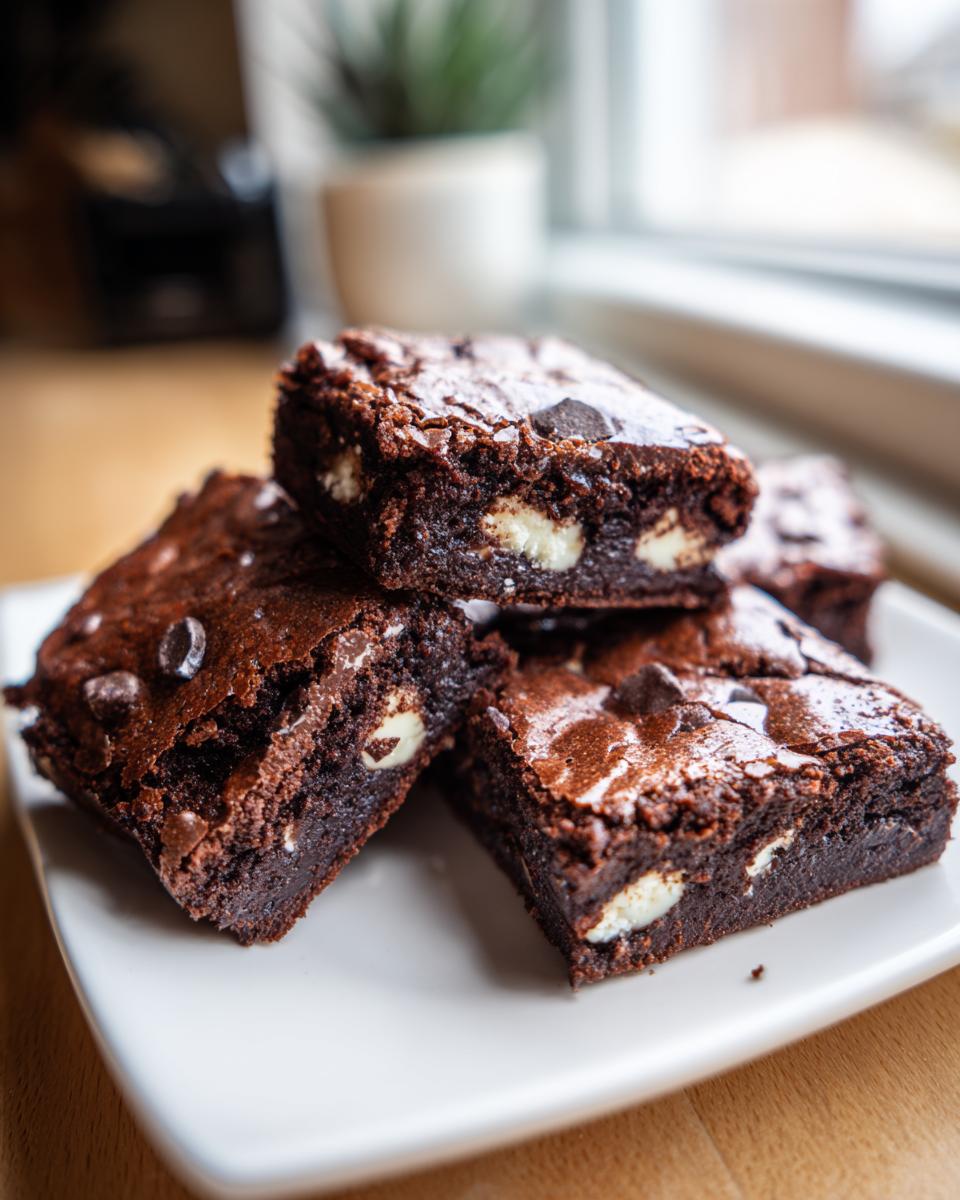
When you slide the pan in, hang around! Oven times can vary, so you are looking for that sweet spot. The goal for achieving those perfect chewy chocolate oreo bars is to pull them when a toothpick comes out with moist, fudgy crumbs attached—never wet batter, but never totally clean either. Resist the urge to slice them right away! They need to cool fully on the rack. For the absolute best texture, wrap the cooled slab and chill it for just thirty minutes before cutting. Trust me, the chilling step firms everything up beautifully.
Tips for Next-Level Decadent Cookies and Cream Brownies
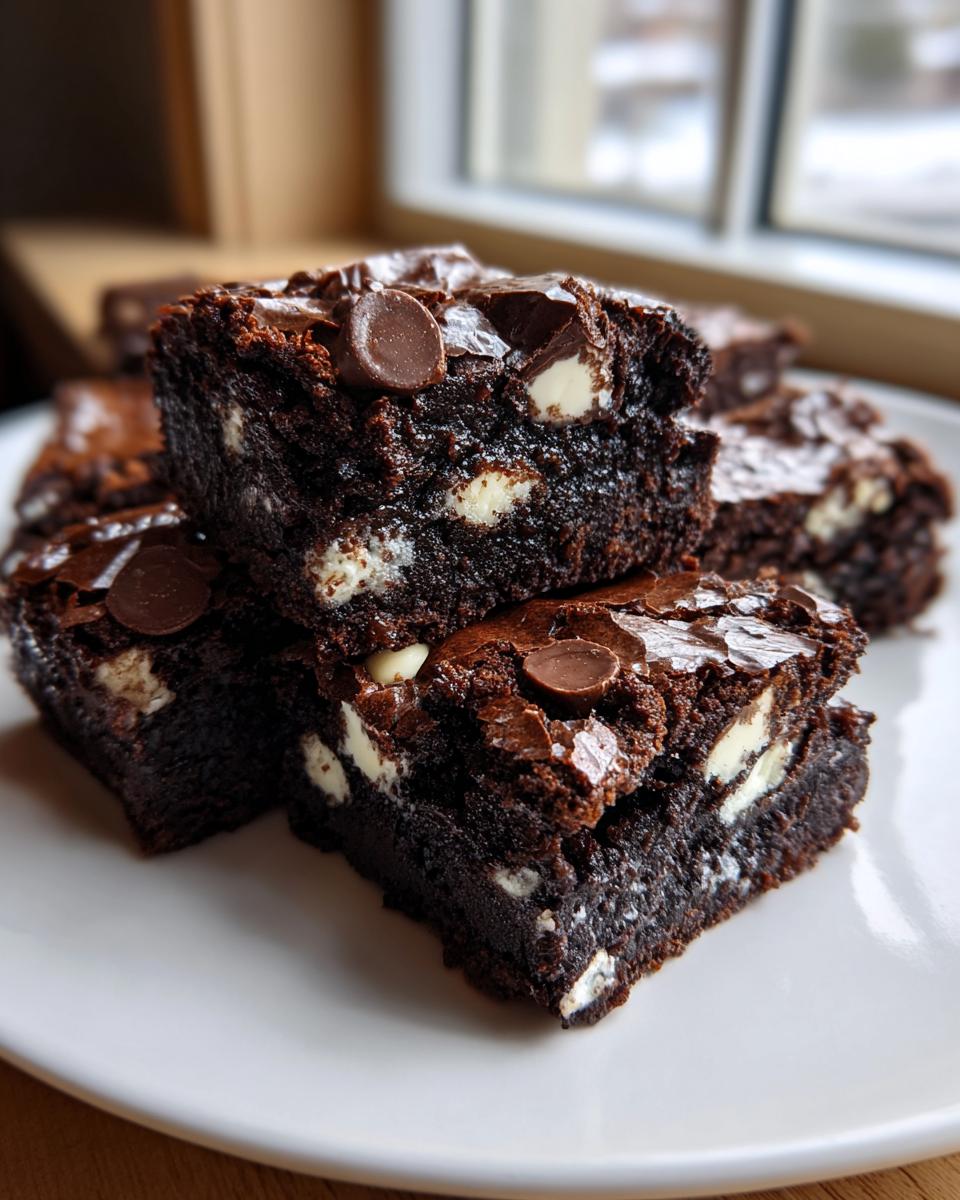
You’ve mastered the basic technique, which is fantastic, but now we can push these bars into the stratosphere of deliciousness! Getting that truly decadent cookies and cream brownies experience comes down to a few subtle moves I picked up through trial and—let’s just say—some very rich errors. I remember the first time I tried using only semi-sweet chocolate chips and thought, “This is great,” but the final product lacked that dark, brooding intensity I really craved. I learned quickly that richness demands depth!
To elevate these beyond simply great to absolutely unforgettable, try these little tricks:
- Use High-Quality Cocoa: Don’t skimp on your cocoa powder. If you can find a Dutch-process cocoa, use it! It creates a smoother, darker, less acidic chocolate flavor that pairs so beautifully with the sweet Oreos.
- Chop Your Toppings Coarsely: When you crush those Oreos, don’t pulverize them into dust. You want significant chunks both mixed into the batter and scattered on top. That variance in texture—from fudgy base to crunchy cookie piece—is what keeps you going back for another bite.
- The Double-Decker Oreo Trick: If you want maximum visual impact for a party, take about four of your 12 cookies and leave them whole. Gently press them onto the batter right before it goes into the oven. When you cut the cooled bars, you’ll have these gorgeous, intact cookies sitting right on top. Who doesn’t love an extra cookie?
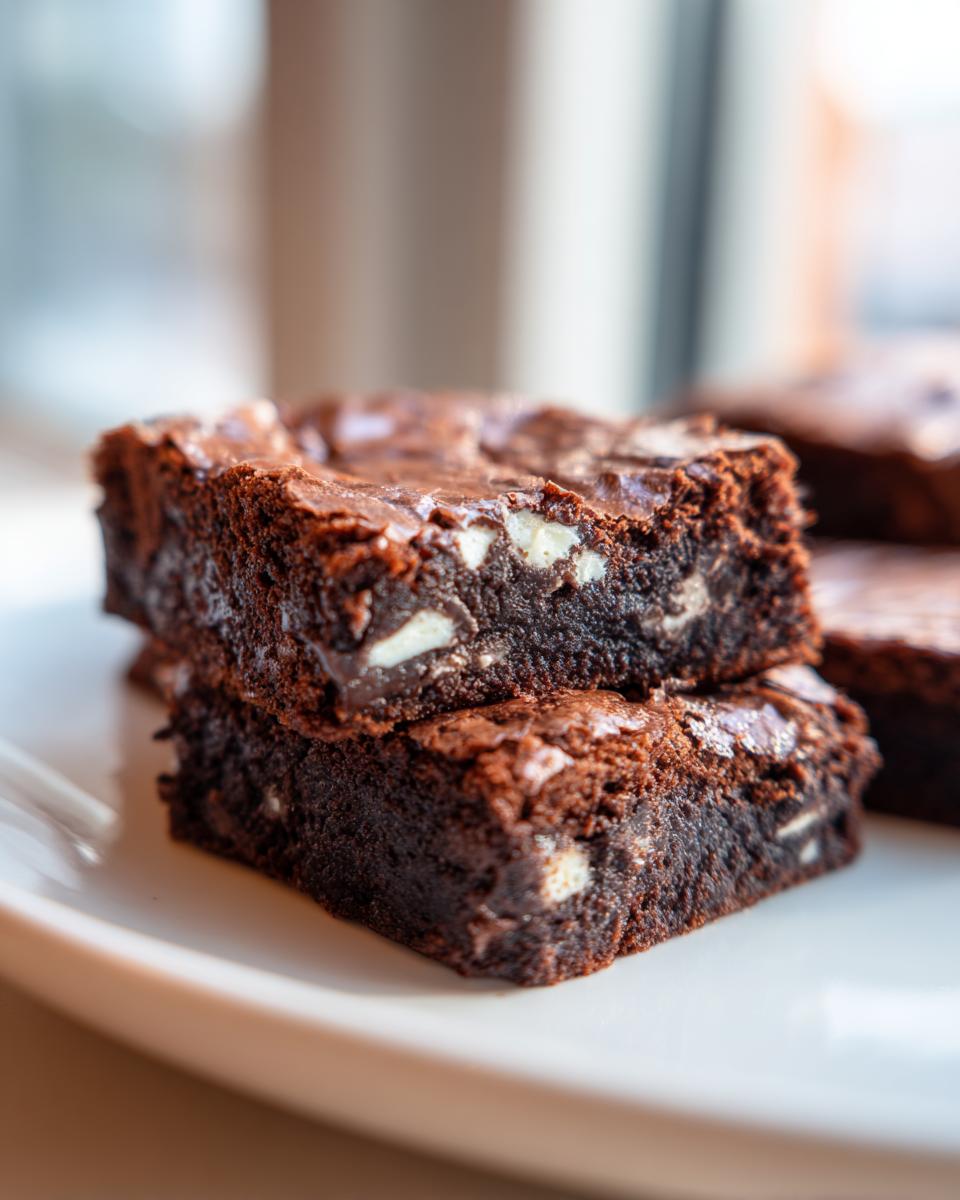
If you’re interested in taking this decadence a step further with campfire flavors, you might enjoy my recipe for S’mores Brownies next time you’re looking for something extra over-the-top!
Variations on Classic Oreo Brownies
The beauty of a truly great base recipe, like this one for oreo brownies, is how easily it can be adapted. Once you nail the foundational fudginess, you can start experimenting! I love having a core recipe ready for last-minute gatherings, but sometimes you just need a little twist to keep things interesting. I’ve played around with so many ideas in my kitchen—and some of them, frankly, were wild disasters—but these variations are guaranteed winners.
If you are looking for something visually stunning that offers layers of texture, you might be interested in the concept of the slutty brownies recipe layered dessert. That’s where you line the pan with cookie dough, lay down a layer of Oreos, and then top it all with this standard, incredible brownie batter. It’s intense, it’s decadent, and it’s definitely for when you want to impress a crowd or need something extremely rich for a bake sale. For more satisfying, layered desserts that aren’t quite that intense, you can always check out my easy apple crumble recipe.
But my personal favorite modification, especially around the holidays or when I just want a fresher punch of flavor, involves the mint:
Mint Oreo Brownie Variation
This is so simple and tastes like you spent hours achieving a specialty flavor profile! All you need to do is swap out a few of the standard sandwich cookies for the green and white ones. If you use Mint Oreos, you get this fantastic cool contrast against the deep, rich chocolate. For the true maximalist, you can even add a drop of peppermint extract into the batter when you add the vanilla. Just remember what I said about richness—a little mint goes a long way!
If you want to see some other amazing takes on chocolate bars from around the web, you should definitely check out this great post on fudgey Oreo brownies for more inspiration on texture variations!
Using Different Cookie Types for New Flavors
Don’t feel locked into the original cookie, either! If you happen to have Vanilla Wafers or even Golden Oreos on hand, those work beautifully, too. The vanilla wafer version creates a slightly less intense, almost buttery chocolate bar, which is fantastic for people who find the classic version too rich. It results in a lighter crunch, letting the pure chocolate flavor of the brownie base shine through more clearly.
See? It’s easy to turn one batch of batter into three entirely different experiences. That’s what home baking is all about—making the recipe truly your own!
Serving Suggestions for Chocolate Dessert for Parties
When you bring a tray of these beautiful oreo brownies to a gathering, you want them to look as incredible as they taste. This is where my marketing background loves to creep back in—we eat with our eyes first, right? I always aim for contrast and height when setting out a dessert spread. You’ve achieved the perfect fudgy base, so let’s make sure the plating shows off that dedication!
For any party, big or small, ditch the plain aluminum tray and think about presentation. I often use a dark slate platter, or even a simple wooden cutting board, because the contrast with the dark, glossy brownies just pops. If you cut them into neat squares, line them up perfectly, and maybe dust the tray lightly with powdered sugar around the edges, you immediately elevate them from a simple bake to a centerpiece.
Pairing is the next level of achieving that feast-for-the-soul feeling. Since these are incredibly rich, we need something bright to cut through that fudgy density. My go-to pairing is a scoop of sharp, tangy ice cream. If you’re feeling ambitious and want to impress, my recipe for easy lime sorbet is startlingly refreshing against the deep chocolate.
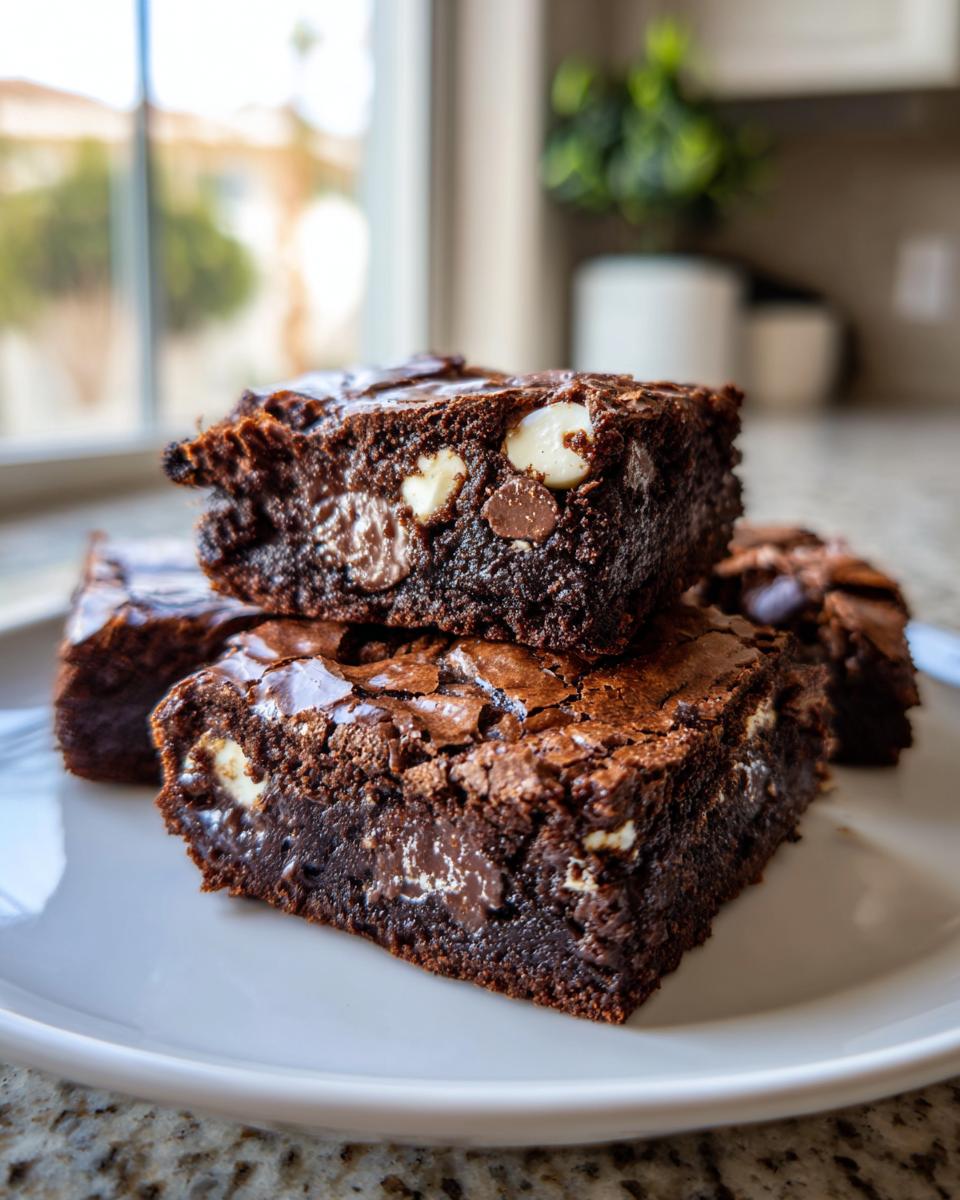
If you prefer fruit, keep it simple. A scattering of fresh, vibrant raspberries or slightly tart sliced strawberries around the base of the platter works wonders. The red and green colors play so well against the dark brown and white filling of the Oreos. Honestly, these chocolate dessert for parties are so good, they barely need anything else, but a little styling goes a long way to making everyone stop and stare!
Storage and Reheating Rich Dense Brownies Recipe
One of the joys of making a rich dense brownies recipe like this is that they actually taste better the next day! That fudginess sets up even more once they’ve had time to rest. You absolutely must let them cool completely before storing, or you’ll trap steam and lose that beautiful shine we worked so hard for.
To keep them perfect, layer them between sheets of wax paper in an airtight container. At room temperature, they’ll stay wonderful for about four days. If you need to keep them longer, pop that container into the freezer! They freeze beautifully for up to three months. When you want to reheat, just let a frozen bar thaw on the counter for about 20 minutes—it’ll be like you just baked them!
Frequently Asked Questions About Oreo Brownies
When you bake something this decadent, it’s natural to have a few questions before you get started or when you’re checking on those beautiful bars after they come out of the oven. I get so many notes about textures when people try my methods, so I wanted to tackle the most common ones right here. Don’t hesitate to reach out through my contact page if you have something different on your mind!
Can I use Double Stuf Oreos in this oreo brownies recipe?
Oh, absolutely! I love the idea of using Double Stuf Oreos, especially if you’re aiming for maximum cookie presence in every slice. Just know that because you’re adding more filling—which is mostly sugar—you might get an even *shinier* top layer because there’s more sugar migrating to the surface. More cookie crunch equals more joy, in my opinion! This just amps up the “loaded” factor in these oreo brownies.
What is the difference between fudgy and cakey brownies?
This is the million-dollar question in the brownie world, and it all comes down to ratios and mixing, which is why I stress the importance of technique above all else! A cakey brownie has more flour relative to fat and often uses more leavening agents like baking soda or powder, which creates a lighter crumb structure, similar to a cake. On the other hand, our goal here for the best fudgy brownie texture is maximizing the fat (butter and eggs) way up high! Less flour and less mixing means less gluten development, which keeps the inside dense, moist, and fudge-like. That’s why we only mix until those ingredients just disappear!
If you’re ever curious about how to make a truly light cake, check out my guides on quick breads—it’s a totally different science!
Why are my brownies turning out dry instead of chewy?
If your chewy chocolate oreo bars ended up a bit dry, it almost always comes down to one of two things: overbaking or using pre-packaged ingredients that shouldn’t be in a homemade recipe. Always aim for that moist crumb on the toothpick; if the toothpick is bone dry when you pull them out, they will definitely be dry when they cool. Also, ensure you used brown sugar as well as the white sugar—that molasses content in the brown sugar is essential for retaining moisture!
Is the chilling step truly necessary for the best results?
I know waiting is the hardest part of baking, but yes, if you want the very best texture, you should absolutely chill them! The intense fudginess really firms up when it gets cold. If you try to slice them warm, they will smear everywhere, and you’ll end up with a gooey mess rather than a clean square of that rich dense brownie recipe. Give them at least an hour on the counter, and then pop them in the fridge for 30 minutes. They will be absolutely perfect once chilled, and you can always contact me if you need emergency reheating tips!
PrintUltimate Fudgy Oreo Brownies with a Shiny, Crackly Top
Make these homemade Oreo brownies from scratch for a rich, dense, and chewy dessert. This recipe delivers the best fudgy brownie texture topped with a desirable shiny crust, far surpassing boxed mixes.
- Prep Time: 15 min
- Cook Time: 35 min
- Total Time: 50 min
- Yield: 16 servings 1x
- Category: Dessert
- Method: Baking
- Cuisine: American
- Diet: Vegetarian
Ingredients
- 1 cup (2 sticks) unsalted butter, melted
- 2 cups granulated sugar
- 1 cup packed light brown sugar
- 4 large eggs, room temperature
- 1 tablespoon vanilla extract
- 1 cup all-purpose flour
- ¾ cup unsweetened cocoa powder, natural or Dutch-process
- ½ teaspoon salt
- ½ teaspoon baking powder
- 1 cup chocolate chips (semisweet or dark)
- 12 Oreo cookies, roughly chopped
Instructions
- Preheat your oven to 350°F (175°C). Line a 9×13 inch baking pan with parchment paper, leaving an overhang on the sides for easy removal. Lightly grease the paper.
- In a large bowl, whisk together the melted butter, granulated sugar, and brown sugar until fully combined.
- Whisk in the eggs one at a time, mixing well after each addition. Stir in the vanilla extract.
- In a separate medium bowl, whisk together the flour, cocoa powder, salt, and baking powder.
- Gradually add the dry ingredients to the wet ingredients, mixing only until just combined. Do not overmix.
- Gently fold in the chocolate chips and the chopped Oreo cookies.
- Pour the batter into the prepared baking pan and spread evenly.
- Bake for 28 to 35 minutes. For fudgy brownies, aim for a toothpick inserted near the center to come out with moist crumbs attached, not wet batter.
- Let the brownies cool completely in the pan on a wire rack before lifting them out using the parchment paper overhang.
- Once cool, cut into squares. For the best texture, chill for 30 minutes before slicing.
Notes
- To achieve the shiny, crackly top, ensure your butter and sugar are thoroughly mixed before adding the eggs. Whisk vigorously for 60 seconds after adding the sugar to dissolve some of the sugar crystals.
- For an extra decadent experience, use a mix of whole and crushed Oreos, placing a few whole ones on top of the batter before baking.
- If you want to make Mint Oreo Brownies, substitute 8 of the regular Oreos with Mint Oreos.
Nutrition
- Serving Size: 1 bar
- Calories: 350
- Sugar: 35
- Sodium: 180
- Fat: 20
- Saturated Fat: 12
- Unsaturated Fat: 8
- Trans Fat: 0.5
- Carbohydrates: 42
- Fiber: 2
- Protein: 4
- Cholesterol: 65