
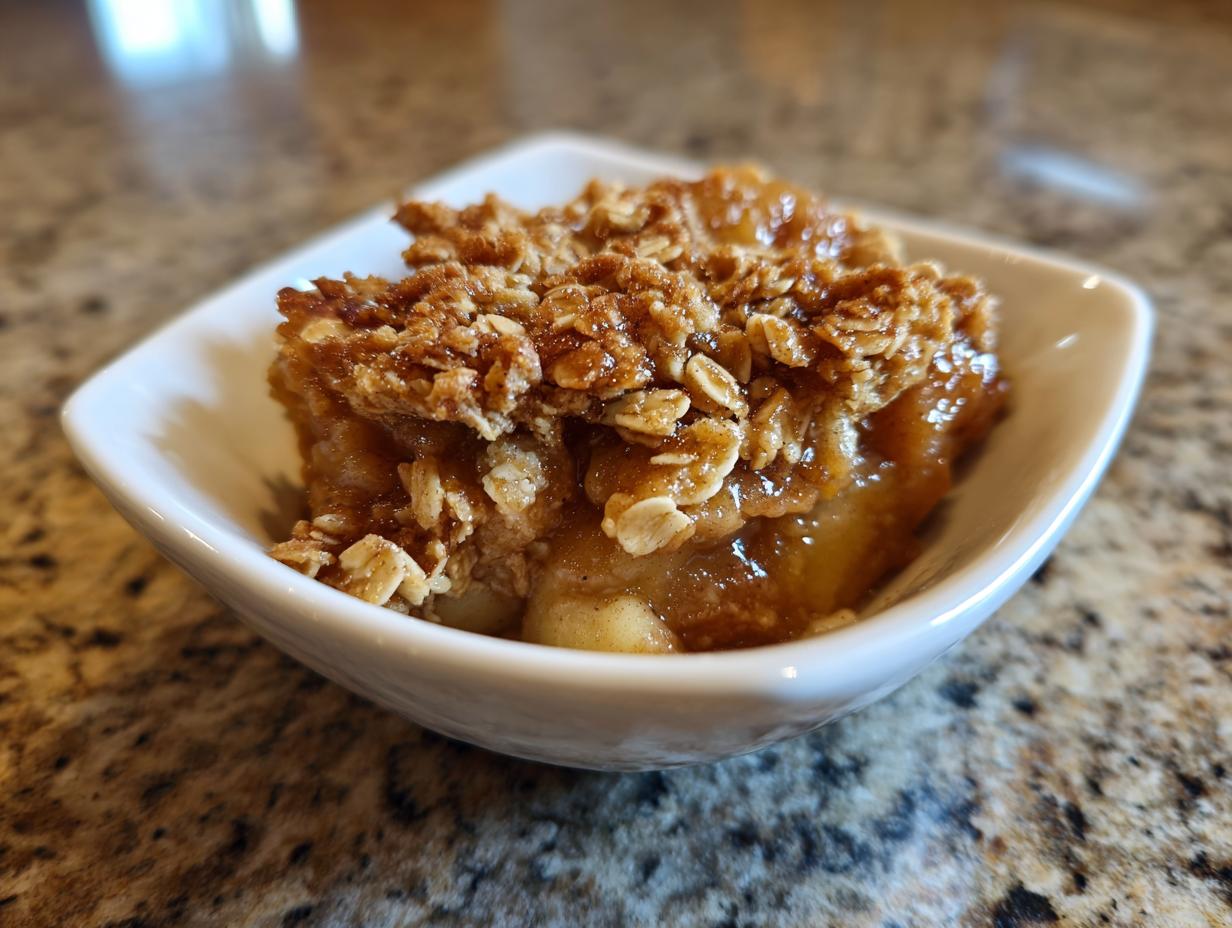

When the air gets that first crisp hint of autumn, my mind immediately skips past complicated soufflés and heads straight for the oven, eager to bake something deeply comforting. For years, I chased perfection in the kitchen after leaving my corporate world behind, realizing that true culinary joy lies in mastering the classics. And let me tell you, this apple crisp recipe is the one I landed on—the absolute pinnacle of old-fashioned goodness. Forget those watery, under-baked apple desserts you might have tried before; this recipe guarantees tender baked apples beneath a crunchy, buttery oat topping that is pure gold. After countless tweaks, this homemade apple crumble version became the only one allowed in the Gourmet Gaze rotation. It’s reliable, it’s easy, and it smells like everything I dreamed about during those long meetings in Chicago. If you want the best fall dessert that truly nourishes the soul, you need this version right here. You can find its cousin in our main Desserts category!
- Why This Old Fashioned Apple Crisp Recipe is Your New Favorite
- Gathering Ingredients for Your Apple Crisp Recipe
- Step-by-Step Instructions for the Foolproof Apple Crisp Recipe
- Tips for Success with Your Homemade Apple Crumble
- Serving Suggestions for This Classic Autumn Dessert
- Storage and Reheating for Your Apple Crisp Recipe
- Frequently Asked Questions About This Easy Apple Crisp Recipe
- Estimated Nutritional Data for This Comfort Food Dessert
- Share Your Apple Crisp Recipe Experience
Why This Old Fashioned Apple Crisp Recipe is Your New Favorite
I know there are a thousand apple crisp recipes out there, but honestly, this one hits different. It’s the kind of reliable, hearty dish I craved when I finally started cooking for myself after years of takeout. This isn’t just food; it’s pure, unadulterated comfort food dessert magic. It’s got that old-fashioned integrity that makes it the best fall dessert, period.
- It’s genuinely ready for the oven in under twenty minutes—no fuss, no complicated pastry work required.
- The filling is perfectly tender, never mushy, singing with warm spice.
- It delivers the ultimate texture contrast: soft, jammy apples under that deeply satisfying crunchy layer.
If you need a dependable recipe that always impresses, this is it. You can check out our easy apple crumble recipe for another great option!
Quick Prep for a Simple Fall Baking Treat
My favorite part about this specific apple crisp recipe is how little time it demands upfront. You have maybe 15 minutes of hands-on work, tops. If you’re staring down a pile of emails and still want a stunning dessert for the family tonight, this is your answer. It’s the perfect quick apple dessert because it rewards so much effort for so little time invested.
The Perfect Buttery Oat Topping Texture
Listen, you can have good apples, but if the topping fails, the whole experience fails. We aren’t going for a soggy blanket here; we want definition! This is all about that perfect buttery oat topping. When you cut in the cold butter just right, you get these little pockets of crispness that bake to a deep golden brown, contrasting beautifully with the soft fruit underneath. That texture battle is how you win dessert every single time.
Gathering Ingredients for Your Apple Crisp Recipe
To achieve my signature apple crisp recipe—one that stands up to years of family tradition—we have to respect the ingredients. Don’t swap things out wildly here, especially in the topping! Everything needs that precise preparation we talk about. When you look at the list, you’ll see two distinct groups: the fruit base and the crown jewel topping. Choosing the right fruit is non-negotiable if you want those perfect tender baked apples we’re aiming for.
Selecting the Best Apples for Tender Baked Apples
This is where my background in really understanding food science comes into play. You need apples that hold their shape and balance sweetness with that delightful tartness. Skip the mushy supermarket apples! I insist on using firm varieties like Granny Smith, which hold up beautifully under heat, or Honeycrisp if you want a bit more sweetness. Either way, they must be peeled, cored, and sliced evenly so they cook at the same rate. This attention to the base fruit is what separates a mediocre crisp from a truly outstanding one.
Notes on the Oatmeal Crumble Topping Ingredients
The success of that incredible crunch relies almost entirely on keeping the butter *cold*. When we make the oatmeal crumble topping, we need that butter cut into small pieces and kept icy. Why? Because when those cold chunks hit the hot oven, they steam slightly, creating separation and those wonderful, irregular, crisp crags that make the topping so glorious. If your butter melts before it hits the baking dish, you end up with a greasy sheet instead of a beautiful crumble. Keep that stick of butter chilled!
Step-by-Step Instructions for the Foolproof Apple Crisp Recipe
Alright, now that we have our beautiful ingredients lined up, let’s talk action. This is where the magic happens incredibly fast, which is why I love this apple crisp recipe so much. We are going to divide this into three clear parts: getting the apples ready, building that signature topping, and then finally, the bake time itself. Follow these steps precisely, and you’ll have the most amazing, bubbling dessert straight from the oven.
Preparing the Cinnamon Baked Apples Filling
First things first: get that oven preheated to 375°F (190°C) right away and lightly grease whatever 8×8 dish you’re using. Now, grab that big bowl meant for your apples. Toss your prepared slices with just 1/4 cup of flour—this helps the juices thicken up so you don’t get soup at the bottom! Mix in the granulated sugar, the cinnamon, the nutmeg, and that splash of lemon juice. I always toss this gently with my favorite rubber spatula; you don’t want to bash up the apples too much, we just need every piece coated in that warm spice mix. Once everything looks evenly dressed, spread those precious cinnamon baked apples out in a single layer in your prepared baking dish.
Creating the Buttery Oat Topping
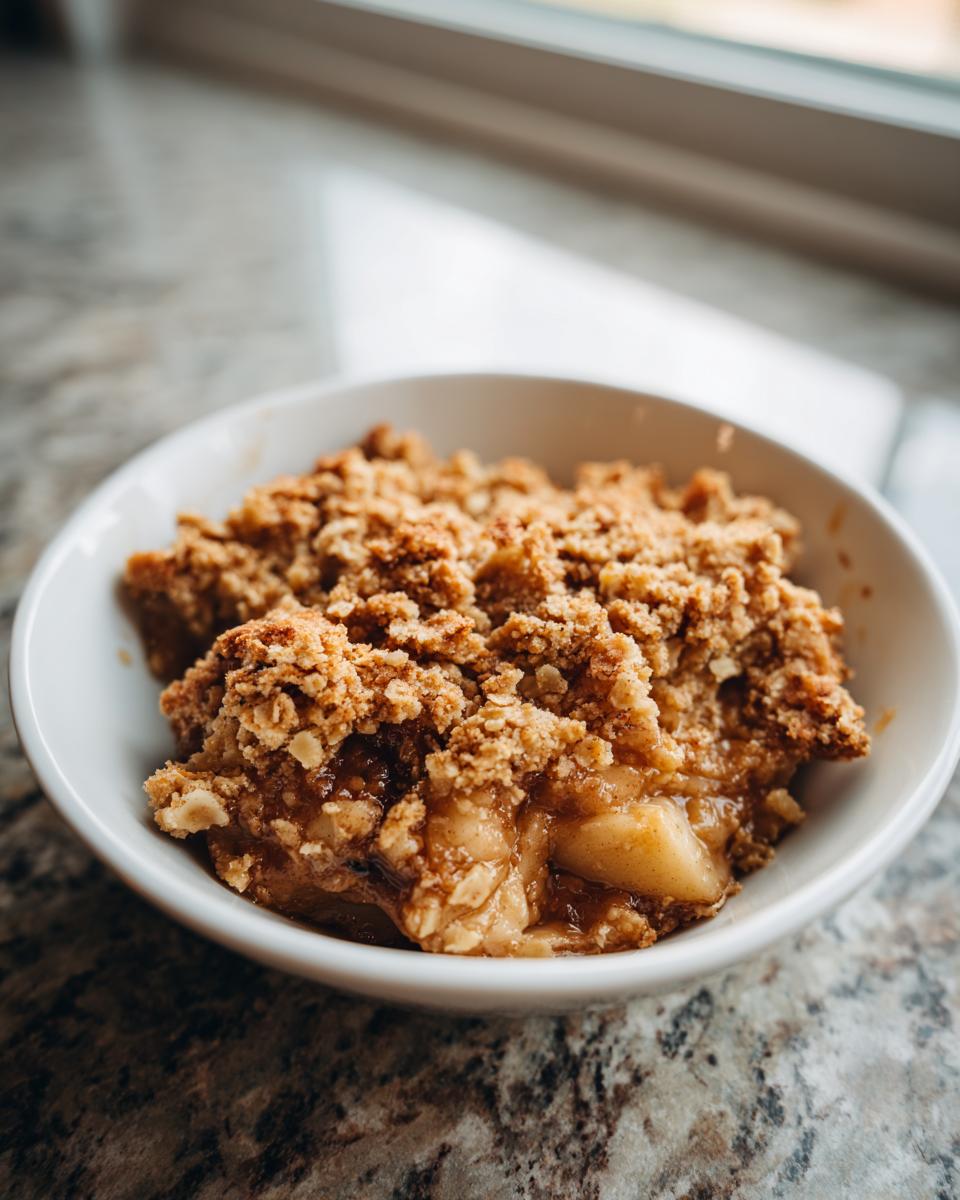
Time to tackle the crunchy part! In a separate bowl, you’re going to combine the dry topping ingredients: the remaining 1/2 cup flour, that lovely brown sugar, those hearty rolled oats, and just a pinch of salt. Now for the main event: the cold butter pieces. You must use cold butter here, trust me! Use a pastry blender—or honestly, just your fingertips work just as well if you’re quick—to cut that butter into the flour mixture. Stop when it looks like coarse crumbs, maybe some pieces still the size of small peas. This is key: Do not overmix! You need those distinct chunks to create that stunning buttery oat topping.
Baking and Resting the Apple Crisp Recipe
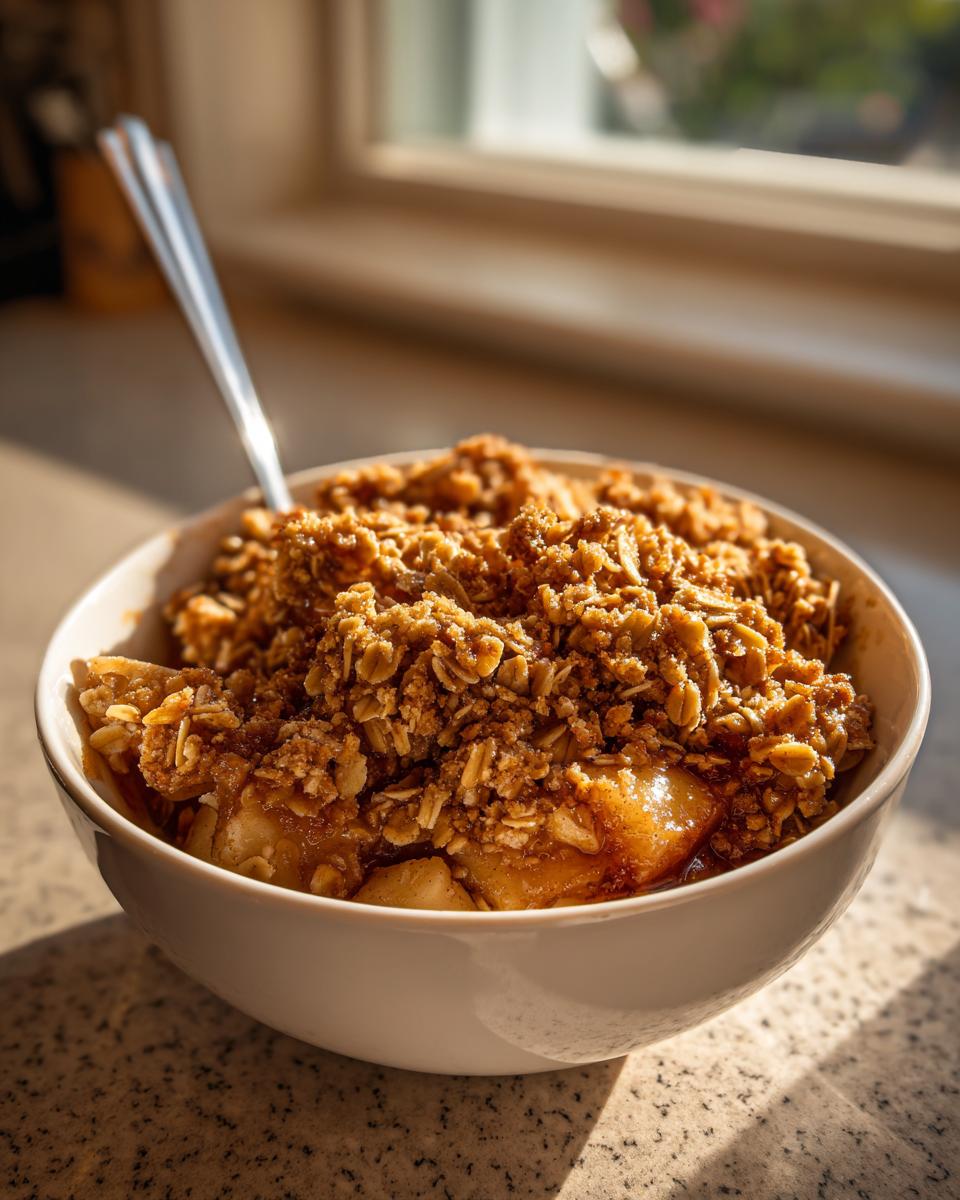
Once that crumb is mixed, sprinkle it evenly over the apples. Don’t feel like you need to pack it down; let it stay loose and rugged! Slide the whole dish into that preheated oven for about 40 to 50 minutes. You’re looking for two big visual cues: the topping needs to be deep golden brown, and you must see the apple filling bubbling robustly around the edges. When you see that, pull it out! Here’s my crucial expert tip that separates the good crisps from the unforgettable ones: Let your apple crisp recipe rest on a wire rack for at least 15 minutes before serving. This is tough, I know, but it lets those juices set up so you get clean scoops instead of a runny mess!
If you’re interested in another recipe that features those lovely warm spices, check out my apple cinnamon yogurt muffins!
Tips for Success with Your Homemade Apple Crumble
I’ve developed this simple fall baking method over several years, and while the recipe is straightforward, these little adjustments turn a nice dessert into the kind of comfort food dessert everyone asks you to make again. Think of these as the finishing touches that elevate your crisp from good to truly indulgent.
- For an extra layer of depth in that topping, I sometimes swap out half of the all-purpose flour for whole wheat. It gives the crumble a slightly nuttier, heartier texture that I adore. It’s a subtle change, but it really brings out the autumnal flavor profile.
- If you happen to grab a batch of apples that lean a little too tart—maybe you went heavy on the Granny Smiths—don’t worry about balancing it out later! Just bump up that granulated sugar measurement in the apple filling by about one extra tablespoon during the initial mixing stage. It melts down nicely and balances everything perfectly.
- If you’re looking to make this an absolute showstopper for a holiday gathering, try adding the zest of one small orange into the topping along with the dry ingredients. The bright citrus sings beautifully against the warm spices of the fruit filling.
For more simple dessert ideas that fit right into your busy life, have a look at my thoughts on an easy apple crumble recipe!
Serving Suggestions for This Classic Autumn Dessert
When you finally pull this masterpiece out of the oven—golden, bubbling, and smelling like pure fall heaven—the temptation to dive right in is intense. But how you serve this classic autumn dessert can truly take it to the next level. Presentation matters, even when you’re serving something as wonderfully rustic as a crisp!
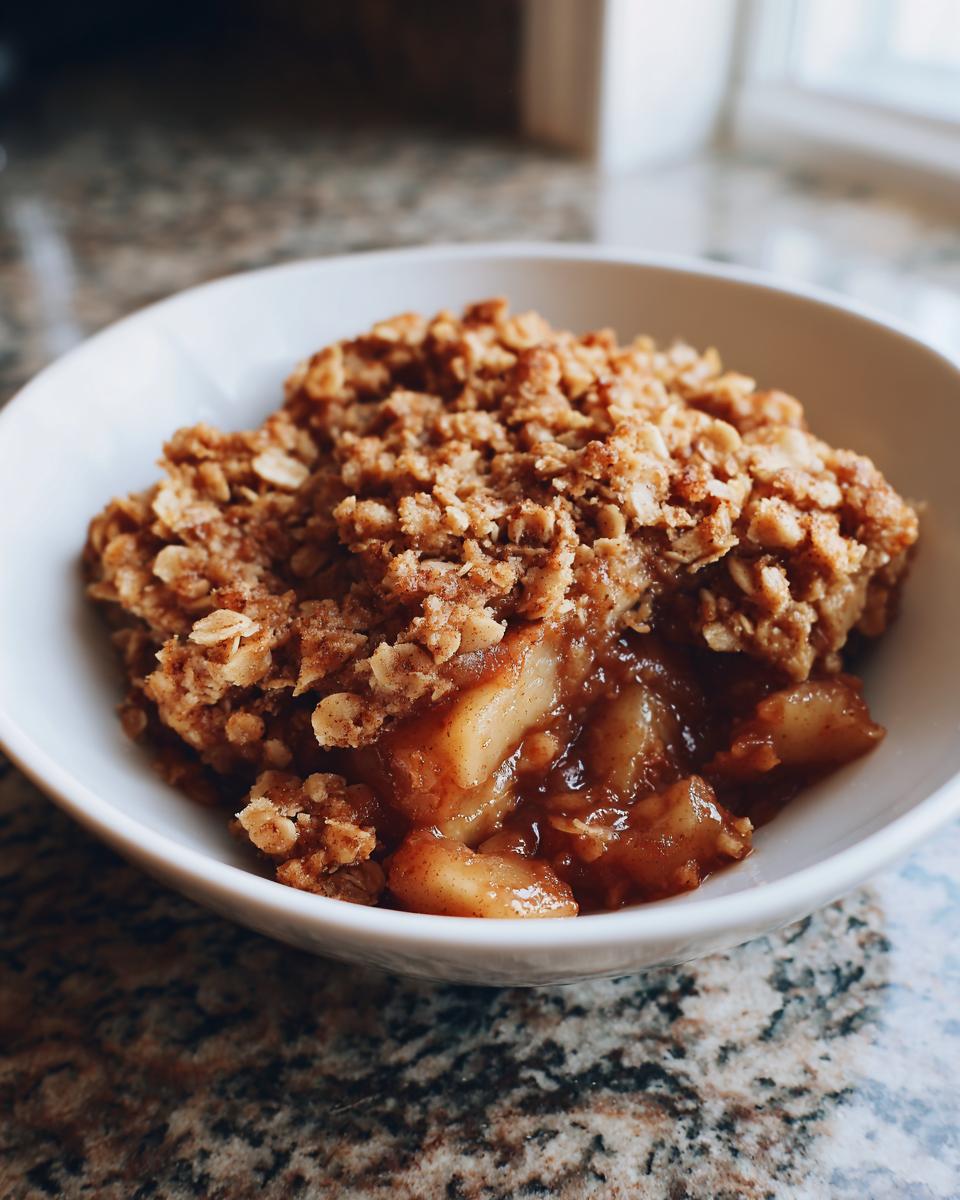
The absolute, non-negotiable way to enjoy this, in my professional opinion, is warm. I mean freshly out of that 15-minute cooling period, retaining that internal heat. That gentle warmth is what marries perfectly with something cold and creamy. My go-to accompaniment is always a generous scoop of high-quality vanilla bean ice cream. The contrast between the hot, spiced apples, the crunchy topping, and the cold, melting cream is sublime. It turns a simple treat into an event.
However, if you’re serving this at a family dinner or maybe even for an easy holiday baking moment, you have other wonderful options:
- Whipped Cream Dreams: If you prefer something lighter than ice cream, try topping each warm serving with a dollop of freshly whipped cream, maybe lightly sweetened with just a drop of maple syrup instead of plain sugar.
- Crème Fraîche Kick: For a slightly sophisticated tang that cuts through the sweetness of the brown sugar, a spoonful of crème fraîche—or even high-fat sour cream—is surprisingly delicious. It offers a creamy texture without the intense cold of ice cream.
- The Caramel Drizzle: If you feel like going all out, a drizzle of warm, homemade salted caramel sauce over the top just before serving elevates this comfort food dessert into something worthy of a fancy feast for the eyes.
Remember those lovely traditional tea cakes? If you’re looking for another easy baked item for your dessert spread, you might want to check out my recipe for old-fashioned tea cakes. Happy serving!
Storage and Reheating for Your Apple Crisp Recipe
We all hope this amazing apple crisp recipe gets devoured in one sitting, right? But if, by some miracle, you have leftovers—or if you want to prep ahead for an event—we need to talk about longevity and, more importantly, texture preservation. The enemy of crisp is moisture, and we want to fight that battle with every storage decision we make!
For short-term storage, say for the next day, you can simply cover the cooled crisp tightly with plastic wrap or aluminum foil and keep it on the counter. Honestly, at room temperature, it’s usually fine for up to 24 hours, especially if the apples are well-coated and didn’t release too much excess liquid. If you’ve made a huge batch, or if it’s a really warm day, pop it into the refrigerator. Any leftovers kept cold should be stored in an airtight container for up to three or four days.
Now, the crucial part: reheating! If you use the microwave, you’ll get soft apples, but your beautiful buttery oat topping will turn soggy instantly. I never recommend it unless texture is completely secondary.
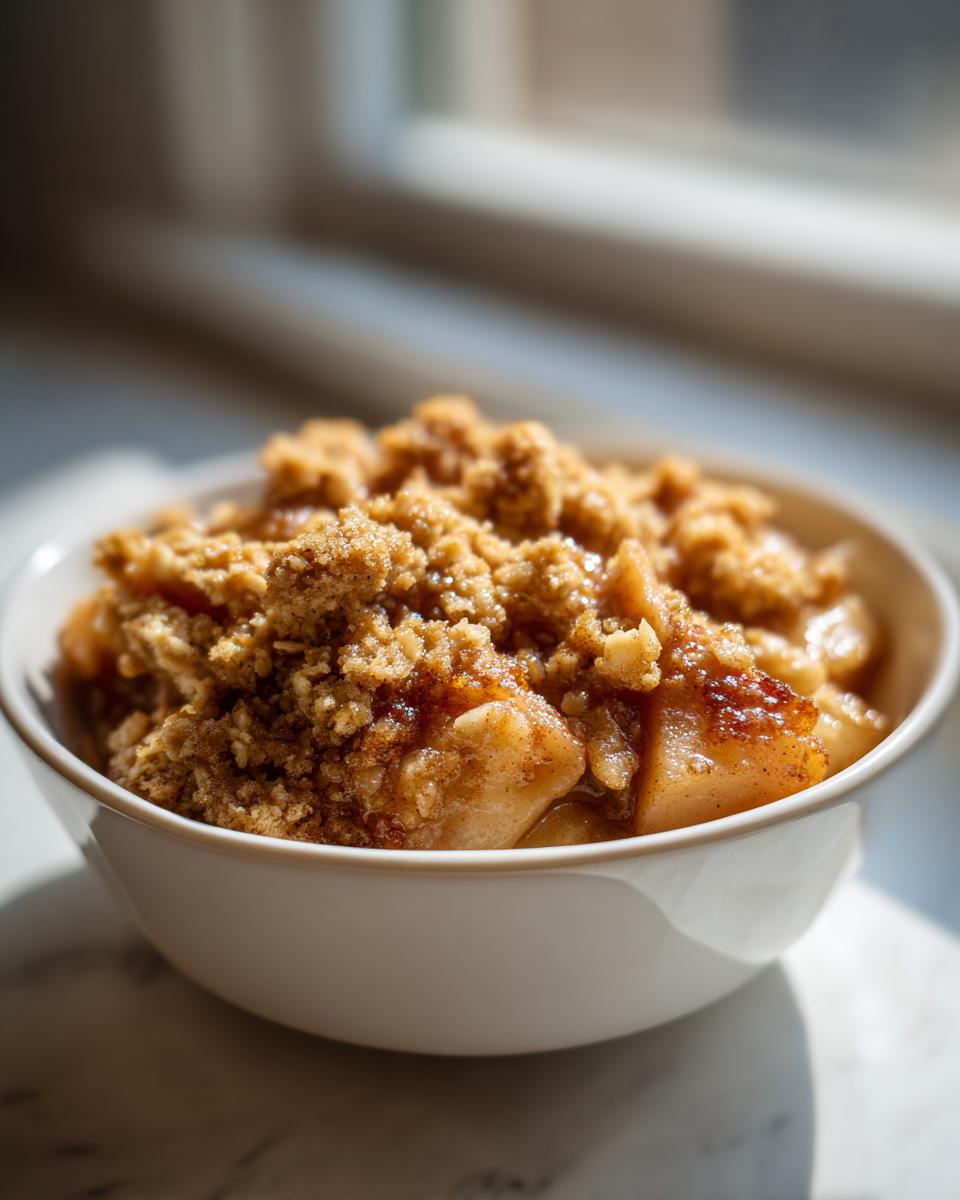
For the true experience, you must reheat this dessert in the oven. Preheat your oven to about 350°F (175°C). Place your serving (or the whole dish, covered loosely with foil) in the warm oven for about 10 to 15 minutes. The foil steams the apples back to warmth without burning the top, and then you can actually pull the foil off for the last five minutes to help crisp up the topping again. It brings back that just-out-of-the-oven glorious aroma!
If you are planning ahead for a party, you can actually assemble the entire apple crisp recipe—apples layered, topping sprinkled—but do NOT bake it yet! Cover it very well and store it in the fridge for up to two days. When you’re ready to serve, just add about 10 minutes to the stated baking time, as you’re moving from cold to hot. For more tips on keeping things moist and fresh even when stored, take a peek at my recipe for moist date nut bread!
Frequently Asked Questions About This Easy Apple Crisp Recipe
When I first started out, I had a million questions about every recipe I tried, especially for a classic like this. It’s important to know how to troubleshoot or adapt things slightly so you always get that perfect result—that reliable, deeply satisfying texture that makes this dessert what it is. Here are some of the questions I get asked the most about making the absolute best apple dessert ever!
Can I make this apple crisp recipe ahead of time?
Absolutely! This is a lifesaver when you are hosting. You can definitely assemble the entire dish—apples coated, topping sprinkled—but don’t bake it yet. Cover it tightly with plastic wrap, making sure the wrap doesn’t touch the topping if possible (a piece of parchment paper laid over the top layer helps prevent sticking). Keep it refrigerated for up to 24 hours. When you are ready to serve, just slide it into the oven, but give it an extra 10 to 15 minutes of baking time since it’s starting cold. It’s one of the easiest ways to plan for easy holiday baking!
What is the best way to reheat leftovers to keep the topping crunchy?
This is so important if you want to maintain that beautiful texture. Please, please avoid the microwave if you want that crunchy oatmeal crumble back! The microwave essentially steams everything, turning the topping soft and chewy in seconds. The best technique is reheating in a conventional oven set to about 325°F (160°C). You can place the scoop or slice on a small baking sheet. Tent it loosely with foil for about 8 to 10 minutes to warm the apples through, then remove the foil for the last three minutes so the top heats up and crisps slightly again. That method resurrects it perfectly!
Can I use different fruit in this crisp?
While this recipe is calibrated perfectly for apples to achieve those tender baked apples, yes, you can certainly pivot! This recipe template works wonderfully for stone fruits or other firm fruits. Pears are a fantastic, slightly less tart substitute—just make sure they are firm. You can also mix firm apples with berries like blackberries or raspberries. If you do use berries, you might want to reduce the lemon juice slightly or add a spoonful of flour to the fruit mixture just to handle the extra liquid the berries release. It’s a versatile base for any simple fall baking project!
If you’re looking for more baking guidance and tips from my own kitchen experiments, feel free to browse my full recipe blog archive!
Estimated Nutritional Data for This Comfort Food Dessert
When we talk about making a comfort food dessert that feels indulgent, we also need to be mindful of what glorious ingredients are going into our bodies. As a chef who believes in transparency, I want to be clear that these numbers are estimates based on the ingredients listed in the recipe above. They are calculated based on one generous serving size outlined in my testing.
This analysis doesn’t account for any additions, like a big scoop of vanilla ice cream you absolutely must serve alongside it! But for the crisp itself, here is the breakdown:
- Serving Size: 1 serving
- Calories: Approximately 350
- Fat: 18g (with 11g being saturated fat—that’s the butter doing its job for the topping!)
- Carbohydrates: 48g
- Protein: 4g
- Fiber: 5g (thanks to all those lovely apples and oats!)
I always encourage you to focus on flavor and the joy this dessert brings, but knowing these figures helps keep things balanced. Enjoy this beautiful, satisfying baked apple treat knowing exactly what’s in the bowl!
Share Your Apple Crisp Recipe Experience
Well, we’ve done it. We have created what I truly believe is the absolute best, most satisfying, and deeply delicious apple crisp recipe you will ever need. From the tartness of the apples to that perfectly engineered, buttery oat topping, this is comfort baking at its finest. But the story doesn’t end on my cooling rack; it begins when you pull it out of your oven!
When I was first learning to find the feast in my own kitchen, getting feedback was everything. Now that you’ve made this stunning old fashioned apple crisp, I desperately want to hear how it went! Did you stick with Granny Smith, or did you try a mix? Did you find the perfect ice cream pairing? Don’t keep that magic to yourself!
Please take a moment to leave a rating and your thoughts in the comments below. Your experience helps future cooks feel confident tackling this simple fall baking treat. If you managed to snap a picture of that golden crumble before everyone dug in, I would be thrilled if you shared it with me! You can always reach out directly through the Contact Page if you have a specific question or just want to tell me how much your family loved it. Thank you for making this recipe a part of your kitchen and your memories. Happy eating!
PrintThe Best Old Fashioned Apple Crisp Recipe with Buttery Oat Topping

This old fashioned apple crisp is the perfect cozy dessert for fall. It features tender baked apples seasoned with warm cinnamon and nutmeg, topped with a crunchy, buttery oatmeal crumble. This recipe is easy to prepare and delivers deep comfort in every bite.
- Prep Time: 15 min
- Cook Time: 45 min
- Total Time: 60 min
- Yield: 6 servings 1x
- Category: Dessert
- Method: Baking
- Cuisine: American
- Diet: Vegetarian
Ingredients
- 6 large baking apples (like Granny Smith or Honeycrisp), peeled, cored, and sliced
- 1/4 cup all-purpose flour
- 1/2 cup granulated sugar
- 1 teaspoon ground cinnamon
- 1/4 teaspoon ground nutmeg
- 1 tablespoon lemon juice
- 1/2 cup all-purpose flour (for topping)
- 1/2 cup packed light brown sugar
- 1/2 cup old-fashioned rolled oats
- 1/4 teaspoon salt
- 1/2 cup (1 stick) cold unsalted butter, cut into small pieces
Instructions
- Preheat your oven to 375°F (190°C). Lightly grease an 8×8 inch baking dish or a 9-inch pie plate.
- In a large bowl, combine the sliced apples, 1/4 cup flour, granulated sugar, cinnamon, nutmeg, and lemon juice. Toss gently until the apples are evenly coated.
- Spread the apple mixture evenly into the prepared baking dish.
- In a separate medium bowl, prepare the topping. Combine the remaining 1/2 cup flour, brown sugar, rolled oats, and salt. Mix these dry ingredients together.
- Cut in the cold butter using a pastry blender or your fingertips until the mixture resembles coarse crumbs. Do not overmix; you want some pea-sized pieces of butter remaining for crunch.
- Sprinkle the buttery oat topping evenly over the apple mixture in the baking dish.
- Bake for 40 to 50 minutes, or until the topping is golden brown and the apple filling is bubbly and tender when pierced with a fork.
- Remove from the oven and let it cool on a wire rack for at least 15 minutes before serving. This allows the filling to set slightly.
Notes
- Serve this classic autumn dessert warm with a scoop of vanilla ice cream for the ultimate comfort food experience.
- For a richer flavor in the topping, substitute half of the all-purpose flour with whole wheat flour.
- If your apples are very tart, increase the granulated sugar in the filling by one tablespoon.
Nutrition
- Serving Size: 1 serving
- Calories: 350
- Sugar: 35g
- Sodium: 150mg
- Fat: 18g
- Saturated Fat: 11g
- Unsaturated Fat: 7g
- Trans Fat: 0.5g
- Carbohydrates: 48g
- Fiber: 5g
- Protein: 4g
- Cholesterol: 45mg