
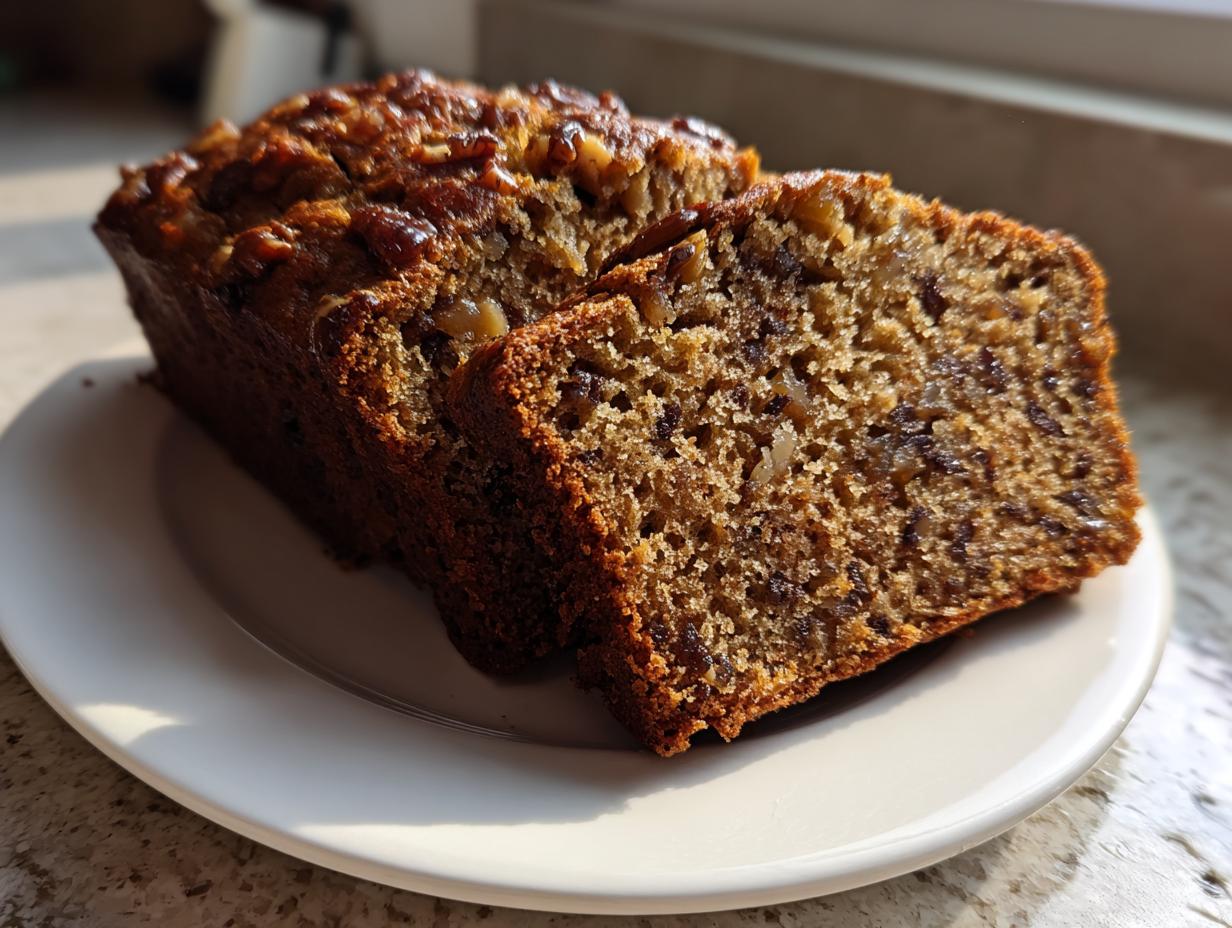

There is just something magic about a loaf of homemade bread cooling on the counter, right? It fills the whole house with that warm, cozy signal that everything is right with the world. Believe me, when I was stuck behind a desk in Chicago, my cooking felt like another chore, but learning to master reliable home baking techniques was how I finally found my joy again. That’s why I’m so excited to share this recipe with you; you can read a little more about that journey over on my About Page.
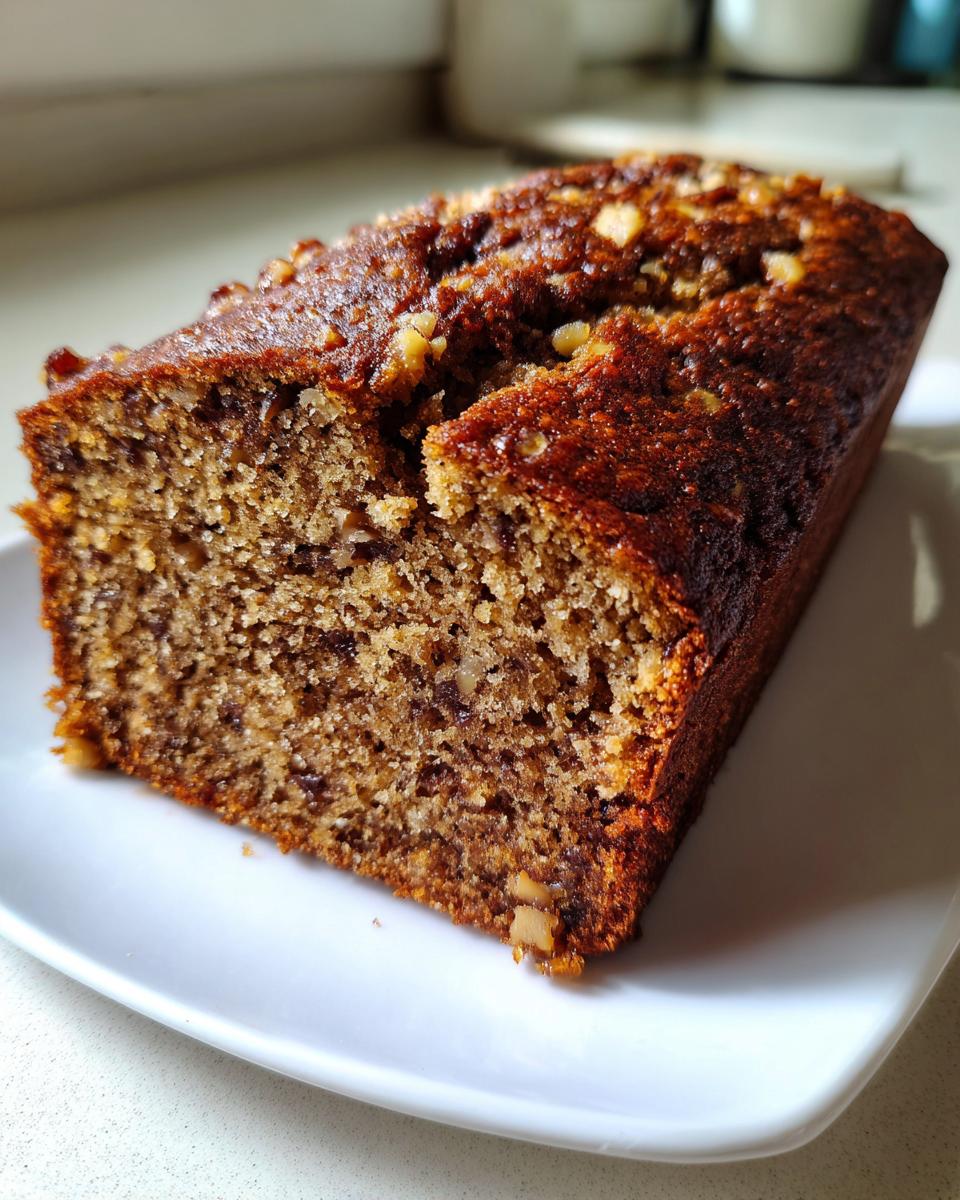
Meet The Ultimate Moist Old-Fashioned Date Nut Bread. This isn’t just any quick bread; this is the recipe that finally broke my cycle of dry loaves. It’s got that rich, classic flavor everyone craves, but the texture? Oh, the texture is unbelievably soft and moist. I finally nailed the technique to create this version of date nut bread, and it’s the foolproof recipe I use every single time now. You don’t have to be a professional baker to make this absolutely perfect.
- Why This Old-Fashioned Date Nut Bread is Your New Go-To Recipe
- Gathering Ingredients for Your Classic Date Nut Bread Recipe
- Best Date Nut Bread Instructions: Foolproof Steps for a Tender Crumb
- Tips for Success with Your Date and Walnut Baking
- Serving Suggestions for Your Classic Sweet Bread Recipe
- Storage and Make-Ahead Tips for Date Nut Bread
- Frequently Asked Questions About This Date Nut Bread
- Estimated Nutritional Data for Homemade Date Nut Bread
- Share Your Experience Baking This Date Nut Bread
Why This Old-Fashioned Date Nut Bread is Your New Go-To Recipe
I know what you want in a quick bread: big flavor and zero dryness. My time perfecting this recipe taught me exactly what matters most, and I built this loaf around those non-negotiables. Forget recipes that call for canned pumpkin or applesauce just to force moisture in; this one delivers naturally. For more of the reliable recipes coming out of my kitchen, make sure you check out my main blog index!
-
Guaranteed Moist Date Nut Bread Recipe Results
The absolute secret ingredient here isn’t a fruit—it’s a step! We soak the dates in boiling water and baking soda first. This simple habit is what ensures you end up with a genuinely Moist Date Nut Bread Recipe, soft through and through, not that crumbly cardboard stuff.
-
Simple Steps for Easy Quick Bread Baking
Honestly, if you can cream butter and sugar, you can make this loaf. There’s no yeast, no complicated kneading, and no fancy equipment needed. It really is the definition of Easy Quick Bread Baking, perfect for when you need a last-minute comfort food treat.
Gathering Ingredients for Your Classic Date Nut Bread Recipe
Okay, assembling the ingredients is almost as comforting as the actual baking! Since this recipe relies on classic flavors and textures, we need good quality basics. Don’t stress about finding anything too exotic here; everything should be right in your pantry or easy to grab at the store. Getting your mise en place ready is half the battle when tackling any Classic Sweet Bread Recipe, and it sets you up for success with this easy loaf.
Here is exactly what you’ll need for one perfect loaf:
- 1 cup boiling water
- 1 cup packed pitted dates, chopped (Trust me on the chopping part!)
- 1 teaspoon baking soda
- 1/2 cup (1 stick) unsalted butter, softened
- 1 cup granulated sugar
- 2 large eggs (Room temperature is always best, if you remember!)
- 1 teaspoon vanilla extract
- 1 3/4 cups all-purpose flour
- 1 teaspoon baking powder
- 1/2 teaspoon salt
- 1 cup chopped walnuts or pecans (Your choice, or mix them!)
Best Date Nut Bread Instructions: Foolproof Steps for a Tender Crumb
Making this bread is a simple progression, but the order of operations is what separates a good loaf from the legendary one. When you follow these steps exactly, you are building structure that locks in moisture, resulting in that gorgeous, soft texture we all crave in a date nut bread. Keep your mixer on low once the flour comes out, trust me on this one! For more guidance on keeping quick breads soft, check out my guide on How to Make Moist Quick Bread.
The Essential Date Soaking Technique for Moist Date Nut Bread
This is the step that makes all the difference, so don’t skip it! We’re creating the foundation for our ultimate texture right here, which is why so many people struggle with dry loaves when they try other recipes.
First, get that oven preheated to 350°F (175°C) and grease up that 9×5 inch loaf pan—a little parchment sling over the sides makes removal foolproof later. Then, here’s the magic: Take your chopped dates and put them in a bowl. Pour that full cup of boiling water right over them, stir in the baking soda, and just let it sit undisturbed for 15 whole minutes. The baking soda reacts with the dates, starting to break them down and hydrate them. This means they don’t suck moisture out of your batter while baking! It’s the key to that famously moist crumb.
Mixing and Baking Your Old Fashioned Date Loaf
Once those dates are plump and happy, it’s time for the batter. Start by creaming your softened butter and the sugar until it looks light and fluffy—we’re incorporating air here, which is important for structure. Beat in those eggs one at a time, followed by the vanilla.
Now, carefully introduce the date mixture (yes, liquid and all!) into your wet ingredients. Mix until it’s just combined. In a separate bowl, whisk your dry things—flour, baking powder, salt—just to make sure everything is distributed evenly.
Here’s where you need a gentle hand for that Tender Crumb Nut Bread. Add the dry mixture to the wet in stages, mixing only on low speed. The moment you see the last streak of flour disappear, STOP! That’s the rule to avoid overdeveloping the gluten. Gently fold in your cup of chopped walnuts or pecans. Pour it into your prepared pan. Bake this beautiful Old Fashioned Date Loaf for about 55 to 65 minutes. Start checking at 55 minutes with a wooden skewer inserted right into the center. If it comes out clean, you are done!
Tips for Success with Your Date and Walnut Baking
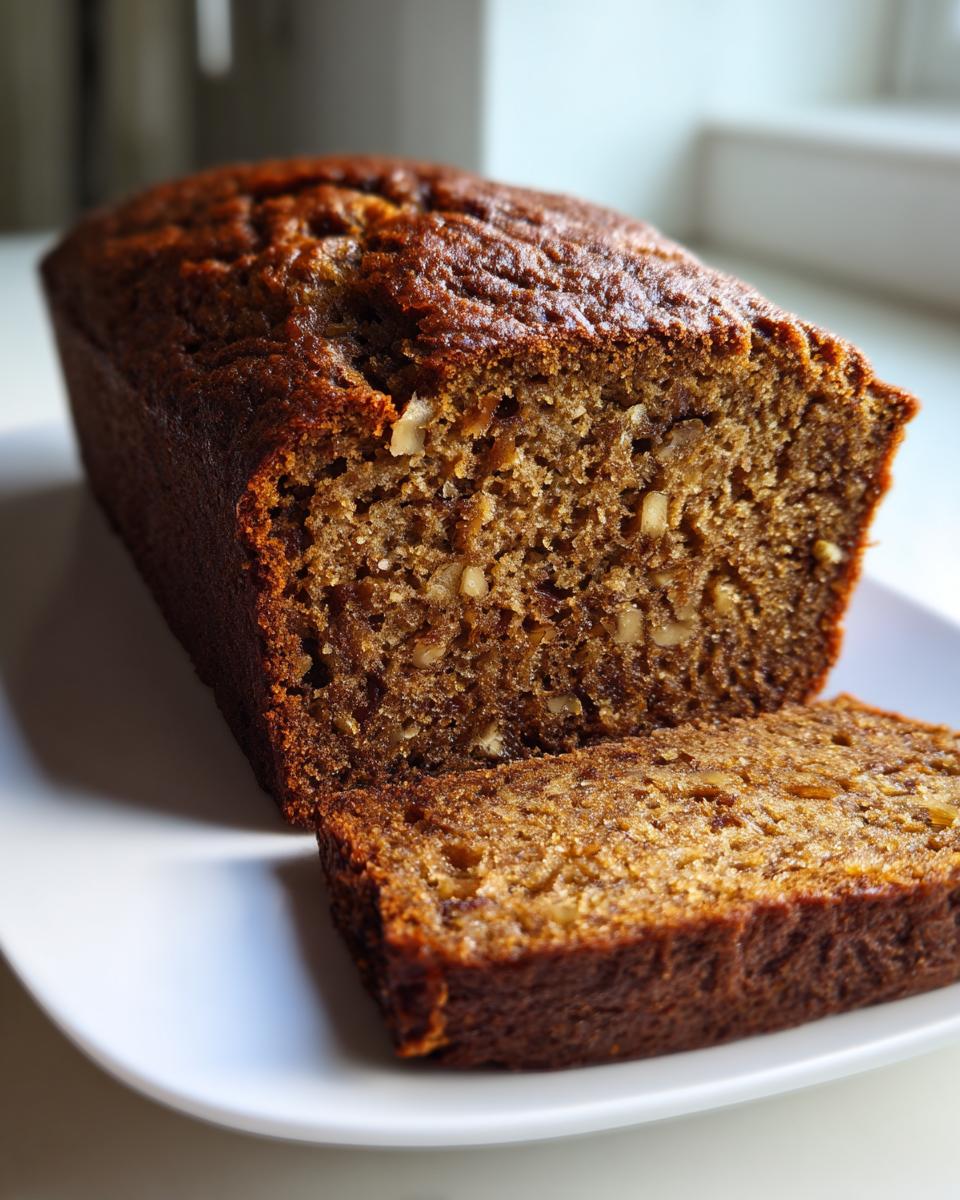
You’ve managed the hydration step, so you are already miles ahead of most bakers! Now, let’s make sure the final product is perfect. When it comes to the nuts in your Date and Walnut Baking adventure, please feel free to use either walnuts or pecans. Walnuts offer a slight bitterness that balances the dates beautifully, but pecans are sweeter and richer—it truly comes down to what you love most. If anyone in your house isn’t a fan of nuts, don’t fret; just leave them out entirely! This loaf is sensational even without them.
When testing for doneness, the skewer is your primary tool, but use your eyes, too. If the bread looks perfectly golden, and the skewer comes out clean with maybe just a few *moist crumbs* clinging to it (not wet batter!), take it out. Quick breads can dry out fast once they leave the oven, so pulling it slightly early is sometimes better than waiting too long. For reference on other cozy fall bakes like this, take a peek at my Best Pumpkin Bread recipe!
Serving Suggestions for Your Classic Sweet Bread Recipe
This date nut bread is almost too versatile; it just begs to be served in every possible scenario! Since it’s such a rich and satisfying quick bread, it manages to feel special enough for company but simple enough for a Tuesday breakfast, which is just the balance I always aim for here at Gourmet Gaze.
If you need ideas on presentation, or perhaps how to use up that last glorious loaf, think beyond just slicing it plain. I actually tried sharing a batch with a friend who runs a little cheese shop, and she said it was the perfect accompaniment for her charcuterie boards! You can see how she styled it on her blog for inspiration—it really elevates the presentation—check out her beautiful styling here: Moist Date Nut Bread Feature.
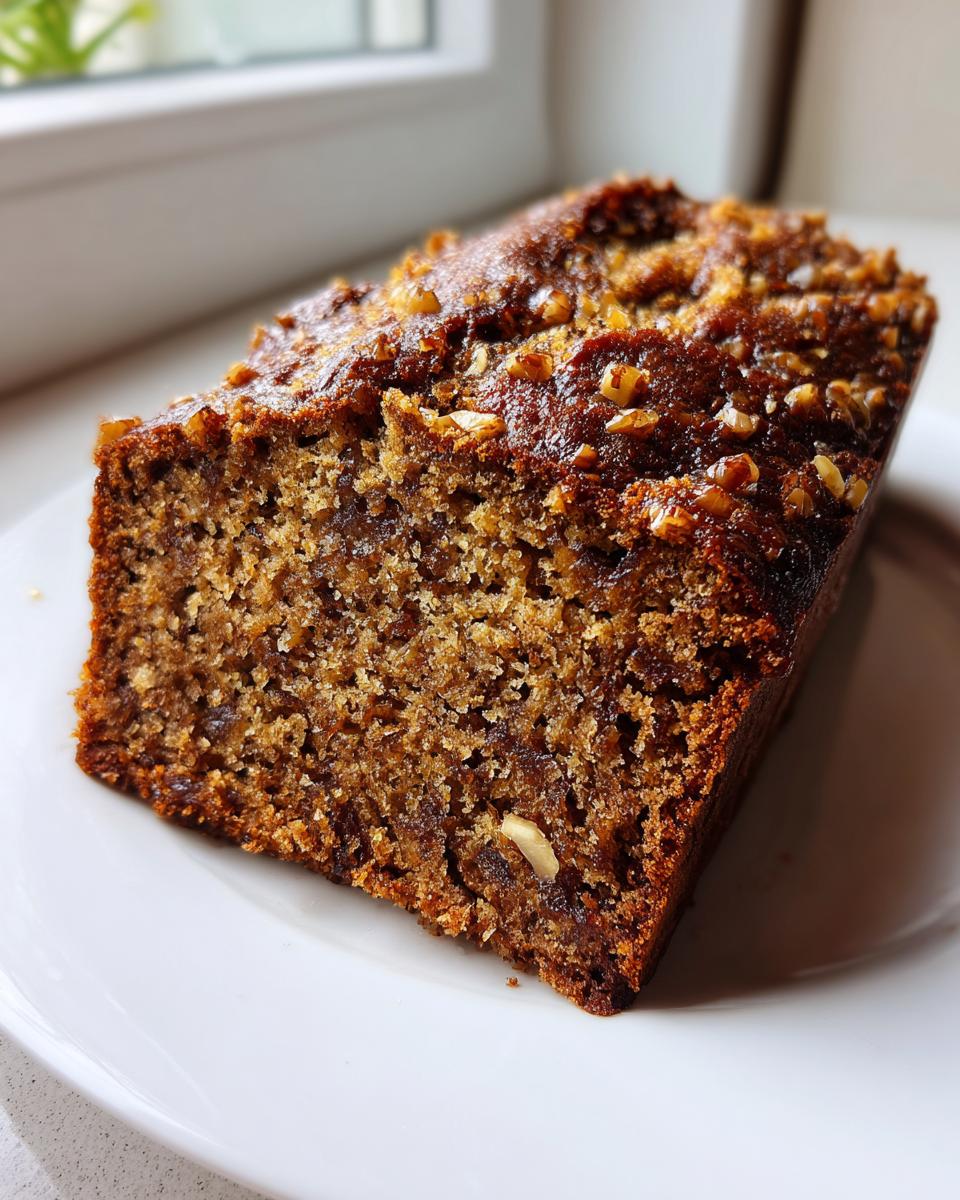
Here are a few of my absolute favorite ways to serve this Classic Sweet Bread Recipe:
- The Morning Slice: Don’t wait for it to cool completely! Slice it thick while it’s still warm and spread a generous smear of salted butter on it. That little bit of melt is pure heaven.
- The Brunch Best Friend: Serve it alongside coffee or tea. It’s fantastic paired with a tangy cream cheese frosting or even just a thin layer of plain cream cheese. It’s always a huge hit when I serve it next to my Old Fashioned Tea Cakes.
- Gifting Gold: This bread travels so well, especially since it stays moist for days. Wrap the cooled loaf up nicely in some butcher paper and tie it with twine. It makes such a thoughtful, cozy housewarming gift or a contribution to a holiday gathering.
- Elevated Snack: Forget the candy bar! A thick slice of this dense, nutty bread makes a perfect afternoon snack to give you energy when you hit that 3 PM slump.
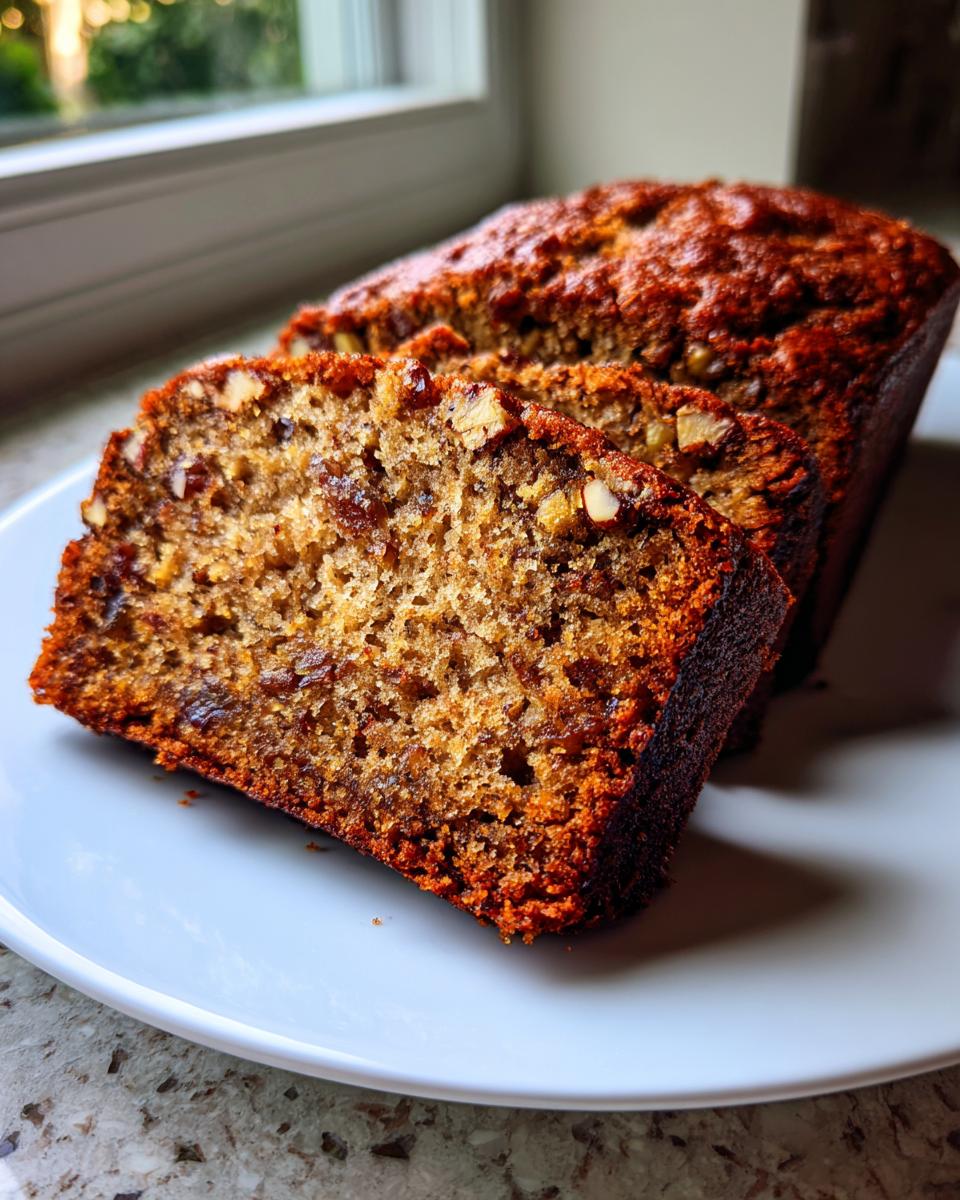
Storage and Make-Ahead Tips for Date Nut Bread
You know, the hardest part about baking this incredibly delicious loaf is having to wait for it to cool down! But planning ahead is key, especially when you’re making something this good. Because this date nut bread is already so wonderfully moist thanks to that date-soaking trick, it stays fresh beautifully. You don’t have to worry about scrambling to eat it the day it comes out of the oven.
I often bake two loaves at once—one for immediate enjoyment and one to stash away for later. Whether you are preparing for holiday baking marathons or just stocking up on your favorite Nostalgic Quick Bread, here’s exactly how I handle leftovers and make-aheads.
Room Temperature Storage
Once the loaf is completely cool—and I mean completely cool, otherwise you’re trapping steam and inviting sogginess—wrap it tightly. I prefer using plastic wrap first, followed by a layer of aluminum foil, just to keep that air out. Stored this way on the counter at room temperature, it honestly keeps its tender crumb for a good 3 to 4 days. It’s perfect for slicing off a piece every morning with your coffee. If you want to revisit other make-ahead favorites, you should try my recipe for the Easy Apple Crumble Recipe; it handles make-ahead storage just as well!
Refrigeration and Moisture
If you live somewhere really warm or humid, or if you know you won’t finish the loaf within four days, the fridge is your next best spot. Wrap it well, just as described above, and pop it in. It will last over a week this way, but sometimes the texture can feel a bit firmer right out of the cold. My fix for this? Just let it sit on the counter for about 30 minutes before serving, or zap a slice in the microwave for about 10 seconds. It softens right back up!
Freezing for Future Comfort
This is my top choice for long-term storage, and it’s one of the best features of this easy quick bread. You absolutely can freeze it, and it tastes almost exactly like it was baked yesterday when you thaw it out.
Follow the double-wrap method: tight plastic wrap, then foil. If you want to be super dedicated, you can even tuck it into a zip-top freezer bag after that. The specific notes I took from my recipe development show that this loaf holds up perfectly for up to three months in the freezer. When you’re ready to eat it, just unwrap the foil layer, leave the plastic wrap on, and let it thaw overnight on the counter. Easy peasy!
Frequently Asked Questions About This Date Nut Bread
I get so many questions about how to keep this loaf perfect, and honestly, that’s wonderful! It means you’re ready to dive into some serious homemade comfort food bread. I’ve pulled some of the most common inquiries right here so we can troubleshoot before you even get your apron on. If you have questions that aren’t answered here, feel free to reach out through my Contact Page!
Can I substitute the nuts in this date nut bread?
Absolutely, you can! I used walnuts primarily because I love that slightly bitter counterpoint to the sweetness of the dates. But if you prefer pecans, go for it—they bring a richer, butterier flavor. If you have a nut allergy, or just aren’t feeling the crunch this time around, you can skip the nuts altogether. The bread will still be incredible, guaranteeing you a great result from our Simple Date Baking Recipe.
What makes this the ‘Best Date Nut Bread Instructions’?
It really comes down to two things we talked about in detail! First, the mandatory date soaking step. Pouring boiling water over the dates mixed with the baking soda is the secret handshake that guarantees a wonderfully moist loaf every time—no exceptions. Second, remember the creaming of the butter and sugar. That step whips air into the batter, which is essential for getting that light, tender crumb instead of a dense brick after baking. Follow those two steps, and I promise you’ll see why these are the Best Date Nut Bread Instructions out there.
Is this date nut bread suitable for brunch?
It is absolutely perfect for brunch! It hits that ideal spot between a dessert and a hearty breakfast item. Because it’s so rich and satisfying, it transitions beautifully from a weekend breakfast staple to a wonderful, cozy afternoon snack bread. It goes fantastic with strong coffee or a pot of black tea. It’s definitely one of my favorite go-to Brunch Quick Breads to serve when company is over!
Estimated Nutritional Data for Homemade Date Nut Bread
Since we’re talking about taking this delicious date nut bread from my kitchen to yours, I feel it’s important to lay out what you can generally expect from a slice nutritionally. Transparency is key—that’s part of the E-E-A-T I value here at Gourmet Gaze! Remember, because we are using real butter and natural sugars from the dates, this is a comforting, classic treat, not a diet loaf!
These numbers are based on slicing the entire loaf into 10 even servings and using the ingredients listed above. Naturally, substitution choices—like swapping granulated sugar for a different sweetener, or using oil instead of butter—will change these figures.
Here is the estimated breakdown:
- Serving Size: 1 slice
- Calories: 285
- Sugar: 25g (Mostly natural sugar from dates and added granulated sugar)
- Total Fat: 12g
- Saturated Fat: 5g
- Unsaturated Fat: 7g
- Carbohydrates: 43g
- Fiber: 2g
- Protein: 5g
- Cholesterol: 55mg
- Sodium: 180mg
Just a friendly disclaimer from my side: These are educated estimates, not lab-tested results! The exact amounts of fat, sugar, and calories can jump around depending on the specific brand of butter you grab or the exact size of your eggs. Treat this as a rough guide for enjoying your wonderful, moist date nut bread!
Share Your Experience Baking This Date Nut Bread
Now that you’ve tasted what a truly moist, deeply flavorful date nut bread should be, I really, really want to know what you think! Here at Gourmet Gaze, creating food that satisfies everyone—from the beginner to the seasoned home cook—is what motivates me every day. Your feedback helps me ensure that every recipe standing on this site is worthy of your precious oven time.
Once you’ve let your loaf cool down and you’ve managed to slice into it (I know it’s hard to wait!), I would be so grateful if you could hop back here and leave a star rating. Was it the tender crumb you were hoping for? Did the date-soaking trick work its magic for you?
Don’t keep those beautiful loaves hidden! Snap a picture of your perfect slice—maybe slathered with butter or sitting next to your morning coffee—and tag me on social media! Seeing how you bring these recipes to life in your own kitchens is the greatest compliment. Let’s celebrate this batch of fantastic homemade comfort food bread together. And just so you know the official ground rules for using the site, you can always review my Terms of Use.
I can’t wait to read your thoughts and see your beautiful creations. Happy baking, everyone!
PrintThe Ultimate Moist Old-Fashioned Date Nut Bread
This recipe delivers an incredibly moist date nut bread with a tender crumb and rich, classic flavor. It is a simple quick bread, perfect for breakfast or gifting.
- Prep Time: 20 min
- Cook Time: 60 min
- Total Time: 1 hour 40 min
- Yield: 1 loaf (about 10 servings) 1x
- Category: Quick Bread
- Method: Baking
- Cuisine: American
- Diet: Vegetarian
Ingredients
- 1 cup boiling water
- 1 cup packed pitted dates, chopped
- 1 teaspoon baking soda
- 1/2 cup (1 stick) unsalted butter, softened
- 1 cup granulated sugar
- 2 large eggs
- 1 teaspoon vanilla extract
- 1 3/4 cups all-purpose flour
- 1 teaspoon baking powder
- 1/2 teaspoon salt
- 1 cup chopped walnuts or pecans
Instructions
- Preheat your oven to 350°F (175°C). Grease and flour one standard 9×5 inch loaf pan.
- Place the chopped dates in a heatproof bowl. Pour 1 cup of boiling water over the dates and stir in the baking soda. Let this mixture sit for 15 minutes to soften the dates.
- In a large bowl, cream together the softened butter and granulated sugar until the mixture is light and fluffy.
- Beat in the eggs one at a time, mixing well after each addition. Stir in the vanilla extract.
- Add the date mixture (including the liquid) to the wet ingredients and mix until just combined.
- In a separate medium bowl, whisk together the flour, baking powder, and salt.
- Gradually add the dry ingredients to the wet ingredients, mixing on low speed until just incorporated. Do not overmix.
- Fold in the chopped nuts.
- Pour the batter into the prepared loaf pan.
- Bake for 55 to 65 minutes, or until a wooden skewer inserted into the center comes out clean.
- Let the bread cool in the pan for 10 minutes before turning it out onto a wire rack to cool completely.
Notes
- For an extra moist date loaf, do not skip the step of soaking the dates in boiling water with baking soda; this hydrates the fruit and helps create a tender crumb.
- This bread freezes well. Wrap the cooled loaf tightly in plastic wrap and then foil before freezing for up to three months.
- Serve thick slices warm with cream cheese or salted butter for a cozy afternoon snack bread.
Nutrition
- Serving Size: 1 slice
- Calories: 285
- Sugar: 25
- Sodium: 180
- Fat: 12
- Saturated Fat: 5
- Unsaturated Fat: 7
- Trans Fat: 0
- Carbohydrates: 43
- Fiber: 2
- Protein: 5
- Cholesterol: 55