
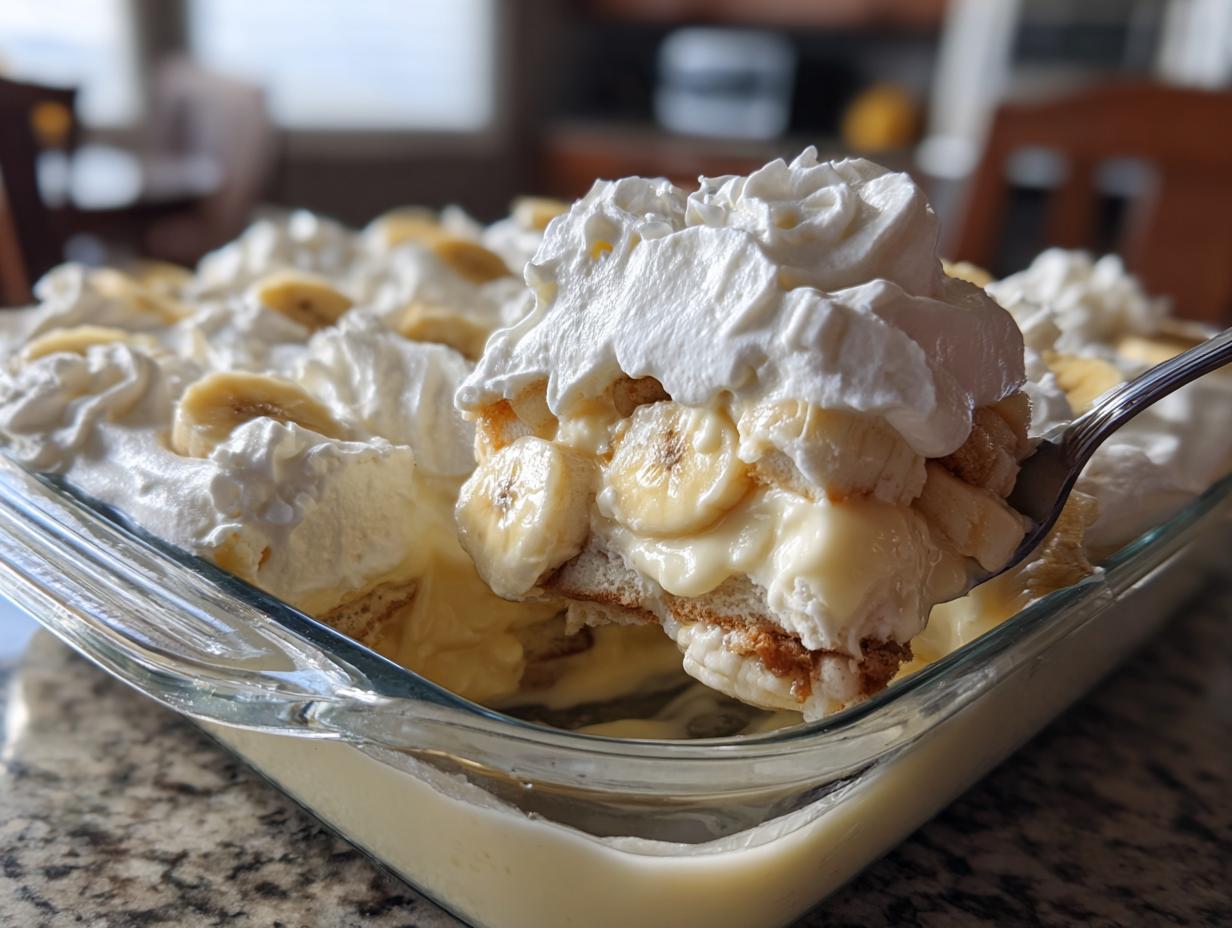

If you are hunting for a dessert that hugs you from the inside out, you’ve come to the right place. Forget those bland, thin puddings that taste like they came from a box mix—we are making the real deal today. We are diving deep into the ultimate, rich, homemade banana pudding, where the creamy texture is the main event!
Before I started Gourmet Gaze, my life was spreadsheets and quick lunches. But when I stopped in that tiny New Orleans diner, a bowl of velvety shrimp creole changed everything. That rich, soulful food inspired me to chase authentic flavor. And nothing screams authentic comfort like a perfectly executed Southern dessert. This recipe for banana pudding gets it right. It’s layered, it’s thick, and when it sets up overnight, it’s pure magic. You aren’t just making a treat; you’re making memories. Trust me.
If you want to explore other soul-soothing dishes, you can check out my full collection of recipes over in the Desserts section!
- Why This Classic Banana Pudding Recipe is the Best Banana Pudding Ever
- Gathering Ingredients for Your Homemade Banana Pudding
- Step-by-Step Instructions for Classic Southern Banana Pudding Recipe
- Tips for Success with Your Banana Pudding
- Variations: From Magnolia Style Pudding to No Bake Banana Dessert
- Storage and Make Ahead Dessert Tips for Your Banana Pudding
- Serving Suggestions for This Comfort Food Dessert
- Frequently Asked Questions About Old Fashioned Dessert
- Share Your Experience Making This Banana Pudding
Why This Classic Banana Pudding Recipe is the Best Banana Pudding Ever
I’ve tried the quick mixes, you know I have—we all look for shortcuts sometimes! But for true Southern comfort, you simply cannot beat making the pudding entirely from scratch. This particular recipe for banana pudding stands head and shoulders above the rest because of two major factors: the custard and the construction. It’s what separates a good dessert from one people ask for by name!
- It uses real egg yolks, which makes all the difference in richness.
- The chilling process is non-negotiable for achieving the right structural integrity.
- This isn’t just a pile of ingredients; it’s a proper, baked-in-the-heart banana pudding.
When you’re ready to see the magic happen, you can check out more details about why this version shines over on my Best Banana Pudding Ever post.
Achieving That Dreamy, Creamy Pudding Dessert Texture
Store-bought pudding just tastes… flat, honestly. When you take the time to cook a custard base using cornstarch and, critically, those egg yolks, you build structure. That slow cooking creates a depth of flavor that’s impossible to replicate instantly. This is what gives you that perfectly luscious, thick, and creamy pudding dessert texture that melts in your mouth. It’s rich, but never heavy, making every spoonful truly satisfying.
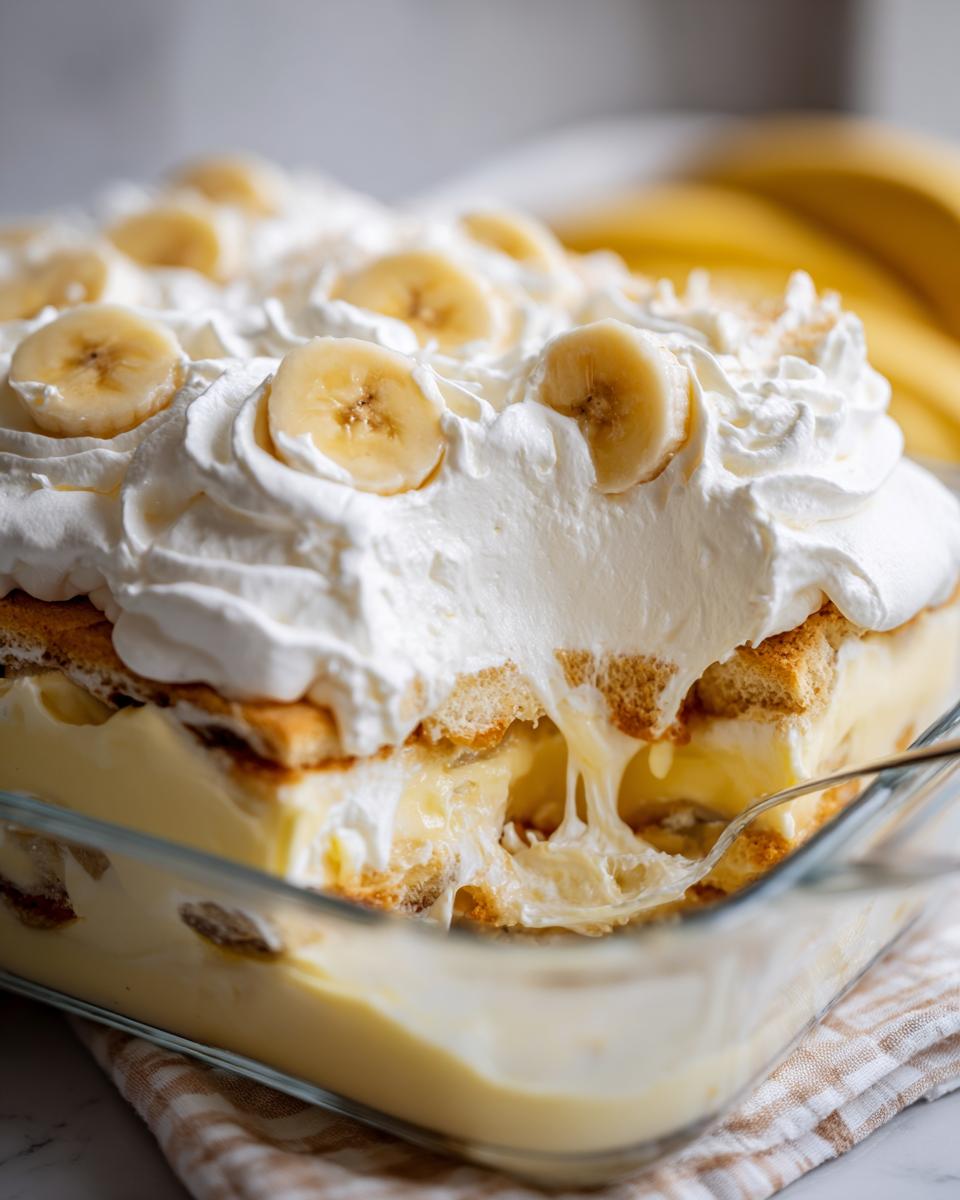
The Secret to Perfect Layered Banana Dessert Construction
Here’s where people go wrong! You cannot rush the chill time. Those vanilla wafers need hours submerged in the pudding to transform from crunchy cookies into tender, cake-like pieces. If your wafers are still crunchy when you eat it, we have a structural issue! Allowing it to rest overnight turns this into a true layered banana dessert where every bite blends gooey wafer, soft fruit, and smooth pudding seamlessly. That transition is everything!
Gathering Ingredients for Your Homemade Banana Pudding
Okay, Leo here! Seeing that ingredient list laid out gives me a thrill—it’s the foundation of something truly comforting. Making this banana pudding from scratch means we control the quality of every layer, which is key to avoiding that flat, artificial taste. Honestly, the best flavors come from just a few simple things treated right.
I’ve broken down everything you need below, grouped just like I organize my ingredients before I start the stove work. Remember, the bananas need to be ripe but not totally brown—we want flavor, not mush! Once you have these ready, we can move on to building this amazing dessert.
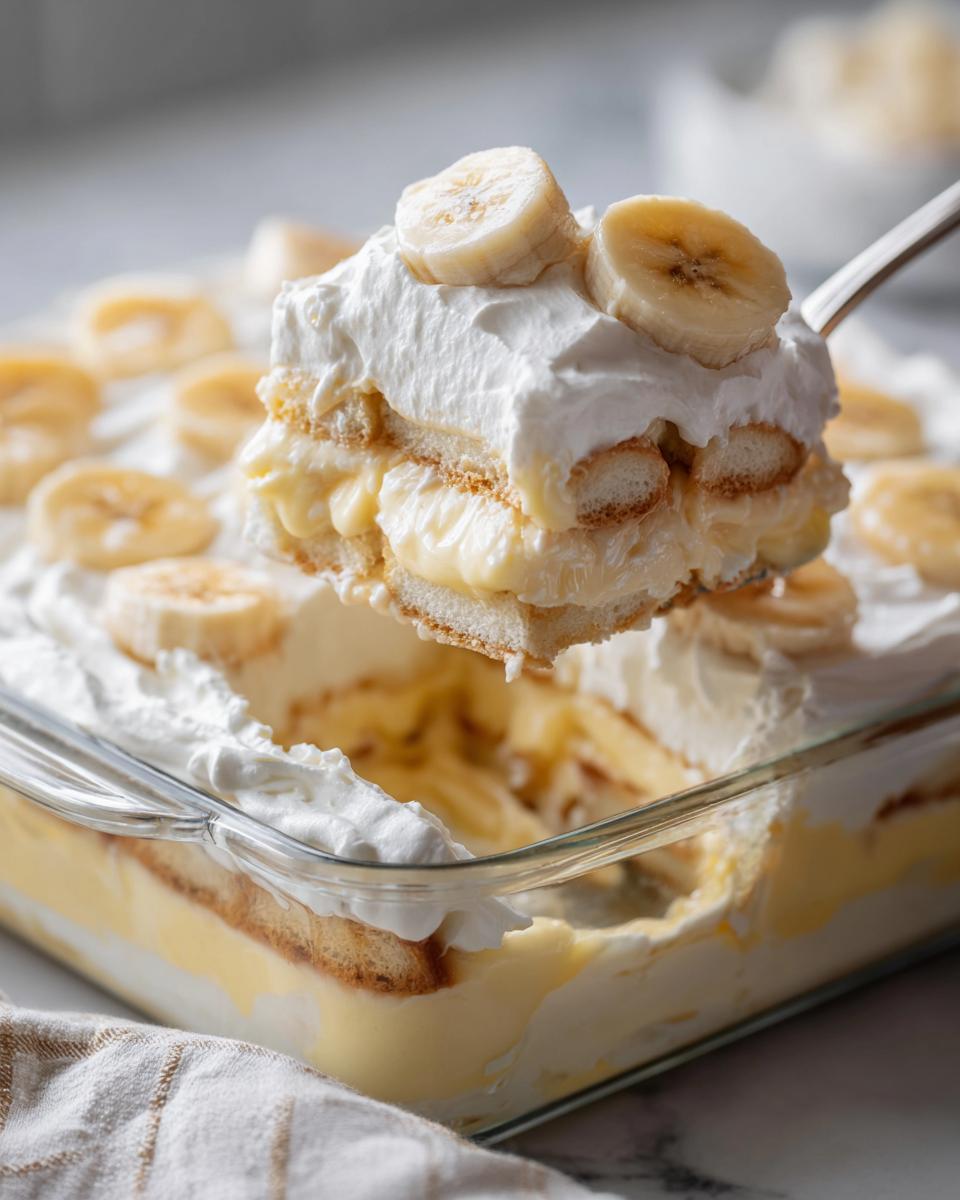
If you’re planning a big event, you can bookmark my main Homemade Banana Pudding guide for quick reference!
For the From Scratch Pudding Base
- 1 cup granulated sugar
- 1/4 cup cornstarch
- 1/4 teaspoon salt
- 1 1/2 cups whole milk
- 2 large egg yolks, lightly beaten
- 2 tablespoons unsalted butter
- 1 teaspoon vanilla extract
For Assembly and Layering
- 4 large ripe bananas, sliced
- 1 box (11 ounces) vanilla wafers
For the Whipped Cream Topping
- 1 cup heavy cream, chilled
- 2 tablespoons powdered sugar
Step-by-Step Instructions for Classic Southern Banana Pudding Recipe
This is the moment of truth! Building that perfect structure requires careful attention, just like assembling one of my styled photo shoots. If you follow these steps exactly for the homemade custard, you’ll nail that rich, silky base needed for a premium Southern Banana Pudding Recipe. Don’t turn the heat up too high when cooking the pudding—patience here saves you from scrambled eggs later! If you’re looking for other incredible scratch recipes, you should definitely keep my guide on Old Fashioned Tea Cakes Recipe saved!
Making the Homemade Custard Base
First things first: In a saucepan, whisk together your sugar, cornstarch, and salt. Then, drizzle in the whole milk slowly, making sure it’s completely smooth before you even think about turning on the stove. Heat this over medium heat, stirring constantly. I mean it—don’t walk away! Once it coats the back of a spoon, take it off the heat. Now, for the tempering part: Whisk those egg yolks lightly in a separate bowl. Slowly pour about half a cup of the hot milk mixture into the yolks while whisking like crazy! This warms them up gently. Then, pour that warmed yolk mixture right back into the saucepan. Return it to low heat for just one minute more, stirring constantly. Finally, stir in that butter and vanilla until everything melts into glossy perfection. Let it cool for about 15 minutes, stirring occasionally so a skin doesn’t form on top.
Assembling the Layers of Your Banana Pudding
Grab your 9×13 dish, because it’s time to build! Start by laying down a single, snug layer of vanilla wafers across the bottom. Next, arrange half of your sliced bananas over those wafers. Gently spoon half of your slightly cooled pudding right over the bananas—spread it gently so you don’t knock the layers around. Then, you repeat the magic: another layer of wafers, the rest of the bananas, and finally, the last bit of pudding on top. This has to chill out! Cover that dish tightly, making sure the plastic wrap touches the surface of the pudding completely. It needs a minimum of four hours in the fridge, but honestly, letting it sit overnight is when the wafers absorb all that flavor and get perfectly soft.
Finishing and Serving the Sweet Banana Treat
Once your pudding is nicely chilled—it should be firm and set—you can whip up the topping. In a clean, cold bowl, whip that heavy cream with the powdered sugar until you get stiff, beautiful peaks. Don’t overdo it, or you’ll get butter! Spread this glorious cloud of whipped cream over the top of your chilled dessert. This final touch elevates it from good to amazing. Serve this sweet banana treat cold directly from the fridge for the best experience!
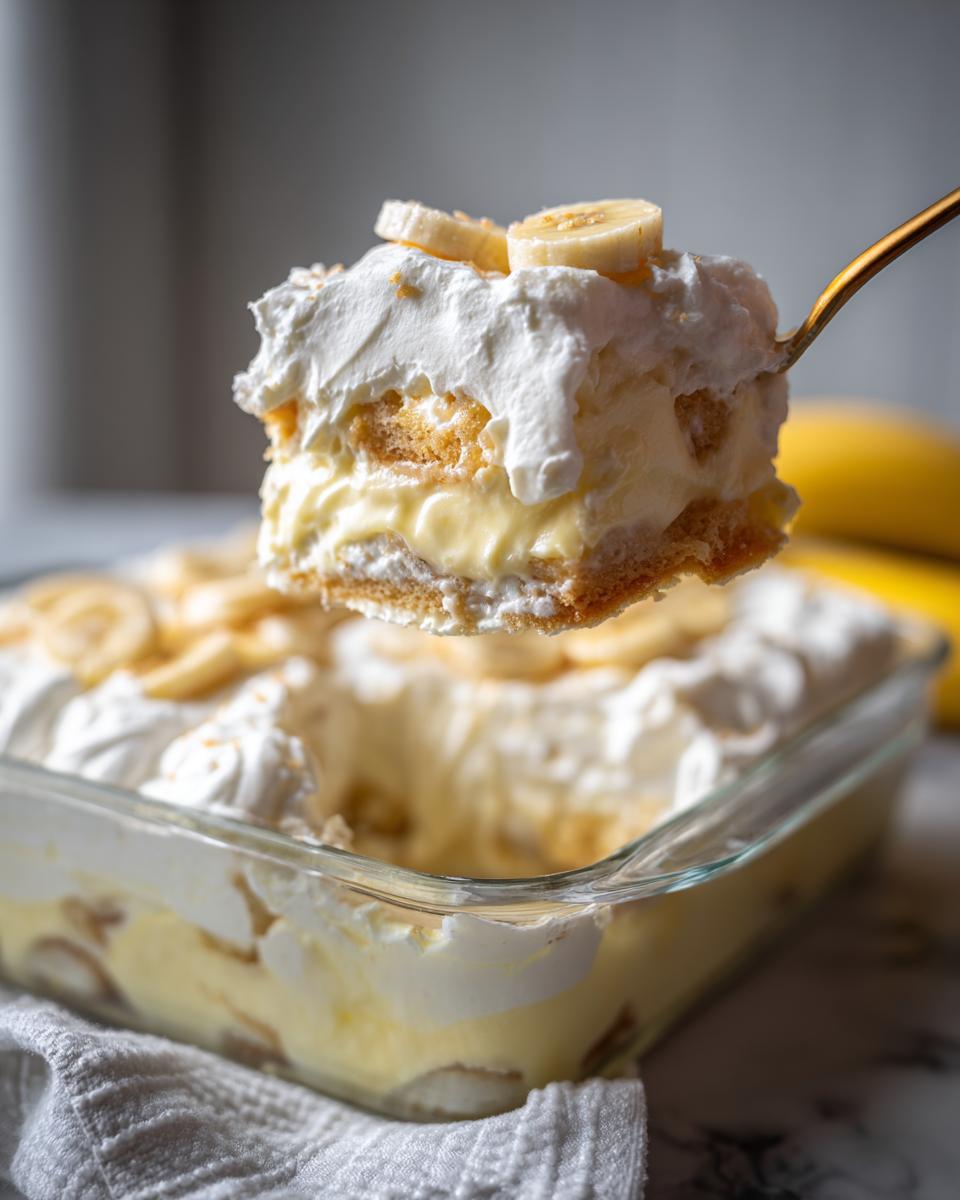
Tips for Success with Your Banana Pudding
Even when you follow a perfect recipe, baking can throw curveballs! I remember one time I was rushing to get this banana pudding ready for a potluck the next morning. I covered the dish and put it straight into the fridge without doing the final plastic wrap trick. Well, let me tell you, when I pulled it out, the top layer of custard had this thick, slightly rubbery ‘skin’ on it. It looked less like a feast for the eyes and more like something scraped off the surface of a swamp!
That taught me a huge lesson: texture matters just as much as taste. These little tips are things I learned the hard way so you don’t have to waste any of your precious time. I know you want the best results for your banana pudding, so listen up!
If you want to see some other foolproof techniques for making sure your bakes come out perfectly every time, check out my tips for Easy Apple Crumble Recipe.
Preventing Skin on Your Banana Pudding Custard
This is the absolute key to keeping your custard silky smooth and achieving that gorgeous, unblemished look. Once you pour that slightly cooled pudding over your top layer of bananas and wafers, you need to handle the covering process like gold! Take your plastic wrap and press it directly onto the surface of the pudding itself. I mean physically touch the surface so there is no air pocket underneath. Air is the enemy here; it causes that gross film to form. If you press the wrap right down, the pudding stays moist and beautiful until it’s time to add the whipped topping. It’s simple, but total game-changer!
Banana Ripeness for the Best Flavor
When choosing bananas for this dessert, you want to look for bright yellow bananas, maybe just starting to show those little brown freckles—that’s peak flavor time! They should still feel firm enough that they hold their shape when you slice them. If you use bananas that are too green, they taste starchy and bland. But—and this is important because we are talking about overnight setting—if they are *too* ripe (like black-skinned soft), they can get really mushy after chilling for, say, a full 24 hours. For the best structure in your banana pudding, aim for firm-ripe. They’ll soften up perfectly during that required chilling time without turning into baby food!
Variations: From Magnolia Style Pudding to No Bake Banana Dessert
I know sometimes life just doesn’t allow for making a homemade custard when you need dessert *now*! We all appreciate variations, especially when packing up for a big gathering where speed counts. While I swear by our scratch method for the best flavor possible, you can absolutely tweak this recipe for faster assembly or different textures.
If you’re aiming for that famous bakery vibe—often called the Magnolia Style Pudding—you can substitute about two boxes of the good quality instant vanilla pudding mixed with an extra cup of cream cheese softened and whipped in, which really boosts the richness. We love to look at other people’s creations for inspiration too; I saw an amazing presentation approach over on my friend’s site for Chocolate Banana Pops that got me thinking about presentation!
Making a Quick No Bake Banana Dessert Option
If you’re in a real pinch, you can pivot this entire recipe into a fantastic No Bake Banana Dessert. The easiest way? Skip steps one through six entirely! Use two boxes of instant vanilla pudding mixed according to their package directions, maybe adding just a splash less milk than recommended to keep it thick. Then, proceed directly to layering steps seven through ten. You still need that crucial four-hour chill time for the wafers to soften, but you avoid standing over the stove altogether. It’s a lifesaver for unexpected potlucks!
Storage and Make Ahead Dessert Tips for Your Banana Pudding
This is such a great question because as much as I want to eat the entire dish right away, the magic of this banana pudding truly happens over time. The beauty of this dessert is that it ticks all the boxes for me: it’s fantastic when made a few hours ahead, and it travels well to any gathering! Since we are focusing on making this the ultimate crowd-pleaser, planning ahead can save your sanity on party day. Plus, storing it correctly keeps that creamy texture intact until it’s time to top it with the whipped cream.
Making dessert ahead of time should feel like a win, not a worry. For more ideas on dishes you can prep in advance, check out my guide on Make Ahead Dessert recipes!
Optimal Chilling Time for Soft Vanilla Wafer Pudding
The minimum chilling time we absolutely cannot skip is four hours. That gives the wafers just enough time to start absorbing that homemade custard. But honestly? If you can manage it, let this sit overnight in the fridge. When you wake up the next morning, you’ll have the perfect vanilla wafer pudding consistency—tender wafers that melt right into your spoon, rather than little hard chips. That overnight soak is the secret to its dreamy texture. Just remember the crucial rule: keep it covered perfectly with plastic wrap touching the surface to prevent any skin! We only add the whipped topping right before serving.
Serving Suggestions for This Comfort Food Dessert
This rich, creamy banana pudding is the definition of Southern comfort, making it a showstopper at any celebration. It’s my go-to for any event, ranking high among all my favorite potluck desserts because it’s almost always the first thing to disappear! Since this dessert is built around luscious, cool custard, it absolutely must be served cold—never lukewarm.
To complement its sweetness, I love pairing a slice with something slightly tart. Think a cup of strong coffee, maybe a piece of dark chocolate, or even a side of fresh blackberries. If you’re looking for lighter fare to serve alongside it, swing by my section on Appetizers and Snacks for ideas that won’t weigh your guests down! Just remember to keep this beauty chilled until everyone is ready to dive in!
Frequently Asked Questions About Old Fashioned Dessert
When you are digging into a recipe this classic, questions are going to pop up! I know they did when I first started learning this recipe too. Think of this as troubleshooting advice straight from my kitchen to yours. We want your Old Fashioned Dessert moment to be perfect, and these quick tips should smooth out any last-minute worries you have before setting this beautiful banana pudding on your table!
For reference on other frequently asked questions about my recipes in general, feel free to browse my main Gourmet Gaze Blog!
Can I use instant pudding instead of making the homemade custard for this banana pudding?
You technically *can*, yes, but oh, please, don’t if you are making this specific recipe! Instant pudding is fine for a quick fix, but it will never give you that truly luxurious, thick, melt-in-your-mouth feel we are aiming for here. The slow-cooked custard, thickened with cornstarch and those beautiful yolks, gives you that essential richness that makes this the Best Banana Pudding Ever. Instant versions tend to be looser and don’t deliver that deep, comforting flavor we associate with true scratch cooking.
How far in advance can I prepare this layered banana dessert?
This is fantastic because it is a great make ahead dessert! You can assemble the entire dessert—wafers, bananas, and pudding—up to 24 hours ahead of time. In fact, the longer it chills, the better those wafers get! However, you must follow the chilling rule: plastic wrap pressed directly onto the pudding surface. The absolute final step—whipping that fresh heavy cream topping—must be done right before you serve it. If you put the whipped cream on too early, it will start to weep or deflate.
What kind of bananas are best for this Southern Banana Pudding Recipe?
This is crucial for texture! You want bananas that are ripe—yellow, maybe with just a few small brown freckles appearing. They need to be firm enough that when you slice them, they keep their shape. If you use bananas that are overly bruised or fully brown, they will just turn to mush after soaking in that delicious custard overnight. For the best structure in your Southern Banana Pudding Recipe, aim for that perfect balance of sweetness and stability!
Share Your Experience Making This Banana Pudding
Now, the best part! I’ve shared all my secrets for building what I honestly think is the greatest, creamiest banana pudding you’ll ever taste. But cooking isn’t just about following steps; it’s about creating something that brings joy to your table. I want to know how it turned out for you!
Did those layers set perfectly? Did your family devour it before the next day? Don’t be shy—drop your star rating right below this section. And if you snapped a photo while admiring your culinary masterpiece, please share it!
Leave all your thoughts, questions, or even your own small tweaks in the comments section. I read every single one because building this community around soulful, beautiful food is why I started Gourmet Gaze in the first place. If you need to reach out directly about anything, you can always use the Contact Page!
I can’t wait to see your beautiful, soul-satisfying desserts!
PrintThe Best Creamy Southern Banana Pudding Recipe
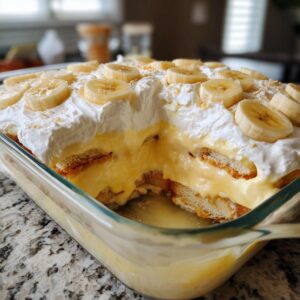
Make the ultimate comfort dessert with this recipe for rich, creamy, old-fashioned banana pudding. It features perfect layers of vanilla wafers, fresh bananas, and a smooth, homemade custard that always pleases a crowd.
- Prep Time: 25 min
- Cook Time: 15 min
- Total Time: 4 hours 40 min
- Yield: 8 servings 1x
- Category: Dessert
- Method: Chilling
- Cuisine: American
- Diet: Vegetarian
Ingredients
- 1 cup granulated sugar
- 1/4 cup cornstarch
- 1/4 teaspoon salt
- 1 1/2 cups whole milk
- 2 large egg yolks, lightly beaten
- 2 tablespoons unsalted butter
- 1 teaspoon vanilla extract
- 4 large ripe bananas, sliced
- 1 box (11 ounces) vanilla wafers
- 1 cup heavy cream, chilled
- 2 tablespoons powdered sugar
Instructions
- In a medium saucepan, whisk together the granulated sugar, cornstarch, and salt.
- Slowly whisk in the whole milk until smooth.
- Cook the mixture over medium heat, stirring constantly, until it thickens enough to coat the back of a spoon, about 8 to 10 minutes. Do not let it boil rapidly.
- Remove the saucepan from the heat. In a small bowl, whisk the egg yolks lightly. Temper the yolks by slowly whisking about 1/2 cup of the hot milk mixture into the yolks.
- Pour the tempered yolk mixture back into the saucepan with the remaining milk mixture. Return the pan to low heat and cook, stirring constantly, for 1 minute more. Do not boil.
- Remove from heat and stir in the butter and vanilla extract until the butter melts and is fully incorporated. This creates your homemade pudding base.
- Let the pudding cool for 15 minutes, stirring occasionally to prevent a skin from forming.
- Prepare your serving dish (a 9×13 inch baking dish works well). Create the first layer by covering the bottom with a single layer of vanilla wafers.
- Arrange half of the sliced bananas over the wafers.
- Spoon half of the slightly cooled pudding evenly over the bananas and wafers.
- Repeat the layering process: another layer of vanilla wafers, the remaining bananas, and then the rest of the pudding.
- Cover the dish tightly with plastic wrap, pressing the wrap directly onto the surface of the pudding to prevent a skin. Chill in the refrigerator for at least 4 hours, or preferably overnight, to allow the wafers to soften.
- Before serving, prepare the topping: In a clean bowl, whip the heavy cream and powdered sugar until stiff peaks form.
- Spread the whipped cream evenly over the chilled pudding layer. Serve cold.
Notes
- For a Southern style that mimics bakery versions, use store-bought vanilla pudding mixed with a portion of homemade whipped cream for extra richness.
- If you prefer a baked version, layer as directed, top with meringue, and bake at 350°F (175°C) for 15 minutes until the meringue is lightly browned.
- Use slightly under-ripe bananas if you plan to chill the pudding for more than 8 hours to prevent them from becoming too mushy.
Nutrition
- Serving Size: 1 serving
- Calories: 380
- Sugar: 45g
- Sodium: 180mg
- Fat: 16g
- Saturated Fat: 8g
- Unsaturated Fat: 8g
- Trans Fat: 0g
- Carbohydrates: 58g
- Fiber: 2g
- Protein: 5g
- Cholesterol: 55mg