
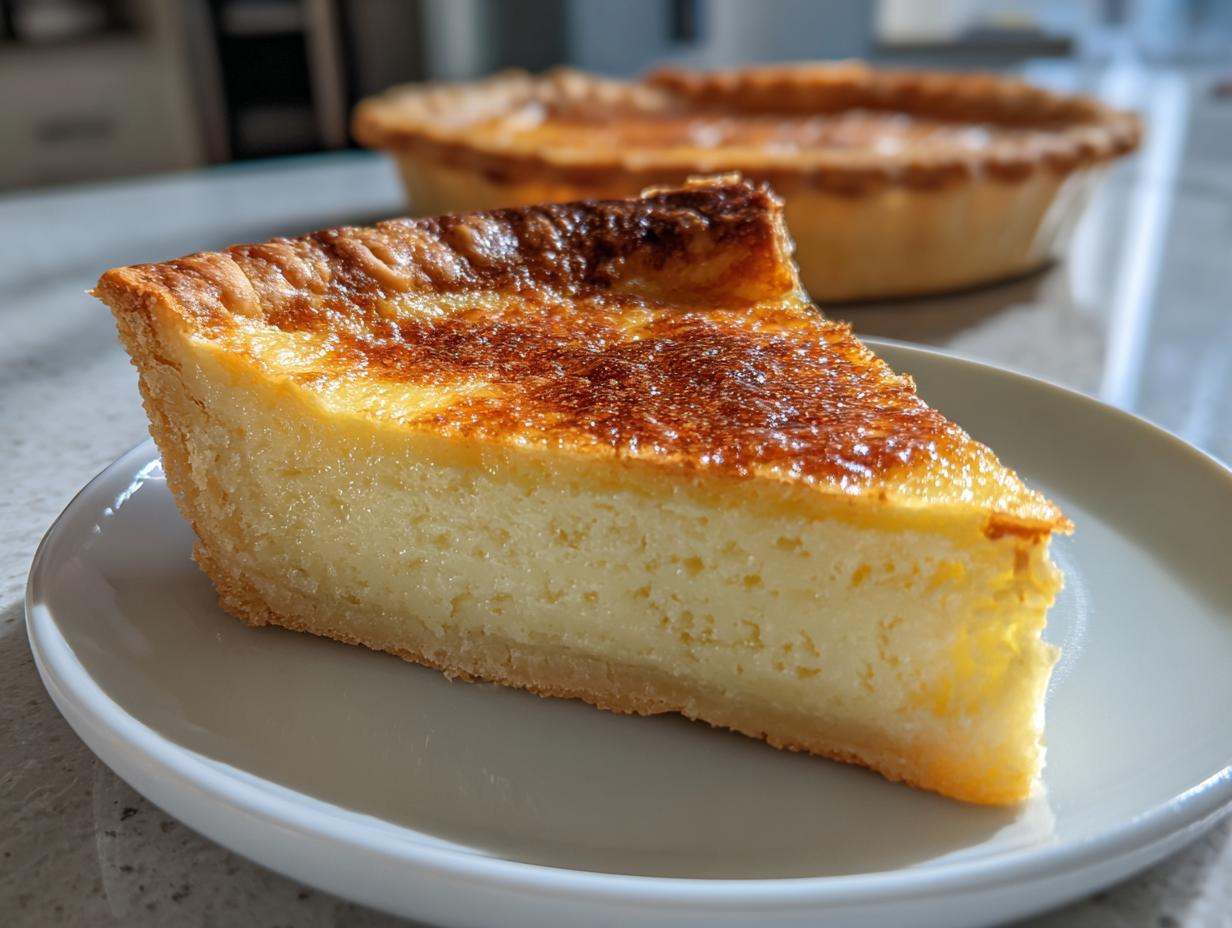

When I think about the desserts that truly anchor me back to comfort—the kind that smell like Sunday dinner and promise warmth even on a cold day—it’s this pie. Forget complexity; this is soulful, honest baking. That’s why I worked tirelessly to perfect what I now call The Ultimate Classic Southern Buttermilk Pie with No-Fail Custard. Moving from spreadsheets in Chicago to mastering American baking traditions taught me one thing: reliability is everything. You need a recipe that works, period. This buttermilk pie isn’t just delicious; it’s my promise of satisfaction, time after time. It is the soul comfort I offer you on a plate.
- Why This Classic Southern Buttermilk Pie Recipe Works (The Sweet & Tangy Balance)
- Gathering Ingredients for Your Buttermilk Pie From Scratch
- Step-by-Step Instructions for the Best Buttermilk Pie
- Expert Tips for a Flawless Buttermilk Pie Crust and Filling
- Serving Suggestions for Your Classic Southern Pie
- Storage and Reheating Instructions for Buttermilk Pie
- Frequently Asked Questions About This Old Fashioned Buttermilk Pie
- Nutritional Estimates for Your Homemade Classic Pie
- Share Your Experience Making This Buttermilk Pie
Why This Classic Southern Buttermilk Pie Recipe Works (The Sweet & Tangy Balance)
People ask me all the time how I get the custard so silky smooth without it weeping or cracking. It comes down to balance, my friends! This classic southern pie nails the line between deeply sweet and beautifully tart. It’s what makes it such a satisfying tangy dessert recipe.
- It offers that melt-in-your-mouth texture you expect from the best buttermilk pie.
- Preparation is shockingly fast—it’s the definition of an easy buttermilk pie recipe.
- It relies on core ingredients you probably already have stocked, making it a perfect pantry staple dessert. See my easy apple crumble recipe for another pantry favorite!
Achieving That Signature Creamy Custard Texture
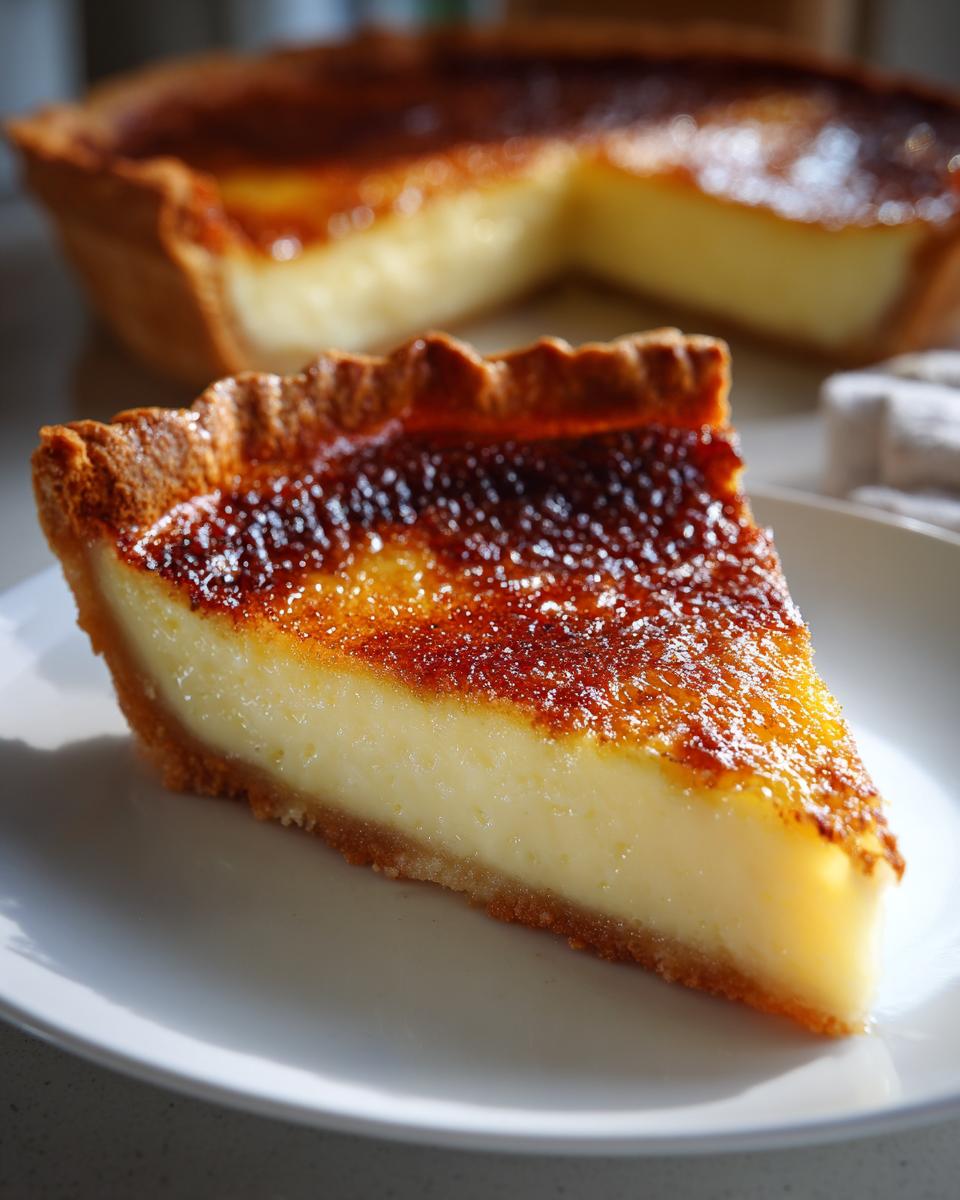
The secret to that heavenly mouthfeel is simple: don’t rush the eggs, but for goodness sake, don’t beat the life out of the mixture once the buttermilk is in! We want a tender set, not a tough one. The right ratio of eggs gives the structure, and gentle whisking incorporates air minimally, which prevents the custard from scrambling or becoming cavernous. It results in that signature smooth layer every time.
Pantry Staple Dessert Simplicity
This isn’t some fussy recipe that requires a trip to a specialty store. This is an old fashioned buttermilk pie through and through. Sugar, eggs, butter, buttermilk—that’s the core! It proves that you can take the humblest ingredients and, with just a little attention to detail, flip them into something extraordinarily comforting. If you’re looking for reliable results, this buttermilk pie from scratch is your answer.
Gathering Ingredients for Your Buttermilk Pie From Scratch
Before we even think about turning on the oven, let’s get our players lined up. Since we are creating an old fashioned buttermilk pie here, you’ll notice we keep the ingredient list tight and focused. This isn’t the time for substitutions; we want that pure, classic taste.
You’ll need the following for one glorious 9-inch pie:
- One (9-inch) unbaked pie crust—I insist on flaky for this one!
- 1 1/2 cups of granulated sugar.
- 3 large eggs, which must be lightly beaten before incorporating.
- A full cup of good quality buttermilk—don’t skimp here!
- 1/2 cup unsalted butter, melted until smooth.
- 1 teaspoon of pure vanilla extract.
- 1 tablespoon of all-purpose flour.
- 1/4 teaspoon of salt to pop all those sweet and tangy flavors.
- And just a tiny pinch of freshly grated nutmeg for the finish.
That’s it! See? Making a spectacular buttermilk pie from scratch really is this straightforward. Less time shopping means more time waiting for that incredible aroma to fill your kitchen.
Step-by-Step Instructions for the Best Buttermilk Pie
Alright, this is where the magic happens! Making the best buttermilk pie is incredibly simple once you get the sequence right. The structure of this filling is delicate, so we move with care and precision, just like Leo learned while mastering all those classic American recipes. Don’t worry; it moves fast. You’ll have this in the oven in less than 20 minutes. Pay close attention to the cooling, though—that’s non-negotiable for a perfect set.
Preparing the Crust and Oven Setup
First things first: get your oven warmed up to 350 degrees Fahrenheit. We need it hot and ready to go. Take that 9-inch unbaked pie crust and gently press it right into your pie plate. No par-baking needed here; this wonderful pie bakes right from start to finish in that single crust. Set that aside while you tackle the filling.
Mixing the Tangy Dessert Recipe Filling
Grab a medium bowl. I want you to start by whisking together your dry components: the sugar, the single tablespoon of flour, and the salt. Just a quick mix. Next, bring in those lightly beaten eggs and whisk them just until everything comes together—we’re just incorporating them. Now, slowly pour in your buttermilk, the melted butter, and that splash of vanilla extract. Whisk until it’s smooth—but please, trust me on this—do not overmix! Overmixing introduces too much air, and we want a dense, creamy custard pie, not a fluffy one. For more tips on achieving smooth fillings, check out my guide on smooth baked dessert techniques.
Baking and Setting the Buttermilk Pie
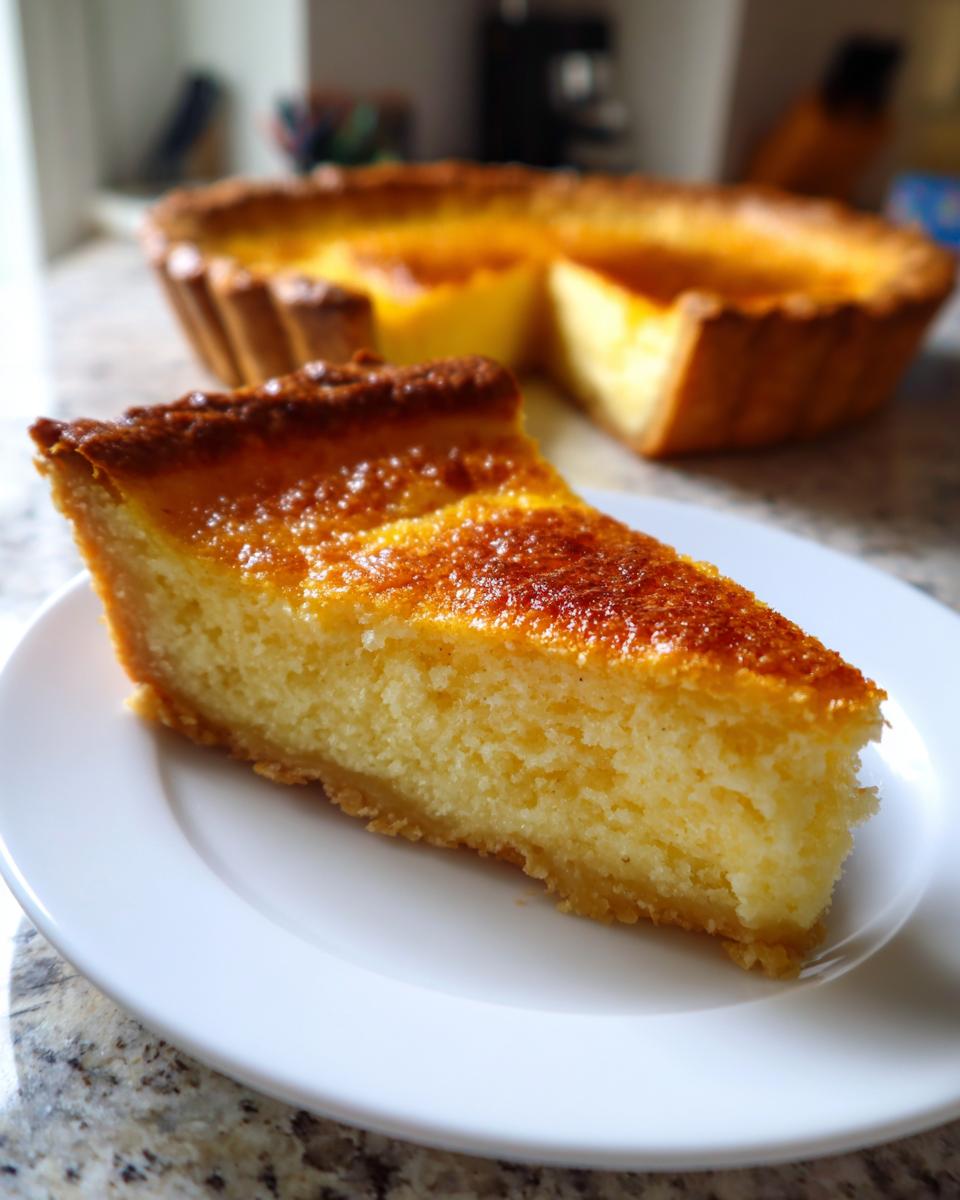
Carefully ladle that beautiful, smooth custard mixture into your waiting, uncooked crust. Then, take that tiny pinch of nutmeg and sprinkle it evenly across the top. Slide it into the preheated oven and let it bake for about 45 to 55 minutes. You’ll know it’s ready when the edges look golden, but the very center still has a tiny, little jiggle when you gently nudge the plate. This pie needs its resting time! You must let it cool completely on a wire rack—we’re talking a minimum of three hours here. Slicing it too soon means weeping custard. Patience yields perfection!
Expert Tips for a Flawless Buttermilk Pie Crust and Filling
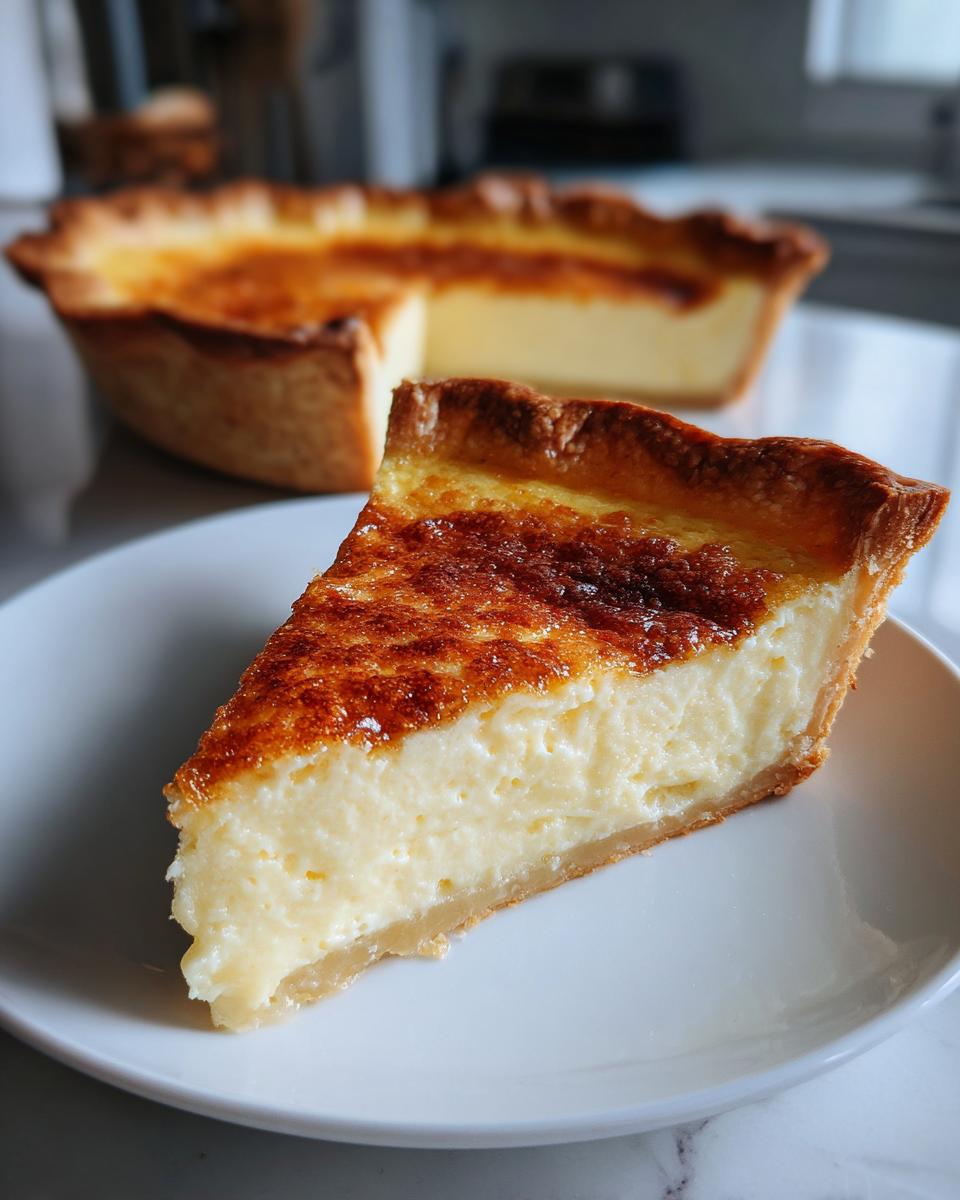
Even though this is an easy buttermilk pie recipe, a few little tricks elevate it from good to absolutely unforgettable. Honestly, I didn’t realize these small adjustments made such a difference until I started paying forensic attention to every component of this comfort food pie. Following these steps maximizes the odds for that perfect, crack-free top and that wonderfully crisp, flaky pie crust recipe.
Buttermilk Selection for Maximum Flavor
Listen to me: this is non-negotiable if you want that genuine Southern flavor profile. You absolutely must use full-fat buttermilk. Anything less just won’t deliver the richness needed for that sturdy yet creamy custard texture we’re aiming for. The higher fat content contributes so much to that luxurious mouthfeel and helps buffer the acidity, leading to the perfect balance of sweet and tang.
Preventing Over-Browning on Your Buttermilk Pie
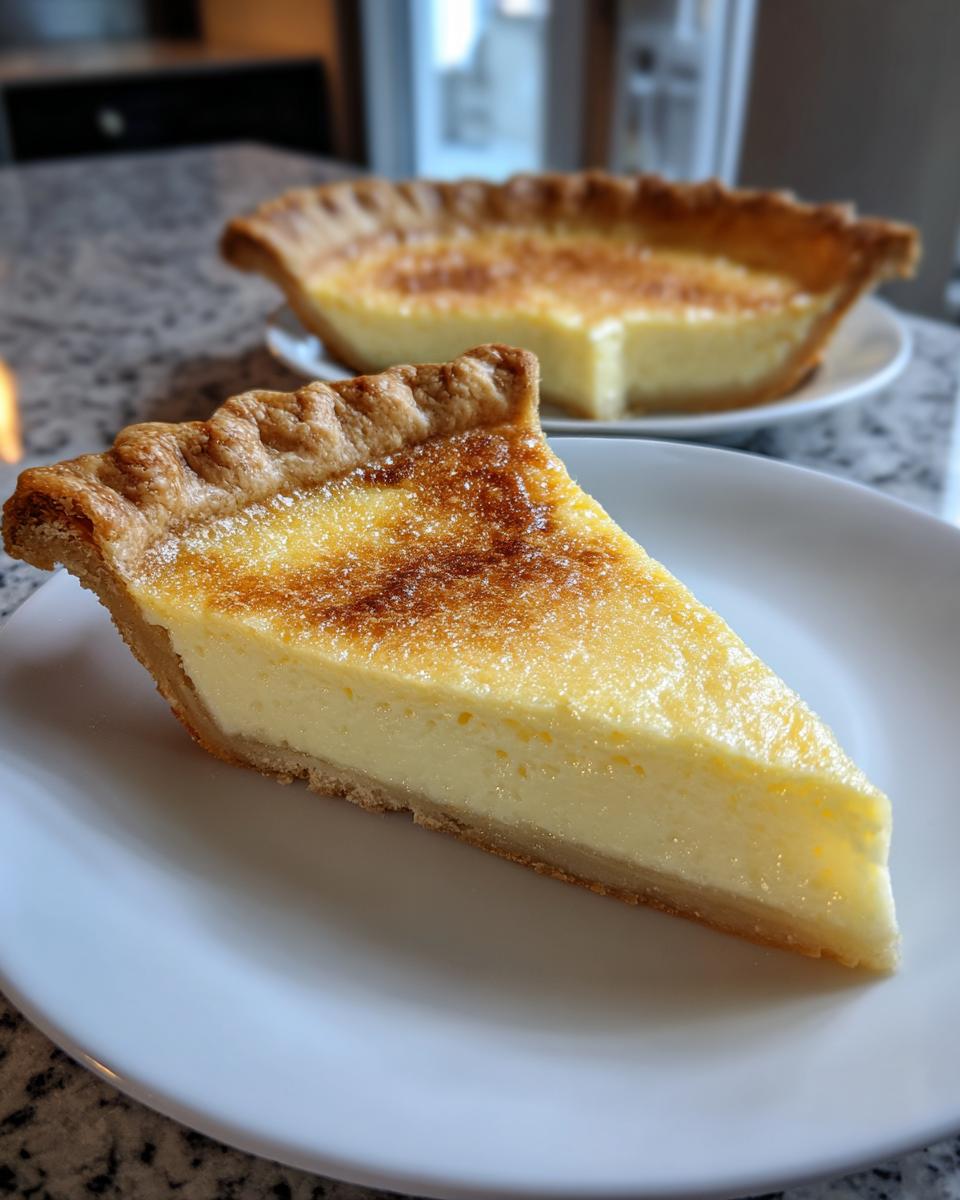
The edges of the crust? They always seem to rush ahead of the custard center, don’t they? If you see the rim of your crust starting to turn way too dark while the center is still jiggly, don’t panic! Just snip a few long, thin strips of aluminum foil. Gently wrap them around those offending edges. This shields the delicate dough from the direct oven heat so the filling has time to set up properly without burning the perimeter of your beautiful pie.
For more advice on handling delicate crusts, check out my guide on achieving sliceable joy with a perfect cherry pie recipe.
Serving Suggestions for Your Classic Southern Pie
Now that you’ve managed the bake and the crucial cooling period, it’s time to present this masterpiece! Since this classic southern pie features that wonderful acidic punch from the buttermilk, it plays beautifully against creamy or bright accompaniments. It’s the ultimate dessert for family dinner.
I find this tangy dessert recipe is spectacular served just as it is, at room temperature. However, if you want to dress it up, try a small dollop of fresh, lightly sweetened whipped cream. It just melts wonderfully into that custard topping. For a slightly different texture experience, a side of my old fashioned tea cakes recipe, served crumbly alongside, adds a nice contrast!
Storage and Reheating Instructions for Buttermilk Pie
I know, I know. Having leftovers of this unbelievably good comfort food pie is a sign of success, but figuring out how to keep that custard perfect can be tricky. Since this is a true custard filling, we have to treat it with respect once the baking is done. Put those plastic grocery bags away; you’ll need something airtight!
The absolute number one rule for storing any leftover buttermilk pie is refrigeration. Once it has cooled completely—and I mean completely, which takes hours—cover it loosely with plastic wrap or transfer slices to an airtight container. It should stay perfectly lovely in the fridge for about three to four days. Don’t leave it out on the counter, or you risk compromising that beautiful, smooth set we worked so hard to achieve.
When you are ready to serve those glorious second slices, the best way to bring that flavor back is not to serve it straight from the chill! Taking it out of the fridge about 30 minutes before you plan to eat it allows the textures to soften just a touch. It should be served either at room temperature or slightly chilled. If you try to zap it in the microwave, you risk having a runny mess on your hands—we want to preserve that creamy goodness, remember?
Frequently Asked Questions About This Old Fashioned Buttermilk Pie
I always get so many questions after people try this recipe for the first time—which I take as a huge compliment, by the way! It means they loved it enough to want to bake it again, or perhaps they had a little hiccup and need my best advice. I’ve pulled some of the most common queries about making this old fashioned buttermilk pie below.
Can I substitute regular milk for buttermilk in this buttermilk pie?
Oh, I really, really wish you could, but trust me, this is one area where you can’t cheat! Buttermilk is absolutely essential not just for the distinct tangy flavor but for the acidity it brings. That acid reacts with the eggs and flour to create the specific structure that delivers that signature creamy result. If you use regular milk, you risk getting a weeping, overly sweet filling that doesn’t set correctly. It just won’t be the same glorious buttermilk pie we both love.
How do I know when my creamy custard pie is fully done?
This is the eternal custard conundrum! Don’t rely solely on a toothpick, because if you pull it out clean, you’ve likely overbaked it, making for a rubbery center. We’re looking for the “jiggle test.” When the edges look done and beautifully golden brown, gently give the pie plate a little shake. The outer third should be set firm, but the very center—maybe a two-inch circle—should still have a slight, liquidy wobble, almost like soft gelatin. That residual heat gently finishes cooking the center as it cools down outside the oven, resulting in the perfect creamy custard pie. For more deep dives into baking success, check out my latest posts on the Gourmet Gaze blog! If you need ideas for variations on this fantastic dish, I hear great things about the one found here.
Nutritional Estimates for Your Homemade Classic Pie
I know some of you are tracking things closely, and while I’m usually focused on flavor over figures, I always try to provide a baseline for what you’re enjoying. Keep in mind that since this is a gorgeous buttermilk pie from scratch, the final numbers can shift based on the crust you use and the exact brand of butter you melt down. These figures are based on 8 generous slices from the recipe provided.
Here is a quick overview of the estimated nutrition for one slice of this easy buttermilk pie recipe:
- Calories: Around 350
- Sugar: Approximately 35g
- Total Fat: Roughly 18g
- Protein: About 6g
- Carbohydrates: Around 45g
That slight tang from the buttermilk really keeps the overall sweetness from becoming overwhelming, which I think helps balance out the pleasure of eating this fantastic classic southern pie!
Just a little reminder, because I want you to trust the guidance here: these are just estimates based on standard ingredient averages. If you use a different crust or a significantly different sugar substitute, your totals might vary slightly. Enjoy the indulgence, because this is true comfort food that’s worth every single delicious bit!
Share Your Experience Making This Buttermilk Pie
This is where my journey as Leo Maxwell, the slightly overzealous home cook, meets yours! I truly hope that seeing how this buttermilk pie comes together—using the simplest ingredients to achieve that ultimate creamy custard—inspires you to try it for your next gathering. Baking should always feel rewarding, and nothing beats that sense of accomplishment when you pull a flawless, golden-topped pie from the oven.
I pour my heart into testing these classics so you don’t have to spend weeks perfecting them! Now, I want to hear from you. Did you bring this simple dessert idea to a family dinner? Did it disappear before you could even grab a fork? Please, don’t keep your triumph to yourself!
Let me know how it went down in the comments below. Did you stick to the room temperature serving, or did you chill it slightly? Would you rate this as the best buttermilk pie you’ve ever attempted? Drop a rating using the stars provided on your way out. If you snapped a picture of that beautiful slice, I’d love to see it! You can always get in touch with me directly via my contact page, or if you want to cross-reference results, I hear other bakers have had success at this link too!
Thank you again for choosing Gourmet Gaze for your baking adventures. Until the next feast for the eyes and the soul, happy cooking!
PrintThe Ultimate Classic Southern Buttermilk Pie with No-Fail Custard
Make this classic Southern buttermilk pie for a comforting, nostalgic dessert. You get a rich, tangy custard filling baked in a flaky crust using simple pantry staples.
- Prep Time: 15 min
- Cook Time: 50 min
- Total Time: 4 hours 5 minutes
- Yield: 8 servings 1x
- Category: Dessert
- Method: Baking
- Cuisine: American Southern
- Diet: Vegetarian
Ingredients
- 1 (9-inch) unbaked pie crust
- 1 1/2 cups granulated sugar
- 3 large eggs, lightly beaten
- 1 cup buttermilk
- 1/2 cup unsalted butter, melted
- 1 teaspoon vanilla extract
- 1 tablespoon all-purpose flour
- 1/4 teaspoon salt
- Pinch of freshly grated nutmeg (for topping)
Instructions
- Preheat your oven to 350 degrees Fahrenheit. Place your unbaked pie crust into a 9-inch pie plate.
- In a medium bowl, whisk together the sugar, flour, and salt.
- Add the eggs to the sugar mixture and whisk until just combined.
- Pour in the buttermilk, melted butter, and vanilla extract. Whisk until the filling is smooth. Do not overmix.
- Pour the custard mixture carefully into the prepared pie crust.
- Sprinkle a small pinch of nutmeg evenly over the top of the filling.
- Bake for 45 to 55 minutes. The center should be mostly set but still have a slight jiggle when gently shaken. The edges should be lightly golden brown.
- Remove the pie from the oven and let it cool completely on a wire rack for at least 3 hours before slicing. This cooling time is essential for the custard to set properly.
- Serve at room temperature or slightly chilled.
Notes
- For the best texture, use full-fat buttermilk. This contributes to the creamy custard.
- If your pie crust begins to brown too quickly during baking, loosely cover the edges with aluminum foil strips.
- This pie is a true pantry staple dessert; you likely have all the ingredients already.
Nutrition
- Serving Size: 1 slice
- Calories: 350
- Sugar: 35g
- Sodium: 210mg
- Fat: 18g
- Saturated Fat: 10g
- Unsaturated Fat: 8g
- Trans Fat: 0.5g
- Carbohydrates: 45g
- Fiber: 1g
- Protein: 6g
- Cholesterol: 95mg