
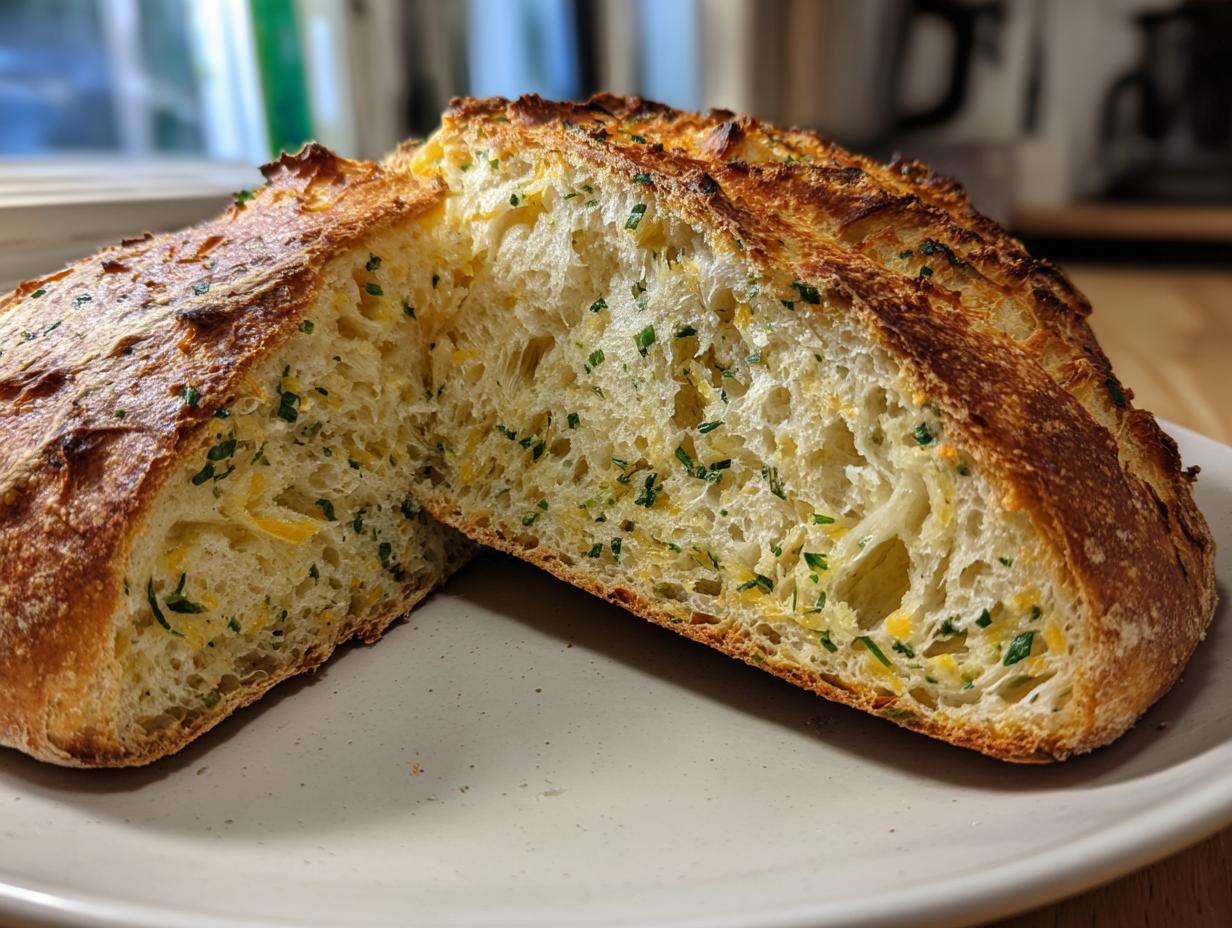

Forget everything you think you know about baking bread—especially the part where you have to spend an hour wrestling with dough! When I first tried to bring that incredible, rustic bakery-style bread at home experience into my kitchen, I failed spectacularly. My spreadsheet brain needed a technique that was streamlined, dependable, and utterly foolproof. That’s why I’m thrilled to share this **Dutch Oven No Knead Artisan Bread** formula with you. After leaving my structured corporate life behind to find joy in food, mastering the textures—that shatteringly crisp crust and that perfectly open, airy interior—became my obsession. You can read more about my journey here at Gourmet Gaze. Trust me, this recipe delivers true artisan bread magic using just simple bread ingredients and, wonderfully, zero kneading.
- Why This No Knead Artisan Bread Recipe Works for Everyone
- Ingredients for Your Parmesan Herb Artisan Bread Recipe
- Step-by-Step Instructions for Homemade Artisan Bread
- Expert Tips for Perfect Artisan Bread
- Ingredient Notes and Substitutions for Your Easy Artisan Loaf
- Serving Suggestions for This Rustic Bread Recipe
- Storage and Reheating Instructions for Homemade Artisan Bread
- Frequently Asked Questions About No Knead Bread Baking
- Share Your Baking Success
Why This No Knead Artisan Bread Recipe Works for Everyone
I know what you’re thinking. Artisan bread is complicated, right? It seems like it requires decades of training in some rustic European bakery. Absolutely not! This method strips away all the fuss but keeps every single bit of delicious result. It’s designed based on what I learned works best when you’re starting out in the world of yeast bread. We are looking for perfection without the pressure.
- It’s unbelievably hands-off. The dough does all the heavy lifting while you’re sleeping or getting on with your day.
- You get that stunning, professional crumb. We’re talking about a truly chewy bread interior that rivals any bakery.
- The flavor is deep and complex, something usually reserved for long, traditional mixing sessions.
- It practically guarantees a golden crust bread finish every single time, thanks to the steam we trap later on.
Achieving Bakery Style Bread Texture Without Effort
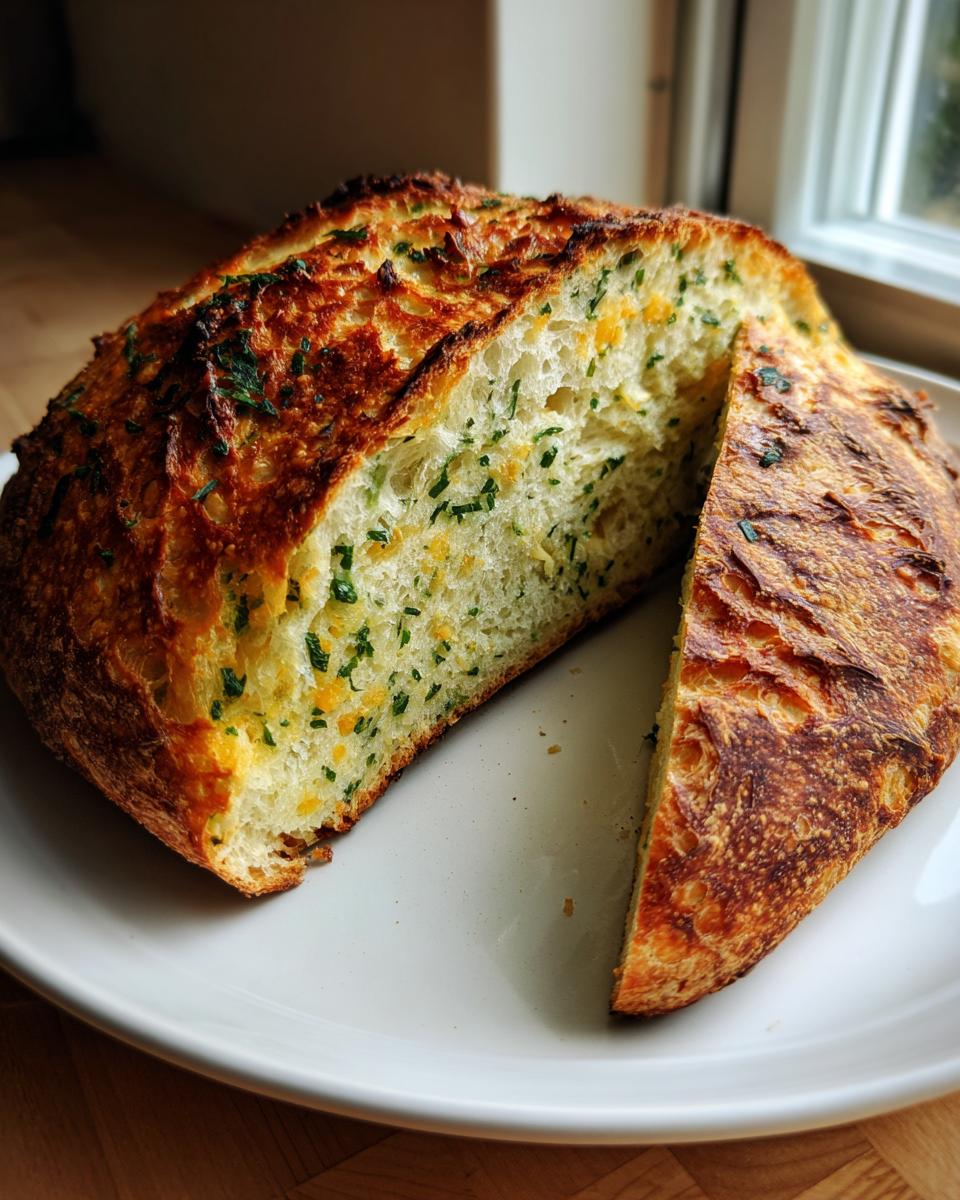
The secret here is time and steam, period. Letting the no knead bread sit for 12 to 18 hours allows the natural organisms to develop all those wonderful, complex bubbles inside. Then, when we bake it inside that hot Dutch oven, the trapped moisture explodes into steam. This steam keeps the outer layer soft just long enough for the loaf to fully expand before hardening into the most beautiful crusty bread at home you’ve ever seen.
Perfect for Beginner Bread Baking
If you can measure flour and water, you can make this. I am serious! Because we don’t knead, you eliminate the entire step that causes beginners the most stress: over or under-developing the gluten structure. We use simple bread ingredients—flour, salt, water, yeast—and let chemistry do the tricky work. This is truly the best easy artisan loaf path for anyone new to baking or those of us who just want fantastic results without the fuss.
Ingredients for Your Parmesan Herb Artisan Bread Recipe
I’ve found that when you keep the base recipe focused, you can play around with the add-ins without ruining the structure. This particular artisan bread recipe truly sings because of the savory notes we introduce right before the final proof. We’re not just making bread; we’re crafting a flavorful experience! The heart of this loaf relies on those wonderful simple bread ingredients, elevated by cheese and herbs.
- 3 cups all-purpose flour (We keep it simple, but see my notes below!)
- 1 1/2 teaspoons salt
- 1/4 teaspoon instant yeast (Yes, just a tiny bit!)
- 1 1/2 cups lukewarm water
- 1/2 cup grated Parmesan cheese (Freshly grated is a must for flavor!)
- 2 tablespoons mixed dried herbs (I use rosemary and thyme for that rustic feel)
If you’re looking for other ways to incorporate Parmesan into your kitchen, you have to check out my recipe for Baked Parmesan Zucchini—it’s incredibly crispy!
Ingredient Clarity and Preparation Notes
Building trust in your kitchen starts with getting these basics right, especially when dealing with yeast bread recipe easy formulas. Please make sure you use instant yeast here; active dry yeast requires proofing first, and we are skipping steps! Also, the water should be just lukewarm—too hot will kill our tiny bit of yeast, and too cold means it sleeps through the whole process. For the Parmesan, measure it out after grating it finely. The little tiny shreds melt evenly right into the dough during the folding process, ensuring you get that cheesy burst in every slice.
Step-by-Step Instructions for Homemade Artisan Bread
Okay, Leo moment coming up: I used to rush everything. I thought if a recipe said 12 hours, 6 hours was “close enough.” Big mistake when making artisan bread! This long rest isn’t passive time; it’s where the real magic happens, developing the texture and that beautiful, complex sour note we look for. Stick to the timeline, and I promise you will get something that feels like it took four bakers a whole day to make.
Mixing and the Long Fermentation Rest for Artisan Bread
Grab a large bowl—this is a one-bowl wonder, so no need to dirty up your stand mixer! Whisk your flour, salt, and that tiny bit of instant yeast together quickly. Then, pour in the lukewarm water. Now, listen to me: mix it only until the flour is absorbed. It’s going to look messy, shaggy, and stick everywhere. It should seem too wet to even consider calling dough! That’s right. Cover that bowl tightly with plastic wrap. Now, walk away. Put it somewhere where you won’t touch it for 12 to 18 hours. Seriously, let it ferment. This long, slow rest develops the flavor and structure we desperately want for our beautiful loaf.
Incorporating Flavor and Preheating for Dutch Oven Bread
When the time is up—and yes, you have to wait for the full time to get that deeply satisfying flavor—gently scrape the sticky dough out onto a surface dusted very lightly with flour. Don’t punch it down or try to knead it into submission! Sprinkle your Parmesan cheese and dried herbs right over the surface. Now, gently fold the dough over itself maybe three or four times, just enough to tuck those flavor bombs inside. Don’t worry about uniformity; we want streaks! Let that slightly folded mass rest, covered loosely, for just 30 minutes. While that’s happening, it’s time to get your oven and your cast iron totally blazing hot. Place your dutch oven bread pot, lid and all, into the oven and crank it up to 450°F (232°C). You need to preheat that pot for at least 20 minutes before the dough goes in.
Baking Your Crusty Bread at Home
This next step requires a little bravery with hot metal, but the results are stunning. Carefully—and I mean CAREFULLY—take that scorching hot Dutch oven out of the oven. Gently ease your dough ball right into the center of the pot. Pop the lid back on immediately and return it to the oven. Bake it covered for exactly 30 minutes. This step is crucial because that trapped heat creates a huge burst of steam, which is the secret handshake for achieving crusty bread at home. After those 30 minutes, gently remove the lid. Watch it change color! Now, let it bake another 15 to 20 minutes uncovered. You are looking for a deep mahogany, almost reddish-brown color for that perfect golden crust bread. Once it hits that color, pull it out! You can see more on baking techniques over on the Gourmet Gaze blog. Slicing too soon is a crime, so let it cool for at least an hour before you even think about that first gorgeous slice.
Expert Tips for Perfect Artisan Bread
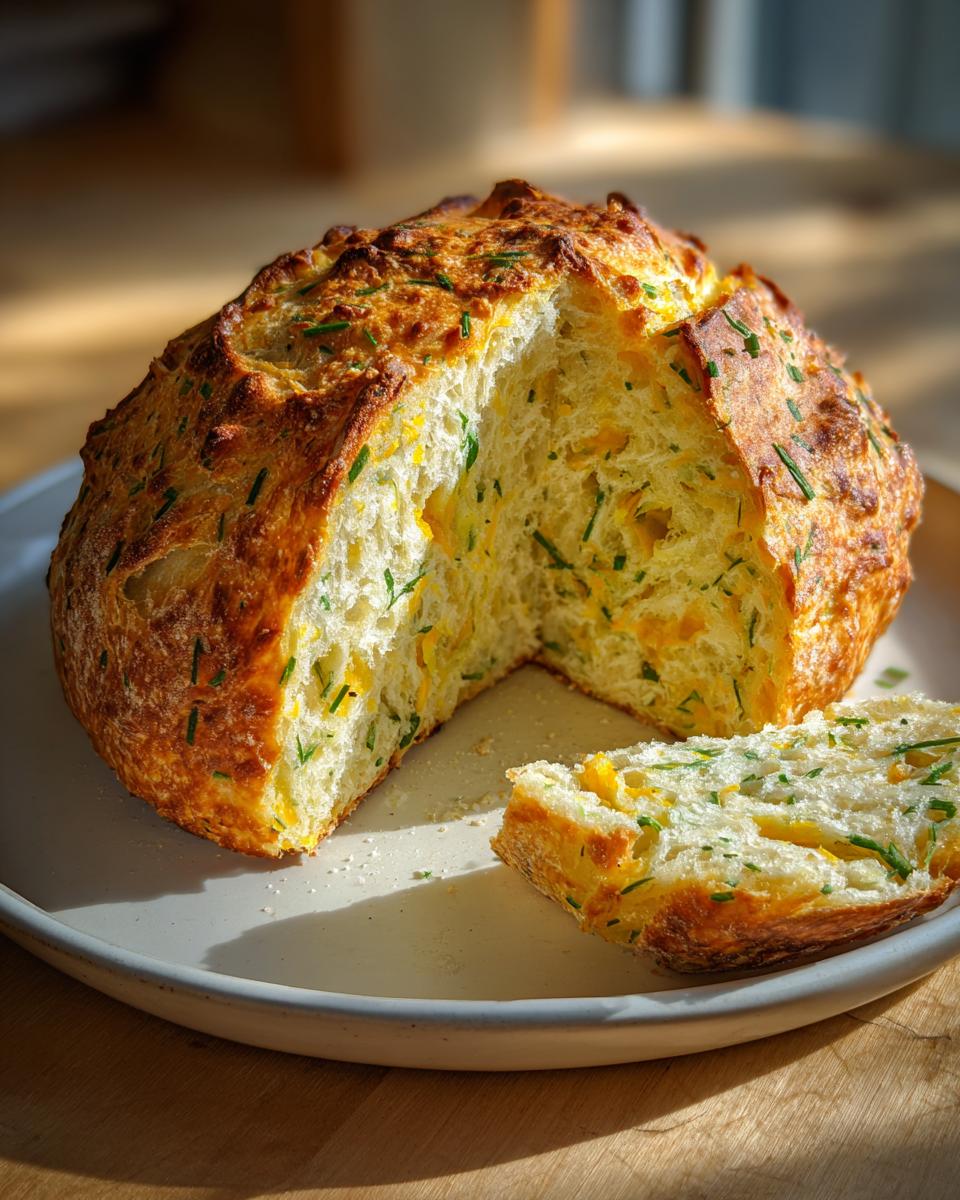
When I first started shifting from spreadsheets to dough, I learned quickly that artisan baking isn’t about complex fancy steps; it’s about respecting the process. Because this is no knead bread, the timing is everything. I want to share some of the little secrets I picked up along the way—the things I learned after making my first few loaves that looked okay but didn’t quite hit that truly satisfying bakery standard. These tips really ramp up the quality of your artisan bread.
The Secret to a Chewy Bread Interior
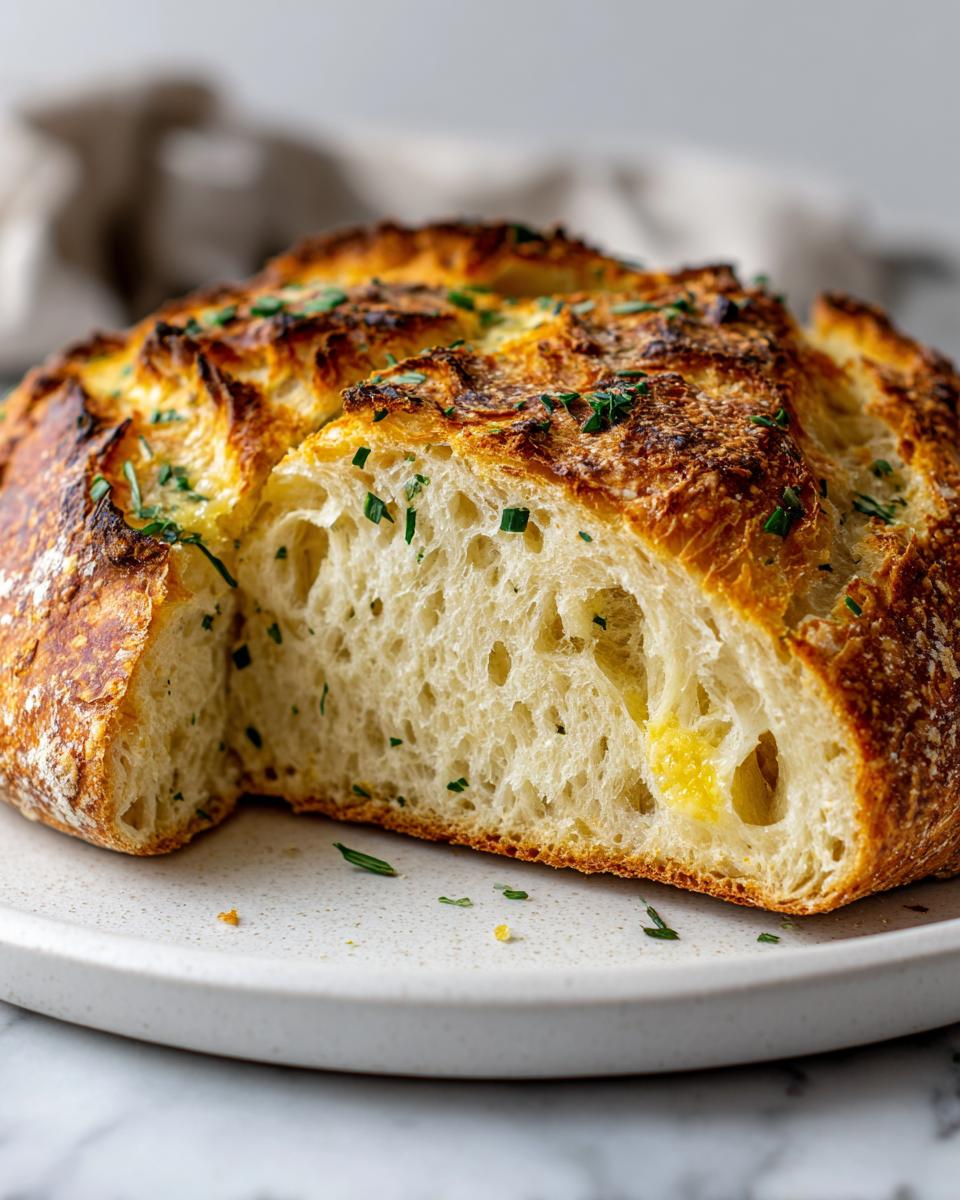
I mentioned letting it cool before cutting, but I need to emphasize that this isn’t just about being patient; it’s about structure! When you pull that beautiful loaf out of the Dutch oven, the interior is still setting up. If you slice it open right away while it’s piping hot, all that retained steam and moisture rushes out instantly, leaving you with a gummy, dense center. That glorious, open, chewy bread interior you’re chasing needs time for the internal starches to firm up properly. For me, that means resisting temptation for at least one full hour, preferably longer, laid out on a rack. This is a hard rule for the best results!
Troubleshooting Your Artisan Loaf
Baking is science, but sometimes the environment throws curveballs! Here are the two biggest issues people run into with this yeast bread recipe easy version:
- If your dough didn’t rise much during the long rest: Nine times out of ten, this is your water temperature. If the lukewarm water was too hot, it killed the yeast before it could even wake up. Next time, use a kitchen thermometer if you have one to aim for 105°F (40°C) max!
- If your crust stays pale instead of achieving that golden crust bread look: You stopped baking too soon! Don’t be afraid of the brown color when you remove the lid. A lighter crust means the interior might not be fully cooked, or you cut the uncovered baking time short. Keep it in the oven until that crust is deep mahogany, even if it seems darker than you expected.
If you are looking for ways to use up this fantastic loaf, I shared my go-to recipe for Easy Homemade Bread Bowls which makes soup nights feel extra special.
Ingredient Notes and Substitutions for Your Easy Artisan Loaf
One of the greatest reliefs about mastering this artisan bread technique is realizing how incredibly flexible it is. Once you nail the master formula—the flour, water, salt, and yeast ratio—you can truly tailor this to what you have on hand or what you’re craving. I love adding things to customize it, which really helps when you are trying to make an easy artisan loaf feel like something really special. This flexibility is key to building trust in your early baking experiences, so don’t be afraid to experiment a little!
Flour Choices for Artisan Bread
For this specific yeast bread recipe easy, I wrote it using all-purpose flour because people almost always have that sitting in their pantry. It’s dependable! However, if you happen to have bread flour, you can absolutely swap it one-for-one. Bread flour has a slightly higher protein content, which means your final loaf might have a slightly tighter gluten network and a little bit more chew. Either way works beautifully, but if you want that maximum air-pocketed, open crumb, bread flour gives you a slight edge. Just don’t go using whole wheat flour without adjusting your water, okay?
Herb and Cheese Variations
The Parmesan and mixed herbs are fantastic, but listen, this base dough begs for flavor exploration! If you’re craving something more piney and earthy, swap out the mixed herbs entirely and use 2 tablespoons of finely chopped fresh rosemary—that looks stunning on the crust, too. For a savory kick, try adding about a teaspoon of garlic powder and a teaspoon of onion powder right in with your dry ingredients at the beginning. If you don’t have Parmesan, sharp white cheddar melts beautifully and adds a salty tang. If you want to serve this with something creamy later, don’t forget to try my recipe for Creamy Garlic Aioli; it’s divine with a slice!
Serving Suggestions for This Rustic Bread Recipe
Now that you have this incredible, fragrant artisan bread cooling on the rack, you have a major decision: what am I dipping this masterpiece into first? Because we added Parmesan and herbs directly into the dough, this loaf stands up beautifully on its own, which is perfect for me after working hard on the process! It’s so flavorful that you hardly need anything else, but truly great bread deserves a worthy partner on the plate.
Since this loaf has savory herbs and that salty cheese built right in, I lean heavily into comforting, complementary pairings for dinner. You don’t want anything too sweet, since that would clash with the savory flavor profile. Think hearty soups, thick stews, or pasta dishes where the bread can soak up all that amazing sauce.
For a real showstopper, you have to pair it with a generous bowl of something rich. I highly suggest my recipe for Creamy Beef Pasta. The sauce is robust and velvety, and tearing off a chunk of this rustic Parmesan bread to scoop up every last bit of that cream sauce? That’s my definition of a perfect dinner, honestly.
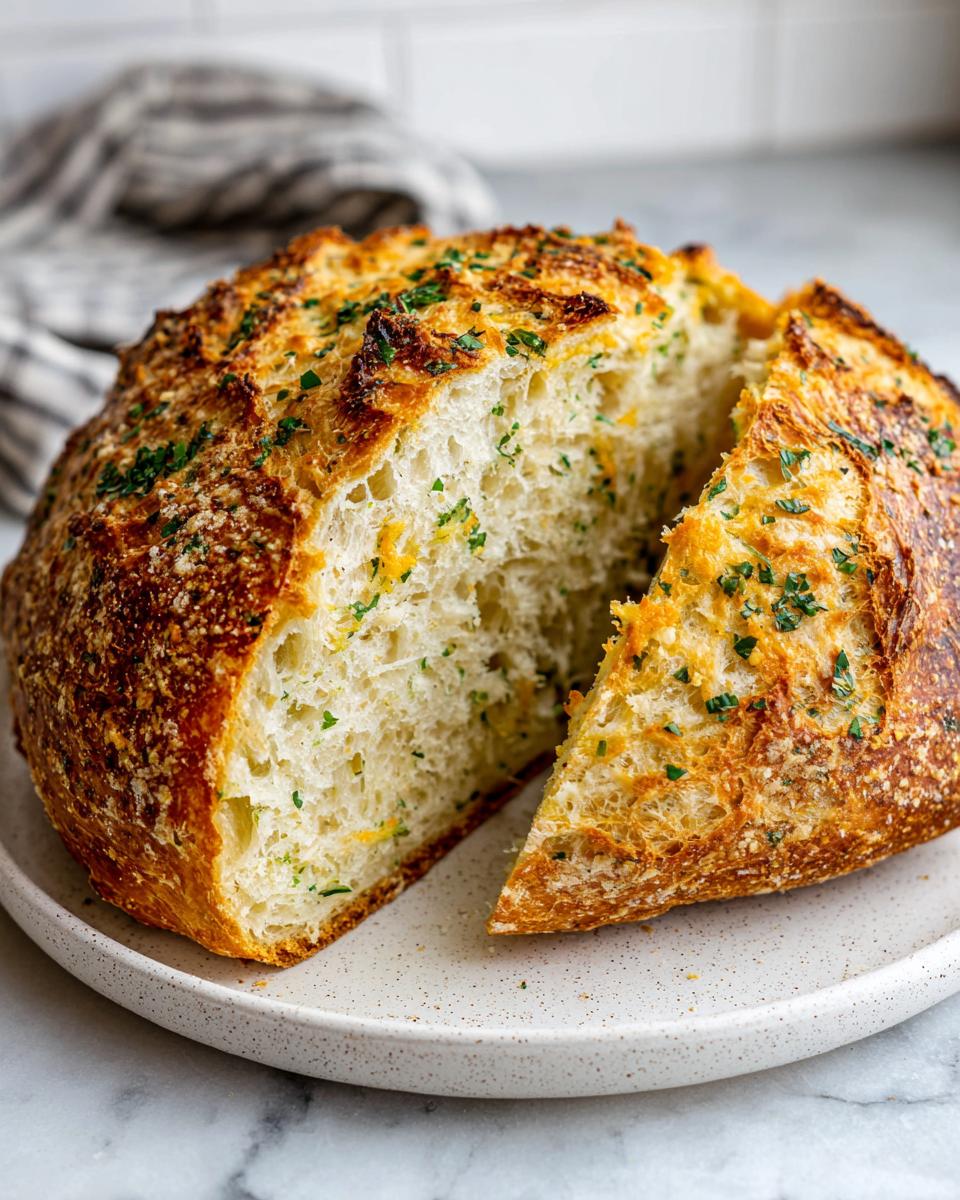
Beyond full meals, this is fantastic for dipping into high-quality olive oil mixed with a touch of balsamic vinegar. Even just a simple smear of good salted butter is heavenly when the bread is fresh. It also makes the absolute best base for an open-faced toast topped with roasted tomatoes and fresh mozzarella. Seriously, the possibilities for this rustic bread recipe are endless once you get that first perfect slice!
Storage and Reheating Instructions for Homemade Artisan Bread
You’ve put in the time—18 hours of patient waiting and 50 minutes of glorious oven heat—so we absolutely cannot let a poorly stored loaf ruin the final result! The biggest challenge with our beautiful homemade artisan bread is that crust. It’s perfectly crisp when it comes out, but humidity is the enemy of that crunch. If you want to enjoy this loaf over the next couple of days, storing it correctly is non-negotiable.
For up to 24 hours, the bread does fine just sitting on the counter. However, never store it cut-side down on a board, and definitely keep it away from plastic bags! Plastic traps moisture, and that moisture turns your glorious crust soggy almost instantly. I use a simple paper bag or wrap it loosely in a clean linen or cotton kitchen towel. This lets the bread breathe while still keeping the interior soft.
If you need to keep it for 2 or 3 days, you have another option: the freezer! Once the loaf is completely cool (remember, cut early and you get gummy results!), slice it thinly. Lay the slices flat on parchment paper, wrap the whole stack tightly in plastic wrap, and then seal it in a freezer bag. This halts the staling process dead in its tracks.
Reviving That Golden Crust Bread Finish
When you’re ready to eat that frozen slice, or even if your day-old loaf has lost a little snap, reheating is the magic ticket to restoring that golden crust bread quality. Don’t microwave it; that just makes it chewy! The best way to bring it back to life is by splashing a tiny bit of water—just a few drops—onto the crust surface.
Then, pop the slice or half-loaf back into a preheated oven at about 350°F (175°C) for about 5 to 8 minutes. The small amount of water turns to steam in the oven, reheating the interior gently while forcing the crust to re-crisp beautifully. It comes out tasting like it just came out of the Dutch oven again. That’s how you treat a quality loaf!
Frequently Asked Questions About No Knead Bread Baking
When you dive into making true artisan bread, questions are totally normal! I get asked all the time about specific techniques, especially once people realize how much time that long rest takes. Don’t worry if you don’t always have the exact setup I used when I was trying this for the first time; we can troubleshoot together. This section covers some of the most common hurdles I see when bakers are trying to achieve that perfect bakery style bread at home.
Can I make this artisan bread recipe without a Dutch oven?
That’s a fair question! The Dutch oven is my secret weapon for trapping steam, which is essential for that incredible outer shell, but yes, you absolutely can adapt this no knead bread recipe. If you don’t own one, you can still get great results. You’ll need a sturdy, oven-safe pot or pan, like a cast-iron skillet or a heavy baking dish, just make sure it has a tight-fitting lid.
Here’s the modification: place a shallow, oven-safe pan on the bottom rack while your empty pot preheats with the dough inside the hot oven (450°F/232°C). Right before you put the loaf in, carefully pour about a cup of boiling hot water into that bottom pan. That quick hit of steam is what you’re looking for! Bake it covered for 30 minutes, take the water pan out, and then cook uncovered until golden. It’s a little more work than just using a dutch oven bread setup, but it totally works for this easy artisan loaf.
What is the minimum fermentation time for this yeast bread recipe easy?
This is one of those sneaky spots where skipping ahead really impacts the final product! Because we are using such a tiny amount of yeast—which is what keeps this a yeast bread recipe easy—it relies completely on time to develop flavor. You can get away with 12 hours of fermentation, and you will have a perfectly edible loaf of homemade artisan bread. But honestly? The real complexity, that slight tanginess that makes it taste like it came from a real artisan bakery? That flavor only truly develops as you push toward that 16-to-18-hour mark.
If you’re new to beginner bread baking, try to stick to 16 hours for your first go. It balances the patience needed with the development of maximum flavor. It’s worth the wait, trust me!
If you end up with extra bread, these slices are amazing for dipping into soups or, if you’re feeling like a savory sandwich, try them with my recipe for Chicken Cheese Steak Sandwiches!
Share Your Baking Success
Seriously, seeing what you all create is my favorite part of running Gourmet Gaze. When I traded in my deadlines for dough, this connection with home cooks like you is exactly what I hoped for. Baking this artisan bread is a rewarding process, and I genuinely want to know how your loaf turned out!
Did you achieve that shatteringly crisp exterior? Was the interior light, airy, and perfectly chewy? Don’t be shy! Head over to the recipe card and drop a star rating—your feedback helps me and other bakers know this **easy artisan loaf** recipe is standing the test of time. I really value honest reviews, as they keep my recipes reliable.
And please, please do take a picture of your beautiful, golden masterpiece!
- Snap a photo of your crusty bread at home.
- Tag me on social media! I try to check every mention.
- If you have any final pressing questions that weren’t covered above, reach out through my contact page—I’m always happy to chat about high-quality baking.
Thank you again for inviting this recipe into your kitchen. There’s nothing better than the aroma of fresh homemade artisan bread filling your space. Happy baking!
PrintDutch Oven No Knead Artisan Bread with Parmesan and Herbs
You can bake bakery-style artisan bread at home using this simple, no knead recipe. This loaf develops a beautiful golden crust and a soft, airy interior, enhanced with savory Parmesan and aromatic herbs.
- Prep Time: 15 min
- Cook Time: 50 min
- Total Time: 13 hours 55 min
- Yield: 1 large loaf 1x
- Category: Baking
- Method: Baking (Dutch Oven)
- Cuisine: American
- Diet: Vegetarian
Ingredients
- 3 cups all-purpose flour
- 1 1/2 teaspoons salt
- 1/4 teaspoon instant yeast
- 1 1/2 cups lukewarm water
- 1/2 cup grated Parmesan cheese
- 2 tablespoons mixed dried herbs (like rosemary and thyme)
Instructions
- In a large bowl, whisk together the flour, salt, and instant yeast.
- Stir in the lukewarm water until just combined. The dough will be shaggy and sticky; do not knead it.
- Cover the bowl with plastic wrap and let the dough rest at room temperature for 12 to 18 hours. This long fermentation develops the flavor.
- After the long rest, gently fold the dough onto a lightly floured surface. Sprinkle the Parmesan cheese and dried herbs over the dough. Gently fold the dough over itself a few times to incorporate the cheese and herbs without overworking it.
- Shape the dough into a rough ball. Cover it loosely with plastic wrap or a clean kitchen towel and let it rest for 30 minutes.
- About 20 minutes before the second rest is complete, place a 5 to 6-quart Dutch oven, with the lid on, into your oven. Preheat the oven to 450°F (232°C).
- Carefully remove the hot Dutch oven from the oven. Gently place the dough ball into the hot pot. Cover the pot with the lid.
- Bake covered for 30 minutes. This trapped steam creates the signature crusty bread at home.
- Remove the lid and continue baking for another 15 to 20 minutes, or until the crust is deep golden brown.
- Carefully remove the loaf from the Dutch oven and let it cool completely on a wire rack before slicing.
Notes
- For the best results in achieving a chewy bread interior, allow the dough to cool for at least one hour before cutting into the loaf.
- If you do not have dried herbs, you can use 1 tablespoon of fresh, finely chopped rosemary.
- This recipe uses simple bread ingredients, making it an easy artisan loaf for beginner bread baking.
Nutrition
- Serving Size: 1 slice
- Calories: 220
- Sugar: 1
- Sodium: 350
- Fat: 3
- Saturated Fat: 1
- Unsaturated Fat: 2
- Trans Fat: 0
- Carbohydrates: 42
- Fiber: 2
- Protein: 7
- Cholesterol: 5