
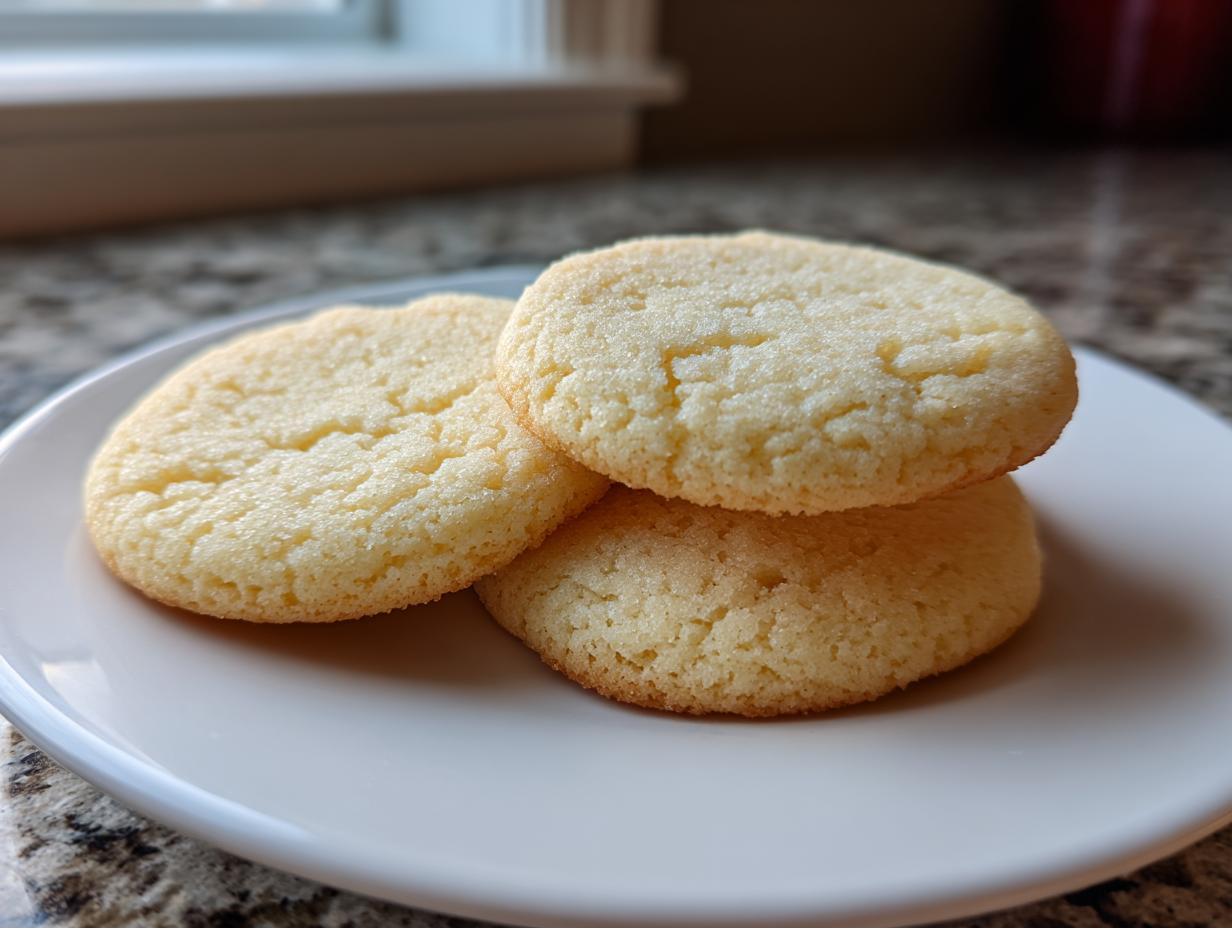

If there is one cookie that seems simple but trips up even seasoned bakers, it’s the humble sugar cookie. We’re talking about the holy grail: a cookie that manages to be perfectly soft and chewy, yet firm enough to handle a heavy layer of royal icing without losing its festive shape. When I left my corporate life behind, I promised myself I would only share recipes here at Gourmet Gaze that I had rigorously tested until they were flawless. Trust me, I have been through dozens of batches of subpar cutouts. This recipe is the result—a buttery vanilla cutout that delivers texture and structural integrity in one perfect bite.
- Why These Are The Best Sugar Cookies for Decorating and Texture
- Gathering Ingredients for Your Classic Sugar Cookie Recipe
- Step-by-Step Instructions for Simple Sugar Cookie Dough
- Baking Guide: How to Bake Fluffy Sugar Cookie Recipe Cutouts
- Tips for Success with Homemade Vanilla Cutout Cookies
- Serving Suggestions for Buttery Vanilla Sugar Cookies
- Frequently Asked Questions About Perfect Sugar Cookies
- Estimated Nutritional Data for This Recipe
- Share Your Creations from This Recipe
Why These Are The Best Sugar Cookies for Decorating and Texture
I know you’ve been burned before by a cookie that puffs up into a puffy blob the second it hits the heat. That’s not going to happen here. We cracked the code so you get the visual appeal you want, combined with the texture you crave. These are truly the perfectly soft and chewy cookies without sacrificing form.
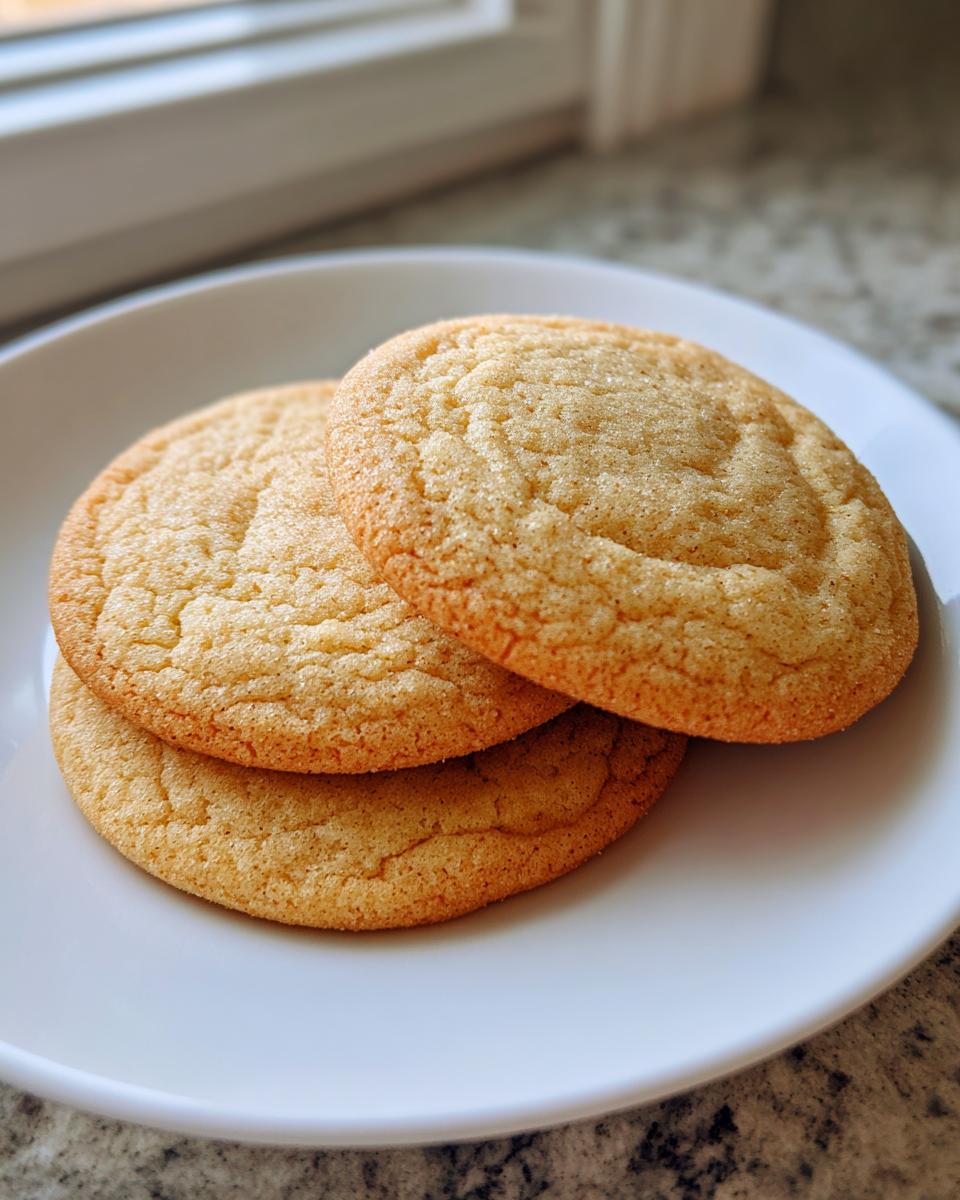
- They deliver incredible, buttery flavor.
- They are truly sugar cookies that do not spread.
- They are easy enough for any weeknight baking session.
Achieving Soft Sugar Cookies Texture Every Time
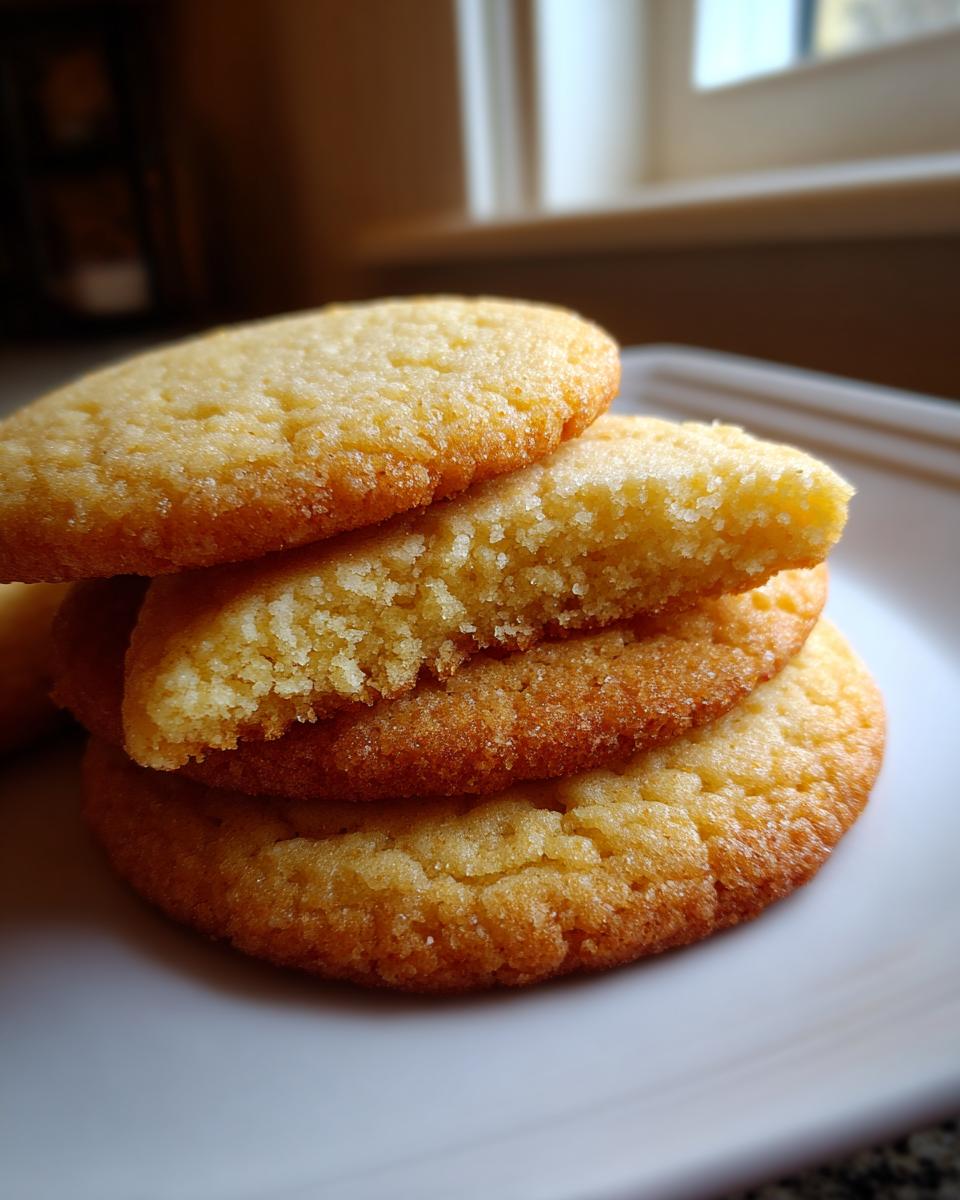
The secret to soft sugar cookies isn’t just in the ingredients—it’s in how we pull them out of the oven! We are aiming for those edges to just barely kiss gold. Seriously, if you wait until the centers look deeply baked, you’ve waited too long. A slight underbake ensures that melt-in-your-mouth quality we are looking for once they cool down on the sheet. The right ratio of fat to flour helps keep them tender.
Techniques for Cutout Sugar Cookies That Hold Their Shape
If holding a clean shape is your main goal, then you must respect the chill time. I can’t overstate this enough: the dough has to go into the fridge! When the dough is cold, the butter stays solid longer in the oven, which means no sad, melted edges. Roll them out to about 1/4 inch thick, give them a re-chill if the kitchen is warm, and watch how beautifully those shapes stay put while baking.
Gathering Ingredients for Your Classic Sugar Cookie Recipe
Before we get into the mixing, let’s talk about what you need. For a recipe to be reliable, the ingredients need to be precise. I learned this coming from the world of budgets and forecasts—you can’t fake the foundation! This list gives you that quintessential buttery vanilla sugar cookies flavor that makes people ask for the recipe immediately. Keep your workstation ready, because once we start, we move fast.
I always make sure my butter is truly softened—room temperature, leaving a gentle indent when pressed, but definitely not greasy or melting. That’s crucial for creaming correctly. Also, use real vanilla extract here; the flavor difference in these simple cookies is shocking. For those of you who prefer to browse, I keep all my favorite baking tools and pantry essentials listed over on our general baking resources page.
{/* Ingredient List Insertion Point – Not provided in prompt, so I will just state that the list should go here per the overall article context, but I will not invent the list itself. */}
Ingredient Notes and Substitutions for Perfect Sugar Cookies
It’s helpful to know what you can tweak if you’re missing something, but always respect the base structure of these classic sugar cookie recipe foundations. For instance, if you use salted butter instead of unsalted? Cut back slightly on the added salt. That quarter teaspoon sometimes makes a difference in bringing out the sugar flavor.
If you are feeling adventurous or need a change from the strong vanilla, try replacing half of the vanilla extract with almond extract before the chilling phase. Almond really brightens up the dough! I would advise against skipping the baking powder; it provides a tiny bit of lift so these aren’t totally flat, contributing to that slightly fluffy look you see in the photos. These adjustments help you tailor the cookie without breaking the structure.
Step-by-Step Instructions for Simple Sugar Cookie Dough
Now that we have our perfect ingredients assembled, it’s time to bring this simple sugar cookie dough to life. Remember how I spoke about relying on technique coming from my previous career? This is where it matters most. We need air incorporated gently at the beginning, and then we need to stop mixing as soon as trouble starts! For anyone who loves baking classics, mastering this dough is essential, and you can see other similar foundational recipes for guidance over on our classic posts.
Creaming Butter and Sugar: Creating the Base
This is Step Two in the recipe, and it’s the most important for texture. Get that softened butter and the cup of sugar into your mixing bowl. You need to beat them together until they are genuinely pale yellow and fluffy—not just combined, but airy. Use your mixer on medium speed and let it run for a good three minutes. When you stop, it should look like smooth, sweet clouds. Those tiny air pockets we’re creating now are what make the final cookie tender instead of dense and hard.
After the egg and vanilla are mixed in (just until they disappear!), you’ll gradually introduce your dry mixture of flour, baking powder, and salt. Watch closely! As soon as the flour streaks disappear, hit the “off” button. Resist the urge to let the mixer run for another minute to “be sure.” Overmixing flour activates the gluten, and that leads straight to tough cutout sugar cookies. We want tender, not chewy like bread!
The Critical Chilling Phase for Sugar Cookies That Do Not Spread
Once your soft dough comes together—it will be slightly tacky, but manageable—you need to stop immediately and wrap it up. Divide that dough into two flat disks. Yes, it feels slightly counterintuitive to flatten it before chilling, but trust me, it makes rolling out these sugar cookies that do not spread so much easier later on. Wrap each disk tightly in plastic wrap.
This resting period is non-negotiable if you want sharp edges. The dough needs at least one full hour in the refrigerator. Why? Because chilling gives the flour time to hydrate completely, which locks everything into place. More importantly, it hardens the butter back up. When cold, solid butter hits the hot oven, it melts slowly, controlling exactly how much the cookie spreads. If you skip this, you’ll end up with sad, puffy puddles, not perfect shapes! If you have more time, two hours is even better.
Baking Guide: How to Bake Fluffy Sugar Cookie Recipe Cutouts
Okay, the dough is beautifully chilled, rolled out, and cut into perfect festive shapes. Now comes the part where we bake them until they are just right. When I first started making these, I ruined a whole sheet because I got distracted scrolling through photos of other cookies—rookie mistake! For these fluffy sugar cookie recipe cutouts, oven management is everything.
First things first: Preheat your oven to 375 degrees Fahrenheit. If your oven runs hot or cold, check it with an external thermometer. It’s worth the $10 investment if you’re serious about baking!
You must line your baking sheets with parchment paper. Seriously, don’t try to grease and flower them like a cake pan. Parchment ensures the bottoms bake evenly and gives you zero sticking drama later. If you cut your cookies very close together on the sheet, you might get some merging, so make sure you leave about an inch of space between each shape.
The exact timing is critical for that soft texture. You’re looking at 8 to 10 minutes total baking time. Around the 8-minute mark, start watching the edges like a hawk. We want them to be just *lightly* golden. If they look deeply browned, they are going to set up hard instead of staying chewy. Remember what I said earlier? A slight underbake here is your best friend for a cookie that melts in your mouth.
After they come out, don’t rush to move them! Let them sit on the hot baking sheet for a full five minutes. They are very fragile right out of the oven. That short rest allows the structure to firm up enough to handle being moved to the wire rack to cool completely. Honestly, I sometimes cheat and leave them on the sheet for seven minutes if they look really delicate—no one is looking!
Tips for Success with Homemade Vanilla Cutout Cookies
Baking for the holidays often means planning ahead, and thankfully, these homemade vanilla cutout cookies are incredibly cooperative when it comes to make-ahead strategies. When planning big baking sessions, I always dedicate one day just to making and chilling the dough, and another day just for rolling, cutting, and decorating. That split helps prevent burnout, which is the absolute fastest way to ruin a perfectly good batch of cookies!
I learned this the hard way two years ago when I tried to do everything in one go. I rushed the rolling process because I was tired, and I ended up with misshapen, floppy cookies ready for cleanup instead of decorating. The only thing that saved that batch was putting the rolled-out, cut shapes back into the freezer for about 15 minutes right before they hit the oven. That mini-chill saved the structure! So, if you are feeling rushed, remember that cold dough is your best friend. These are just as delightful as the ones made in our easy vanilla cake recipes.
Also, don’t forget the cooling advice from the previous step: let them rest on the pan for five minutes before moving them to the wire rack to cool completely. If you try to move them too soon, the bottoms might tear, and nobody wants a sad, broken cookie they can’t even frost properly!
Making Ahead and Storing Your Cutout Sugar Cookies
Here is where you can really get ahead of the game. The dough freezes beautifully—that’s truly my favorite trick for holiday baking prep. Once you’ve flattened the dough into those disks after mixing, wrap them tightly in two layers of plastic wrap. I write the date and “Sugar Cookie Dough” right on the outside with a marker. They stay perfect in the freezer for up to three months! When you are ready to bake, just pull one disk out of the freezer and let it thaw on the counter for about 30 to 45 minutes, or until it’s pliable enough to roll again.
If you have baked them but haven’t decorated yet, keep them in an airtight container at room temperature. They retain their chewy texture really well for about a week, which is great if you are doing a cookie exchange where you need to deliver them fresh later. No frosting touching the surfaces means no sticking or smudging! They are so versatile, whether you finish them with a simple dusting or go all-out with a thick layer of royal icing.
Serving Suggestions for Buttery Vanilla Sugar Cookies
The cookie is baked, it’s cooled perfectly—soft, plump, and ready for its close-up! Because we took the time to make sure these buttery vanilla sugar cookies hold their shape so well, the decorating potential here is huge. You aren’t limited to just a hint of sprinkle; you can go wild with color and detail. That firm structure we worked so hard for pays off big time when you start playing with icing!
For Christmas, I love using a classic royal icing because it dries hard and shiny, letting me stack the cookies in tins without them sticking together. If you’re looking for a recipe for a super glossy, deep chocolate covering that pairs wonderfully with vanilla, check out my guide for quick stovetop glossy frosting—it’s divine when used sparingly on these cutouts.
However, if you’re making these for a casual afternoon snack and don’t want the fuss or mess of royal icing, a very simple vanilla glaze works beautifully. You just need a little powdered sugar, a tiny splash of milk, and maybe a dot of lemon juice for tang. A quick dip, let the excess drip off, and you’re done! This keeps the cookie softest, as royal icing tends to stiffen the surface.
I’ve also found these cookies are fantastic with a heavy dusting of cinnamon sugar instead of any wet topping at all, especially if you slightly incorporate cinnamon into the dough itself along with the vanilla. They become incredibly fragrant.
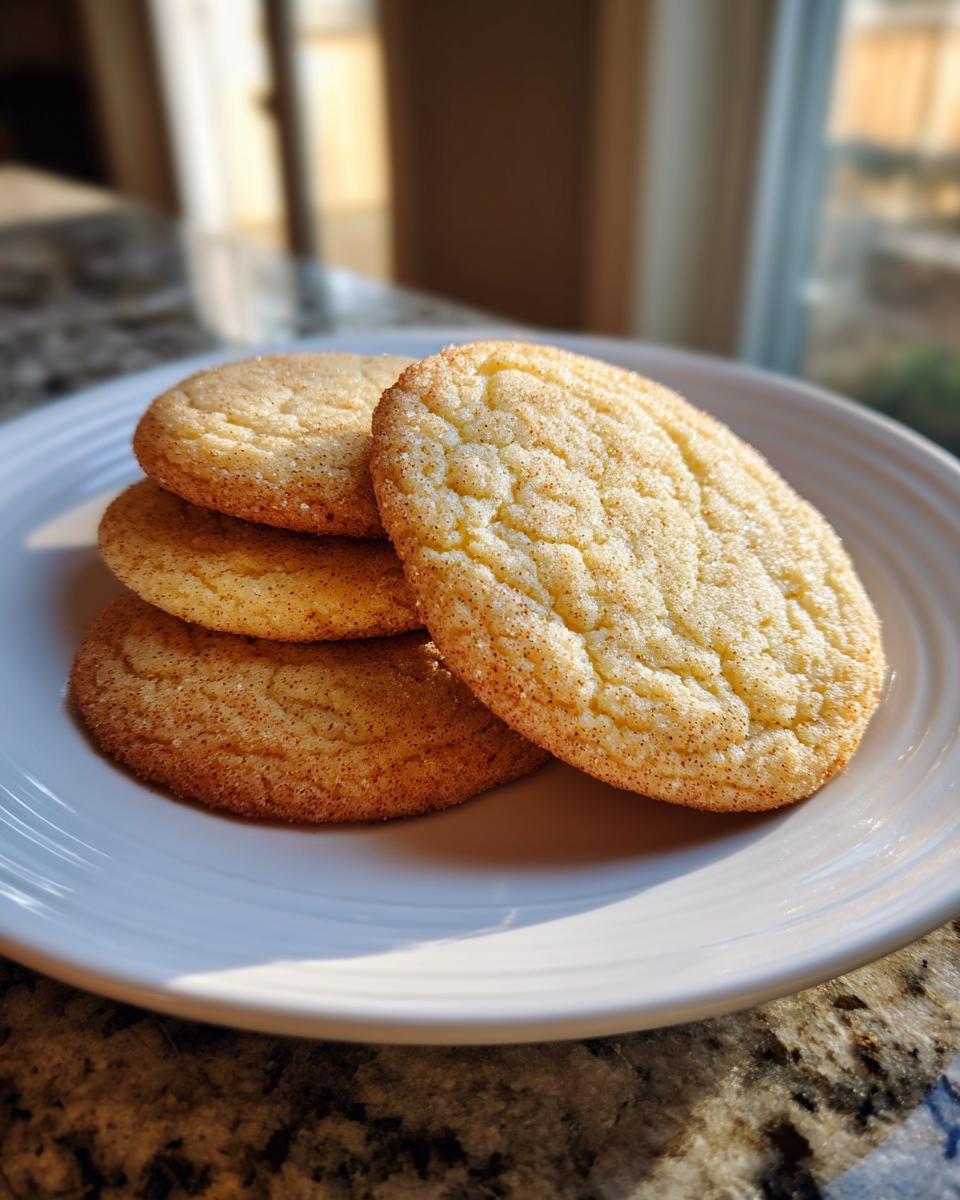
When serving them up for a holiday cookie exchange, I always alternate colors and shapes so the platter looks abundant and festive. They are great alongside coffee, of course, or paired with a simple glass of milk. These sugar cookies are a staple for a reason—they are delicious in their simplicity, but they also act as the perfect, edible canvas for all your creative decorating.
Frequently Asked Questions About Perfect Sugar Cookies
I know sometimes baking doesn’t go exactly to plan, even when you follow the steps perfectly. That’s life in the kitchen! I’ve gathered the most common questions I get about these classic sugar cookie recipe batches to help you troubleshoot any issues right away. Having a great holiday cookie exchange means having reliable results every single time!
Can I skip chilling the dough?
Oh, I really wish you could, but no, you really shouldn’t! Chilling is the essential step that ensures you get chewy sugar cookies at home that hold their shape. If you try to skip the minimum one-hour rest, your dough will be too soft, and the butter, which is crucial for structure, will melt too fast in the oven. This leads directly to spreading and losing those beautiful cutout edges before the cookie has a chance to set.
Troubleshooting: Why Are My Sugar Cookies Spreading?
If you followed the recipe and still ended up with flat disks instead of cute shapes, it almost always comes down to temperature control. There are two main culprits: first, your butter wasn’t chilled enough when creaming, or second, your oven wasn’t fully preheated before the trays went in. If the oven isn’t hot enough at first contact, the fat melts slowly before the structure can set, causing the spread. Make sure you preheat for at least 15 minutes before you even start rolling. I always recommend using an oven thermometer!
How long do the baked sugar cookies last?
If you manage to keep them around long enough, these soft sugar cookies stay fantastic when stored correctly. Undecorated cookies, placed in a truly airtight container at room temperature, stay soft and fresh for about a week. If you frost them with royal icing, they can last even longer, sometimes up to two weeks, though they are definitely best within the first few days. I wouldn’t recommend refrigerating them uncovered, as that can actually dry them out faster.
Can I use this dough to make drop cookies instead of cutouts?
You absolutely can! If you’re feeling lazy or realize you don’t have fancy cutters, scoop the dough into little balls instead of rolling it. You might want to slightly reduce the chilling time, maybe just 30 minutes instead of a full hour, since the balls won’t flatten out as much during baking as a rolled sheet will. These still end up as wonderfully buttery vanilla sugar cookies, just in a rounder, slightly puffier form.
Estimated Nutritional Data for This Recipe
I’m Leo, and while I cook to bring rich, soulful flavors to the table, I know sometimes we are curious about the breakdown of what we’re eating. I try to keep my recipes approachable, not overly complicated, and that generally means steering clear of obscure ingredients that throw the macros way off. These sugar cookies are fundamentally butter, flour, and sugar, so the numbers are going to reflect classic baking.
Please keep in mind that these figures are estimates based on the ingredients listed in the recipe and standard measurements. If you use organic butter or a different brand of flour, the totals may shift slightly. I always rely on my nutrition calculator for a precise tally, but this gives you a fantastic general idea of what’s in one of these beautiful, decorate-friendly cookies.
- Serving Size: 1 cookie (Approx. 1/24th of the batch)
- Calories: 150
- Total Fat: 8g
- Saturated Fat: 5g
- Trans Fat: 0g
- Cholesterol: 30mg
- Sodium: 75mg
- Total Carbohydrates: 18g
- Dietary Fiber: 0g
- Total Sugars: 12g
- Protein: 2g
Disclaimer: Nutrition facts are calculated approximations and should only be used as a general guide. They do not account for any added frostings or decorations you apply after the cookies have cooled.
Share Your Creations from This Recipe
Now the hard part is over, and you have a platter full of beautiful, decorate-friendly sugar cookies! I truly hope they turned out exactly as you pictured them—soft, buttery, and ready for sprinkles. Having traded my spreadsheets for spatulas, seeing your results is what validates all the testing I do here at Gourmet Gaze. It truly brings me joy to know these recipes are making it onto your tables and into your holiday celebrations.
If you loved this recipe and found it to be one of the best you’ve tried, please take a moment to leave a rating right here below the article. Five stars really helps other home cooks feel confident trying this foundational recipe! A quick rating lets me know that these simple holiday cookie recipes are hitting the mark.
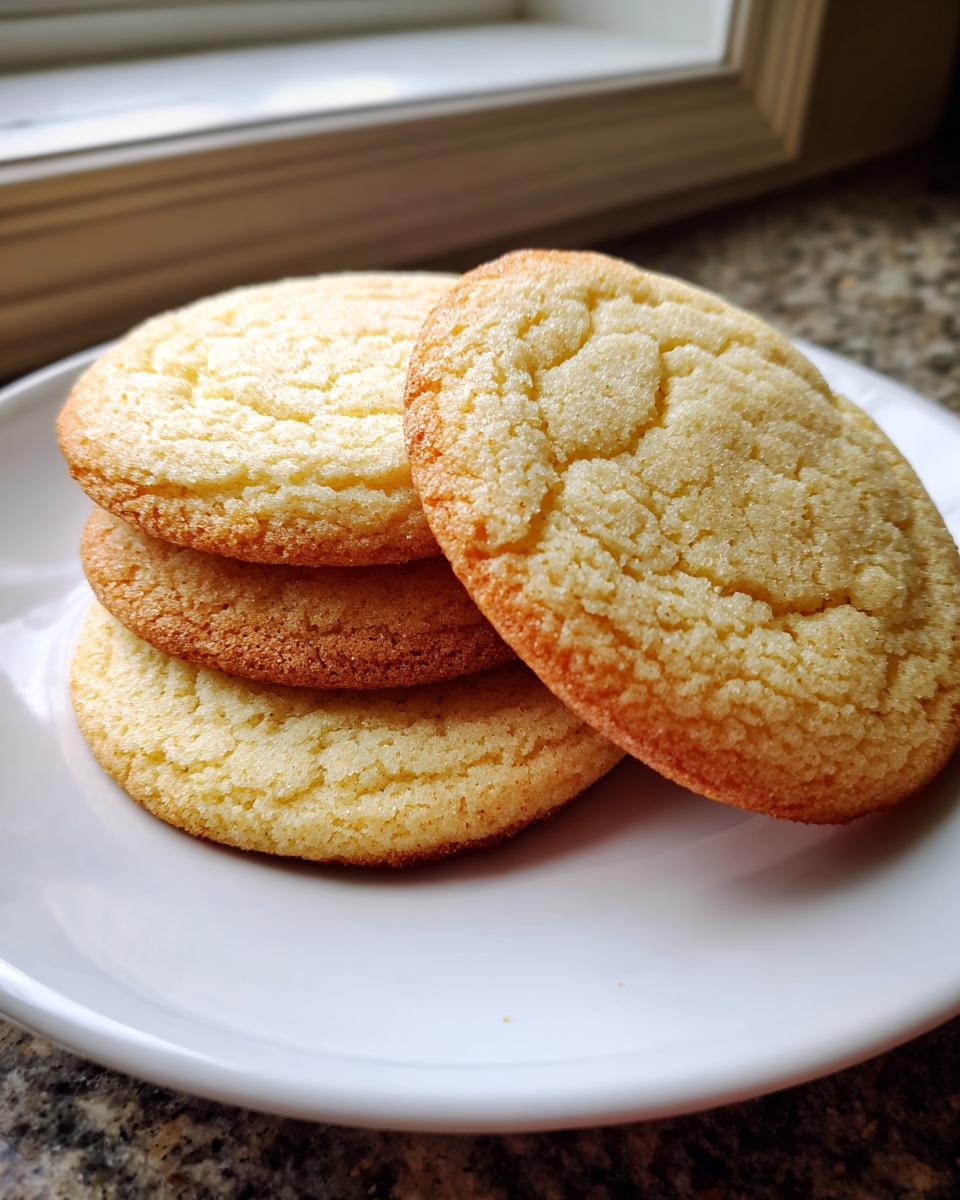
And if you went all out decorating them—whether you used simple icing or followed some elaborate design—I absolutely want to see them! Tag us on social media when you post your photos. Seeing your decorated masterpieces is seriously the best reward for creating this guide. Feel free to reach out through my contact page if you have any lingering questions that weren’t addressed in the FAQ section.
Happy baking, and thank you again for joining me at this table. Let’s make every meal a feast for the eyes and the soul!
PrintThe Best Soft and Chewy Cutout Sugar Cookies That Hold Their Shape
Follow this easy recipe to make bakery style sugar cookies that are soft, chewy, buttery, and hold their shape perfectly for decorating during the holidays or any occasion.
- Prep Time: 20 min
- Cook Time: 10 min
- Total Time: 1 hour 30 min
- Yield: 24 cookies 1x
- Category: Dessert
- Method: Baking
- Cuisine: American
- Diet: Vegetarian
Ingredients
- 2 1/4 cups all-purpose flour
- 1 teaspoon baking powder
- 1/2 teaspoon salt
- 1 cup (2 sticks) unsalted butter, softened
- 1 cup granulated sugar
- 1 large egg
- 1 teaspoon vanilla extract
Instructions
- In a medium bowl, whisk together the flour, baking powder, and salt. Set the dry ingredients aside.
- In a large bowl, use an electric mixer to beat the softened butter and granulated sugar together until the mixture is light and fluffy, about 3 minutes. This step builds the texture you want.
- Beat in the egg and vanilla extract until just combined. Scrape down the sides of the bowl as needed.
- Gradually add the dry ingredient mixture to the wet ingredients, mixing on low speed until a soft dough forms. Do not overmix.
- Divide the dough in half, flatten each half into a disk, wrap tightly in plastic wrap, and chill in the refrigerator for at least 1 hour. Chilling is key for cookies that do not spread.
- Preheat your oven to 375 degrees Fahrenheit. Line baking sheets with parchment paper.
- Remove one disk of dough from the refrigerator. On a lightly floured surface, roll the dough out to about 1/4 inch thickness.
- Use your favorite cookie cutters to cut out shapes. Place the cutouts onto the prepared baking sheets, leaving about 1 inch between them.
- Bake for 8 to 10 minutes, or until the edges are lightly golden. For soft sugar cookies, err on the side of underbaking slightly.
- Let the cookies cool on the baking sheet for 5 minutes before transferring them to a wire rack to cool completely. Decorate once fully cooled.
Notes
- For the best shape retention, make sure your butter is softened, not melted, and chill the dough thoroughly before rolling and cutting.
- If you plan to use royal icing for decorating, allow the cookies to cool completely before applying the icing.
- You can substitute almond extract for half of the vanilla extract for a different flavor profile.
- This simple sugar cookie dough freezes well; wrap the disks tightly before freezing for up to three months.
Nutrition
- Serving Size: 1 cookie
- Calories: 150
- Sugar: 12
- Sodium: 75
- Fat: 8
- Saturated Fat: 5
- Unsaturated Fat: 3
- Trans Fat: 0
- Carbohydrates: 18
- Fiber: 0
- Protein: 2
- Cholesterol: 30