
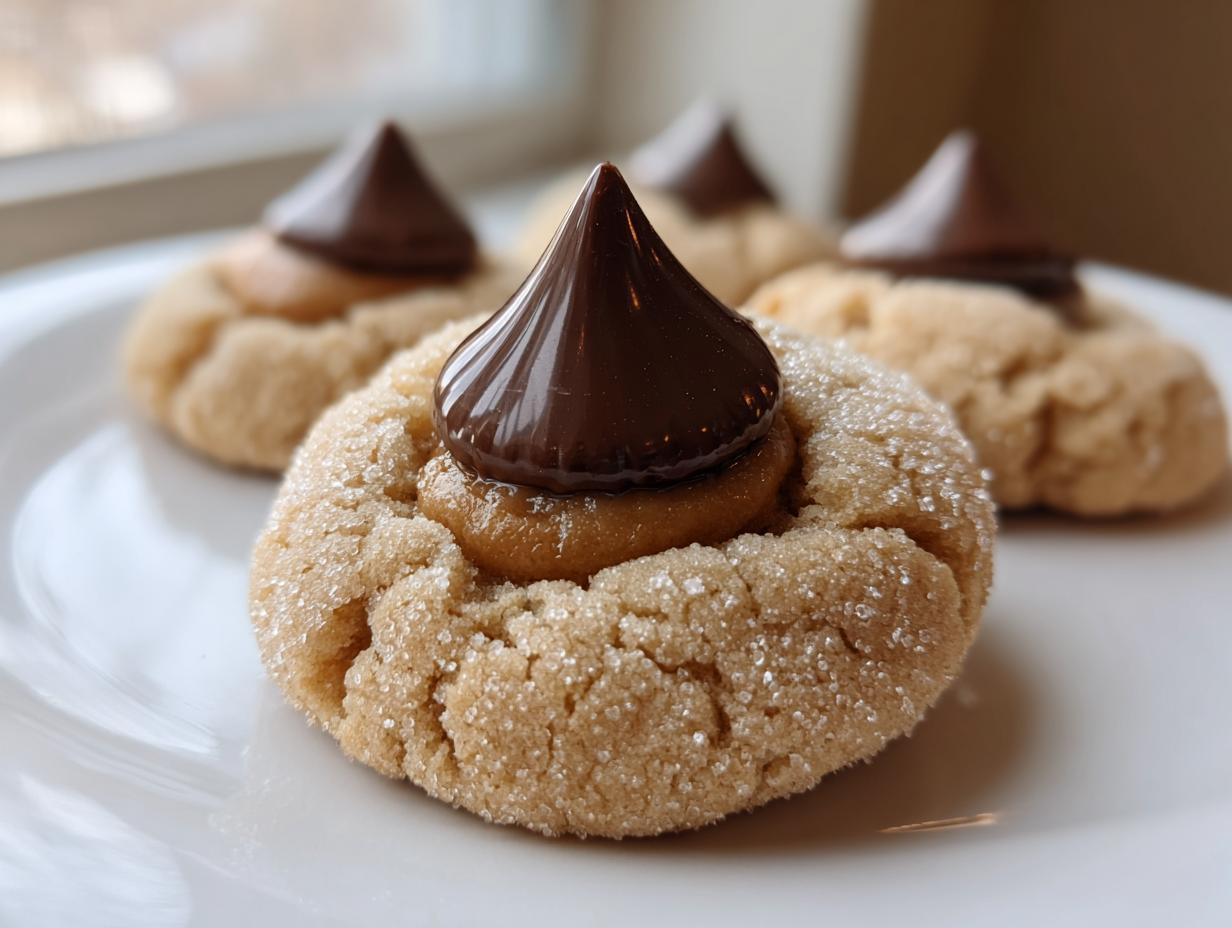

There is nothing quite like the smell of a classic holiday cookie batch filling the house, is there? For me, the sweet, salty joy of a properly made **peanut butter blossom** is the absolute pinnacle of Christmas baking. I spent years—and countless ruined batches—chasing that perfect texture. Seriously, I used to specialize in cookies that were either rock hard or totally flat!
But now? I promise you, this is the definitive recipe for the *best* **peanut butter blossom** cookies you will ever make. My goal in creating Gourmet Gaze was to turn intimidating recipes into foolproof classics, and these absolutely fit the bill. After leaving my demanding corporate life behind to truly learn what makes food sing, I tested dozens of variations to lock down the formula for a cookie that is guaranteed soft and wonderfully chewy. You can read more about my journey right here on the About page.
This isn’t just a recipe; it’s the culmination of my culinary journey, designed to give you that iconic peanut butter and chocolate combination without any holiday baking stress. Get ready for cookies that look like they came from a professional bakery.
- Why This is the Best Peanut Butter Blossom Recipe for Soft and Chewy Results
- Ingredients for Iconic Peanut Butter Blossom Cookies
- Step-by-Step Instructions for Perfect Peanut Butter Blossom Cookies
- Tips for the Best Ever Peanut Butter Blossoms (Expert Advice)
- Making Peanut Butter Blossom Cookies for Holiday Cookie Recipes
- Storage and Reheating Instructions for Soft Peanut Butter Blossom Cookies
- Frequently Asked Questions About Peanut Butter Blossom Cookies
- Estimated Nutritional Data for This Peanut Butter Blossom Recipe
- Share Your Perfect Peanut Butter Blossom Creations
Why This is the Best Peanut Butter Blossom Recipe for Soft and Chewy Results
I’ve messed up cookies more times than I care to admit since trading my spreadsheets for spatulas. I remember one disastrous batch where the centers collapsed entirely after cooling, leaving only sad, cracked voids instead of that beautiful chocolate top—it was a truly heartbreaking moment for a novice baker! That failure taught me that structure matters, especially if you want **Chewy Peanut Butter Cookies**.
The secret to these superb **Peanut Butter Blossoms** isn’t just the chocolate; it’s the balance of sugars in the dough. See, using both granulated sugar and that deep, rich brown sugar is non-negotiable here. The brown sugar holds moisture, which is exactly what keeps these **Soft Baked Blossom Cookies** tender for days. If you want to see another recipe that relies on this same technique for lasting softness, check out my easy peanut butter cookie recipe.
When you look for the best results, you need proven tips, and many great bakers agree on the importance of technique here; you can see why others rave about focusing on texture, too (they know what’s up).
Achieving the Perfect Crinkle Top on Your Peanut Butter Blossom
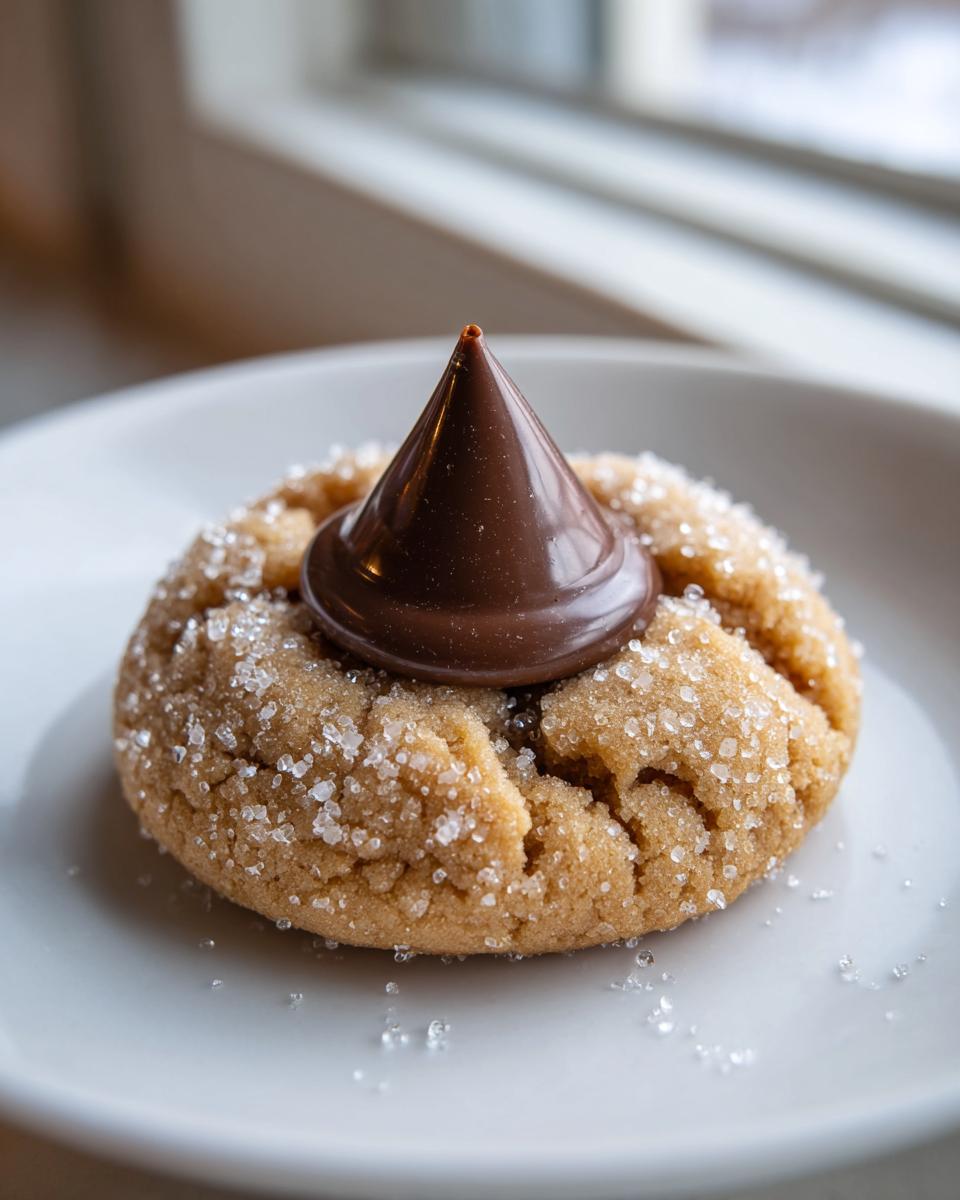
That signature crackle on the cookie dough is actually a gift! We create that look by rolling the dough balls generously in granulated sugar right before they go into the oven. That sugar coating crisps up slightly early in the baking process, creating a shell that sets the shape.
When the cookie expands as it bakes, that rigid shell cracks open, giving you the amazing texture contrast we love. It’s what catches the eye and signals that perfect, tender crumb underneath!
Ingredients for Iconic Peanut Butter Blossom Cookies
Okay, let’s get our mise en place ready! When we talk about the “best” anything, the ingredients have to be spot-on. I’ve gone through so many tubs of peanut butter trying to find the right ratio here. This list is what works, every single time. I always tell my friends that if you follow this list exactly, you have already won half the battle.
You’ll need the following components to create about four dozen of these beautiful, iconic holiday treats:
- 1 cup unsalted butter, softened (make sure it’s truly soft!)
- 3/4 cup creamy peanut butter (I stick to standard, smooth peanut butter for recipe consistency)
- 3/4 cup granulated sugar
- 3/4 cup packed light brown sugar (Pack it in there!)
- 2 large eggs
- 1 teaspoon vanilla extract
- 2 1/4 cups all-purpose flour
- 1 teaspoon baking soda
- 1/2 teaspoon baking powder
- 1/2 teaspoon salt
- 1/4 cup granulated sugar (This is the extra sugar we use for rolling)
- About 48 Hershey’s Kisses, unwrapped (Have these ready to go!)
See? Simple staples, but the balance is what brings the magic. Don’t try swapping that peanut butter for a natural, oily one unless you adjust the mixing time—trust me on the creamy stuff for this recipe; it keeps the structure!
Step-by-Step Instructions for Perfect Peanut Butter Blossom Cookies
We’re diving into the action now! This is where the assembly happens. Since these are such fun cookies, especially for holiday baking, I like to crank up some music and just focus on the steps. Remember, even though the recipe is fast—total time is under 30 minutes—we need to be precise with the timing, especially around the oven.
First thing first: Get that oven roaring! Preheat your oven to 375°F (190°C) right away. Line those baking sheets with parchment paper—that’s just good sense for easy cleanup and perfect bottoms. Don’t skip the paper, trust me on this one!
Mixing the Dough for Soft Peanut Butter Blossom Cookies
This is the secret spot where we lock in that soft texture. You need to beat the softened butter, the creamy peanut butter, the granulated sugar, and that wonderful brown sugar until it gets light and fluffy. This creaming action whips air into the dough, which is vital for a light cookie, not a dense brick. After the eggs and vanilla go in, slowly add your dry ingredients, but stop mixing right when the flour disappears. If you keep mixing, you activate too much gluten, and those gorgeous **Peanut Butter Blossom Cookies** will turn tough!
The Critical Chocolate Kiss Application for Your Peanut Butter Blossom
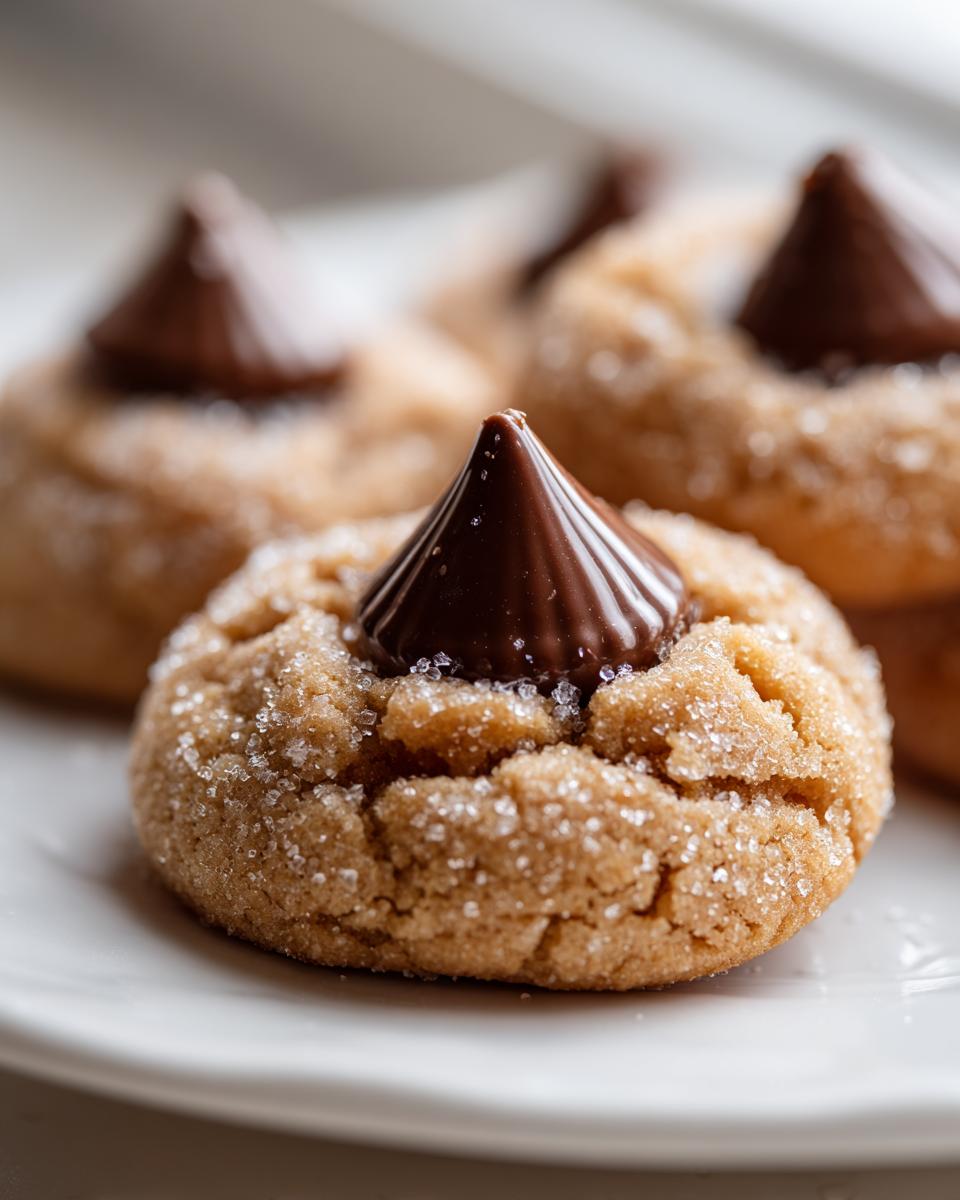
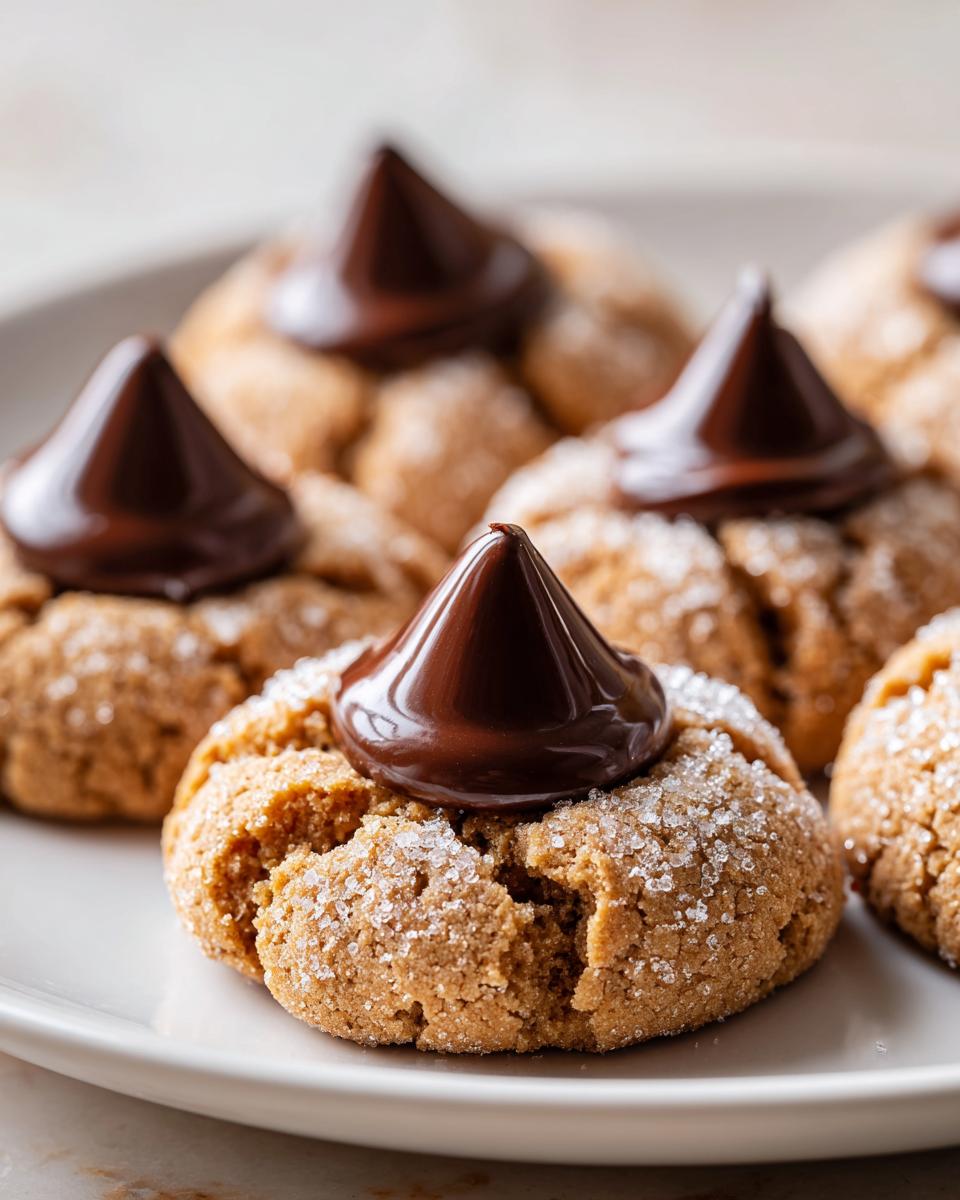
This is the moment of truth, and you cannot wait even one minute! As soon as those cookies come out—and pay attention, they only bake for 8 to 10 minutes—you need to gently press one unwrapped Hershey’s Kiss right into the center of each warm cookie. The residual heat is what melts the chocolate just enough to secure it, giving you that beautiful, slightly sunken, almost wet-looking top. If you wait until they cool on the sheet for too long, the chocolate won’t stick, and you’ll end up fighting cracked cookie tops. Grab that chocolate and move fast!
After you’ve pressed in all the Kisses, let them chill on that hot pan for about five minutes before moving them to a rack to cool completely. If you’re looking for more inspiration on classic Christmas treats, this guide on making sweet and salty holiday cookies is fantastic.
We’ve got the structure down now; head over to my blog archives for more general baking advice if you need it!
Tips for the Best Ever Peanut Butter Blossoms (Expert Advice)
Now that you know the method, let’s talk shortcuts and tweaks. Getting those **Best Ever Peanut Butter Blossoms** that stay soft isn’t just about the ingredients list; it’s about knowing what *not* to do. The biggest rookie mistake I see people make is overbaking them. Seriously, pull them out when they look slightly underdone!
If you bake them until they look golden brown and totally set, they will be crunchy by morning. We want that slight puffiness remaining in the center. That residual heat when you press in the Kiss is doing most of the cooking for you, which is the genius stroke of this **Peanut Butter Blossom** recipe. For more ideas on classic treats, check out my thoughts on Old Fashioned Tea Cakes for comparison!
When aiming for ultimate softness that lasts past day one, remember that refrigerating cookies tends to dry them out faster. Keep them airtight at room temperature, and they should stay perfect. For ultimate softness tips from others in the baking community, have a peek over here for extra soft assurance.
Ingredient Substitutions for Peanut Butter Blossom Variations
I often get asked if crunchy peanut butter works. Yes, it does! But be warned: crunchy peanut butter adds little bits of nut that can disrupt the dough structure and sometimes cause those cracks we talked about earlier. You’ll still have delicious **Peanut Butter Blossoms**, but the texture won’t be quite as uniform.
If creamy peanut butter isn’t your thing, you can try almond butter or sunflower seed butter. These are great **Simple Cookie Swaps**, but they may alter the flavor profile, so start small until you find a balance you love! The base of this dough is so forgiving.
Making Peanut Butter Blossom Cookies for Holiday Cookie Recipes
The best part about making these **Peanut Butter Blossoms** is how perfectly they fit into any spread of **Christmas Baking Classics**. They give you that festive, nostalgic look without needing to spend hours rolling out dough or using cookie cutters. They just scoop, roll, bake, and top—it’s fantastic efficiency!
If you’re baking for a huge party or setting up a big cookie platter, scaling this recipe is a breeze. I usually double the batch—sometimes even triple! Just be mindful of your oven space; you don’t want to crowd the sheets, or the cookies won’t bake evenly. For great visual ideas on how to display your hard work, check out my general inspiration roundup on Desserts.
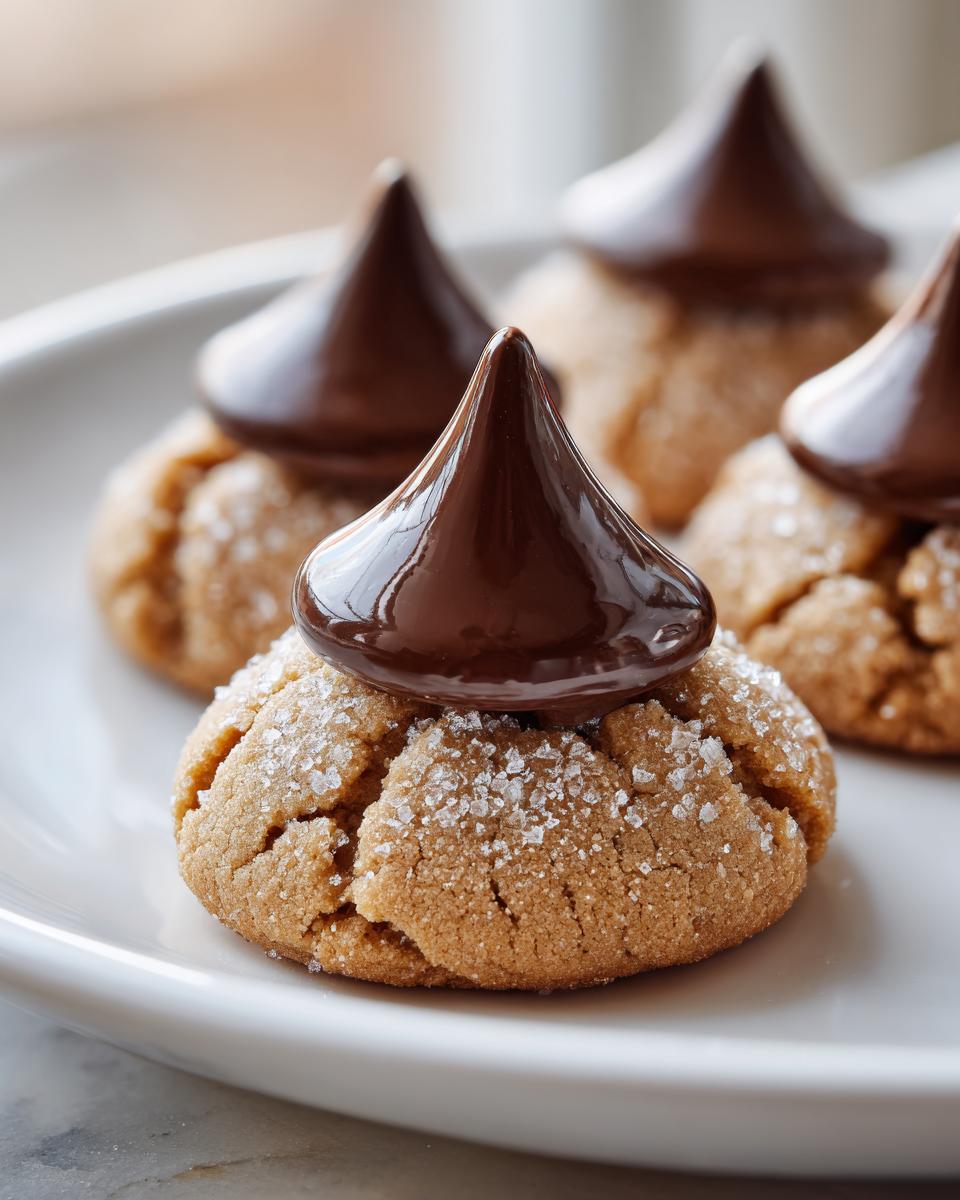
When presenting them, remember how the chocolate melts slightly into the cracks—it looks so gorgeous against the pale, sugar-dusted cookie. They are an absolute staple for any festive lineup. For more fantastic holiday favorites, check out how others approach their Classic Peanut Butter Blossoms for gifting!
Storage and Reheating Instructions for Soft Peanut Butter Blossom Cookies
We’ve put all this work into making sure our **Peanut Butter Blossoms** are perfectly soft and chewy, so we absolutely don’t want to ruin that texture during storage! My golden rule here, honestly, is to keep them completely away from the refrigerator. Cold air is the enemy of soft cookies; it really sucks the moisture right out of them, and before you know it, your beautiful cookies feel like they’ve been sitting out since last Christmas.
Keep them in a standard airtight container at room temperature. I mean airtight—the kind with a good seal you have to really press down on. If you’re stacking them up, make sure you put a small square of parchment paper or wax paper between the layers. This stops the chocolate tops from sticking to the cookies stacked above them. Seriously, nobody wants to pull a cookie out only to leave the Hershey’s Kiss behind!
If, by some miracle, you actually have cookies left over a few days later and they feel a little stiffer than you remember? Try this little trick: pop just one or two cookies on a microwave-safe plate and give them about 8 to 10 seconds on 50% power. That little burst of warmth reactivates the fats in the dough, making them taste freshly baked again. You won’t need to reheat a whole batch, thank goodness, but it’s a great way to rescue a stray cookie when that craving hits!
Frequently Asked Questions About Peanut Butter Blossom Cookies
I get questions on this recipe all the time, especially once the holiday baking rush starts up! Most folks are worried about cracking or their cookies getting flat. Don’t stress; this is my favorite part because I can help you avoid the pitfalls I stumbled into early on. Here are the most common issues people run into when making these **Classic Peanut Butter Cookies**.
Why did my Peanut Butter Blossom cookies crack or spread too much?
This is the number one concern! Cracking happens for a few reasons, but usually, it’s about temperature control. If your dough balls are too warm when they go into the oven, they spread before the structure can set, causing major spreading. Also, if you forget to roll them completely in that extra sugar coating, the dough is too ‘sticky’ and collapses on itself. For that perfect signature crinkle on your **Peanut Butter Chocolate Drop Cookies**, make sure the dough is cool before rolling and pressing.
Can I make this Peanut Butter Blossom dough ahead of time and freeze it?
You absolutely can! I often prep dough balls early for Christmas baking efficiency. Roll the dough into their 1-inch balls, coat them in sugar, and then arrange them on a parchment-lined baking sheet. Pop that sheet into the freezer until the balls are totally frozen solid. Then, transfer the frozen balls to a heavy-duty freezer bag. You can bake them straight from frozen! Just add about 2–3 extra minutes to your baking time. They stay wonderfully soft, just like their fresh-baked cousins.
What can I use if I don’t have Hershey’s Kisses?
While nothing beats the iconic flavor and shape of a Kiss, these cookies are versatile! If you’re out, or have an allergy concern, you have options. A perfect single-serving chocolate candy that melts well works great, like a good quality chocolate drop or a small chocolate star. You can also use a dollop of thick chocolate frosting or ganache after the cookie has cooled down entirely. If you do this, you skip the step of pressing into the hot cookie, though—that’s the one major difference!
Do I absolutely need to chill the dough balls?
For *this* specific recipe, no, which is why I love it for quick desserts! We aren’t chilling the dough for texture; we rely on the creaming method and the sugar coating to manage the spread. If you feel your dough is way too soft before rolling (maybe your kitchen is super warm!), giving the balls 15 minutes in the fridge *after* rolling them in sugar won’t hurt; it will just ensure they don’t spread too much when they hit that hot oven. But generally, scoop and go is the way to go for this recipe!
If you have other questions about baking techniques or want to get in touch with me directly about your results, feel free to hit my contact page. Happy baking!
Estimated Nutritional Data for This Peanut Butter Blossom Recipe
I always include this information because, let’s be honest, while we bake for joy and comfort, knowing what’s in that beautiful cookie is important too. Please take these numbers with a grain of salt—or maybe a tablespoon of peanut butter!
These estimates are based on standard brands and serving sizes, so your final counts might vary slightly depending on exactly what kind of peanut butter or sugar you use. I certainly don’t weigh my ingredients down to the milligram when I make a batch!
For one cookie (based on a yield of about 4 dozen):
- Calories: 160
- Fat: 9g
- Saturated Fat: 4g
- Trans Fat: 0g
- Cholesterol: 20mg
- Sodium: 85mg
- Total Carbohydrates: 19g
- Fiber: 1g
- Sugar: 14g
- Protein: 3g
There you have it! They pack a sweet punch, but that’s what we expect from a perfect holiday treat, right? Enjoy them knowing you made the absolute **Best Peanut Butter Blossoms** possible!
Share Your Perfect Peanut Butter Blossom Creations
Alright, now that you have the blueprint for the absolute softest, chewiest **Peanut Butter Blossoms** imaginable, I have a big ask for you! My greatest joy here at Gourmet Gaze is seeing the delicious things you create in your own kitchens. I want to know how they turned out for you!
Please, take a minute once you’ve cooled these beauties down to head back up top and give the recipe a rating. Five stars if they lived up to the hype—especially if that chewiness lasted longer than you expected! And more importantly, drop a comment below. Tell me about your experience! Did you notice the difference the right creaming made? What did your family think?
If you shared a picture of your perfect platter of these iconic cookies on Instagram or any social platform, please tag me! I absolutely love seeing your culinary stories on a plate. It’s the fuel that keeps me energized every day in my kitchen, reminding me that something beautiful is always possible, even if you started out intimidated by baking.
If you ever have a question while you’re in the middle of baking and need to reach out directly, my door (and my contact page) is always open. Let’s keep creating feasts for the soul together!
PrintThe Best Soft and Chewy Peanut Butter Blossom Cookies
Make the iconic Peanut Butter Blossom cookie that stays soft and chewy long after baking. This recipe delivers the perfect sweet and salty balance for your holiday cookie platter.
- Prep Time: 20 min
- Cook Time: 10 min
- Total Time: 30 min
- Yield: About 4 dozen 1x
- Category: Dessert
- Method: Baking
- Cuisine: American
- Diet: Vegetarian
Ingredients
- 1 cup unsalted butter, softened
- 3/4 cup creamy peanut butter
- 3/4 cup granulated sugar
- 3/4 cup packed light brown sugar
- 2 large eggs
- 1 teaspoon vanilla extract
- 2 1/4 cups all-purpose flour
- 1 teaspoon baking soda
- 1/2 teaspoon baking powder
- 1/2 teaspoon salt
- 1/4 cup granulated sugar (for rolling)
- About 48 Hershey’s Kisses, unwrapped
Instructions
- Preheat your oven to 375°F (190°C). Line baking sheets with parchment paper.
- In a large bowl, beat the softened butter, peanut butter, 3/4 cup granulated sugar, and brown sugar with an electric mixer until the mixture is light and fluffy. This step helps create a soft texture.
- Beat in the eggs one at a time, then mix in the vanilla extract.
- In a separate medium bowl, whisk together the flour, baking soda, baking powder, and salt.
- Gradually add the dry ingredients to the wet ingredients, mixing on low speed until just combined. Do not overmix the dough.
- Place the remaining 1/4 cup of granulated sugar in a shallow dish.
- Roll the dough into 1-inch balls. Roll each ball in the sugar until fully coated.
- Place the sugared balls about 2 inches apart on the prepared baking sheets.
- Bake for 8 to 10 minutes. The cookies should look slightly set but still soft in the center.
- Immediately upon removing the cookies from the oven, gently press one unwrapped Hershey’s Kiss into the center of each warm cookie. The residual heat will soften the chocolate.
- Let the cookies cool on the baking sheet for 5 minutes before transferring them to a wire rack to cool completely.
Notes
- For the chewiest results, do not overbake the cookies; they should look slightly underdone when you remove them.
- Press the chocolate kiss into the cookie right away. If the cookies cool too much, the chocolate will not adhere properly.
- If you want a slightly crispier edge, roll the dough balls in granulated sugar mixed with 1 teaspoon of cinnamon before baking.
Nutrition
- Serving Size: 1 cookie
- Calories: 160
- Sugar: 14g
- Sodium: 85mg
- Fat: 9g
- Saturated Fat: 4g
- Unsaturated Fat: 5g
- Trans Fat: 0g
- Carbohydrates: 19g
- Fiber: 1g
- Protein: 3g
- Cholesterol: 20mg