
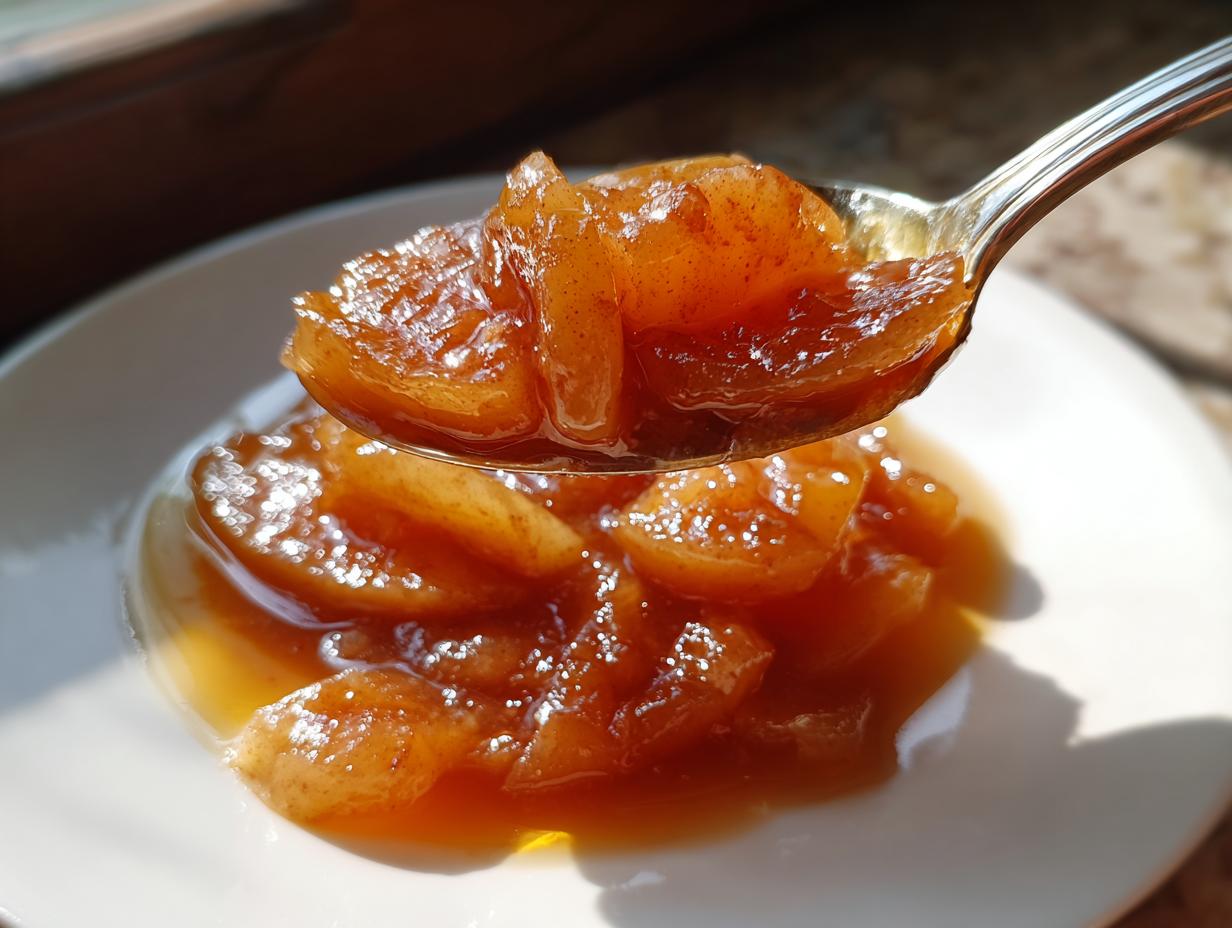

Is there anything better than the smell of apples and cinnamon warming up your entire house? Seriously, it’s pure comfort captured in an aroma. For years, I remember grabbing those metal cans, but now? Never again. I’m thrilled to share what I wholeheartedly believe is the best quick & easy homemade apple pie filling you will ever make. We are using a simple stovetop method here to ensure we get that perfect thickness every single time, eliminating that notorious watery issue. After my culinary pilgrimage, I vowed to bring reliable, soul-satisfying recipes to Gourmet Gaze, and this recipe for basic, phenomenal apple pie filling is truly the heart of that promise. You can read more about my approach to dependable cooking over on my About Page, but trust me, this filling is a game-changer for all your fall baking needs!
- Why This Homemade Apple Pie Filling Recipe Works So Well
- Gathering Ingredients for Your Best Apple Pie Filling
- Step-by-Step Stovetop Apple Pie Filling Instructions
- Expert Tips for the Ultimate Spiced Apple Filling
- Versatile Uses for Your Apple Pie Filling From Scratch
- Storage and Make-Ahead for Apple Pie Filling
- Frequently Asked Questions About Making Apple Pie Filling
- Nutritional Snapshot of This Dessert Filling
- Share Your Homemade Apple Pie Filling Creations
Why This Homemade Apple Pie Filling Recipe Works So Well
I know it can be tempting to reach for a can when you’re in a hurry, but I promise you, taking the ten minutes to whip up this apple pie filling on the stovetop is worth every single second. This method is how you achieve that beautiful, syrupy glaze without fail. It’s all about control, darling!
- This stove-top approach means you control every spice measurement, ensuring your filling sings instead of shouts.
- You get that gorgeous, slow-cooked apple texture without pre-baking a whole pie, which prevents sogginess. It’s just superior for fillings!
If you ever want to dive deeper into the science behind my recipe development, you can check out my latest posts!
Achieving the Perfect Thick Apple Pie Filling Consistency
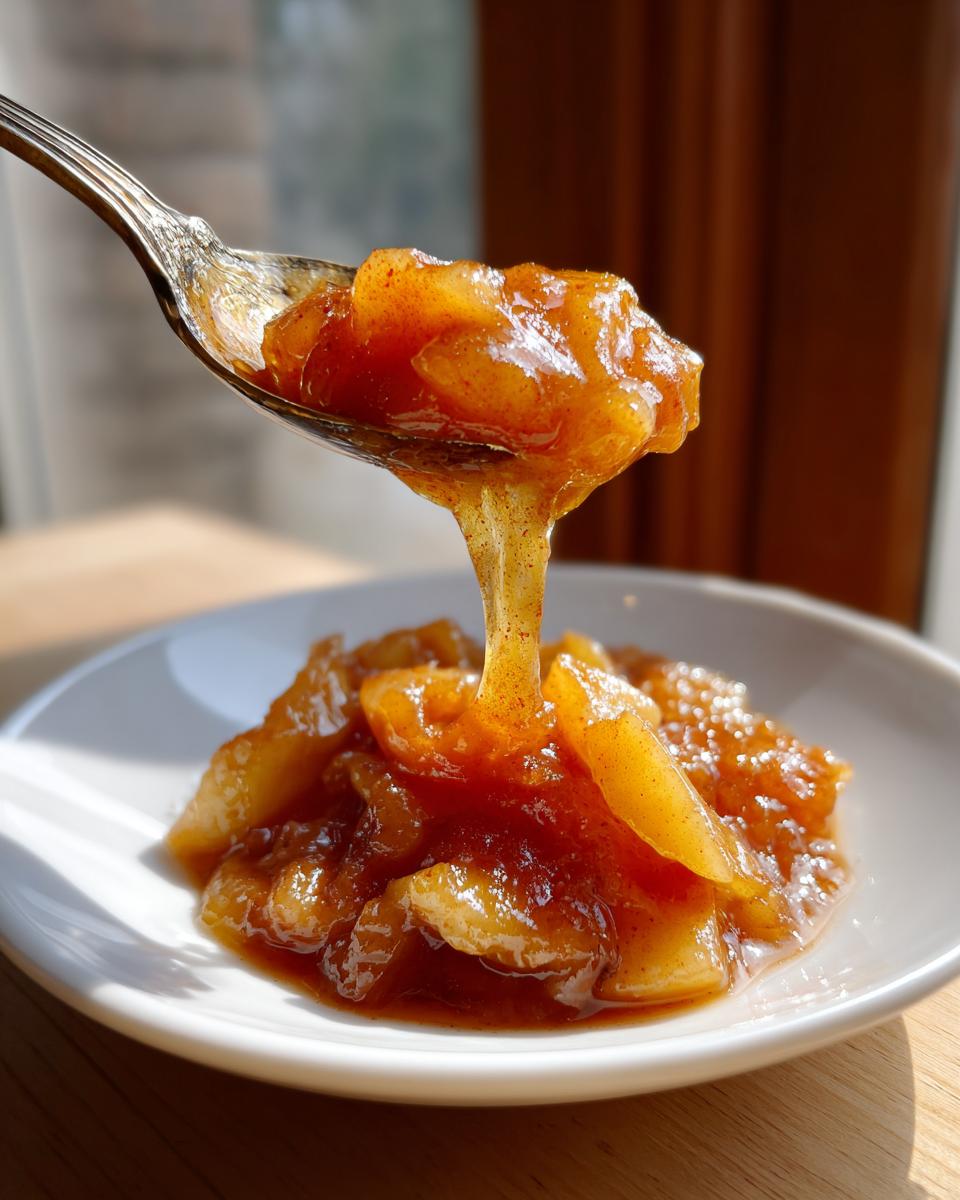
The number one complaint I hear about homemade filling is that it runs all watery when baked. Not here! We use a simple cornstarch slurry mixed with cold water right at the end. Cooking that slurry briefly thickens the juices released by the apples, locking everything into that perfect, lush sauce. This guarantees your apple pie filling won’t leak out the bottom of your crust!
Quick Apple Pie Filling Ready in Under 30 Minutes
This is my weeknight savior! Between prep and cooking, we’re looking at about 25 minutes total. That clock time is huge when you’re craving dessert but don’t have hours to spare. This quick apple pie filling delivers huge flavor fast. You get all the cozy fall vibes without the all-day commitment.
Gathering Ingredients for Your Best Apple Pie Filling
To make the absolute best apple pie filling, you simply cannot cut corners on the ingredients. Remember, this is all about building layers of flavor and texture that taste homemade, which is why I insist on stocking the pantry with quality items. Don’t worry; the ingredient list is refreshingly short, but the details matter immensely for that perfect thickness we are aiming for!
- 6 large apples (Granny Smith or Honeycrisp recommended)
- 3/4 cup granulated sugar
- 1/4 cup packed light brown sugar
- 1 tablespoon fresh lemon juice
- 1 teaspoon ground cinnamon, 1/4 teaspoon nutmeg, 1/8 teaspoon allspice
- 1/4 teaspoon salt
- 2 tablespoons unsalted butter
- 2 tablespoons cornstarch + 1/4 cup water (for the slurry!)
- 1 teaspoon vanilla extract
Apple Selection and Preparation Tips
This is where the structure comes from! You need apples that hold their shape but still soften nicely. My preference is a mix—Granny Smith for that lovely tartness to cut the sugar, paired with a sweeter profile like Honeycrisp. Crucially, peel, core, and slice them uniformly, aiming for about a 1/4-inch thickness. If they are too thin, they will dissolve into mush when you make this apple pie filling.
Spices and Sweeteners for Authentic Apple Pie Filling
We aren’t just using cinnamon here! The trio of cinnamon, nutmeg, and a tiny bit of allspice creates that warm, complex profile that signals genuine fall baking. Also, notice we use both sugars: granulated for sweetness and that light brown sugar for depth. That molasses in the brown sugar is integral to achieving a beautifully rich and spiced apple filling that tastes layered and mature.
Step-by-Step Stovetop Apple Pie Filling Instructions
Now for the fun part! This is where the magic happens, fast. Since we’re working on the stovetop for this apple pie filling, speed and attention are key, but don’t panic—it’s so intuitive. We want those apples tender, not mushy, and that sauce luxurious. If you ever need a similar quick fruit application, check out my easy apple crumble recipe! And remember, if you need a quick validation check on the process, this external source offers great tips too: Quick Apple Pie Filling.
Combining Apples and Initial Simmer for Apple Pie Filling
First things first: get those apple slices into a big saucepan. Toss them gently with both sugars, the lemon juice, and all those gorgeous spices—cinnamon, nutmeg, and allspice. Put it over medium heat. You want to stir occasionally for about five to seven minutes until you see the apples start to release their juices. This is crucial because that juice is what we’re going to thicken!
Thickening the Quick Apple Pie Filling Sauce
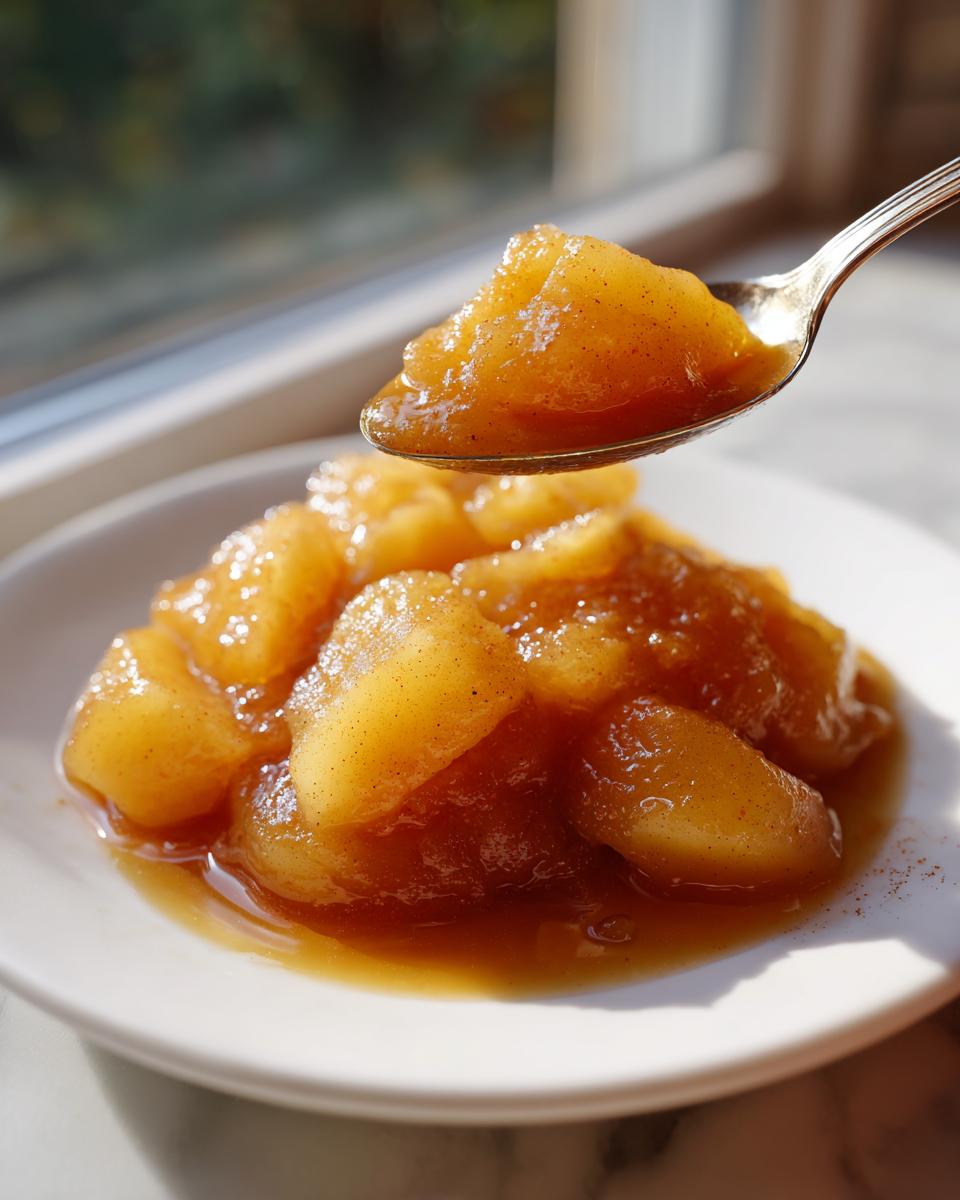
While the apples simmer, quickly make your slurry: whisk the cornstarch into the cold water until it’s totally smooth—zero lumps allowed! Now, pour that slurry right into the apples. You must stir constantly here for one to two minutes. Watch it—you’ll see the sauce transform immediately! Once it coats the back of a spoon completely, you’ve hit that beautiful, thick texture we aimed for in this quick apple pie filling.
Expert Tips for the Ultimate Spiced Apple Filling
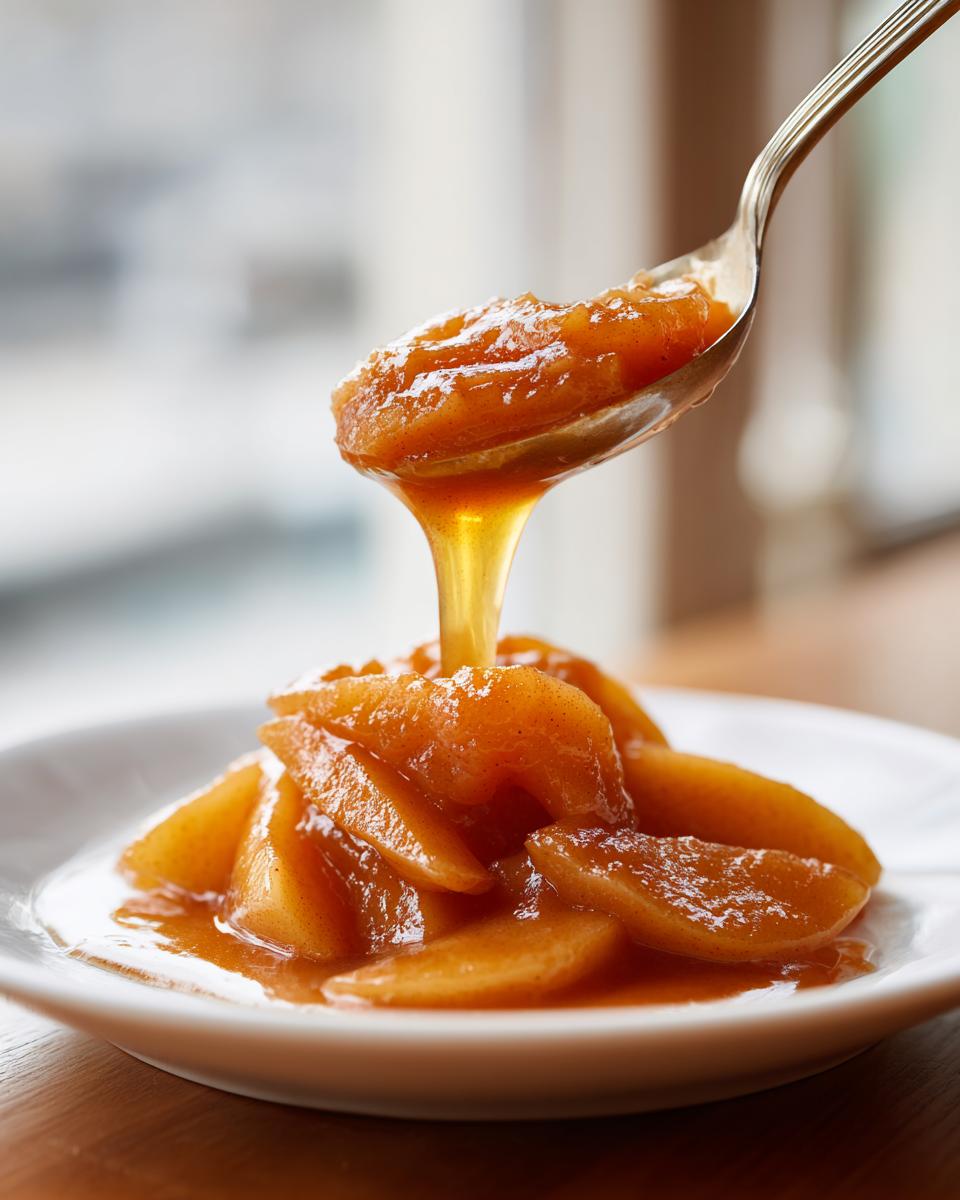
We’ve nailed the basics of this apple pie filling, but if you really want to elevate it from great to legendary, a few small tweaks make all the difference. Think of these as the secrets I picked up talking to bakers across the country; these little moves separate a good dessert from an unforgettable one. Getting that perfect balance in your spiced apple filling brings everything together beautifully. If you’re looking to use this up immediately, try layering it over some of my favorite crumble base—you can find the specifics for that here: Easy Apple Crumble Recipe. I even found a great classic approach to secret fillings you might enjoy looking at: Grandmas Secret Apple Pie Filling.
Adjusting Thickness and Flavor Balance
My recipe sets you up perfectly, but flexibility is key! If you prefer a super chunky, nearly set sauce—say, for a very thick pie or a tart—don’t be shy; just go ahead and add an extra tablespoon of cornstarch to your slurry next time. Also, if you want that filling to taste like it simmered all day, try switching out half of that white sugar for more dark brown sugar. Wow, the molasses notes just deepen the entire experience!
Versatile Uses for Your Apple Pie Filling From Scratch
Just because we called this apple pie filling doesn’t mean it has to live inside a crust! Honestly, once you’ve made this homemade version, you’ll find excuses to use it everywhere. It’s incredibly rich and perfectly spiced—why limit the goodness? I always make a double batch because you simply can’t stop once you have this flavor profile ready to go.
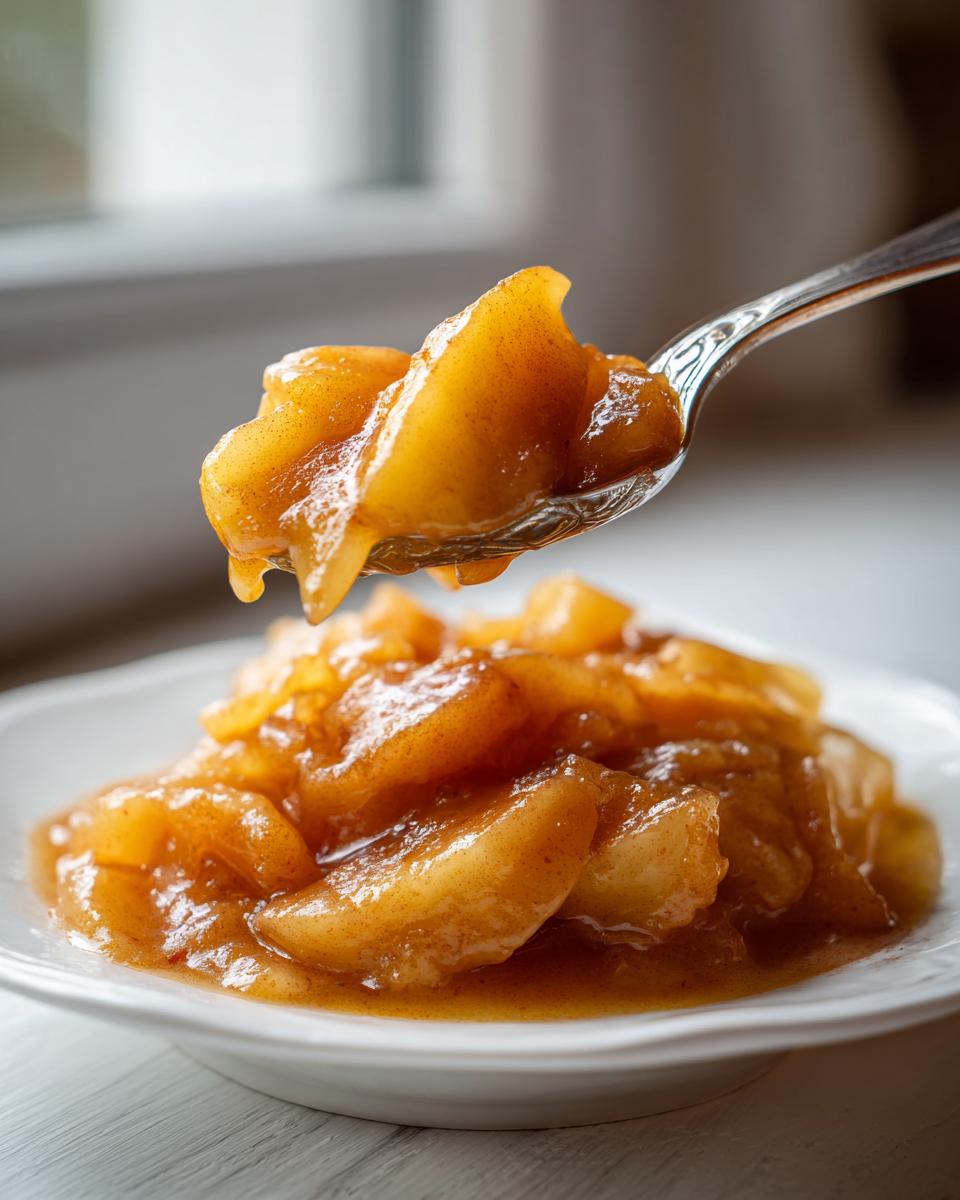
The beauty of making your apple pie filling from scratch is that you control the set and the sweetness, making it adaptable for multiple dessert applications. You truly deserve to enjoy this flavor profile any time you want it!
Beyond the Pie: Apple Pie Topping Recipe Ideas
The absolute easiest win, if you aren’t baking a full pie, is using this as an incredible apple crisp filling. Just dump it into a baking dish and top it with your favorite oat crumble mixture. Also, don’t hesitate to stir a big scoop right into your morning oatmeal—it’s like Thanksgiving breakfast! For something different, it makes a spectacular topping for pancakes or waffles. If you’re looking for a lighter option, check out my cinnamon apple oatmeal muffins for another way to use those seasonal flavors.
If you want to try it in a crisp form, this external recipe showcases exactly how amazing that combination is: Apple Crisp Recipe With Apple Pie Filling.
Storage and Make-Ahead for Apple Pie Filling
One of the main reasons I preach making a big batch of this apple pie filling from scratch is because it stores like a dream! You absolutely should plan to double this recipe if you’re going to the trouble of slicing apples anyway. Once it cools completely—and this is important, let it cool!—you can transfer it to airtight containers.
In the refrigerator, it stays perfect for about a week, which means spontaneous apple crisps are always on the menu. For the long haul, this filling freezes beautifully for up to three months. When you thaw it, just give it a quick warm-up on the stovetop to bring that beautiful, thick sauce back to life before pouring it into your next pie crust!
Frequently Asked Questions About Making Apple Pie Filling
I get asked a lot of questions when I post about this recipe, usually centering around convenience versus quality, which I totally understand! Baking should be fun, not stressful. Here are the answers to the most common queries I receive about making this recipe your new go-to dessert filling.
Can I use pre-cut apples for this easy apple pie filling recipe?
You technically *can*, but please try to avoid it if you want that perfect texture! Pre-cut apples lose moisture fast, and that dryness means they will soak up too much of your lovely thick sauce, potentially leaving you with a thinner result. Freshly sliced apples provide the perfect structure for this easy apple pie filling recipe.
How does this stovetop apple pie filling compare to canned versions?
Oh, my love, there is no comparison! Canned versions often rely on preservatives and unnatural thickeners, and you can always taste that slight metallic tang. This stovetop apple pie filling gives you complete control over the spices—you get that vibrant cinnamon and nutmeg kick—and you control the exact thickness using cornstarch. You’re getting freshness versus factory-made, every single time!
If you are new to making things totally from scratch, don’t forget to check out my guide on the easy apple pie dump cake; it’s another great stepping stone for those learning to bake desserts!
Nutritional Snapshot of This Dessert Filling
Now, because we are using real butter, sugars, and fruit, this is absolutely a treat, not a health food! Please remember that these figures are just estimates based on my recipe breakdown, so they might shift slightly depending on the actual apples you chose. When breaking this down into one cup servings, we come out right around 320 calories. You’re looking at 55 grams of sugar and about 4 grams of fat per portion of this lovely dessert filling. Enjoy it responsibly!
Share Your Homemade Apple Pie Filling Creations
I truly hope this recipe for apple pie filling inspires you to get baking! Once you try this stovetop method, I’d love to see what you create. Please hop down to the comments below, give this post a rating using the five-star guide, and tell me what you used it in—pie, crisp, or maybe just eating it with a spoon! If you share photos, tag Gourmet Gaze on social media; I always want to see your beautiful feasts. If you ever need to reach out with questions, my contact page is always open: Contact Me Here.
PrintThe Best Quick & Easy Homemade Apple Pie Filling (Stovetop Method for Perfect Thickness)
Make the best apple pie filling from scratch using this quick stovetop method. This recipe guarantees tender apples in a thick, perfectly spiced cinnamon-vanilla sauce, avoiding watery results. It is ideal for pies, crisps, or as a topping.
- Prep Time: 15 min
- Cook Time: 10 min
- Total Time: 25 min
- Yield: About 6 cups 1x
- Category: Dessert Filling
- Method: Stovetop
- Cuisine: American
- Diet: Vegetarian
Ingredients
- 6 large apples (like Granny Smith or Honeycrisp), peeled, cored, and sliced 1/4-inch thick
- 3/4 cup granulated sugar
- 1/4 cup packed light brown sugar
- 1 tablespoon lemon juice
- 1 teaspoon ground cinnamon
- 1/4 teaspoon ground nutmeg
- 1/8 teaspoon ground allspice
- 1/4 teaspoon salt
- 2 tablespoons unsalted butter
- 2 tablespoons cornstarch
- 1/4 cup water
- 1 teaspoon vanilla extract
Instructions
- Combine the sliced apples, granulated sugar, brown sugar, lemon juice, cinnamon, nutmeg, allspice, and salt in a large saucepan. Toss gently to coat the apples evenly.
- Cook the apple mixture over medium heat, stirring occasionally, until the apples begin to soften slightly and release their juices, about 5 to 7 minutes.
- In a small bowl, whisk together the cornstarch and water until smooth to create a slurry.
- Stir the cornstarch slurry into the apple mixture. Continue to cook, stirring constantly, until the sauce thickens significantly, about 1 to 2 minutes. The sauce should coat the back of a spoon.
- Remove the saucepan from the heat. Stir in the butter and vanilla extract until the butter is melted and fully incorporated.
- Let the homemade apple pie filling cool for at least 20 minutes before using it in your pie crust or dessert. This cooling step helps the filling set further.
Notes
- For a thicker sauce, increase the cornstarch to 3 tablespoons.
- Use a mix of sweet and tart apples for the best flavor balance in your spiced apple filling.
- This versatile filling works well as an apple crisp filling or a topping for pancakes.
- If you prefer a richer flavor, substitute half of the granulated sugar with more brown sugar.
Nutrition
- Serving Size: 1 cup
- Calories: 320
- Sugar: 55
- Sodium: 150
- Fat: 4
- Saturated Fat: 2
- Unsaturated Fat: 2
- Trans Fat: 0
- Carbohydrates: 73
- Fiber: 3
- Protein: 0
- Cholesterol: 8