
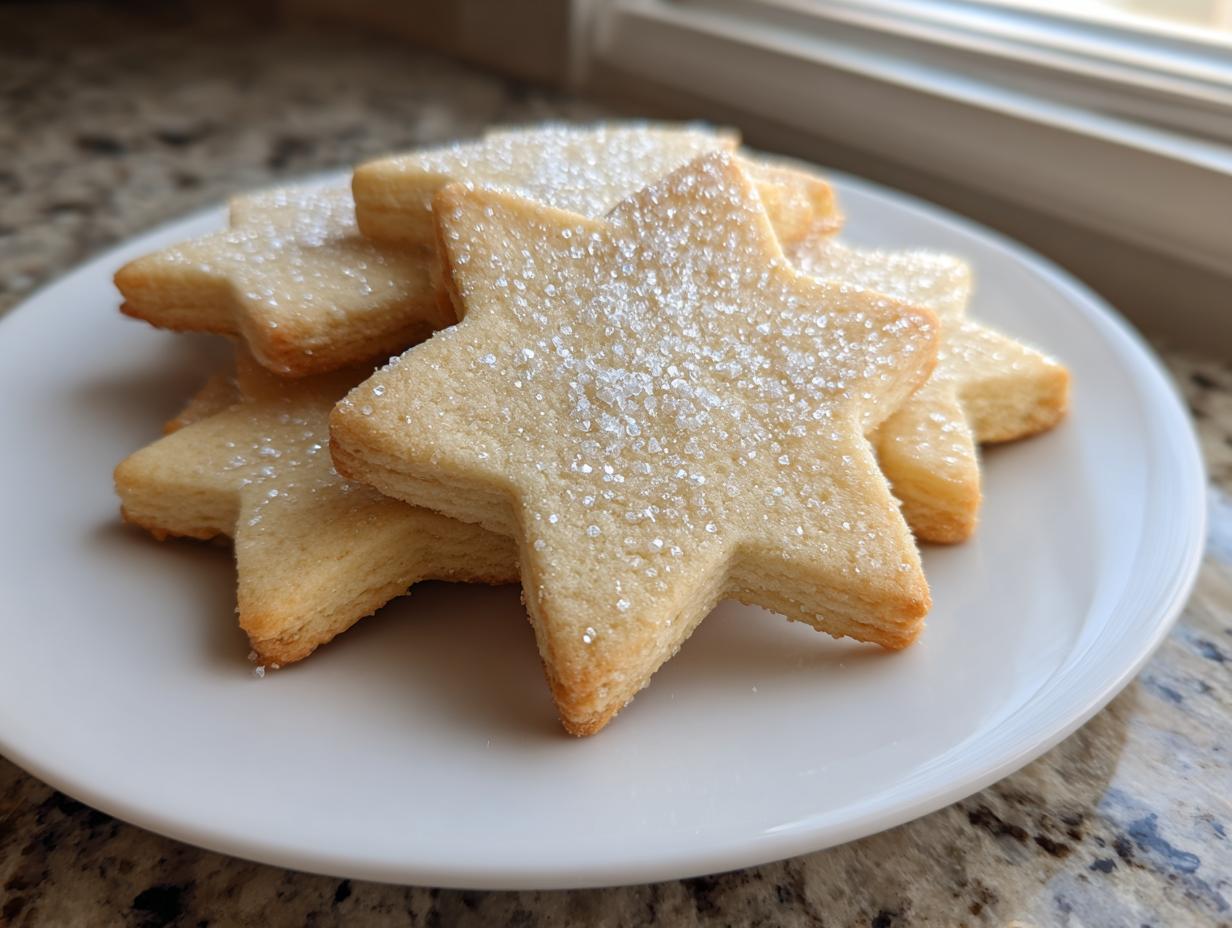

If you have ever spent an hour rolling out delicate shapes only to have them melt into sad, puffy puddles in the oven, stop right there. I know that frustration well. When I was first learning to cook—leaving behind the world of spreadsheets for something tangible—cookies were my Everest. Too often, a beautiful design ended up looking like a blob because the dough spread too much. That is why I spent months testing and tweaking to create what I genuinely believe is The Best Soft, No-Spread sugar cookie Recipe for Perfect Cutouts.
This recipe delivers a buttery, classic sugar cookie flavor but maintains its structure, giving you clean edges for decorating. It’s the kind of dependable recipe I wish I had years ago when I was first discovering that food could tell a story. Trust me, once you try this method, it will anchor your holiday baking for years to come. We eat with our eyes first here at Gourmet Gaze, and these cookies deliver that visual feast every single time.
- Why This is The Best sugar cookie Recipe Ever (E-E-A-T Focus)
- Ingredients for Soft, No-Spread sugar cookie Cutouts
- How to Prepare The Perfect sugar cookie Dough
- Baking Instructions for soft sugar cookies
- Making Simple sugar cookie Icing for Decorating
- Storage and Make-Ahead Tips for This Rolled cookie Recipe
- Frequently Asked Questions About The Classic sugar cookie Recipe
- Estimated Nutrition Facts for One sugar cookie
- Share Your Beautifully Decorated Creations
Why This is The Best sugar cookie Recipe Ever (E-E-A-T Focus)
So many recipes promise perfection, but they often fail one test or the other—either they spread into thin pancakes, or they bake up rock-hard. That just won’t fly here at Gourmet Gaze. We test for reliability. For this recipe, I went through nearly fifteen different ratios of flour to fat before landing on this specific blend that guarantees no spread sugar cookies.
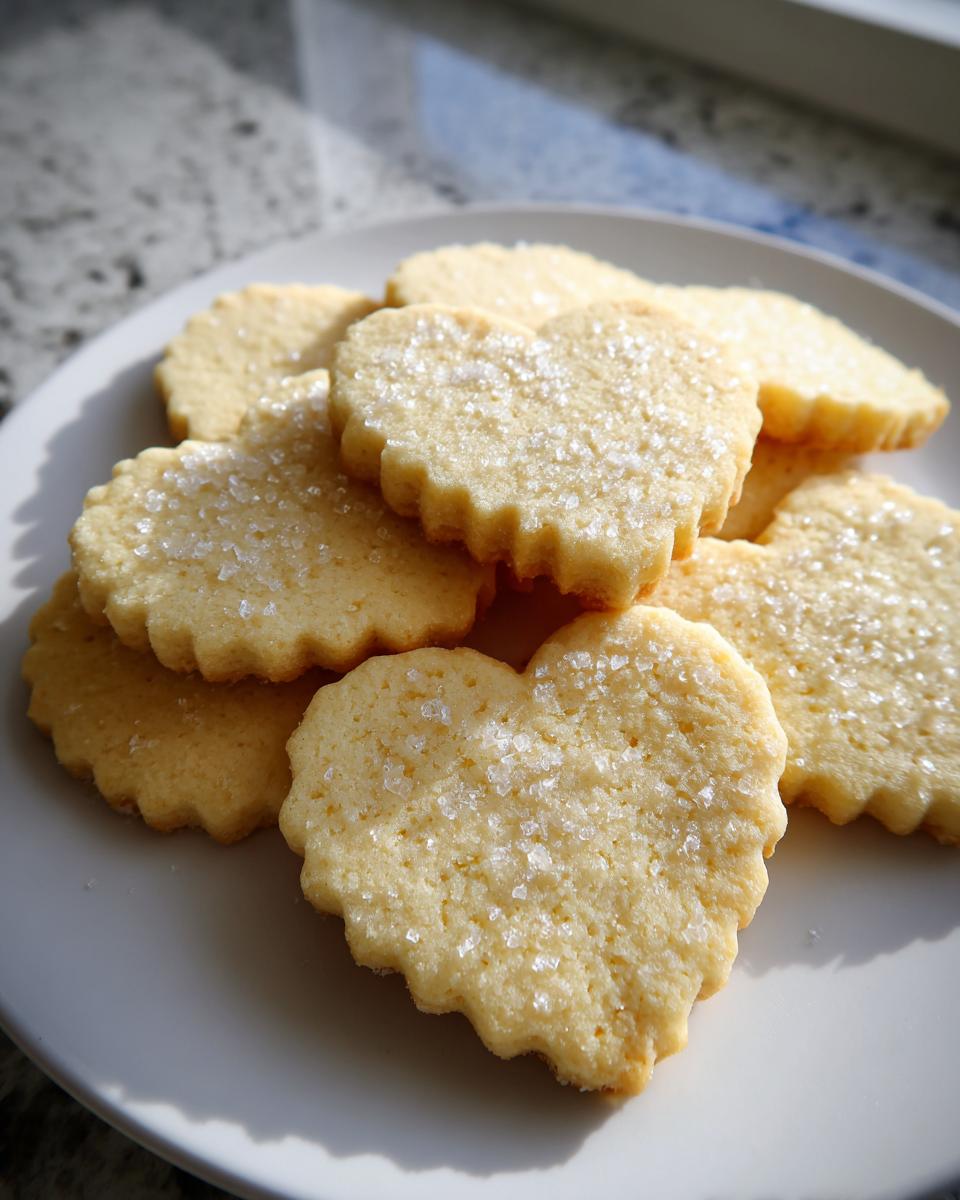
What makes this the best sugar cookie recipe is the balance. We use just enough baking powder to give a slight lift, which keeps them soft, but we rely primarily on the fat-to-flour ratio to maintain shape. This meticulous testing means when you roll out your beautiful shapes—maybe a star, maybe a gingerbread man—they come out of the oven looking exactly as they went in. It’s about creating a foundational recipe you can truly count on, every single time you bake. You can check out some of my other tested favorites over on my baking blog!
Ingredients for Soft, No-Spread sugar cookie Cutouts
When you are aiming for perfection with sugar cookie cutouts, you simply cannot cheat on the ingredients. Quality matters, and so does precision. This list relies on classic, buttery components to ensure the best flavor and texture. Remember, we want soft, but not puffy! You’ll need:
- 1 cup unsalted butter, softened
- 1 1/2 cups granulated sugar
- 2 large eggs
- 1 teaspoon vanilla extract
- 3 3/4 cups all-purpose flour
- 1 teaspoon baking powder
- 1/2 teaspoon salt
Essential Ingredient Notes and Substitutions
A great cookie starts here, so listen closely. The butter absolutely must be softened—you should be able to press your finger into it gently, but it shouldn’t look greasy or melted. If it’s too warm, your cookies will spread, which defeats the whole purpose of this no spread sugar cookies recipe!
Also, when measuring that flour, be gentle! Don’t scoop directly from the bag; that compacts it and you end up with way too much flour, leading to dry cookies. Spoon the flour lightly into your measuring cup and level it off with a knife. That little bit of care ensures we get that incredibly soft texture we are aiming for.
How to Prepare The Perfect sugar cookie Dough
Now that we have our perfectly measured ingredients, it’s time to mix! This is where you build the structure for what will become a gorgeous, classic sugar cookie. If you’re using a heavy-duty stand mixer, you can use the paddle attachment—it’s usually best for creaming butter and sugar. If you are using a hand mixer, just make sure you have a sturdy bowl because we need some elbow grease here!
Start by creaming that softened butter and the granulated sugar together until the mixture is genuinely light and fluffy. We’re looking for pale yellow, almost cloud-like texture. This step whips air into the dough, and those air pockets are what help the cookie rise just enough without spreading wildly. Next, beat in your eggs one by one—don’t rush this bit—and then finish with the vanilla extract.
In a separate bowl, whisk together your dry components: the flour, baking powder, and salt. Whisking them first ensures everything is evenly distributed, which is key to a consistent bake. Now, add those dry ingredients to the wet mixture gradually. You must mix this on low speed, and I mean low. The moment you no longer see streaks of flour, stop mixing! Overmixing develops too much gluten, and that turns our lovely soft dough into a tough nightmare.
This step sets us up for success later when we roll them thin.
Crucial Chilling Time for sugar cookie Cutouts
If I could shout one non-negotiable rule from the rooftops, it would be this: Chill your dough! This step is the single biggest secret to getting those beautiful, sharp sugar cookie cutouts that look professional.
Divide your finished dough into two equal discs, wrap them tightly in plastic wrap, and send them to the fridge for a minimum of two hours. Seriously, **at least** two hours. The longer it chills, the firmer the fat becomes, and the less those cookies will relax while baking. If my kitchen happens to be warm—and let’s be honest, my hands are always warm from baking—I sometimes pop those cutouts on the baking sheet into the freezer for ten minutes right before they go into the heat. That extra chill time guarantees that clean edge stability we are after.
Baking Instructions for soft sugar cookies
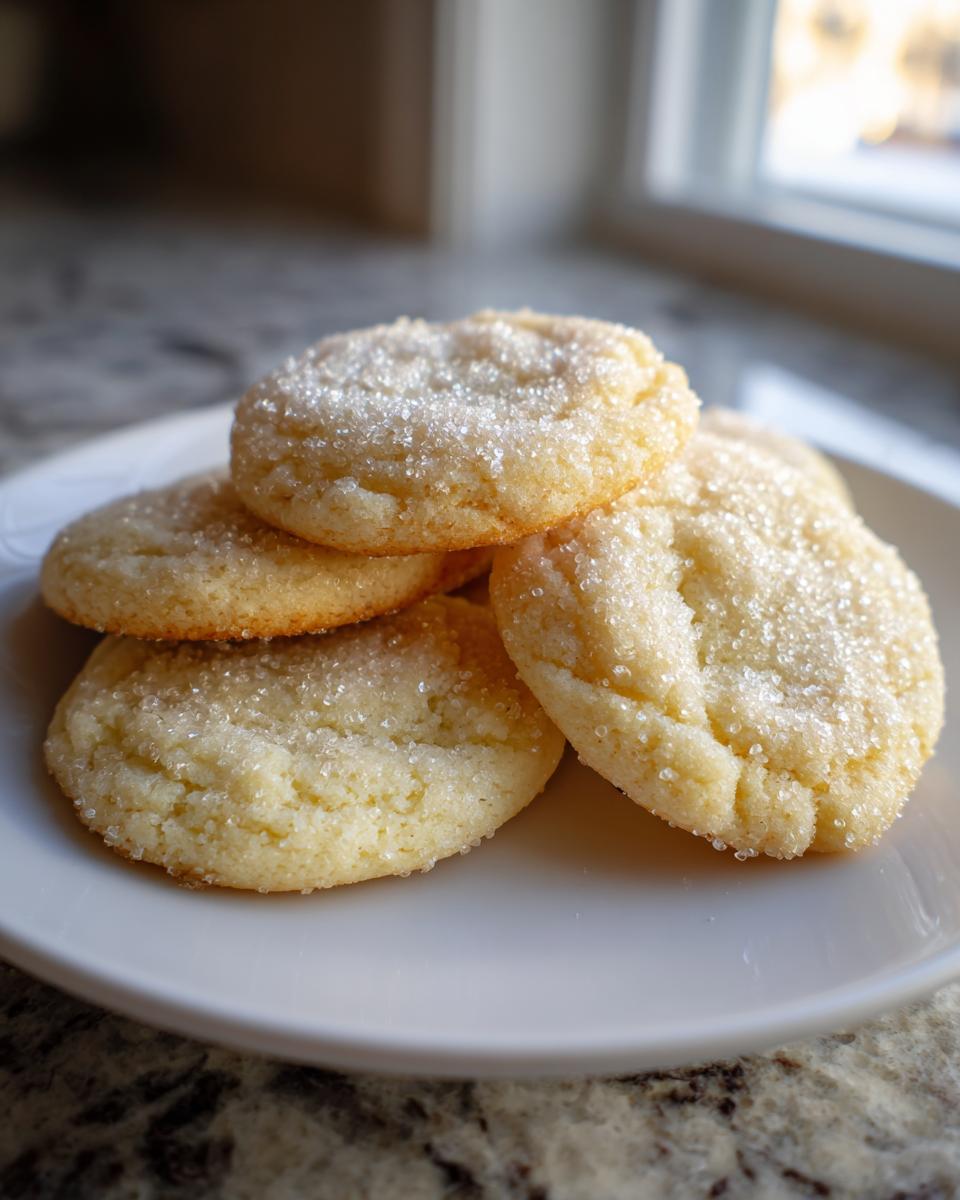
Okay, your dough is perfectly chilled, firm but pliable—it’s time for the magic! Before you even think about dusting your counter with flour, get your oven cranking. Preheat that oven to 375°F (190°C). We need it fully up to temperature so those soft sugar cookies hit the perfect heat immediately and hold their shape. Line your baking sheets with parchment paper; this is a simple move that prevents sticking and makes cleanup an absolute breeze. Trust me on the parchment, it’s non-negotiable in my kitchen.
Lightly flour your work surface—and I mean light! Too much flour incorporated now will just dry out the dough you worked so hard to keep perfect. Take one disc of dough at a time and roll it out evenly to about 1/4 inch thickness. If you have a good rolling pin, use it! Consistency here means consistent baking times. Once rolled, take your cookie cutters and press firmly down. I actually like to place the cutters right on the baking sheet, cut the shapes, and then carefully lift the excess dough *away* from the shapes still sitting on the parchment. It saves you from having to transfer delicate cutouts.
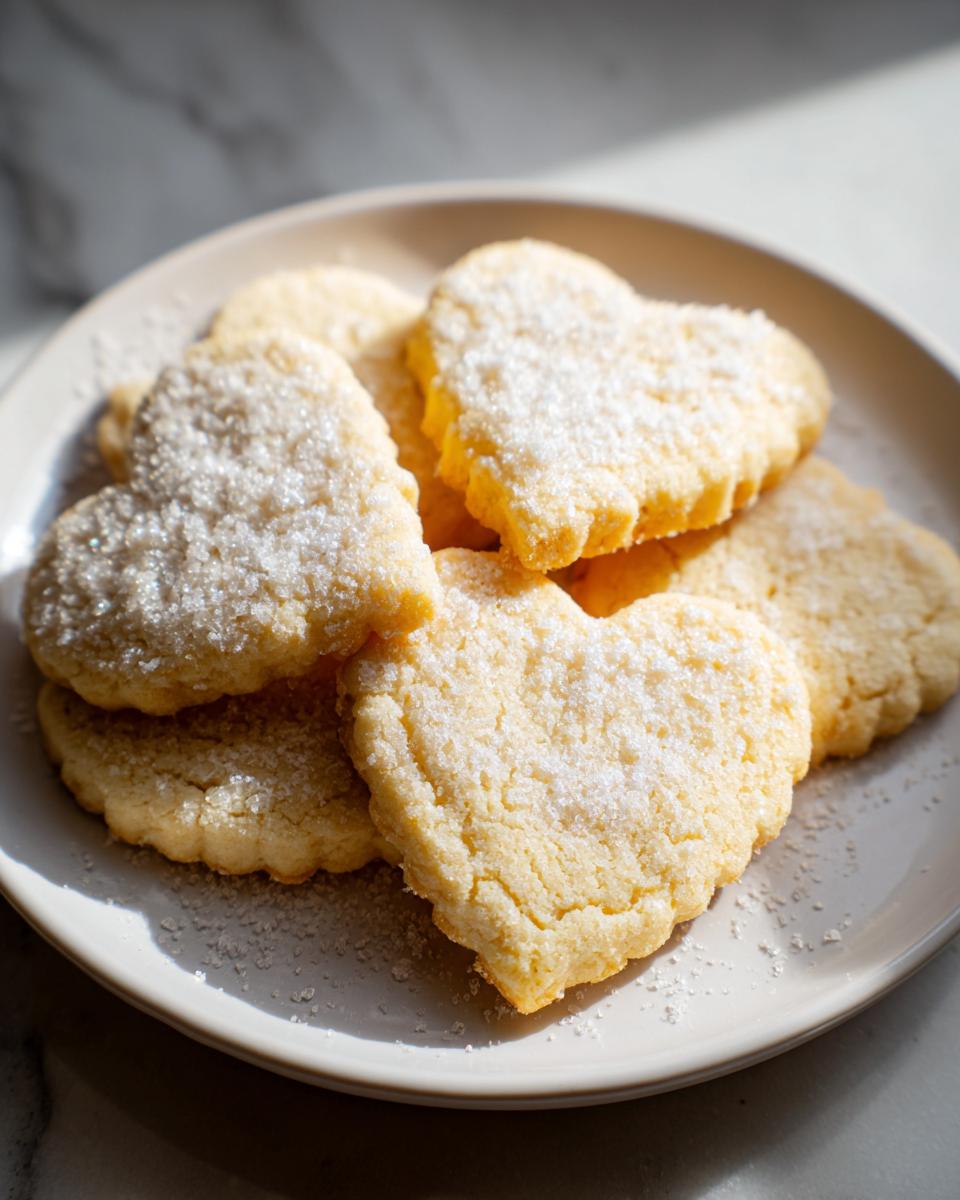
Now for the bake! Place your cutouts onto the prepared sheets. For these to be the soft sugar cookies everyone craves, you have to watch them closely. Bake them for just 8 to 10 minutes. You are looking for the edges to turn a *very* light gold. If you wait until the whole top is golden brown, you’ve gone too far, and they will be crunchy instead of tender. I’ve linked my guide to baking perfect pound cake here, and the lesson is the same: timing is everything!
When they come out, resist the urge to touch them! Let them sit right there on that hot baking sheet for a solid five minutes. That short rest allows the centers to firm up just enough so they don’t fall apart if you move them too soon. Then, gently use a thin spatula—like one you’d use for fish—to transfer them over to a wire rack. They need to cool completely before you even think about icing them—otherwise, you’ll end up with a sticky, melted mess on your hands. If you want to read about someone else achieving those perfect edges, check out this great resource on cutout techniques.
Making Simple sugar cookie Icing for Decorating
The cookie itself is the foundation, but let’s be honest—the artistic part is often the most fun! Once you have these soft sugar cookies cooled completely, they are just waiting for some beautiful color. While royal icing is fantastic for those super crisp outlines you see in bakeries, sometimes you just want something quick, sweet, and easy to eat right away. For that, a simple glaze is unbeatable.
Here is what you need for a reliable, slightly thicker glaze that works beautifully for basic decoration over your decorated sugar cookies. You’ll need about 2 cups of powdered sugar, 1 teaspoon of vanilla extract, and just 2 to 3 tablespoons of milk or water. Whisk it all together until it’s smooth. If it seems too thick to drizzle, add milk a half teaspoon at a time. If it’s too thin and runny, add a bit more powdered sugar.
If you want a truly rich topping that tastes incredible alongside that vanilla-butter base, you should definitely check out my recipe for a gorgeous quick stovetop glossy frosting—you can adapt the vanilla version easily!
Tips for Decorating Your Homemade sugar cookies
Working with icing can be messy, but a few small tricks make the job much more enjoyable. If you are going for a thinner glaze consistency—often called “flood consistency” because it can flood the surface area of the cookie smoothly—you need a little patience with the drying time. Flood consistency means the icing flows easily off the spoon but settles back into itself in about 10 seconds if you draw a line through it.
When applying the icing, either use a piping bag with a small round tip or just load a sturdy zip-top bag, snip a tiny corner off, and get to work. If you are decorating multiple designs, always start by outlining the cookie edge first. This creates a nice dam. Then, fill in the center. The most important advice I can give you about decorating is this: don’t try to stack or move the cookies before the icing is fully set. Depending on humidity, that can take a few hours! Sprinkles are best applied immediately after flooding the area, while the icing is still wet, so they stick perfectly.

For more inspiration on working with icing and getting those professional looks, I always recommend looking at trusted resources like this one on making beautiful sugar cookies.
Storage and Make-Ahead Tips for This Rolled cookie Recipe
Baking a massive batch of these cookies for a holiday party is always my goal, but who has the time to bake everything the day of? Planning ahead is crucial, especially for a big batch of homemade sugar cookies. The good news is that this dough is incredibly resilient and holds up beautifully to making ahead. This is a lifesaver when you are juggling so many different dessert components.
For baked cookies, the storage is straightforward but important to maintain that soft texture we worked so hard for. Once your decorated cookies are completely dry—and I mean *completely* dry, give them at least four hours after icing—you can store them in an airtight container. I usually try to layer them between sheets of parchment paper just to keep them from scratching up against each other. They will stay perfectly tender at room temperature for nearly a week. Don’t refrigerate them, though; that usually pulls the moisture out and makes them firm up too much.
But here’s my absolute favorite trick for this rolled cookie recipe: freezing! You can absolutely freeze the dough disks before you even chill them the first time. Just wrap them super tight in plastic wrap, date them, and pop them in the freezer for up to three months. When you need cookies, just thaw them in the fridge overnight and proceed with the rolling and cutting steps. Even better, you can freeze the unbaked cutouts themselves! Once you’ve cut your shapes onto a parchment-lined baking sheet, flash-freeze them until solid. Then, transfer those frozen shapes into a heavy-duty freezer bag. When you are ready to bake, just pull them out while you preheat the oven, add about two extra minutes to the baking time, and they come out perfect. See? Easy entertaining!
Frequently Asked Questions About The Classic sugar cookie Recipe
I know you must have questions! When a recipe promises the best sugar cookie recipe ever, you want to make sure you nail every step. I’ve gathered the questions I get most often from readers about achieving that perfect balance between softness and shape integrity for these Christmas sugar cookies.
Why did my sugar cookies spread so much when baking?
Oh, the dreaded spread! This is usually down to one of three things. First, the butter was too warm when you creamed it, meaning you pushed too much air in or overheated the initial mix. Second, you didn’t chill the dough long enough; that mandatory chilling time is critical for setting those fats. Third, and this is common with easy sugar cookies, you might have added too much flour while rolling them out, which thins the dough too much when you cut the shapes.
Can I make these rolled cookie recipe cookies chewier instead of soft?
Yes, you absolutely can shift the texture! If you want chewier sugar cookies, the key is slightly underbaking them—pull them out when the edges are just barely starting to turn golden beige, not even light gold. Also, if you substitute some of that granulated sugar for dark brown sugar (I’d say swap 1/4 cup), the molasses content will naturally encourage a chewier texture. Just remember, too much brown sugar can sometimes cause very slight spreading.
What is the best flour for sugar cookies to guarantee they hold their shape?
For cut out cookie dough, consistency in the flour is everything. While this recipe uses standard all-purpose flour, the technique of *how* you measure it is far more important than the type. As I stressed earlier, gently spoon and level your flour. If you are looking for extra structure for highly detailed cookie decorating, some bakers like to replace 1/2 cup of the AP flour with cake flour, which has less protein, resulting in a more tender crumb without sacrificing shape too much.
How important is the vanilla extract in this recipe?
Vanilla is the background music to our buttery symphony! It might seem small, but without it, these treats taste a little flat. Since these are classic sugar cookies relying on simple flavors, I insist on using pure vanilla extract, not imitation. It really makes a difference in the final aroma and taste profile.
Troubleshooting: My dough is too crumbly after chilling.
That can happen, especially if you live in a very dry climate! If your dough breaks apart when you try to roll it, it means it’s lost a bit too much moisture or may have chilled too long. Don’t panic! Before rolling, let the disc sit on the counter for about 15 to 20 minutes. You can also place a small, plastic-wrapped piece of cool butter in your hands and gently massage the dough disk for a minute to warm the fat just enough to bind it again. If you ever need to get in touch with me directly about baking troubleshooting, you can always reach out via my contact page!
Estimated Nutrition Facts for One sugar cookie
Every feast for the eyes should also offer a moment of honest reflection, right? When you’re making something as wonderfully decadent as these homemade sugar cookies, it’s smart to know what you’re working with. Below are the estimated nutrition facts for a single cookie made exactly according to this recipe. Remember, these are approximations, as the exact numbers can change based on the specific brands of butter or the exact size of your eggs!
I try to keep things transparent here at Gourmet Gaze. This data helps you plan for parties, holidays, or just enjoying a few of these classic sugar cookies with your afternoon coffee. Please note, these figures do not include any added icing or decorations, as that can wildly swing the totals!
| Nutrient | Amount (Approximate) |
|---|---|
| Serving Size | 1 cookie |
| Calories | 150 |
| Fat | 7g |
| Saturated Fat | 4g |
| Trans Fat | 0g |
| Carbohydrates | 20g |
| Sugar | 12g |
| Fiber | 0g |
| Protein | 2g |
| Sodium | 85mg |
| Cholesterol | 30mg |
Disclaimer: Nutritional information is an estimate based on standard product data and calculation methods for this recipe. Please adjust if you use different ingredients or larger serving sizes for your beautiful sugar cookie bakes.
Share Your Beautifully Decorated Creations
Now that you have mastered the foundational art of making these incredibly reliable butter sugar cookies, the real fun begins! I poured so much of my passion for presentation into perfecting the dough so that your decorating session can be stress-free. I truly hope you loved how easily these rolled out and how beautifully they held their shape.
I would absolutely love to see what you create! When you finish decorating your batch of easy sugar cookies—whether you went subtle with a light dusting or went all out with intricate royal icing flowers—please snap a picture and tag Gourmet Gaze. Seeing your creative results is what fuels this whole venture for me. Seriously! I want to see the colors, the sprinkles, and all the joy these cookies bring to your kitchen.
Before you run off to your next project, please consider leaving a rating and a comment right here on the page. Letting me know how your bake went helps everyone who visits the site feel confident they have found a truly trustworthy recipe. Did the dough chill perfectly for you? Did you find the baking time spot-on? Your feedback helps me continue to refine and style recipes that deliver both a feast for the eyes and satisfaction for the soul.
If you’re looking for more inspiration on how I approach styling food to make it look as good as it tastes, feel free to browse through my About Page. Happy baking, and I can’t wait to see your creations!
PrintThe Best Soft Sugar Cookie Recipe for Perfect Cutouts
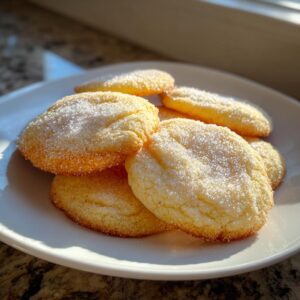
This is the best sugar cookie recipe for soft, buttery cookies that hold their shape perfectly for cutouts and decorating. You get a reliable, easy recipe for classic homemade sugar cookies.
- Prep Time: 30 min
- Cook Time: 10 min
- Total Time: 160 min
- Yield: 3 dozen 1x
- Category: Dessert
- Method: Baking
- Cuisine: American
- Diet: Vegetarian
Ingredients
- 1 cup unsalted butter, softened
- 1 1/2 cups granulated sugar
- 2 large eggs
- 1 teaspoon vanilla extract
- 3 3/4 cups all-purpose flour
- 1 teaspoon baking powder
- 1/2 teaspoon salt
Instructions
- In a large bowl, cream the softened butter and granulated sugar together until light and fluffy.
- Beat in the eggs one at a time, mixing well after each addition. Stir in the vanilla extract.
- In a separate bowl, whisk together the flour, baking powder, and salt.
- Gradually add the dry ingredients to the wet ingredients, mixing on low speed until just combined. Do not overmix.
- Divide the dough in half, flatten each half into a disk, wrap tightly in plastic wrap, and chill for at least 2 hours, or until firm.
- Preheat your oven to 375°F (190°C). Line baking sheets with parchment paper.
- On a lightly floured surface, roll out one disk of dough to about 1/4 inch thickness.
- Use cookie cutters to cut out shapes. Place the cutouts onto the prepared baking sheets.
- Bake for 8 to 10 minutes, or until the edges are lightly golden. For soft sugar cookies, err on the side of underbaking slightly.
- Let the cookies cool on the baking sheet for 5 minutes before transferring them to a wire rack to cool completely before decorating.
Notes
- For the best cutout results, chill the dough thoroughly. If your kitchen is warm, chill the cutouts on the baking sheet for 10 minutes before baking.
- If you prefer a chewier cookie, slightly reduce the baking time.
- This dough freezes well. Wrap chilled, unbaked cutouts tightly and freeze for up to 3 months.
Nutrition
- Serving Size: 1 cookie
- Calories: 150
- Sugar: 12
- Sodium: 85
- Fat: 7
- Saturated Fat: 4
- Unsaturated Fat: 3
- Trans Fat: 0
- Carbohydrates: 20
- Fiber: 0
- Protein: 2
- Cholesterol: 30