
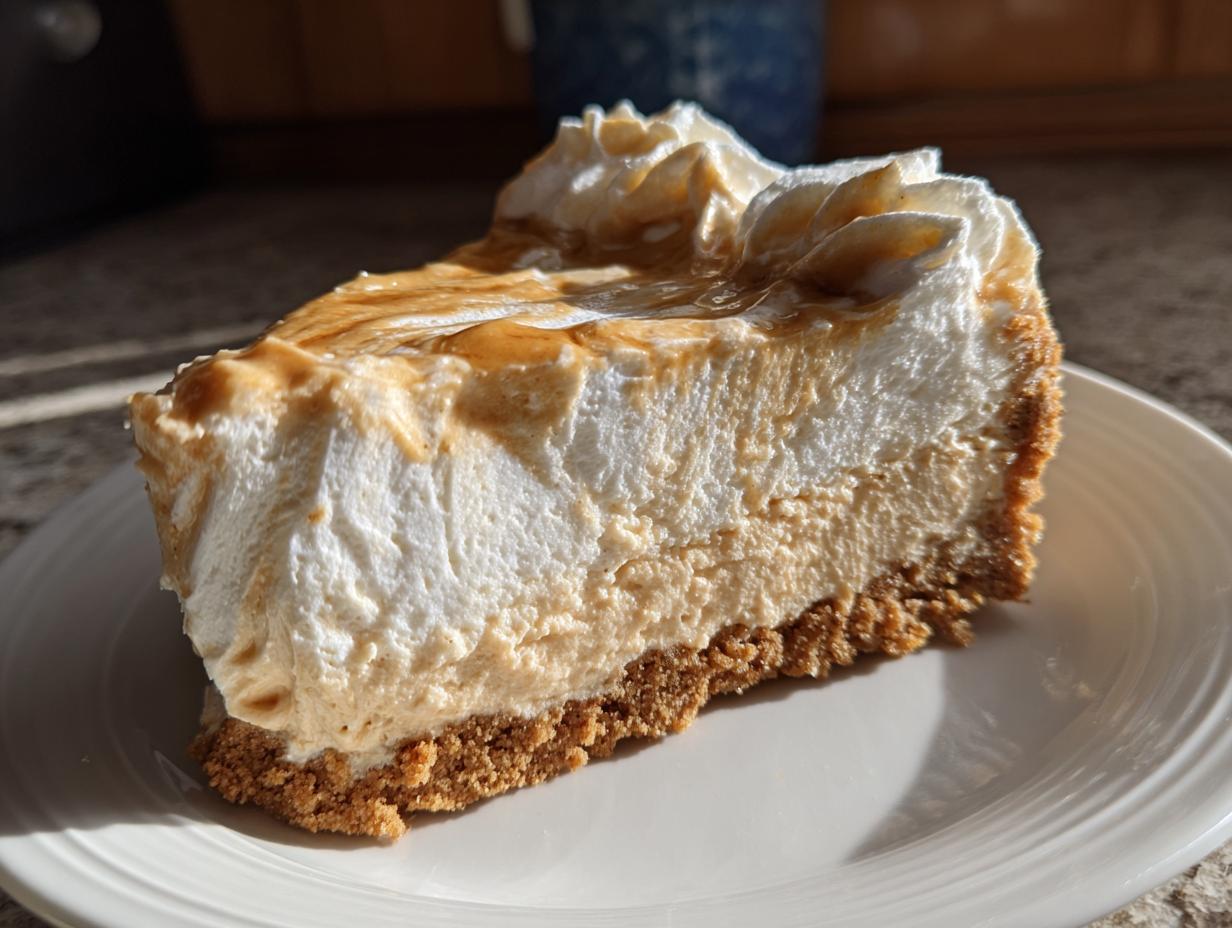

Oh, you guys! If there’s one dessert that screams “special occasion” but is secretly SO easy, it has to be this Biscoff cheesecake. Seriously, get ready for your new favorite! We’re talking about a base made from those magical crunchy Biscoff cookies, a filling that’s unbelievably creamy and swirled with that dreamy cookie butter, and the best part? It’s no-bake! I remember the first time I made this Biscoff cheesecake; I was trying to impress some friends, and they practically licked the plates clean. It just *works*, and it makes you look like a total pro, even if you’re just starting out in the kitchen. Trust me on this one, it’s a winner!
- Why You'll Love This Biscoff Cheesecake
- Gather Your Ingredients for Biscoff Cheesecake
- Crafting the Perfect Biscoff Cheesecake Crust
- Making the Creamy Biscoff Cheesecake Filling
- Tips for Success with Your Lotus Cheesecake
- Make-Ahead and Storage for Biscoff Cheesecake
- Frequently Asked Questions about Biscoff Cheesecake
- Estimated Nutritional Information
- Share Your Biscoff Cheesecake Creations!
Why You’ll Love This Biscoff Cheesecake
Okay, so why is this Biscoff cheesecake my go-to? Let me count the ways:
- It’s practically foolproof: Since it’s no-bake, you don’t have to stress about water baths or cracked tops. Success is pretty much guaranteed!
- Flavor explosion: That signature Biscoff cookie butter flavor is just out of this world. It’s sweet, a little spiced, and totally addictive.
- Super creamy: We’re talking melt-in-your-mouth, luxuriously smooth. It feels so decadent!
- Party perfection: This cheesecake is a total showstopper for any get-together, holiday, or just because you deserve something amazing.
- Make-ahead magic: Got guests coming? You can whip this up the day before and just relax. Easy peasy!
Gather Your Ingredients for Biscoff Cheesecake
Alright, time to gather our treasures for this dreamy Biscoff cheesecake! You’ll want to have everything prepped and ready to go. Here’s what we need:
First up, for that amazing crust, we’ll need 1 ½ cups of Biscoff cookie crumbs – that’s about 25 of those delicious cookies, all finely crushed. Then, we add ¼ cup of unsalted butter that’s been melted until it’s all smooth and liquidy.
For that wonderfully creamy filling, we’re grabbing two (8 ounce) packages of cream cheese, make sure it’s softened to room temperature – this is super important for a smooth texture! We’ll sweeten it up with ⅔ cup of granulated sugar and a teaspoon of pure vanilla extract. Then, for that airy lightness, we need 1 cup of heavy cream, which we’ll whip up ourselves. And of course, the star of the show: ½ cup of Biscoff spread, also known as cookie butter! I like to warm mine up just a tiny bit so it’s pourable. Oh, and if you’re feeling extra fancy, grab a little more Biscoff spread for drizzling on top later!
Crafting the Perfect Biscoff Cheesecake Crust
Okay, let’s talk crust! This is where the magic really starts for our Biscoff cheesecake. First, grab your crushed Biscoff cookies and that lovely melted butter. Give them a good stir until all those cookie crumbs are nicely coated – you want it to look like wet sand, all ready to hold its shape. Then, take your springform pan and press that mixture down really firmly and evenly on the bottom. I like to use the bottom of a measuring cup or a flat glass to get it nice and compact. This way, it won’t crumble when you slice it up later! Pop that into the fridge for at least 30 minutes to chill and firm up while we work on that dreamy filling. It’s like getting ready for a spa day for your cheesecake base! You can check out how I do similar crusts with my smores brownies for extra tips.
Now, if you’re like me and sometimes like a little extra crunch and guarantee that your biscuit crust cheesecake holds up *super* well, especially if you’re transporting it, you can totally give it a quick bake!
Optional: Baking the Biscoff Crust
Just pop that pressed crust into a preheated oven at 350°F (175°C) for about 8 to 10 minutes. It’ll smell amazing! Let it cool completely after baking. This step really sets it up and gives it an even more satisfying crunch. Honestly, it’s a game-changer if you’ve got the extra few minutes!
Making the Creamy Biscoff Cheesecake Filling
Alright, my friends, this is where the real magic happens for our creamy cheesecake! We’re going to make this filling so smooth and dreamy. First, grab your softened cream cheese and that granulated sugar. Beat them together until they’re super smooth and haven’t got any lumps – like fluffy clouds! I always make sure my cream cheese is *really* soft, almost buttery, before I even start. It makes all the difference for a lump-free cookie butter cheesecake, trust me. Then, just beat in the vanilla extract.
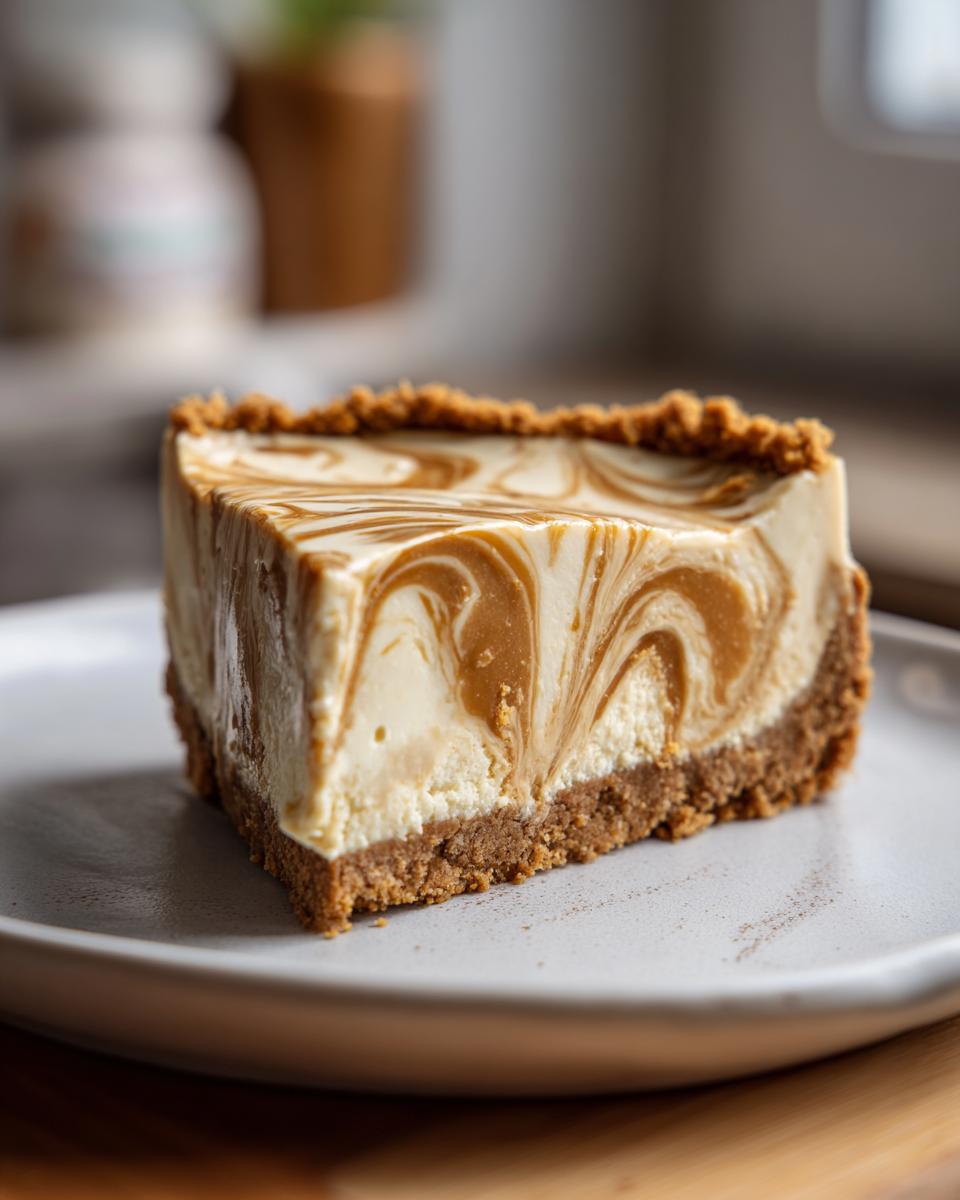
Next, in a separate bowl, whip up your heavy cream until it forms lovely stiff peaks. You know, when you lift the beater, it holds its shape. Now, the key is to gently fold that whipped cream into the cream cheese mixture. Don’t just dump it in and mix it up like crazy! We want to keep all that lovely air we just whipped in. It makes the cheesecake so light and airy, not dense. And for that incredible Biscoff swirl? Gently warm up your Biscoff spread just a little so it’s pourable, then swirl about half of it into the cheesecake filling. Don’t overmix it; you want those beautiful ribbons of cookie butter goodness running through! It’s a little bit like making my creamy lemon pasta – gentle mixing is key!
Achieving a Smooth Cheesecake Texture
Getting that super smooth, no-lump texture is actually pretty simple if you follow a couple of my favorite tricks! First, and I can’t stress this enough, make sure your cream cheese is genuinely at room temperature. I usually take mine out of the fridge a good hour or two before I plan to start mixing. If you’re ever in a pinch, you can cut it into little cubes first to help it soften faster. My secret tip? Always start beating the cream cheese and sugar on a lower speed first before cranking it up. It helps break down the sugar and incorporate it without making things too airy too quickly, which can sometimes lead to lumps. And remember, when you’re folding in that whipped cream and Biscoff spread, be gentle! Think of it as folding socks, not scrubbing a floor. Just a few gentle strokes will do the trick!
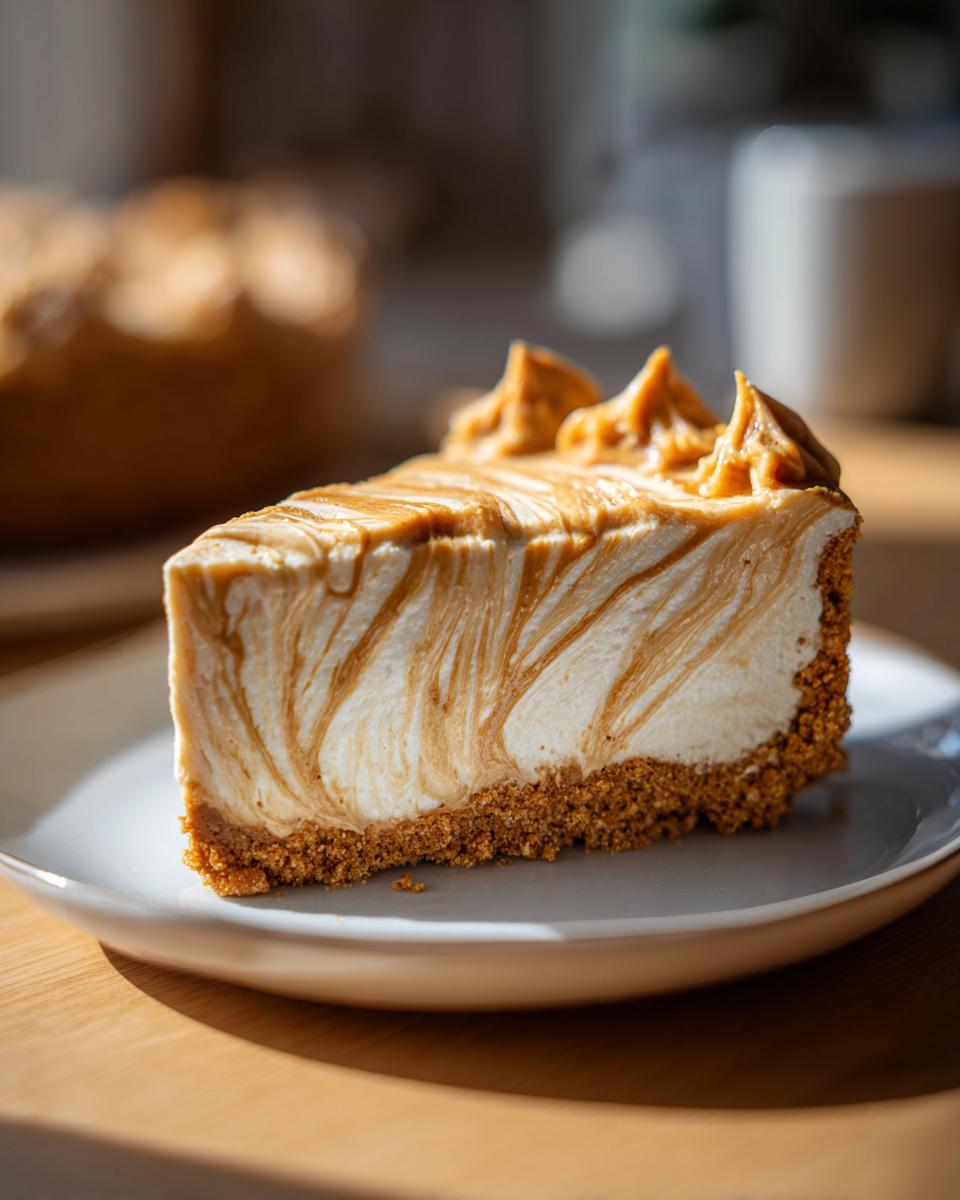
Alright, my friends, we’re in the home stretch for this dreamy Biscoff cheesecake! You’ve got your chilled crust, your luscious filling with those beautiful swirls – now it’s time to bring it all together. Carefully pour all that creamy goodness over the cold crust you made earlier. Spread it out evenly with a spatula or the back of a spoon so you have a nice, flat surface. If you saved some Biscoff spread for drizzling, now’s the time to do it! Just warm it up a tiny bit again so it’s lovely and pourable, then drizzle it all over the top. Grab a toothpick or a skewer and gently swirl it through the Biscoff and cheesecake layers to create those gorgeous patterns. It makes the whole thing look so professional, like something from my lime sorbet recipe!

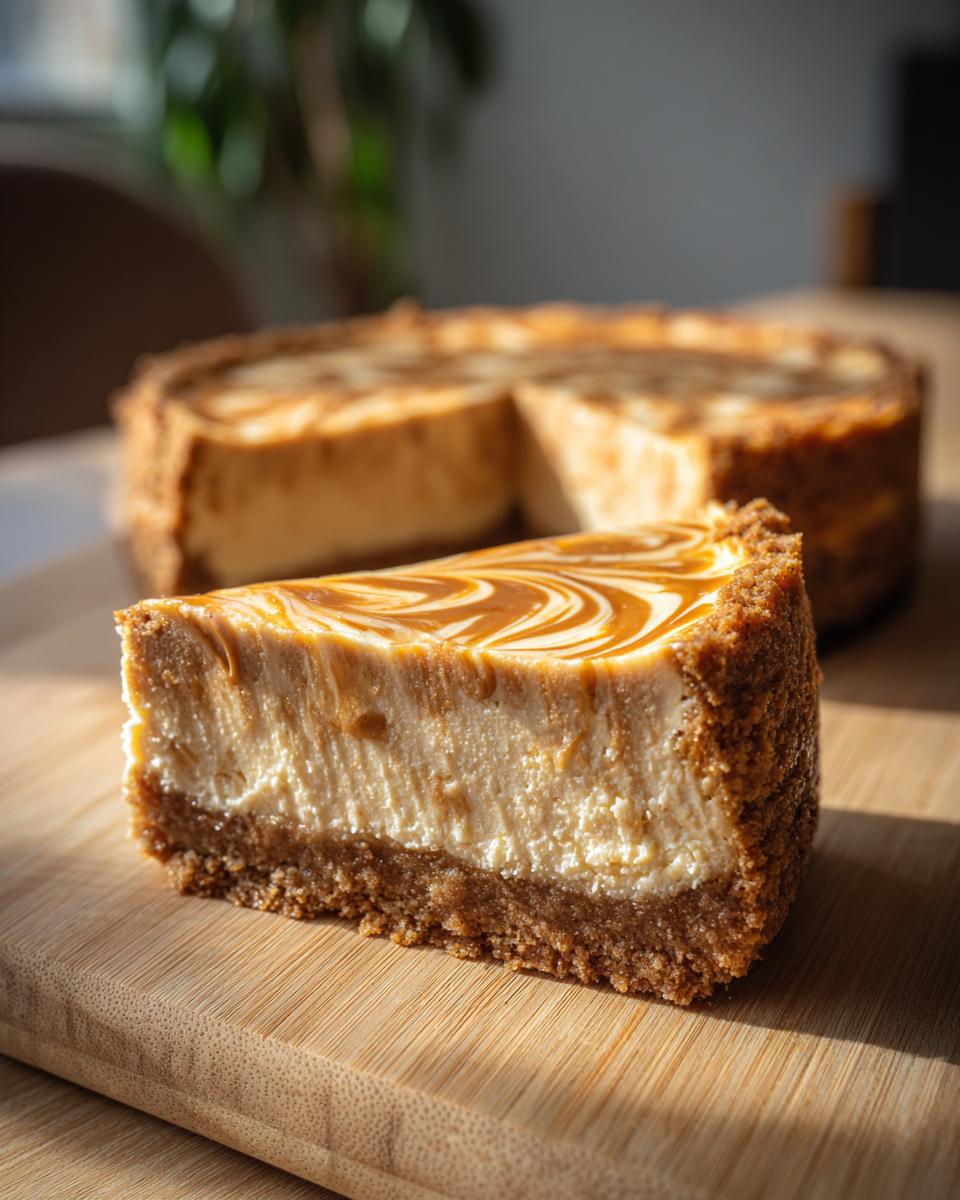
Now, this next part is SUPER important for our no bake cheesecake to get that perfect, firm texture: chilling. Cover the whole cheesecake snugly with plastic wrap, or better yet, pop it into an airtight container. Then, into the refrigerator it goes! You need to let it chill for at least 6 hours, but honestly, overnight is best. This gives the Biscoff cheesecake time to really set up and become that perfectly firm, sliceable dessert we’re dreaming of. Don’t rush this step; patience here really pays off!
Tips for Success with Your Lotus Cheesecake
Alright, you’ve put in all the work, and now it’s time to show off your beautiful Lotus cheesecake! Getting it out of the pan and slicing it cleanly is key. When it’s time to release it, run a thin, flexible knife or offset spatula around the edge of the pan first. Unclasp the springform, and then gently lift the ring away. If it feels a little stuck, just give the edges another little nudge. For slicing, here’s my secret: use a long, sharp knife dipped in hot water and then wiped dry between each cut. It makes for the cleanest slices, and honestly, it just makes everything feel a bit more elegant! This cheesecake is always a hit as a holiday dessert or just a fantastic party dessert idea, truly! You can see a similar slicing technique I use for my air fryer crab cakes.
Make-Ahead and Storage for Biscoff Cheesecake
One of the best things about this Biscoff cheesecake is that it’s the ultimate make-ahead dessert! You can totally whip this up the day before your party or holiday gathering. Just make sure it’s well-covered after it’s fully set and store it in the refrigerator. It stays beautifully creamy and delicious for about 3-4 days. I haven’t personally tried freezing this Biscoff cheesecake, as I usually gobble it up too fast, but I imagine it might affect the super-smooth texture of the filling. If you do decide to freeze it, wrap it really well in plastic wrap and then foil to prevent freezer burn. Check out my chicken pot pie for tips on freezing casseroles, which might give you some ideas!
Frequently Asked Questions about Biscoff Cheesecake
Got questions about this dreamy Biscoff cheesecake? I’ve got answers! Let’s clear up any lingering thoughts so you can bake with confidence.
Can I use a different type of cookie for the crust?
You sure can! While Biscoff cookies are obviously the star here, you could totally swap them out for graham crackers, shortbread cookies, or even gingersnaps for a different flavor profile. Just use the same amount and follow the same steps – it’ll still be delicious!
Can I make this a baked cheesecake instead of no-bake?
You know, you absolutely could! If you prefer a baked cheesecake, you’ll make the crust and then pour the filling over it. Bake at around 325°F (160°C) until the edges are set but the center still has a little wobble, usually about 45-55 minutes. Then you’d let it cool slowly. But honestly, the beauty of this no bake cheesecake is how wonderfully creamy and easy it is – no fuss, no cracks!
How do I get super clean slices of Biscoff cheesecake?
My best trick for those perfect, clean slices is to use a long, sharp knife. Dip it in hot water, wipe it dry, and then slice. Repeat this between every single cut! It really does make a world of difference for getting those clean edges. It’s a little extra step, but it makes your cookie butter cheesecake look so professional.
How long does this Biscoff cheesecake need to set?
Patience is key for this recipe! For the best texture, you really need to let it chill in the refrigerator for at least 6 hours. But honestly, overnight is ideal. This gives the cheesecake enough time to firm up properly so you can slice into it beautifully. That chilling time is crucial for any no bake cheesecake to reach its full potential!
Estimated Nutritional Information
Just so you know, the nutritional info for this Biscoff cheesecake is an estimate, as different brands and ingredients can slightly change things up. This is based on about 10 servings, so keep that in mind!
Share Your Biscoff Cheesecake Creations!
Okay, home bakers, now it’s YOUR turn! I absolutely LOVE seeing what you create in your kitchens. If you make this dreamy Biscoff cheesecake, please, pretty please, leave a comment down below to tell me what you think! A good rating really helps other people find the recipe too. And if you snap a pic of your gorgeous creation, tag us on social media! It makes my day to see your Biscoff cheesecake masterpieces. You can read a little more about my own kitchen adventures over here!
PrintCreamy Biscoff Cheesecake
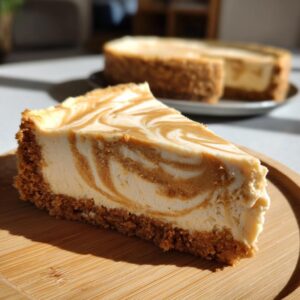
A no-bake cheesecake featuring a crunchy Biscoff cookie crust and a smooth, creamy cookie butter filling. This easy make-ahead dessert is perfect for parties and holidays.
- Prep Time: 20 min
- Cook Time: 0 min
- Total Time: 6 hr 20 min
- Yield: 10 servings 1x
- Category: Dessert
- Method: No-Bake
- Cuisine: American
- Diet: Vegetarian
Ingredients
- 1 ½ cups Biscoff cookie crumbs (about 25 cookies)
- ¼ cup unsalted butter, melted
- 2 (8 ounce) packages cream cheese, softened
- ⅔ cup granulated sugar
- 1 teaspoon vanilla extract
- 1 cup heavy cream
- ½ cup Biscoff spread (cookie butter)
- Optional: extra Biscoff spread for drizzling
Instructions
- Combine cookie crumbs and melted butter in a bowl. Press mixture evenly into the bottom of a 9-inch springform pan. Chill the crust for at least 30 minutes.
- In a large bowl, beat the softened cream cheese and granulated sugar until smooth and creamy. Beat in the vanilla extract.
- In a separate bowl, whip the heavy cream until stiff peaks form. Gently fold the whipped cream into the cream cheese mixture.
- Warm the Biscoff spread slightly in the microwave or on the stovetop until pourable. Gently fold about half of the Biscoff spread into the cream cheese mixture until just combined, creating swirls.
- Pour the cheesecake filling over the chilled crust and spread evenly.
- Drizzle the remaining Biscoff spread over the top and swirl with a knife or toothpick.
- Cover the cheesecake and refrigerate for at least 6 hours, or preferably overnight, until firm.
- Before serving, carefully remove the sides of the springform pan. Slice and enjoy.
Notes
- For a firmer crust, bake it at 350°F (175°C) for 8-10 minutes and let it cool completely before adding the filling.
- Ensure your cream cheese is fully softened to avoid lumps in the filling.
- Chilling time is crucial for the cheesecake to set properly.
- You can substitute other cookie butter brands if Biscoff is unavailable.
Nutrition
- Serving Size: 1 slice
- Calories: 450
- Sugar: 35g
- Sodium: 200mg
- Fat: 30g
- Saturated Fat: 18g
- Unsaturated Fat: 12g
- Trans Fat: 0g
- Carbohydrates: 40g
- Fiber: 1g
- Protein: 5g
- Cholesterol: 80mg