
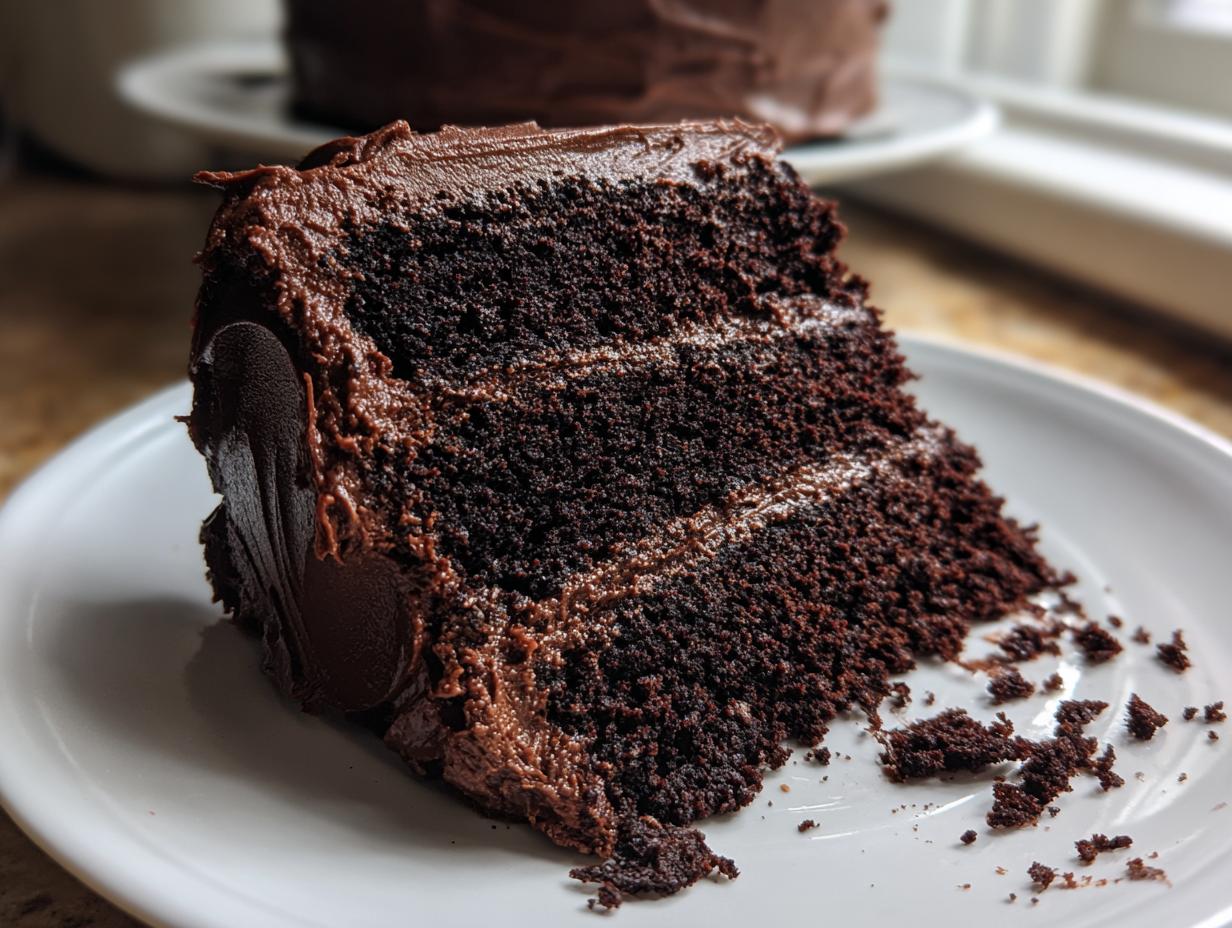

Do you ever hit that moment—that absolute, unavoidable craving for something intensely, deliciously chocolatey? I know I do. For years, back when my life was spreadsheets and lukewarm coffee, I chased the perfect chocolate fudge cake. Most recipes were either too dry, too fussy, or just tasted like a weak brownie. That’s why I perfected this one. As Leo Maxwell, I left the corporate grind to find dishes that tell a story, and trust me, this Ultimate Moist Chocolate Fudge Layer Cake tells a story of pure, unmatched decadence.
This isn’t just another rich chocolate layer cake; this is the solution for anyone wanting that deep, melt-in-your-mouth sensation without stress. Having tested hundreds of recipes in my own kitchen, I can guarantee this method delivers the fudgiest texture every single time. Forget the dry disappointments; we’re aiming for an indulgent chocolate treat right here. If you’re ready to create a showstopper for your next gathering, you should see all the other incredible desserts we have waiting for you.
- Why This Ultimate Chocolate Fudge Cake Recipe Works (E-E-A-T Focus)
- Gathering Ingredients for Your Chocolate Fudge Cake
- Step-by-Step Instructions for the Easy Fudge Cake
- Tips for Baking the Best Chocolate Fudge Cake
- Serving Suggestions for Your Decadent Chocolate Dessert
- Storage and Make Ahead Chocolate Fudge Cake Tips
- Frequently Asked Questions About Making Chocolate Fudge Cake
- Estimated Nutrition for This Chocolate Fudge Cake
- Share Your Ultimate Chocolate Fudge Cake Creations
Why This Ultimate Chocolate Fudge Cake Recipe Works (E-E-A-T Focus)
I spent years messing this up! You want that classic, no-fail chocolate cake that stays moist for days, right? The secret, after all my testing back when I was still wearing a suit, boils down to two things: buttermilk and boiling hot coffee. Seriously, don’t skip the coffee. Adding it last, while the batter is thin, blooms the cocoa powder and deepens that chocolate flavor exponentially without making it taste like a morning brew.
Buttermilk is crucial too. Its acidity reacts perfectly with the baking soda, giving you lift while keeping the crumb incredibly soft. It’s this marriage of fat, acid, and liquid that guarantees you get a truly moist chocolate cake recipe result every time you bake. It’s reliable; it’s my personal gold standard.
Achieving the Perfect Brownie Cake Texture
If you’ve been searching for a melt-in-your-mouth cake that leans toward that dense, almost unbelievable satisfaction of a great brownie, this is it. We use a bit more oil than some recipes, and the eggs are incorporated for structure, not airiness. This combination locks in moisture so effectively that the cake feels heavier, richer, and more decadent than a standard sponge. It just begs to be stacked high.
Gathering Ingredients for Your Chocolate Fudge Cake
Okay, now that you trust the process, let’s talk about what we need to bring this dream to life. For a truly rich chocolate layer cake, you can’t skimp on the goods. Everything listed here works in perfect harmony to give you that intense chocolate flavor that everyone craves. Don’t substitute the liquid elements—they are non-negotiable for that signature moistness!
You’re going to need specific quantities for both the cake itself and the incredible frosting that tops it. If you ever need a quick fix for just the topping, check out my guide for a quick chocolate fudge frosting, but trust me, making it all together is worth it!
Ingredients for the Ultra Moist Chocolate Fudge Cake Layers
- 1 3/4 cups all-purpose flour
- 1 3/4 cups granulated sugar
- 3/4 cup unsweetened cocoa powder
- 1 1/2 teaspoons baking soda
- 1 1/2 teaspoons baking powder
- 1 teaspoon salt
- 2 large eggs
- 1 cup buttermilk
- 1/2 cup vegetable oil
- 2 teaspoons vanilla extract
- 1 cup hot brewed coffee (Remember, it has to be hot!)
Ingredients for the Silky Chocolate Fudge Frosting Recipe
This frosting is what turns a great cake into a truly decadent chocolate dessert. Use the best butter you can find here!
- 1 cup semi-sweet chocolate chips
- 1/2 cup unsalted butter, softened
- 3 cups powdered sugar
- 1/2 cup cocoa powder
- 1/4 cup milk or heavy cream
Step-by-Step Instructions for the Easy Fudge Cake
Don’t let the name fool you—this might be the ultimate cake, but it’s truly an easy fudge cake to pull off! The batter looks unusual, but trust the process; those liquids make magic happen. I promise you’ll feel like a baking superhero when this comes out of the oven. If you’re looking for other crowd-pleasing simple treats, you should definitely look at my chocolate banana pops recipe sometime!
Mixing and Baking the Chocolate Fudge Cake Layers
First things first: get that oven preheated to 350°F (175°C). Then, make sure your two 9-inch round pans are greased and floured properly—no one wants a sticky situation! Start by whisking all your dry stuff together in one big bowl. Then, you add the eggs, buttermilk, oil, and vanilla, beating it for a full two minutes on medium speed.
Now for the interesting part. Carefully pour that cup of hot coffee right into the batter. Mix it on low just until it’s combined. Yes, the batter will look shockingly thin, almost like chocolate soup. That’s exactly what you want! Divide that thin batter evenly between your pans. Bake them right away for about 30 to 35 minutes. You know it’s done when a wooden pick slides out clean. Don’t forget to let them rest in the pans for 10 minutes before flipping them onto a rack to cool completely. You must have totally cool layers before frosting that perfect chocolate fudge cake.
Creating the Silky Chocolate Frosting Recipe
While those layers are cooling, let’s make the silky topping. First, melt your chocolate chips until they are totally smooth—a double boiler works great, or just short bursts in the microwave. Set that aside to cool just a touch.
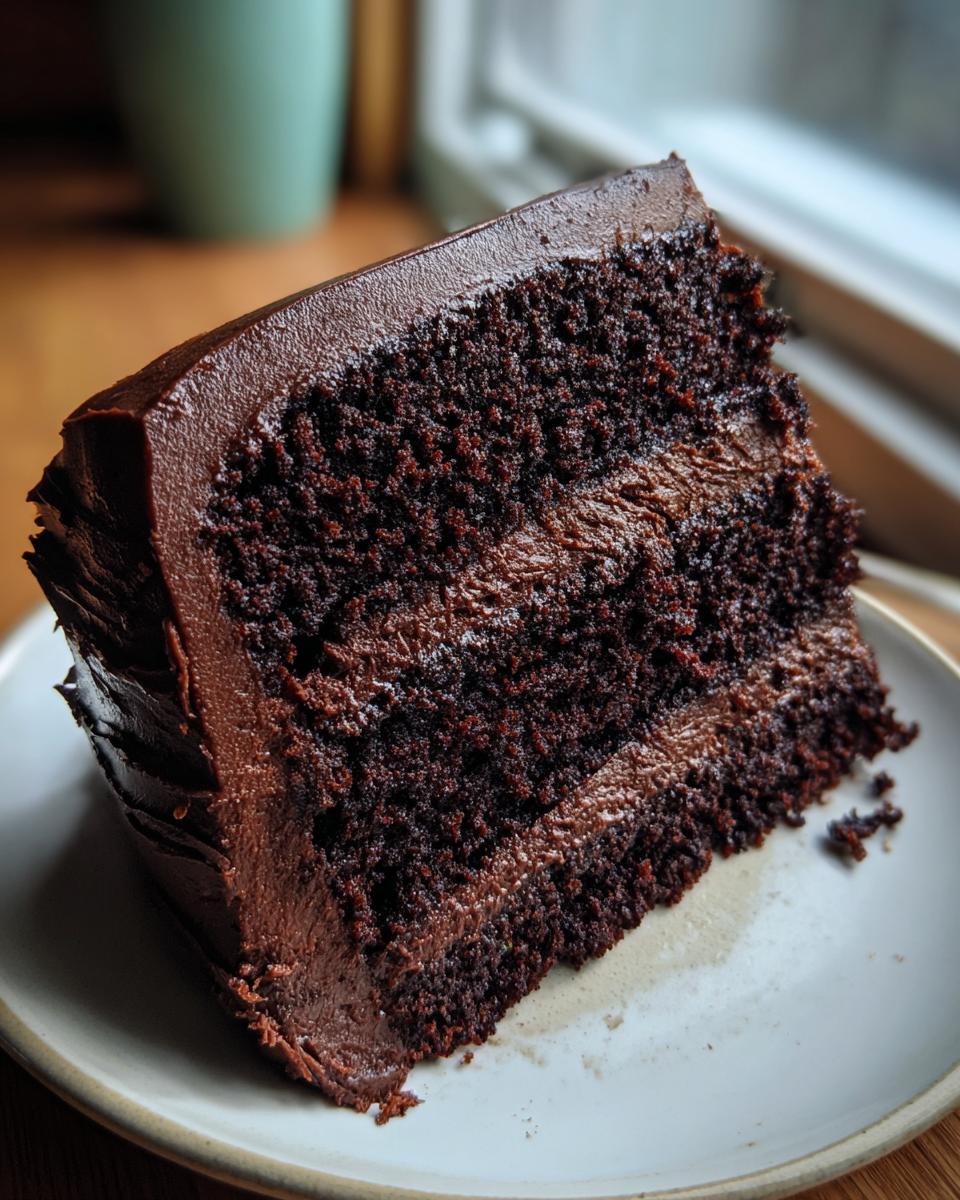
In another bowl, cream that softened butter until it’s light and fluffy. Now, you start incorporating the dry frosting ingredients: the powdered sugar and cocoa powder. Add the milk or cream in turns until it’s mostly smooth. Finally, beat in that slightly cooled melted chocolate. Keep mixing until you have a smooth, glossy finish that screams deeply chocolatey cake! If it seems too stiff, just sneak in another tablespoon of cream.
Assembling Your Rich Chocolate Layer Cake
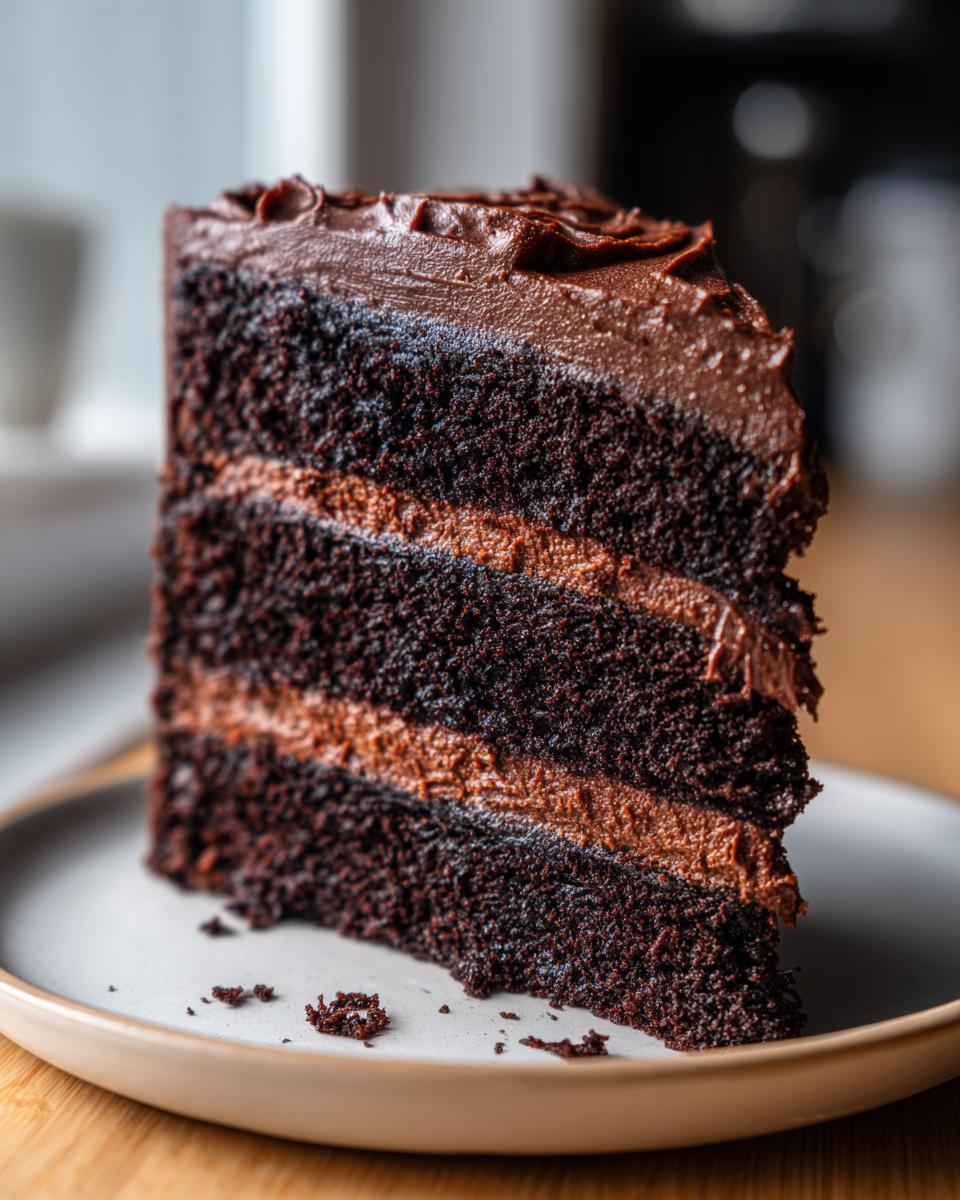
Time to build! Place your first cooled layer onto your serving plate. Take about one-third of that amazing frosting and spread it evenly over the top. Gently place the second cake layer on top. Now, use the rest of the silky frosting to cover the top and sides of your masterpiece. This is the great reward for your efforts on this rich chocolate layer cake. Step back and admire it before you dive in!
Tips for Baking the Best Chocolate Fudge Cake
Baking this cake is straightforward, but if you want that restaurant-quality, no fail chocolate cake experience, pay attention to these tiny details. They elevate it instantly. My absolute top tip, as mentioned before, is the coffee. When I first tried this, I used lukewarm instant coffee left over from the morning. Big mistake! The result felt flat.
So, here are my four must-follow rules for success:
- Always measure your flour by scooping it lightly into the cup and leveling it off; don’t pack it down! Too much flour is the fastest way to dry out any homemade chocolate cake.
- Ensure your chocolate chips for the frosting are only slightly warm when you beat them into the butter mixture. If they are too hot, they melt the fat, and your frosting gets runny.
- Don’t open the oven door until the layers have been baking for at least 25 minutes. Poking them early guarantees a sunken middle.
- If you bake this ahead, wrap the cooled, unfrosted layers tightly in plastic wrap—I even add a layer of foil—to keep that moisture sealed in tight. You can learn a few other great tricks over at Butternut Bakery, too!
Serving Suggestions for Your Decadent Chocolate Dessert
We’ve made the ultimate, most satisfying cake imaginable—now we have to present it! Because this is such an indulgent chocolate treat, sometimes less is actually more on the garnish front. You want the cake to do the talking, not a mountain of toppings getting in the way of that perfect slice.
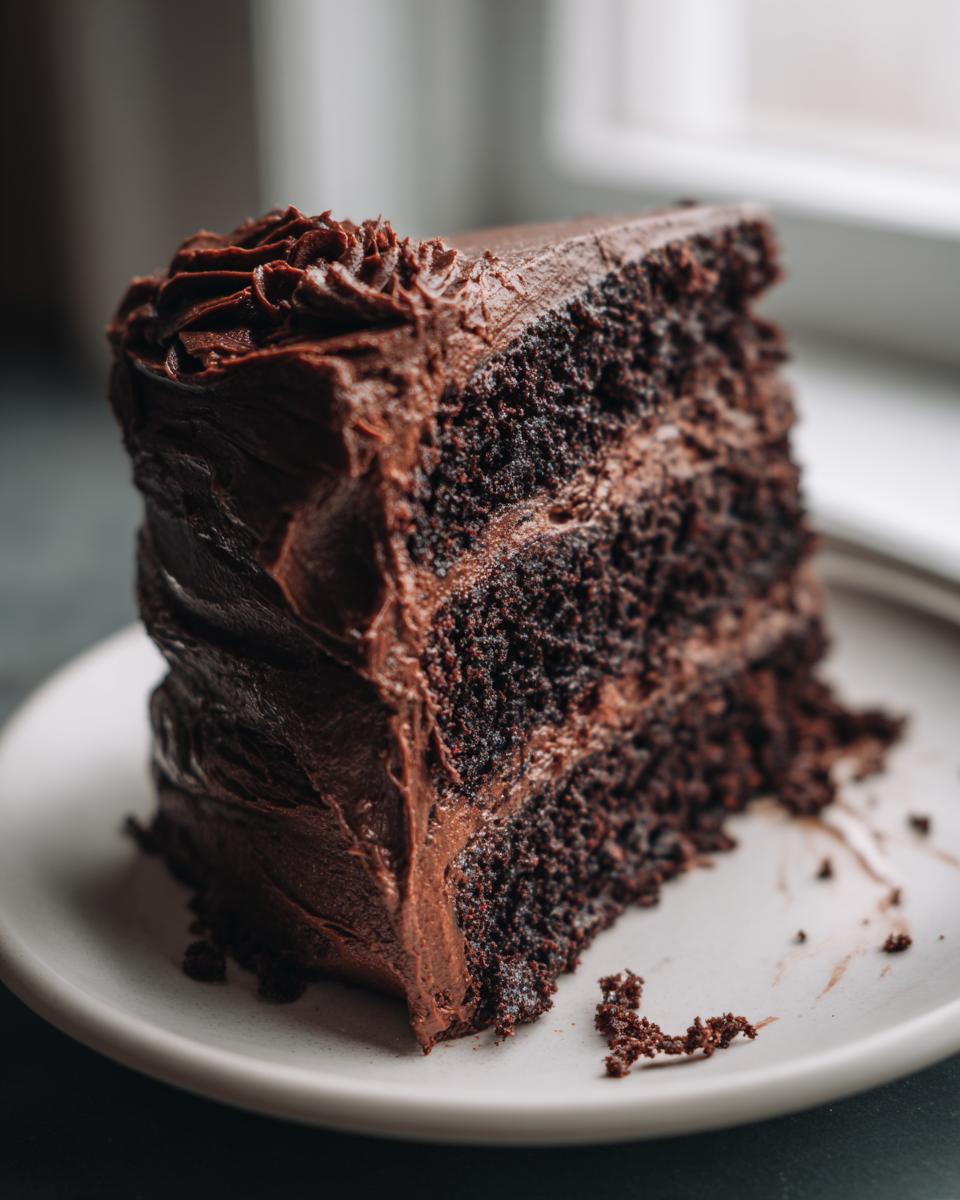
This is one of those incredible desserts for celebrations that looks stunning just as it is, with that silky fudge frosting gleaming under the lights. If you want to dress it up just a little, though, I have a few go-to visuals that always work beautifully.
Keep It Classic and Pure
Honestly, sometimes my favorite way to serve this cake is straight from the cooling rack after the frosting has set slightly. A light, delicate dusting of high-quality, sifted unsweetened cocoa powder across the top gives it an elegant, matte finish. It signals just how much chocolate flavor is packed inside without adding unnecessary extra sweetness.
If you do want something creamy on the side without overwhelming it, a simple dollop of freshly whipped, lightly sweetened cream goes a long way. It cuts through the richness perfectly.
Pairing with Cool Elements
When you’re serving this decadent chocolate dessert warm, or if you just need something bright to contrast that deep cocoa, definitely pair it with something cold. A scoop of vanilla bean ice cream is the standard for a reason—it’s a winner.
But if you’re feeling adventurous, try a scoop of something sharp and bright. I absolutely adore serving a slice of this cake with my easy lime sorbet recipe. The tart citrus cuts through the heavy fudge in the most amazing way. It cleanses the palate, making every subsequent bite of cake taste chocolatey all over again!
Adding a Touch of Freshness
For a bit of color on the platter, fresh raspberries or pitted cherries are fantastic accompaniments. Arrange just a few berries artfully around the base of the slice on each plate. The slight acidity and freshness provide a lovely counterpoint to this heavy, truly satisfying baked chocolate dessert.
Storage and Make Ahead Chocolate Fudge Cake Tips
The best part about making an ultimate chocolate cake like this is knowing you have leftovers for days! Because this is such an impressively moist recipe, you don’t have to worry about it drying out fast. In fact, I think the flavor deepens overnight, which makes it a fantastic make ahead chocolate dessert.
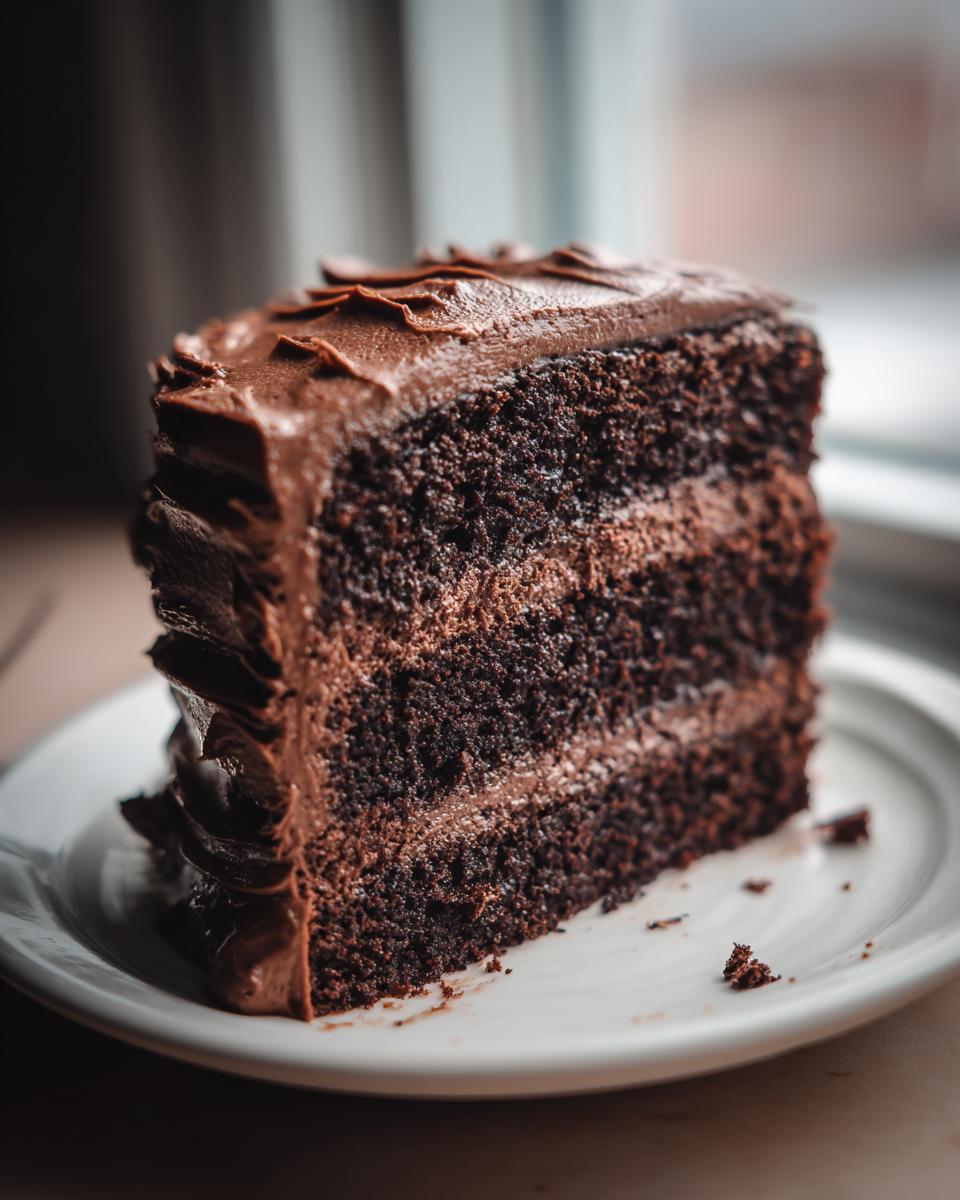
How you wrap it depends on whether you’ve frosted the layers yet. If you just baked the layers and they are totally cool, this is the perfect time to make them ahead. I wrap each un-frosted layer tightly in plastic wrap first—really seal those edges up—and then I often wrap the whole package in a layer of foil, too. This extra barrier keeps the incredible texture locked inside for up to two months in the freezer! Can you believe? You can have this amazing chocolate fudge cake ready to go for any spontaneous celebration.
Storing Frosted Cake Pieces
Once you frost this beauty, storage is a little different. Because the frosting is rich and butter-based, it firms up beautifully in the fridge. If you have leftovers, just cover the cake with a cake dome or loosely tent it with foil so it doesn’t absorb any funky fridge smells. I find it tastes best if you pull it out about an hour before serving so the frosting softens up again.
When you cut individual slices, cover just the cut edges of the remaining cake tightly with plastic wrap. This seals in the moisture on the exposed crumb. It needs to stay cool, but you never want the layers to dry out!
Why This is a Great Recipe for Entertaining
If you’re planning a big event, this recipe is your best friend. You can easily get those cake layers baked two days ahead of time and store them on the counter (if your kitchen isn’t too warm) or in the fridge. Then, frost the whole thing the day before your party.
This frees up your entire day of the event for last-minute appetizers or setting the table! Trust me, knowing you have that stunning chocolate fudge cake ready to assemble is such a relief. If you also like chocolate bar treats that travel well, you absolutely have to check out my recipe for smores brownies next!
Frequently Asked Questions About Making Chocolate Fudge Cake
I get so many messages from folks following this recipe, and that’s wonderful! It means you’re diving deep into baking from scratch chocolate desserts, which I absolutely love to see. Here are a few common roadblocks or questions that pop up when readers try to achieve that perfect texture for their chocolate desserts.
Can I skip the hot coffee and use hot water instead?
That is the question I get asked the most! You technically *can* use hot water, but I strongly advise against it if you’re aiming for the best final result. The hot water will hydrate the cocoa powder, which is good, but the coffee adds a deeper, richer bass note to the chocolate flavor. It doesn’t taste like coffee, I promise! It just makes the cake taste more intensely chocolatey. For the best chocolate cake recipe experience, use the coffee if you can. If you want to see another simple take on this, check out the method from Amiah Recipes!
My layers are still sinking a little in the middle, what am I doing wrong?
If your cake layers are sinking, it usually means one of two things has happened. Either your leavening agents (baking soda/powder) are old, or you might be overmixing the batter *after* the coffee goes in. Once you add that final liquid, you need to stop mixing as soon as you no longer see streaks of flour. Developing too much gluten at that stage is what leads to a collapsed center. You want that cake to be a beautiful, dense disc, not a deflated mess!
How do I adjust the recipe if I want a true brownie cake texture, not just moist?
To push it further toward that brownie cake texture, you can slightly reduce the buttermilk by about two tablespoons, and increase the vegetable oil by one tablespoon. The cake relies on that liquid ratio for its height. By reducing the wetness just a tiny bit and increasing the fat, you encourage that denser, chewier feel we associate with brownies. It will still be fudgy, just marginally heavier—which is fantastic for stacking!
Can this be a make ahead chocolate dessert if I fully frost it?
Absolutely, yes! This is one of my favorite traits of this recipe, making it perfect for busy days. Once the cake is frosted, cover it loosely with plastic wrap—make sure the wrap isn’t touching the frosting, though!—and keep it refrigerated. For the absolute best flavor and that soft, melt-in-your-mouth experience, pull it out of the fridge about an hour before you plan to serve it. That allows the butter in the frosting and the cake layers to come up to room temperature so it’s ready to enjoy as the ultimate indulgent chocolate treat.
What if I don’t have buttermilk? Can I substitute it for milk?
You miss out a lot trying to use plain milk here, as the acidity is key for the rise! If you are genuinely out, you can make a quick substitute. Take one cup of regular milk—whole milk works best—and stir in one tablespoon of white vinegar or fresh lemon juice. Let that mixture sit on the counter for about five to ten minutes. It will curdle slightly, and voilà, you have homemade buttermilk substitute ready to go for your cake!
Estimated Nutrition for This Chocolate Fudge Cake
I always feel a little weird posting calorie counts because my kitchen isn’t a lab! After all, when you are busy eating what is clearly one of the most indulgent chocolate treats available, who is really counting? However, for those of you who track your baking, I wanted to provide an estimate. Please keep in mind that these numbers are based on the specific ingredients and brands I used in my testing.
If you use different oils, different percentages of chocolate chips, or maybe add an extra drizzle of ganache (and who could blame you?), these numbers will shift. Think of this as a guide to help you understand the breakdown of this amazing decadent chocolate dessert, not as a final report from a nutritionist.
Here is what the data looked like for one generous slice of this magnificent cake:
- Serving Size: 1 slice
- Calories: 450
- Sugar: 55g
- Sodium: 300mg
- Fat: 24g
- Saturated Fat: 12g
- Unsaturated Fat: 12g
- Trans Fat: 0g
- Carbohydrates: 60g
- Fiber: 3g
- Protein: 5g
- Cholesterol: 55mg
See? Lots of sugar, lots of fat—that’s what makes it so incredibly satisfying! It’s definitely a treat meant for special occasions, not an everyday snack, though I sometimes wish it were. Enjoy every single bite guilt-free.
Share Your Ultimate Chocolate Fudge Cake Creations
Now the best part: seeing your incredible work! Honestly, when I step away from the spreadsheets and dive into baking, the greatest reward is seeing someone else create something beautiful and delicious from my notes. This recipe is more than just an ingredient list; it’s a blueprint for creating memories. I want to see what you’ve made!
Did you manage that silky frosting perfectly? Are your layers stacked straight and proud? If you attempt this, please come back here and leave me a detailed rating and a comment. Knowing what worked for you, or if you tweaked a small element, is invaluable feedback. It helps me keep building this as the most reliable source for a truly chocolate fudge cake.
Show Off Your Bake!
If you managed to snap a photo of your towering creation, I would absolutely love it if you shared it with me. Tag me on social media. I always share reader photos of the best bakes in my stories when you tag Gourmet Gaze. It’s so inspiring to see this recipe travel from my kitchen to yours across the country.
If you have any final questions after baking, or if you want to share how this satisfied a massive chocolate craving, use the contact page below. No question is too small when you are mastering indulgent chocolate treats like this one!
- Rate the recipe out of five stars!
- Tell me about your frosting success.
- Drop your favorite serving suggestion in the comments.
Ready to connect? You can reach out anytime via my contact form. Happy baking, everyone!
PrintUltimate Moist Chocolate Fudge Layer Cake with Silky Fudge Frosting
This recipe delivers the ultimate chocolate fudge cake experience: ultra moist layers with a dense, fudgy texture, topped with a rich, silky chocolate fudge frosting. It is deeply chocolatey and simple to bake from scratch.
- Prep Time: 20 min
- Cook Time: 35 min
- Total Time: 55 min
- Yield: 12 servings 1x
- Category: Dessert
- Method: Baking
- Cuisine: American
- Diet: Vegetarian
Ingredients
- 1 3/4 cups all-purpose flour
- 1 3/4 cups granulated sugar
- 3/4 cup unsweetened cocoa powder
- 1 1/2 teaspoons baking soda
- 1 1/2 teaspoons baking powder
- 1 teaspoon salt
- 2 large eggs
- 1 cup buttermilk
- 1/2 cup vegetable oil
- 2 teaspoons vanilla extract
- 1 cup hot brewed coffee
- 1 cup semi-sweet chocolate chips (for frosting)
- 1/2 cup unsalted butter, softened (for frosting)
- 3 cups powdered sugar (for frosting)
- 1/2 cup cocoa powder (for frosting)
- 1/4 cup milk or heavy cream (for frosting)
Instructions
- Preheat your oven to 350°F (175°C). Grease and flour two 9-inch round cake pans.
- In a large bowl, whisk together the flour, granulated sugar, cocoa powder, baking soda, baking powder, and salt.
- Add the eggs, buttermilk, oil, and vanilla extract to the dry ingredients. Beat with an electric mixer on medium speed for two minutes.
- Carefully pour the hot coffee into the batter and mix on low speed until just combined. The batter will be thin.
- Divide the batter evenly between the prepared cake pans.
- Bake for 30 to 35 minutes, or until a wooden pick inserted into the center comes out clean.
- Let the cakes cool in the pans for 10 minutes before inverting them onto a wire rack to cool completely.
- Prepare the frosting: Melt the chocolate chips in a microwave or double boiler until smooth. Set aside to cool slightly.
- In a separate bowl, beat the softened butter until creamy. Gradually add the powdered sugar and cocoa powder, alternating with the milk, mixing until smooth.
- Beat in the slightly cooled melted chocolate until the frosting is silky and well combined. Add more milk if the frosting is too thick.
- Once the cakes are completely cool, place one layer on a serving plate. Spread about one-third of the frosting over the top. Place the second layer on top.
- Frost the top and sides of the entire cake with the remaining silky fudge frosting. Serve this decadent chocolate dessert immediately or chill.
Notes
- Using hot coffee deepens the chocolate flavor without making the cake taste like coffee. This is key for a deeply chocolatey cake.
- For an even richer finish, you can drizzle melted dark chocolate or a simple chocolate ganache over the top layer before serving.
- This cake freezes well. Wrap cooled, unfrosted layers tightly in plastic wrap before freezing for up to two months.
Nutrition
- Serving Size: 1 slice
- Calories: 450
- Sugar: 55g
- Sodium: 300mg
- Fat: 24g
- Saturated Fat: 12g
- Unsaturated Fat: 12g
- Trans Fat: 0g
- Carbohydrates: 60g
- Fiber: 3g
- Protein: 5g
- Cholesterol: 55mg