
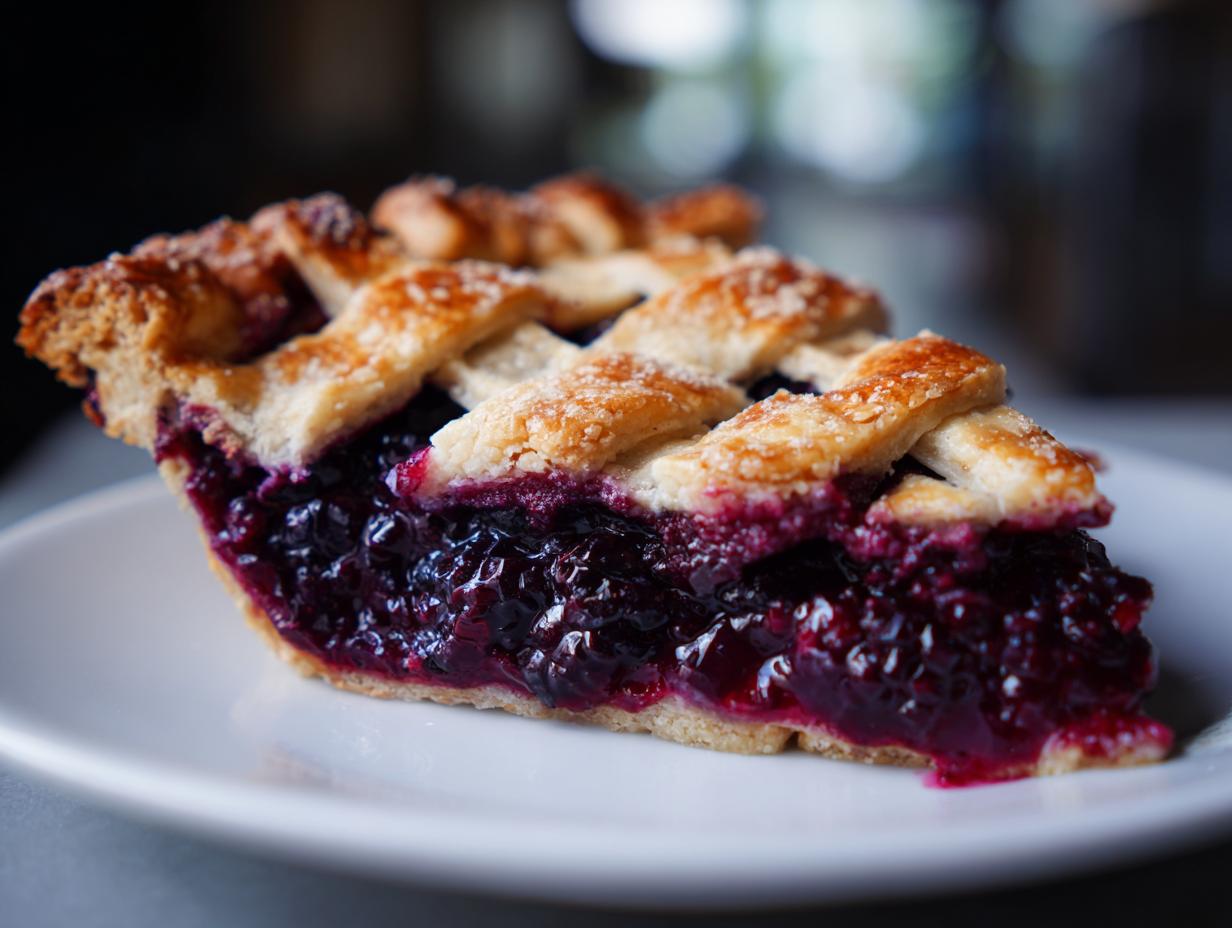

When the peak of summer hits and those berries are calling my name, there’s only one thing that truly satisfies that itch: an authentic, deep-dish, stunningly latticed pie. Leaving the world of spreadsheets and deadlines behind, I discovered that baking is where the real creativity lives, and perfecting a classic homemade blackberry pie became my mission.
Forget those watery, frustrating berry fillings! This recipe, the Classic Homemade Blackberry Pie with Flaky Lattice Crust, is the result of weeks of testing right here in my kitchen. We’re nailing two things: an impossibly flaky, all-butter double crust and a filling that sets up perfectly—we want juicy, not soupy. This is the kind of comfort food dessert that brings that soulful satisfaction I was missing back in my corporate days. It promises to look like a feast for the eyes and taste like the heart of summer.
- Why This Classic Blackberry Pie Recipe Works Every Time
- Essential Ingredients for Your Blackberry Pie
- Flaky Pie Crust Tutorial: Making the Dough for Blackberry Pie
- Assembling Your Blackberry Pie with Lattice Top
- Baking Instructions for the Old Fashioned Blackberry Pie
- Tips for Success: Perfecting Your Blackberry Pie
- Serving Suggestions and Storing Your Blackberry Pie
- Frequently Asked Questions About Homemade Summer Dessert
- Share Your Blackberry Pie Creations
Why This Classic Blackberry Pie Recipe Works Every Time
Trust me when I say I’ve made a few messy pies in my time trying to get this right. What makes this blackberry pie a keeper is its rock-solid reliability. I spent so long testing ratios to eliminate that dreaded soupy end result!
- It uses 100% all-butter for maximum flavor that complements the tart berries beautifully.
- The chilling process for the crust is non-negotiable; it’s the bedrock of our success.
- We use just the right amount of cornstarch to thicken the juices completely, guaranteeing a sliceable pie every time.
Achieving a Buttery Golden Crust
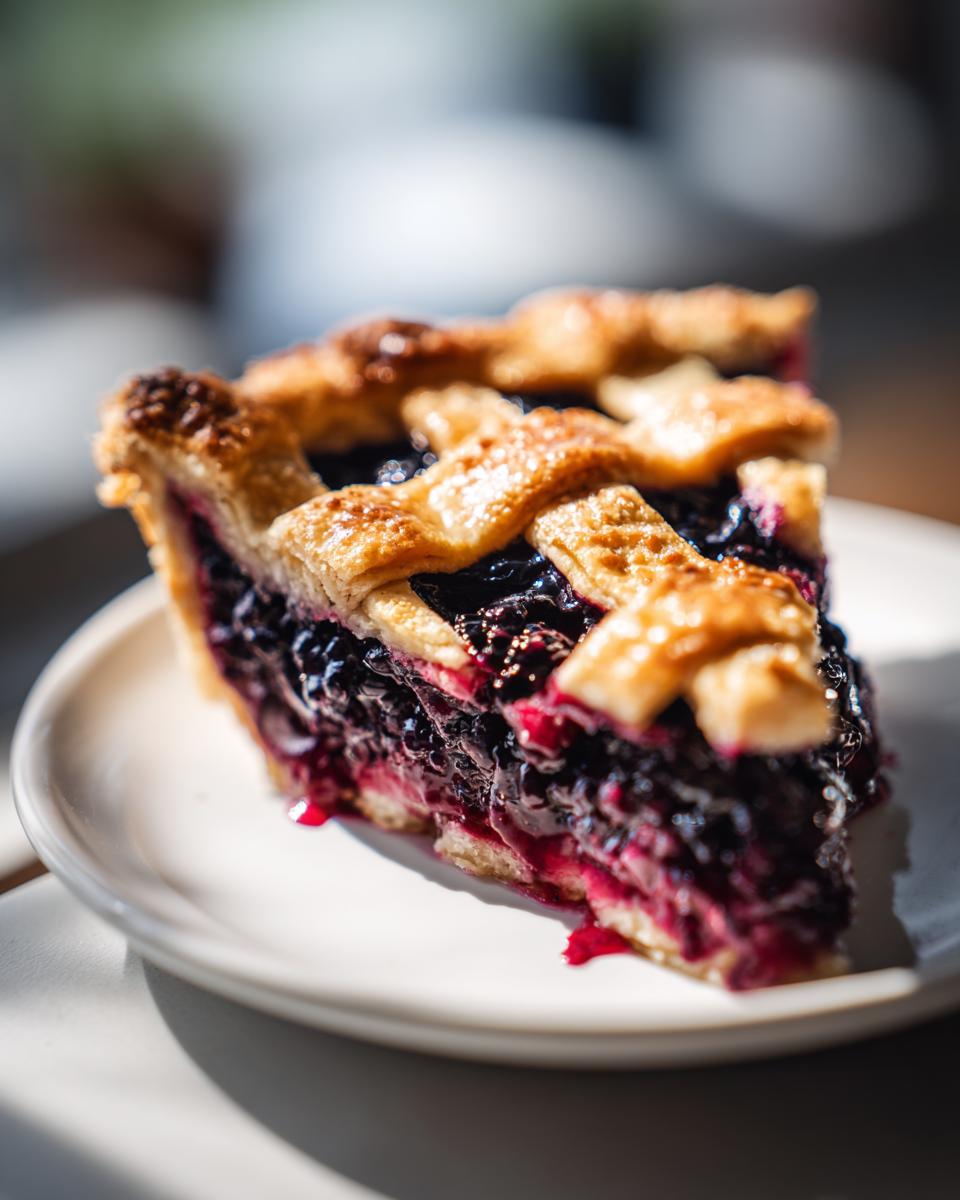
The key here is ice-cold butter and minimal water. When those tiny, cold butter pieces hit the hot oven, they steam and push the flour up, creating those glorious, visible flaky layers. That’s the anatomy of a beautiful crust, friends.
The Secret to Perfect Blackberry Pie Filling
My biggest breakthrough for this blackberry pie was refining the thickener. We rely on a specific measure of cornstarch—it’s what locks in the berry juices instantly. This simple step is the core of my no soggy bottom hack. You get intense berry flavor without watering down that crucial base.
Essential Ingredients for Your Blackberry Pie
You can’t build a beautiful house on shoddy materials, right? The same goes for baking! For this blackberry pie, we need high-quality components. I broke down the list because the crust and the filling demand slightly different things. Don’t skimp on the butter—that’s where the gold color and flakiness come from. If you only have frozen berries, don’t stress! I’ll tell you exactly how to handle them in the next section.
For the All Butter Pie Crust
- 2 1/2 cups all-purpose flour
- 1 teaspoon salt
- 1 cup (2 sticks) unsalted butter, very cold and cubed
- 1/2 cup ice water, plus more if needed
For the Juicy Blackberry Pie Filling
- 6 cups fresh or frozen blackberries (do not thaw if frozen)
- 1 1/2 cups granulated sugar
- 1/4 cup cornstarch
- 1 tablespoon lemon juice
- 1/2 teaspoon ground cinnamon
- 1 large egg, beaten (for egg wash)
- 1 tablespoon coarse sugar (for sprinkling)
Flaky Pie Crust Tutorial: Making the Dough for Blackberry Pie
Okay, this is where we prove that a **Flaky Pie Crust Tutorial** isn’t just for fancy French patisseries; it’s the soul of any great **blackberry pie**. If you’ve been intimidated by homemade crusts, stick with me. The secret sauce, beyond the all-butter goodness we just listed, is temperature. Everything has to be screaming cold!
We start by whisking the flour and salt together—just a quick marriage of the dry bits. Then, the main event: cutting in that super cold, cubed butter. I like using a pastry blender because it’s fast, but my fingers work in a pinch. You’re looking for coarse crumbs, and listen, you *need* those pea-sized chunks of butter left in there. Those chunks create steam in the oven, which creates flakes for our beautiful crust.
Next up is the ice water. I mean ice water—sometimes I toss a few cubes into the bowl while I’m working, just to keep things brisk. Add it one tablespoon at a time. You are mixing until the dough *just* starts to hold together. Stop immediately if you can press it into a ball. If you overwork this, you activate too much gluten, and goodbye, flakiness! You end up with a tough, chewy base instead of a tender one.
Once it’s cooperating, divide that dough into two equal halves. Flatten each one into a nice, neat disk—think about the size of a hockey puck. Wrap them tightly in plastic wrap. They absolutely must chill for at least one hour. Seriously, don’t try to rush this part. That resting time lets the gluten relax, making the dough easier to roll later for your bottom crust and your lovely lattice top. This patient approach sets us up for success with this **blackberry pie**!
If you need a refresher on making amazing chilled sorbets while you wait for your dough to chill—which is a great palate cleanser before pie—take a peek at my lime sorbet recipe.
Assembling Your Blackberry Pie with Lattice Top
This is where the art—the “Gaze”—comes into play! We take that perfectly chilled dough and start creating our stunning **blackberry pie**. Don’t panic about the assembly; we broke it down into manageable steps so that when you finish, you have that Instagram-worthy **Blackberry Pie with Lattice Top**.
First up, grab one disk of dough. On a lightly floured surface—and I mean lightly!—roll it out into about a 12-inch circle. You want enough overhang to crimp beautifully around the edges of your 9-inch plate. Ease that dough into the pie plate gently; don’t stretch it! Trim the edges, leaving about an inch of overhang, and then crimp those edges however you like. I love a simple, rustic fluted edge. Now, pop that whole plate back into the fridge. Keeping the bottom crust cold ensures it bakes up crisp, preventing that soggy bottom we are trying to avoid in our homemade summer dessert.
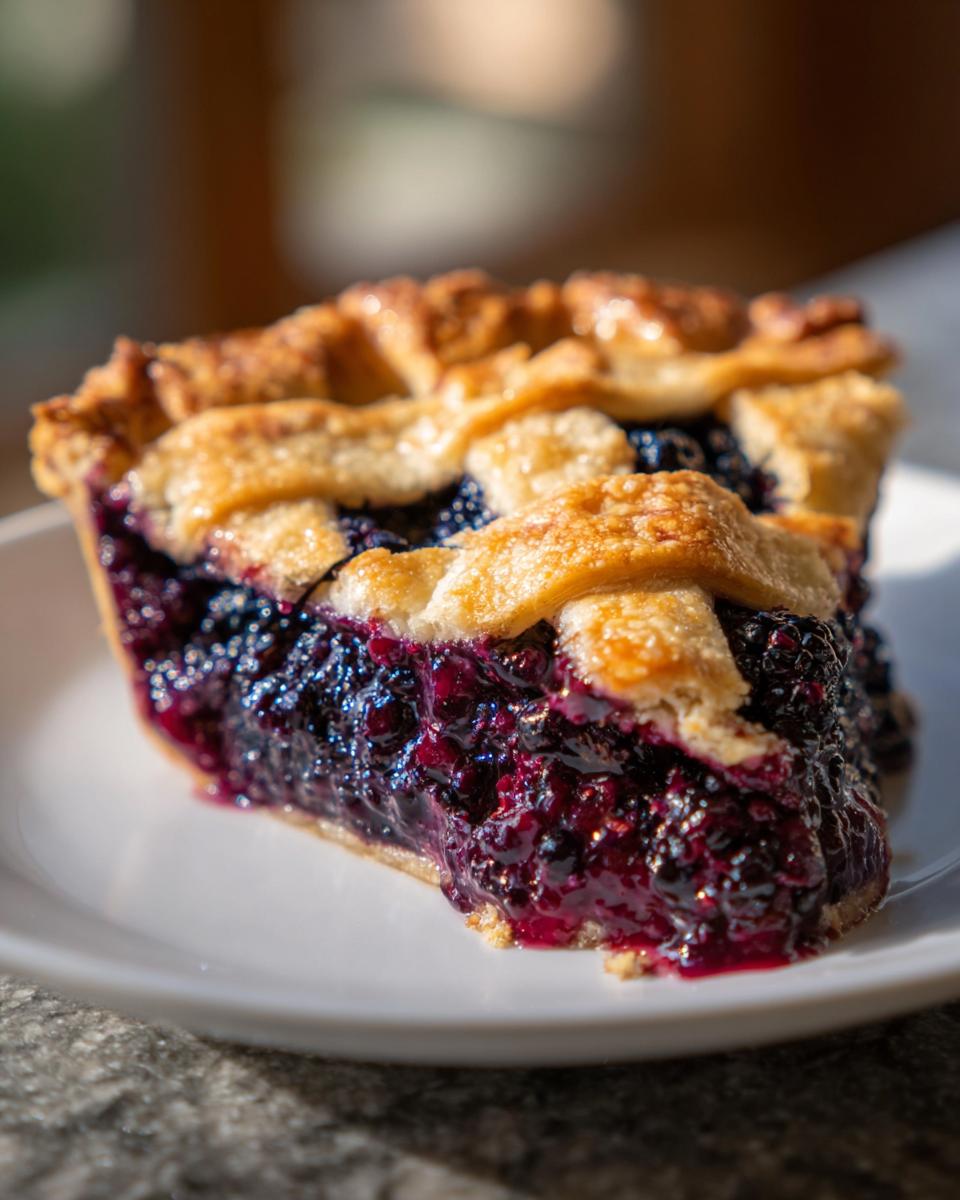
While that waits, toss your blackberry filling together. Just mix those berries gently with the sugar, cornstarch, lemon juice, and cinnamon until they look glossy and coated. Set that aside.
Time for the showstopper: the lattice. Roll out your second disk of dough. If you’re making strips for the lattice, this is where you want to work quickly, or just pop the dough back in the fridge for five minutes if it gets too soft. Cut your strips—about one inch wide is perfect. Weave them over the top of your chilled bottom crust that’s already loaded with the berry mixture. Weave them over and under, over and under. It takes practice, but I promise, every slightly uneven strip just adds character to that classic, rustic pie look!
Once woven, trim the lattice strips and seal them to the bottom crust edge, crimping them together so they stick. For extra E-E-A-T security, I always cut two or three small slits in the center, even if it’s latticed, just to let the steam escape properly while baking our **blackberry pie**.
Baking Instructions for the Old Fashioned Blackberry Pie
Alright, the moment of truth! We’ve got the cold crust, we’ve got the jewel-toned filling, and that beautiful **Blackberry Pie with Lattice Top** is ready for its close-up under the oven lights. This step is critical; we use a two-temperature method that sets the crust quickly while ensuring the filling doesn’t bubble over violently. This ensures we get that perfect sliceable texture for our **Old Fashioned Blackberry Pie**.
First things first: Put a baking sheet on the bottom rack of your oven and preheat it to 400°F (200°C). Why the extra sheet? Simple physics—it catches any filling that might bubble out, saving you from a smoky mess later, which is crucial when dealing with juicy berries in a fresh blackberry pie.
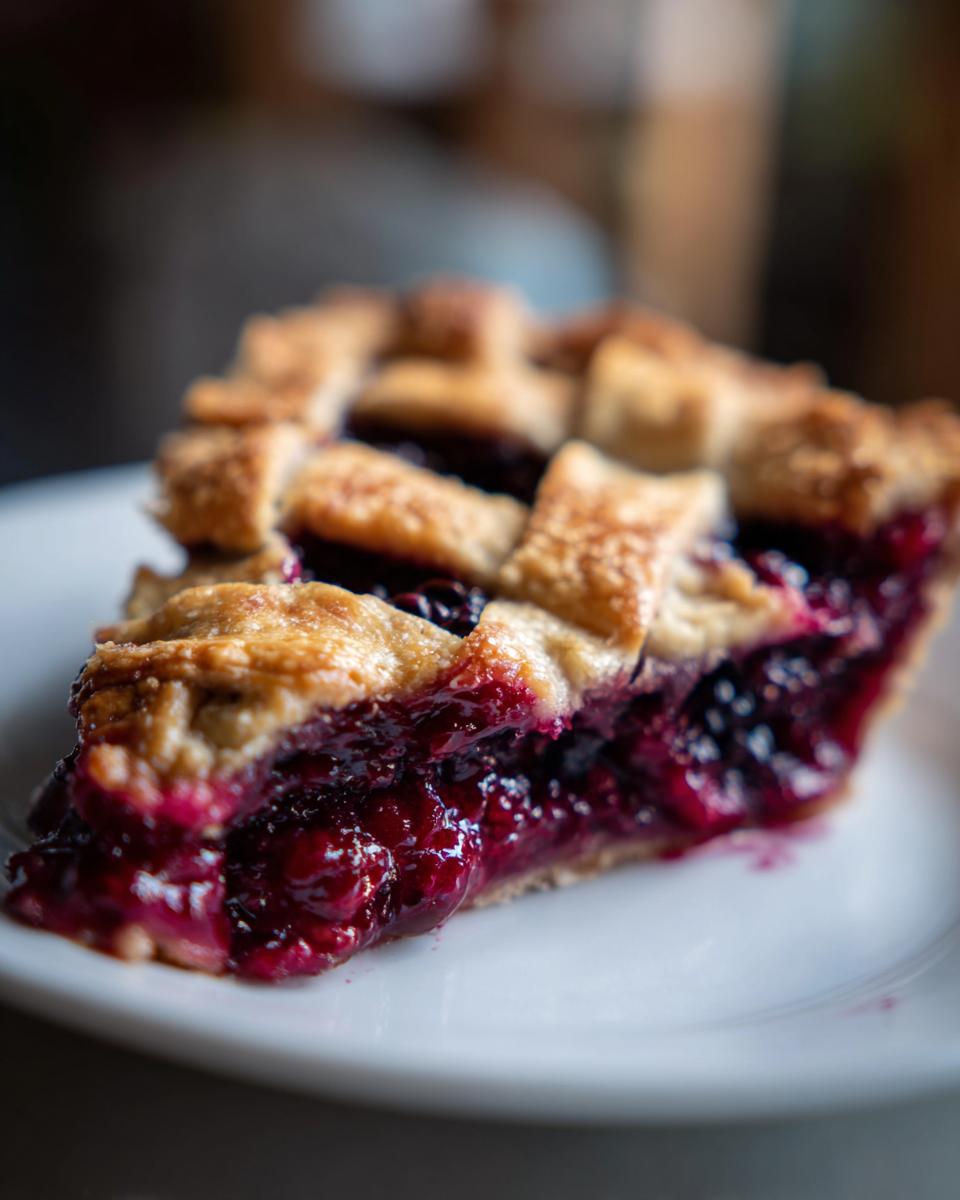
Next, brush the entire top crust—the lattice, the edges, the whole thing—with your beaten egg wash. This gives us that gorgeous sheen. Then, sprinkle it liberally with coarse sugar. That crunch against the tender fruit is heaven, I promise.
Carefully place the assembled pie onto that preheated baking sheet in the oven and bake at 400°F (200°C) for exactly 20 minutes. That high heat blast helps set the bottom crust right away, which is my top defense against a soggy bottom on this **blackberry pie**.
After those 20 minutes are up, don’t open the door! Reduce the oven temperature down to 375°F (190°C). Continue baking for another 35 to 45 minutes. If you notice those edges—the crimped rim where the top and bottom crust meet—starting to look deeply brown before the filling is thick, grab a small strip of aluminum foil and gently drape it over the edges. This protects them from burning while the center finishes cooking.
How do you know it’s done? You’re looking for two signs: a deep, rich golden-brown color on that crust, and more importantly, you should see the filling actively bubbling thickly right through those lattice openings. If the filling looks thin and runny, it needs more time. Only when it’s bubbling thick are we done! Patience pays off, especially with this rich, **comfort food dessert**.
Tips for Success: Perfecting Your Blackberry Pie
I’ve learned the hard way that with a fruit pie like this blackberry pie, cooling is just as important as baking. Seriously, the very first time I tried to slice this beauty fresh out of the oven, it looked more like soup than pie! I was so eager to taste those juicy berries, and I totally sacrificed the structure. Don’t make my mistake, folks! You must let it cool completely—at least four hours—so that cornstarch can work its magic and set that fruit into a beautiful slab of dessert.
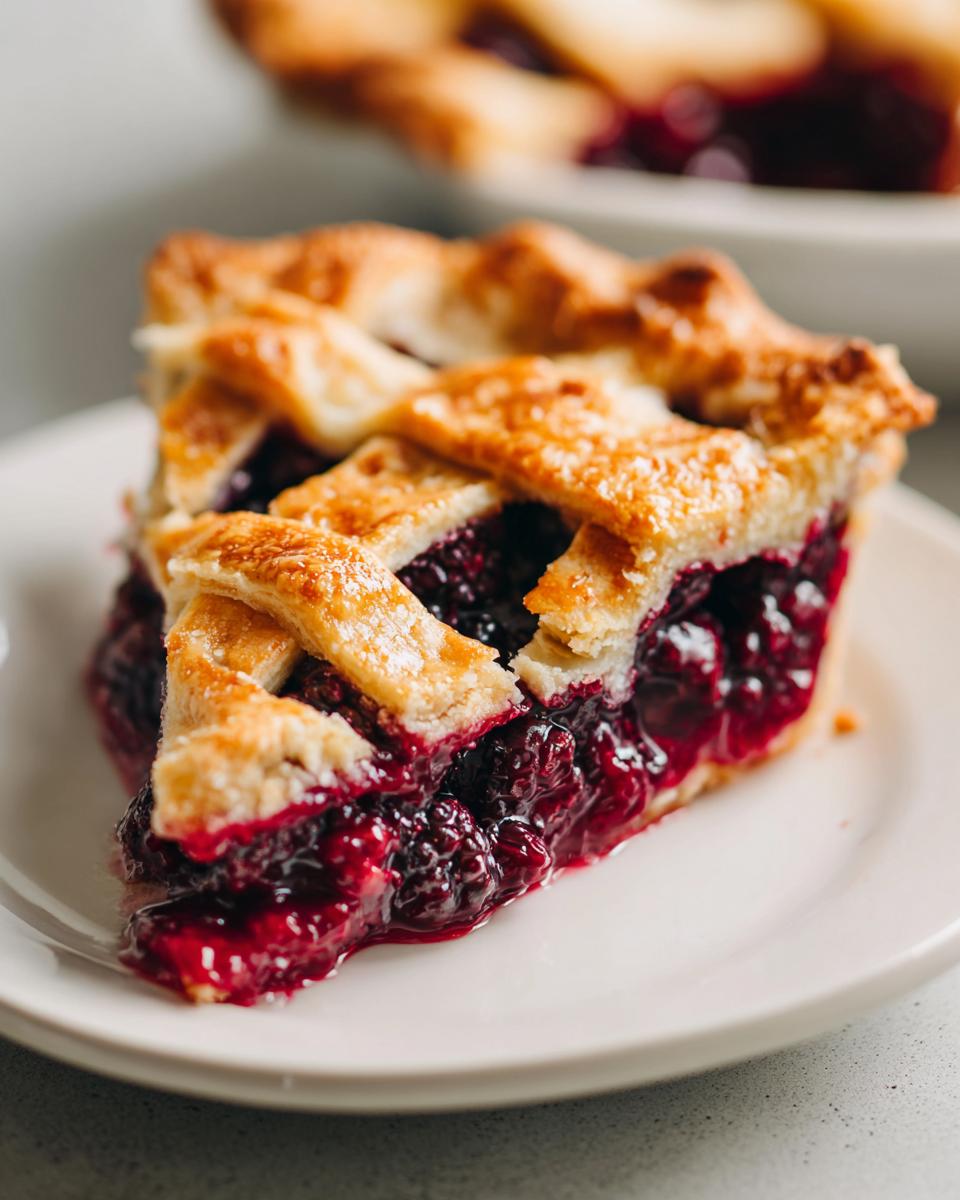
The other major pro-tip I always pass on relates back to the crust: keep your ingredients cold! If you feel the dough getting warm while you’re cutting the lattice strips, just slide it onto a plate and pop it back into the fridge for ten minutes. A happy, cold crust equals a crisp, **buttery golden crust**.
Handling Frozen Blackberry Pie Filling
If fresh berries aren’t in season or available, you absolutely can use them frozen, which is key for keeping this a year-round comfort food dessert recipe. The trick is: do not, under any circumstances, thaw them first! If you thaw them, they release all their water prematurely, and then you’re back to square one with a soupy mess. Toss those icy, firm berries right into your sugar and cornstarch mixture. You might need to bump up the baking time by about ten minutes to account for the lower starting temperature, but the result with this frozen blackberry pie filling is just as spectacular!
Serving Suggestions and Storing Your Blackberry Pie
I know how tempting it is, but slicing your blackberry pie before those four hours are up is culinary heartbreak waiting to happen—it needs that time to fully set! Once it’s cooled and perfectly firm, serving it slightly warm is divine. Nothing beats a slice of this old-fashioned goodness melting a scoop of homemade vanilla ice cream you whipped up, or maybe try my recipe for easy mango sorbet for a fun contrast.
If you have leftovers (which is rare in my house!), just cover the pie loosely and keep it at room temperature for up to two days, or in the fridge for up to four. It reheats beautifully in a low oven for about 15 minutes. Enjoy every single memory-making bite!
Frequently Asked Questions About Homemade Summer Dessert
I get so many emails asking about tweaks and substitutions for this recipe! It’s part of the fun of sharing food—seeing how you all adapt tried-and-true methods into your own kitchen traditions. Here are answers to the most common things I hear when people tackle their first **homemade summer dessert** like this pie.
Can I substitute blackberries with other berries in this blackberry pie recipe?
Yes, absolutely! This recipe works wonderfully as a base for almost any *fruit pie recipe*. If you are using raspberries or blueberries, which tend to break down a bit softer, you might want to bump that cornstarch up just slightly—maybe to 5 tablespoons instead of 4—to ensure everything sets well. If you use a firmer fruit, like cherries, you might be able to reduce the cornstarch a touch. Taste before you seal the crust! Adjusting the sugar is also key depending on how tart your chosen fruit is.
What is the best way to prevent the bottom crust from getting soggy?
This is maybe my number one question, and it all comes down to temperature control and that crucial pre-bake chill. Remember how we rolled out the bottom crust and fitted it into the plate? You need to put that entire thing back in the fridge for at least 15 minutes before you add the filling. That cold shock helps the butter firm up before it hits the heat. Also, ensure your filling is nice and thick before it goes in. If the filling isn’t hot enough to start thickening quickly in the oven, the moisture soaks into the cold dough instead of steaming away.
Should I use fresh or frozen blackberries for the best flavor?
Honestly? Both are fantastic, provided you use my guidance for frozen berries (no thawing!). If you have access to beautiful, plump, freshly picked berries, they will always offer that vibrant, just-picked sweetness and slight tartness that defines a perfect summer pie. That’s why I love **baking with fresh blackberries** when they are in season. However, if you’re craving this in October, frozen berries are a lifesaver and work exceptionally well, as long as you toss them directly into the dry ingredients!
Share Your Blackberry Pie Creations
Now that you’ve mastered both the **flaky pie crust tutorial** and the perfect filling, I genuinely want to see what you’ve made! Did the lattice behave nicely for you? Please drop a comment below and let me know how your **blackberry pie** turned out, or give this recipe a star rating so others can see how reliable it is. If you share photos online, tag Gourmet Gaze; I love seeing your culinary artistry! If you have any last-minute questions, remember you can always reach out through my contact page.
PrintClassic Homemade Blackberry Pie with Flaky Lattice Crust
Make the best homemade blackberry pie using this recipe for a buttery, flaky double crust and a perfectly set, juicy filling. This old-fashioned recipe is ideal for fresh or frozen berries.
- Prep Time: 45 min
- Cook Time: 65 min
- Total Time: 150 min
- Yield: 8 servings 1x
- Category: Dessert
- Method: Baking
- Cuisine: American
- Diet: Vegetarian
Ingredients
- 2 1/2 cups all-purpose flour
- 1 teaspoon salt
- 1 cup (2 sticks) unsalted butter, very cold and cubed
- 1/2 cup ice water, plus more if needed
- 6 cups fresh or frozen blackberries (do not thaw if frozen)
- 1 1/2 cups granulated sugar
- 1/4 cup cornstarch
- 1 tablespoon lemon juice
- 1/2 teaspoon ground cinnamon
- 1 large egg, beaten (for egg wash)
- 1 tablespoon coarse sugar (for sprinkling)
Instructions
- Prepare the All-Butter Pie Crust: In a large bowl, whisk together the flour and salt. Cut in the cold butter using a pastry blender or your fingers until the mixture resembles coarse crumbs with some pea-sized pieces of butter remaining.
- Gradually add the ice water, one tablespoon at a time, mixing until the dough just comes together. Do not overmix. Divide the dough in half, form each half into a disk, wrap in plastic, and chill for at least 1 hour.
- Prepare the Blackberry Filling: In a separate bowl, gently combine the blackberries, granulated sugar, cornstarch, lemon juice, and cinnamon. Stir until the berries are evenly coated. Set aside while you roll out the bottom crust.
- Assemble the Bottom Crust: On a lightly floured surface, roll out one disk of dough into a 12-inch circle. Carefully transfer the dough to a 9-inch pie plate. Trim the edges, leaving a 1-inch overhang, and crimp the edges. Place the pie plate in the refrigerator.
- Roll the Top Crust: Roll out the second disk of dough. Cut into strips for a lattice top or leave whole for a solid top. If making a lattice, chill the strips briefly.
- Fill the Pie: Pour the blackberry filling into the chilled bottom crust.
- Create the Lattice Top: Weave the dough strips over the filling to create a lattice pattern. Trim the overhang and crimp the top and bottom crust edges together to seal. Cut a few small vents in the top crust if you did not make a full lattice.
- Chill and Bake: Brush the top crust with the beaten egg wash and sprinkle with coarse sugar. Chill the assembled pie for 15 minutes before baking. Preheat your oven to 400°F (200°C).
- Bake the Pie: Place the pie on a baking sheet (to catch drips). Bake at 400°F (200°C) for 20 minutes. Reduce the oven temperature to 375°F (190°C) and continue baking for another 35 to 45 minutes, or until the crust is golden brown and the filling is bubbling thickly. If the edges brown too quickly, cover them with foil strips.
- Cool Completely: Let the pie cool on a wire rack for at least 4 hours before slicing. This step is crucial for the filling to set and avoid a soggy bottom.
Notes
- If you use frozen blackberries, do not thaw them first; add them directly to the sugar mixture. You may need to add 5-10 minutes to the total bake time.
- For an extra flaky crust, keep all butter and water ingredients as cold as possible during mixing.
- Serve this old fashioned blackberry pie warm with a scoop of vanilla ice cream for the ultimate comfort food dessert experience.
Nutrition
- Serving Size: 1 slice
- Calories: 450
- Sugar: 35g
- Sodium: 250mg
- Fat: 25g
- Saturated Fat: 15g
- Unsaturated Fat: 10g
- Trans Fat: 0g
- Carbohydrates: 58g
- Fiber: 4g
- Protein: 5g
- Cholesterol: 60mg