
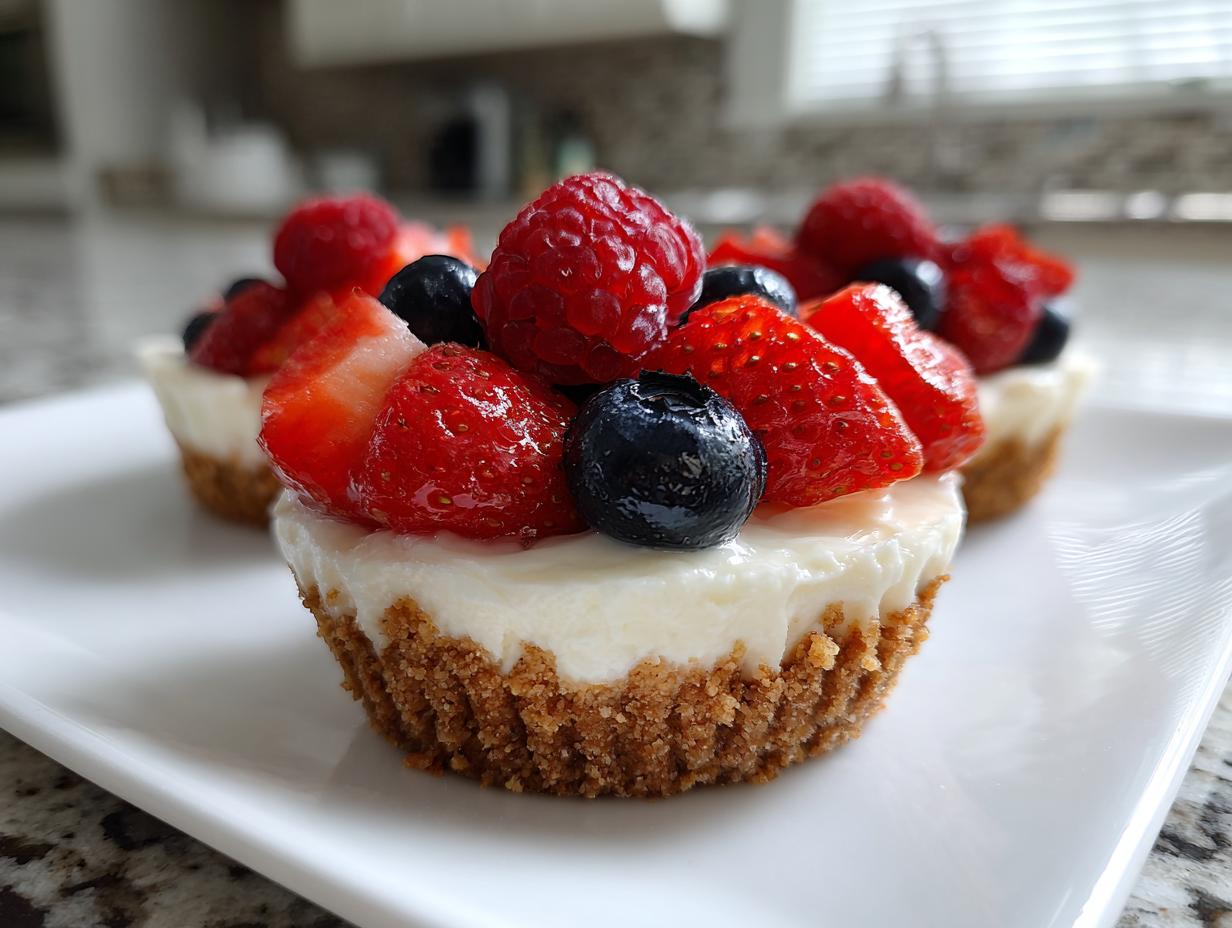

There is something undeniably charming about a perfectly portioned dessert, right? When you’re entertaining, the last thing I want is to wrestle with slicing a whole cake. That’s why I spent time perfecting these mini cheesecake cups. They deliver all the rich, satisfying flavor of a classic New York style dessert but require zero oven time—it’s pure magic! When I left my corporate life behind, it was to find reliable, beautiful recipes like this one. I promise, as a marketer turned cook, I know how to make food look fantastic, but more importantly, I bake for approachability. These individual servings are incredibly simple and absolutely guaranteed to look stunning on your dessert table. For more incredible treats, don’t forget to check out my full collection of dessert recipes.
- Why This No Bake Mini Cheesecake Recipe is Your New Favorite Party Dessert
- Ingredients for Your Easy Mini Cheesecake Cups
- Step-by-Step Instructions for the Best Mini Cheesecake Recipe
- Expert Tips for Perfect Creamy Mini Cheesecake Results
- Serving Suggestions for Your Mini Cheesecake Cups
- Storage and Reheating Instructions for Your Mini Cheesecake Recipe
- Frequently Asked Questions About Making Mini Cheesecake Bites
- Nutritional Estimates for This Quick Cheesecake Recipe
- Share Your Gourmet Gaze Mini Cheesecake Creations
Why This No Bake Mini Cheesecake Recipe is Your New Favorite Party Dessert
When I transitioned from boardrooms to baking, my main goal was creating things that were beautiful but stress-free. This version of the mini cheesecake absolutely checks every box. It’s the ultimate quick cheesecake recipe for when you need maximum visual impact with minimal hands-on time. It’s no wonder these are topping my list for party desserts mini favorites!
- They stay perfectly pristine looking right up until the second someone grabs one.
- The cleanup? A breeze. Just toss the paper liners.
- No oven means less stress during busy entertaining days.
For any gathering, you deserve desserts that work *for* you, not against you. Check out some of my easy appetizers and snacks to complete your spread!
Perfect Portion Control for Gatherings
This is where these little cups shine. Forget scrubbing plates or trying to serve picture-perfect wedges of cheesecake for gatherings. Because they are already portioned out in their little paper wrappers, they are grab-and-go perfection. People can mingle, eat, and enjoy without needing a fork and knife setup. It’s instant elegance, trust me.
The Magic of a Creamy Mini Cheesecake Filling Without Baking
Here is the secret to avoiding that dreaded cracked top: we don’t bake them at all! This completely sidesteps the thermal shock that causes baked cheesecakes to crack. We rely on chilling time to set the filling, which leaves you with an unbelievably smooth, dense, and luscious creamy mini cheesecake filling every single time. You simply cannot mess this up!
Ingredients for Your Easy Mini Cheesecake Cups
When I first started tinkering with this recipe idea, I almost made the mistake of using ingredients straight from the fridge. You simply can’t cut corners, especially when dealing with cold cream cheese! For this easy mini cheesecake to set up perfectly—and trust me, you want that velvety texture—the quality and temperature of your ingredients matter. I’ve laid everything out below, keeping it grouped so you can check your pantry easily. If you need inspiration for dips and sauces to go alongside these, check out my cream cheese caramel dip recipe for another crowd-pleaser!
For the Graham Cracker Crust
This crust is fast because we skip the oven entirely. Just mix, press, and freeze!
- 1 1/2 cups graham cracker crumbs (make sure they’re fresh enough to crush easily!)
- 6 tablespoons unsalted butter, melted (absolutely must be melted!)
- 1/4 cup granulated sugar (this is for structure and sweetness in the base)
For the No Bake Mini Cheesecake Filling
This is where the creaminess happens. Make sure your cream cheese is truly softened, otherwise you’ll end up with lumps—and no one wants a bumpy cheesecake experience, even in a cup.
- 16 ounces cream cheese, completely softened (I usually leave this out for at least an hour)
- 1 cup powdered sugar (sifting this helps immensely!)
- 1 teaspoon vanilla extract (use the good stuff if you have it)
- 1/4 cup heavy cream (this is key for that ultra-fluffy lift!)
Topping Ideas for Your Individual Cheesecake Desserts
Since these are individual cheesecake desserts, you get to customize every single one! Feel free to get creative here, but I always start simple because the filling itself is so rich.
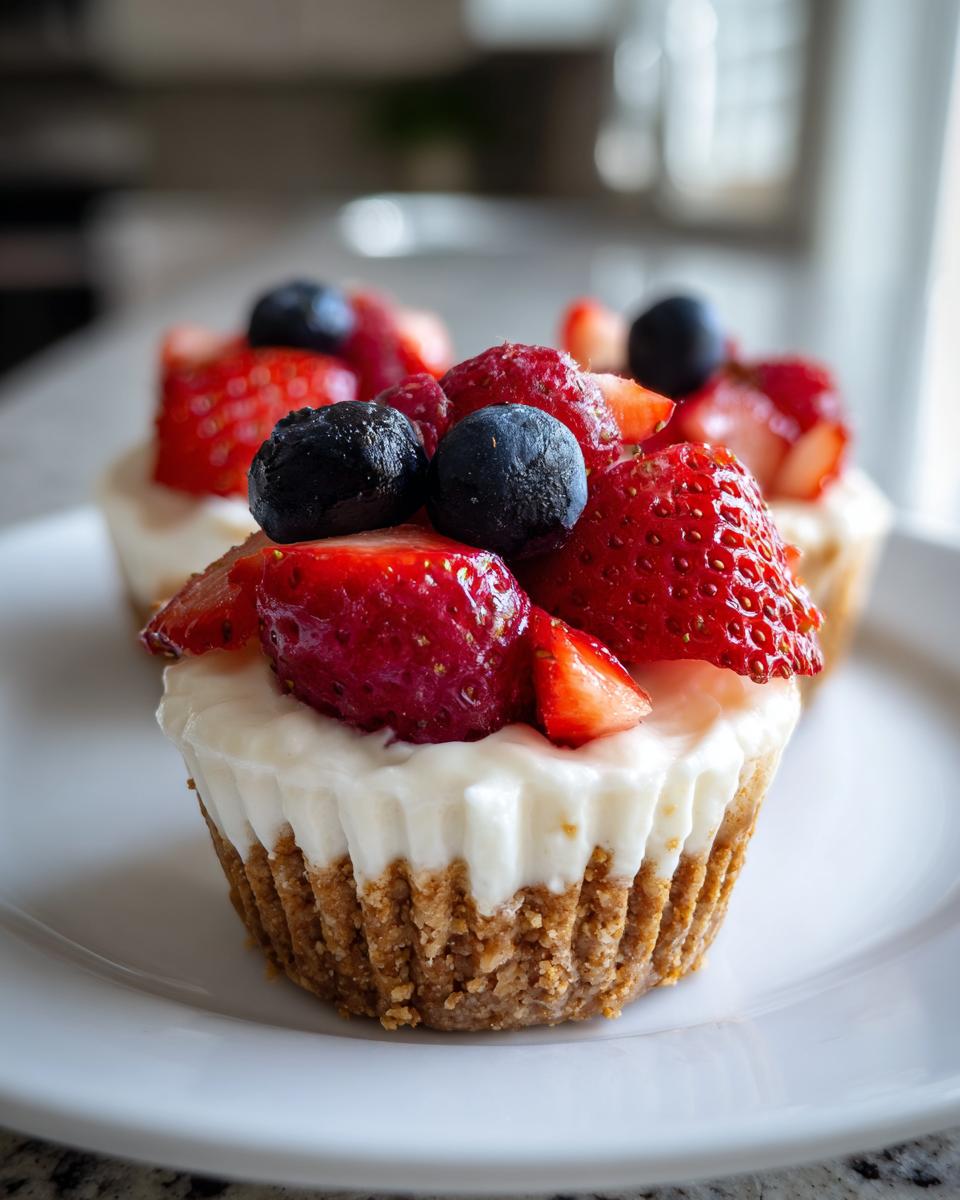
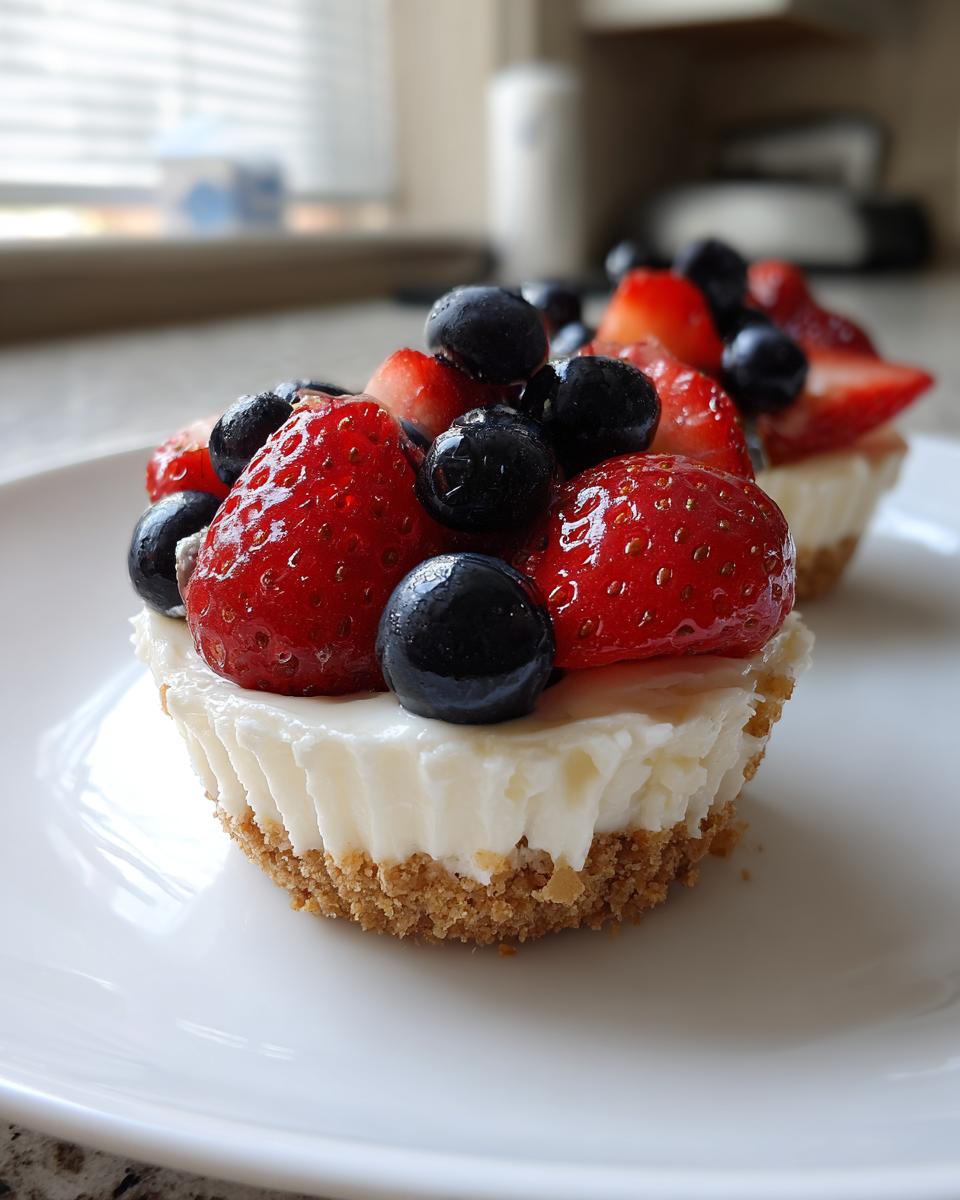
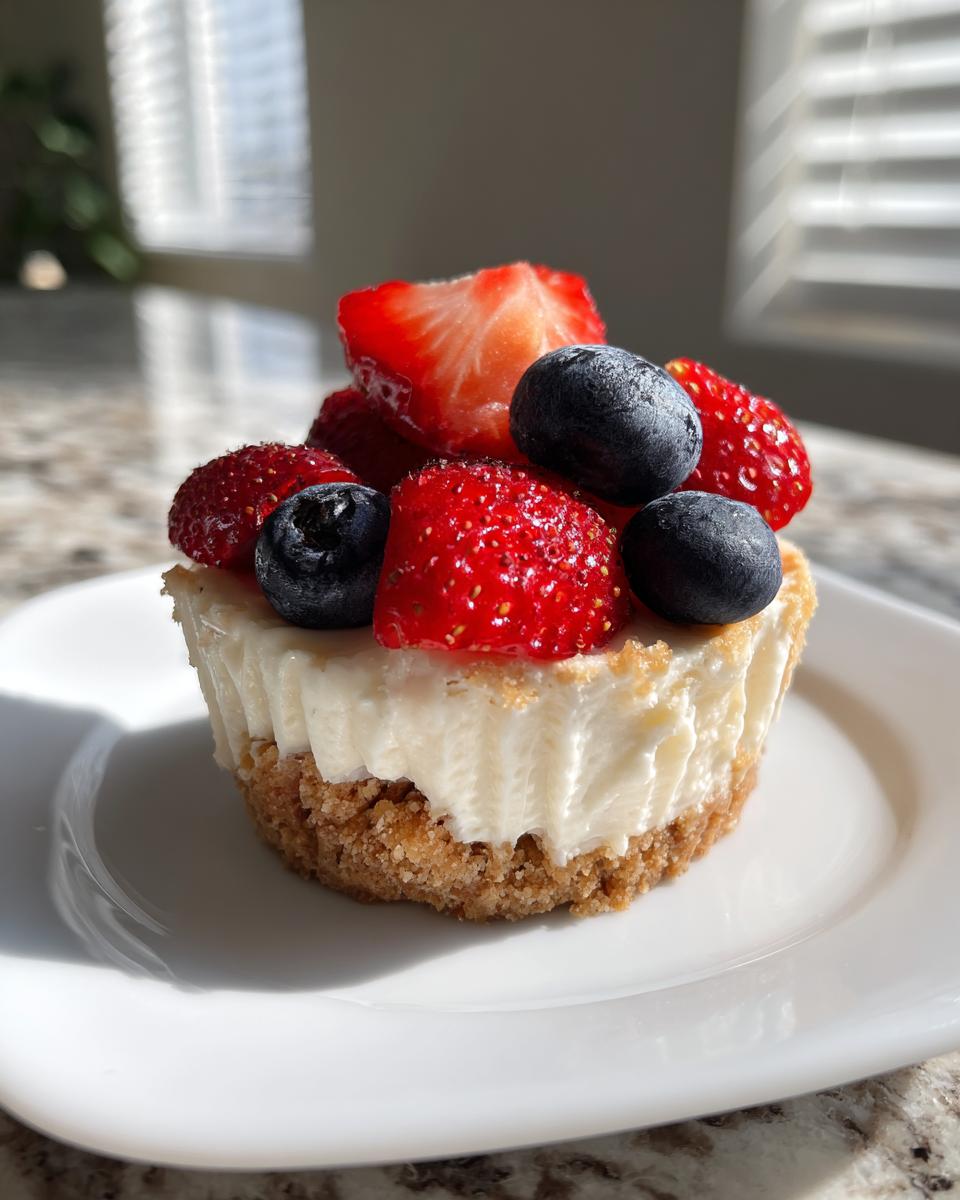
- Fresh berries (strawberries sliced beautifully, or whole blueberries look fantastic)
- Optional: A drizzle of good quality chocolate sauce or smooth caramel sauce
Step-by-Step Instructions for the Best Mini Cheesecake Recipe
Okay, this is where the magic truly happens, and you’ll see just how quick this whole process is. Since we aren’t using the oven, our main tool is the freezer and the refrigerator! I’ve broken this down into three simple phases to ensure your mini cheesecake cups set up beautifully. Remember, preparation is key here, especially when working with paper liners in muffin tins. If you’ve ever made my easy lime sorbet, you know I value proper chilling time!
Preparing and Chilling the Mini Cheesecake Crust Options
First thing’s first: get those liners ready! Line a standard 12-cup muffin tin with paper liners—this makes the removal process later shockingly easy. For the crust, just toss your graham cracker crumbs, the sugar you set aside for the base, and the melted butter into a bowl. Mix it until it looks like wet sand. Then, press this mixture firmly into the bottom of each paper cup. Don’t be shy; press it down well so it holds its shape! Pop that tin into the freezer for about 15 minutes while you move onto the filling. We need that base nice and cold.
Mixing the Creamy Mini Cheesecake Filling
Grab your soft cream cheese first. I beat this alone with my electric mixer until it’s completely smooth and looks like frosting—no lumps allowed! Next, slowly mix in the powdered sugar and the vanilla. Once those are incorporated, pour in the heavy cream. This is important: beat it only until it’s light and fluffy. If you overdo it now, you lose that wonderful smooth density we are aiming for. Stop mixing as soon as you see the mixture lighten up!
Assembly and Essential Chilling Time for Your Bite Sized Cheesecake
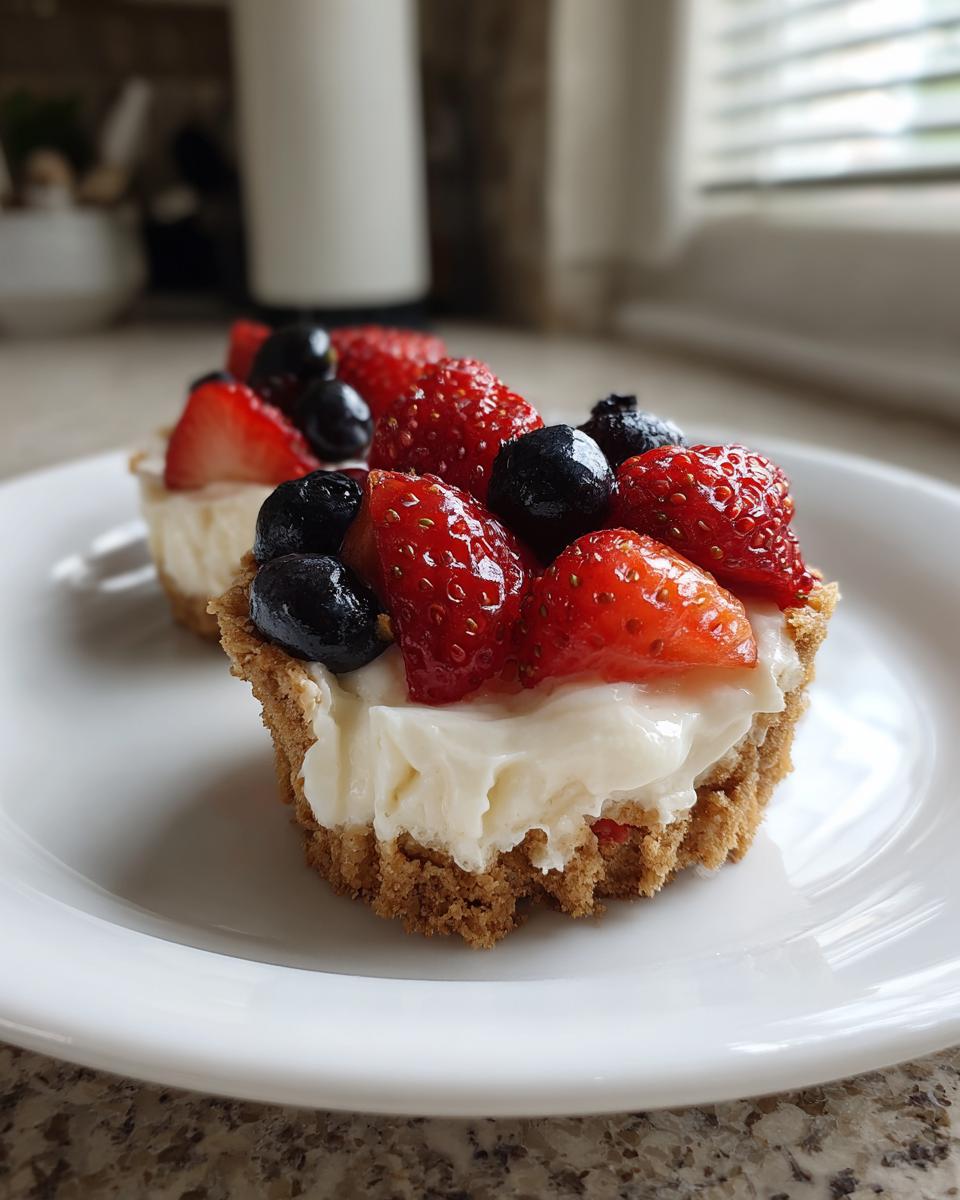
Now, pull your chilled crusts from the freezer. Spoon that beautiful, creamy filling right over the crusts, trying to keep the tops relatively smooth. You can use a small offset spatula or just the back of a spoon. Once they are all filled, cover the pan loosely with plastic wrap—be careful not to let it touch the filling! Place the whole tray in the refrigerator. You *must* chill these for at least four hours, but honestly, if you can wait until the next day, they become unbelievably firm and flavorful. This long chill is what transforms it into the perfect bite sized cheesecake.
Expert Tips for Perfect Creamy Mini Cheesecake Results
Even though this is a no-bake recipe, there are still moments where a little professional insight can elevate your desserts from good to truly show-stopping. When I was developing this for Gourmet Gaze, I tested everything—I mean *everything*—to make sure the texture was always flawless. It’s those little adjustments that separate a decent dessert from an unforgettable one. Getting that lush, velvety texture in your mini cheesecake cups relies on paying attention to a couple of critical details before you even start mixing.
If you’re looking for more insights into my test kitchen process, you can always check out my main blog for behind-the-scenes culinary stories!
Ingredient Temperature Matters for Smooth Mini Cheesecake
I cannot stress this enough: your cream cheese must be truly room temperature. If that block of cream cheese is cold, even slightly, it will absolutely refuse to blend smoothly with the powdered sugar, resulting in little hard pockets of cheese in your otherwise silky filling. That’s how you ruin the experience! I let mine sit out for at least an hour, sometimes an hour and a half, until I can press a finger into the side easily without resistance. This simple step guarantees that incredibly smooth texture you see in the final pictures.
Crust Variations: Beyond Graham Crackers for Your Mini Cheesecake
While the classic graham cracker base is fantastic, sometimes you want to switch things up, especially if you’re making these for someone who prefers chocolate! Don’t be afraid to experiment with your mini cheesecake crust options. I’ve had great success swapping out the crumbs entirely. For instance, if you want something ultra-rich, simply omit the graham cracker step and bake a small, thin square of brownie mix right into the paper liner first. Let that cool and firm up a bit, and then pour your filling over it. It creates a fantastic contrast in texture and flavor!
Serving Suggestions for Your Mini Cheesecake Cups
Now that you have these gorgeous, creamy little wonders set up, it’s time to think about how to present them! Remember my philosophy: we eat with our eyes first here at Gourmet Gaze. Since these are no-bake, they have a slightly softer structure than a baked cheesecake, which is why topping them right before serving is always the best move for maximum visual appeal. Think of the topping as the jewelry for your dessert!
If you wanted to see how berries pair with a creamy base in a different context, you should take a look at my recipe for cheesecake fruit salad. It plays with similar flavor profiles!
Flavor Pairings for These Individual Cheesecake Desserts
Because these individual cheesecake desserts are so rich and satisfying, they pair beautifully with something simple and slightly acidic or warm. Skip the heavy sauces on the side and let the toppings do the talking. Think about what you’re serving with them!
- For an afternoon gathering, a pot of perfectly brewed dark roast coffee is non-negotiable. The slight bitterness cuts through the richness of the filling brilliantly.
- For an evening event, try serving these alongside a small shooter of chilled Limoncello. That bright lemon flavor is a gorgeous contrast to the sweet cream cheese.
- If you’re serving them as part of a larger dessert platter, keep their size in mind—they act as the heavy, comforting anchor next to lighter items like meringues or lemon bars.
Storage and Reheating Instructions for Your Mini Cheesecake Recipe
Because these are so delightfully rich, you might have leftovers, though I seriously doubt it! The great thing about this mini cheesecake recipe is that it’s designed to be made ahead. Keep them stored in an airtight container in the refrigerator, and they will stay perfectly fresh and creamy for up to four days. Yes, four full days! I usually make a batch on Sunday just to snack on later in the week.
You can also freeze them! If you wrap each one securely in plastic wrap, they freeze beautifully for up to a month. Just move them to the fridge the night before you plan to eat them so they can thaw slowly for that perfect, smooth texture.
Frequently Asked Questions About Making Mini Cheesecake Bites
I know recipes can sometimes leave you with a few lingering thoughts, especially when you want something new for a big event! I’ve gathered the most common questions I get about these mini cheesecake bites below. Trust me, once you get these down pat, you’ll be making them every weekend. If you ever have a question that isn’t covered here, my contact page is always open—I love chatting about baking! You can always reach out via my contact page if something comes up.
Can I use a different crust for these easy mini cheesecakes?
Absolutely, you can! The graham cracker crust is classic, but if you want to mix things up, you have options. Vanilla wafers crush beautifully and give a slightly different flavor profile; they work just as well. You can also use shortbread cookies if you prefer something a bit richer. Remember that little variation tip I mentioned earlier about the brownie bottom? That’s a fantastic shift if you’re trying to take these easy mini cheesecakes up a notch for a crowd!
How far in advance can I prepare these party desserts mini?
This is hands-down my favorite feature for stress-free hosting: these are meant to be made ahead! For the absolute best texture—that firm, gorgeous, creamy bite—I always aim to have them finished and chilled overnight. So you can easily tackle these party desserts mini the day before your event, decorate them in the morning, and all you have to worry about on party day is enjoying your guests. They hold up wonderfully in that refrigerator setting.
What is the secret to a truly creamy mini cheesecake filling?
It boils down to two things, and neither involves turning on the oven. First, as I emphasized, your cream cheese must be perfectly room temperature. Second, once you add the heavy cream, you need to resist the urge to beat it into oblivion! We want to *gently* whip it just until it incorporates and looks fluffy. Overmixing introduces too much air for a no-bake style, which can ruin that dense, smooth finish. Keep the mixing gentle, and you will achieve that perfect, luxurious creamy mini cheesecake filling every time.
Nutritional Estimates for This Quick Cheesecake Recipe
I always urge everyone, especially when sharing recipes that rely on sugar and cream cheese, to take these numbers with a big grain of salt! When I was in marketing, we knew how easy it was to spin data. What I give you here are purely estimated values based on the standard ingredients listed for one serving (one cup). These figures are built assuming you use full-fat cream cheese and standard graham crackers, but your exact results will vary based on brands and what kind of topping—if any—you decide to use. This way, you still get a good idea of what you’re serving up!
- Serving Size: 1 cup
- Calories: 280
- Sugar: 22g
- Fat: 18g
- Protein: 4g
Since this is a no-bake dessert, the fat content remains a little higher because we aren’t baking out excess moisture, but hey, that’s what makes them so wonderfully rich! This is about indulgence, not counting every single gram, right? We aim for a feast for the soul, after all!
Share Your Gourmet Gaze Mini Cheesecake Creations
I sincerely hope you loved making these no-bake cups as much as I loved perfecting them for you. Honestly, seeing your creations is the best part of my day! When I develop recipes here, especially something as fun as these mini cheesecake treats, I’m building a community of home cooks who want reliable, beautiful food on their tables. So, I absolutely want to see what you do next!
Did you stick with the fresh berries, or did you go wild with caramel and chocolate? Tell me everything! Did you find this was the best mini cheesecake recipe you’ve ever tried? I love knowing when a recipe clicks for someone, especially when it comes to avoiding that baking stress. You can leave a star rating right below this section—even a few clicks helps me know what’s working for the Gourmet Gaze family.
And please, if you snap a picture of your beautiful spread of individual servings, tag me on social media! I try to reshare as many as I can on my main feed because I honestly believe these little desserts need to be celebrated. You can learn a bit more about my vision for this community over on my About page!
Happy cooking, and I can’t wait to see your bite-sized masterpieces!
PrintEasy No-Bake Mini Cheesecake Cups with Fresh Berry Topping
Make these creamy, individual mini cheesecake cups without turning on your oven. This simple recipe uses a graham cracker crust and a rich filling, perfect for parties or a quick dessert.
- Prep Time: 20 min
- Cook Time: 0 min
- Total Time: 4 hr 20 min
- Yield: 12 servings 1x
- Category: Dessert
- Method: No-Bake
- Cuisine: American
- Diet: Vegetarian
Ingredients
- 1 1/2 cups graham cracker crumbs
- 1/4 cup granulated sugar (for crust)
- 6 tablespoons unsalted butter, melted
- 16 ounces cream cheese, softened
- 1 cup powdered sugar
- 1 teaspoon vanilla extract
- 1/4 cup heavy cream
- Fresh berries (strawberries, blueberries) for topping
- Optional: Chocolate drizzle or caramel sauce
Instructions
- Prepare the crust: Mix graham cracker crumbs, 1/4 cup granulated sugar, and melted butter until fully combined.
- Press the crust mixture evenly into the bottoms of 12 standard muffin cups lined with paper liners. Place the cups in the freezer while you prepare the filling.
- Make the filling: In a large bowl, beat the softened cream cheese until smooth. Add the powdered sugar and vanilla extract, mixing until just combined.
- Pour in the heavy cream and beat on medium speed until the filling is light and fluffy. Do not overmix.
- Spoon or pipe the cheesecake filling over the chilled crusts in each muffin cup. Smooth the tops.
- Chill the mini cheesecakes in the refrigerator for at least 4 hours, or until firm. For best results, chill overnight.
- Before serving, remove the paper liners. Top each mini cheesecake cup with fresh berries or your preferred topping.
Notes
- For a New York style texture, use full-fat cream cheese and ensure all ingredients are at room temperature before mixing.
- If you prefer a brownie bottom, substitute the graham cracker crust with a small, pre-baked brownie square pressed into the liner before adding the filling.
- These individual cheesecake desserts keep well in the refrigerator for up to 4 days.
Nutrition
- Serving Size: 1 cup
- Calories: 280
- Sugar: 22g
- Sodium: 150mg
- Fat: 18g
- Saturated Fat: 11g
- Unsaturated Fat: 7g
- Trans Fat: 0.5g
- Carbohydrates: 26g
- Fiber: 1g
- Protein: 4g
- Cholesterol: 55mg