
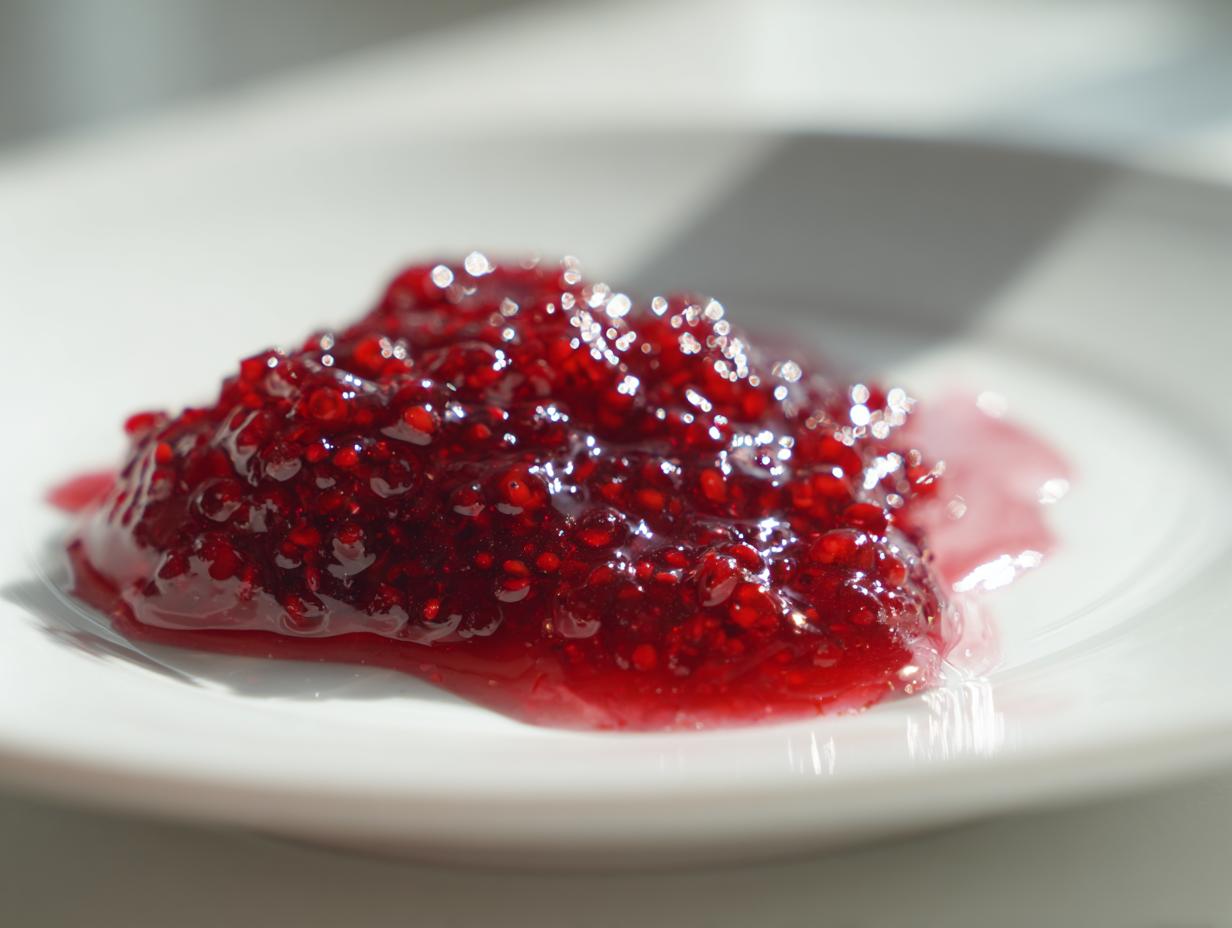

When I look back at the path that brought me to Gourmet Gaze, it’s not the complex soufflés or the multi-day bread projects that feel most satisfying—it’s the simple magic of preserving summer. I used to live in spreadsheets, but now I live for the vibrant ruby color that bursts out of the pot when I make my favorite **Easy 3-Ingredient Homemade Raspberry Jam (No Pectin Required)**. This wasn’t a skill I learned in the boardroom; it was one I had to discover after hitting real career burnout. Trust me when I say that mastering something as elemental as this **homemade raspberry jam** brought more soul nourishment than any late-night project ever could. This recipe is proof that absolutely anyone can create that perfect, sweet-yet-tangy spread right in their own kitchen.
You can read more about my journey in the kitchen over at the About Page, but for now, let’s focus on these glorious berries. This one recipe is reliable, incredibly easy, and sets up beautifully every single time. It’s honestly the best place to start your preserve-making adventure!
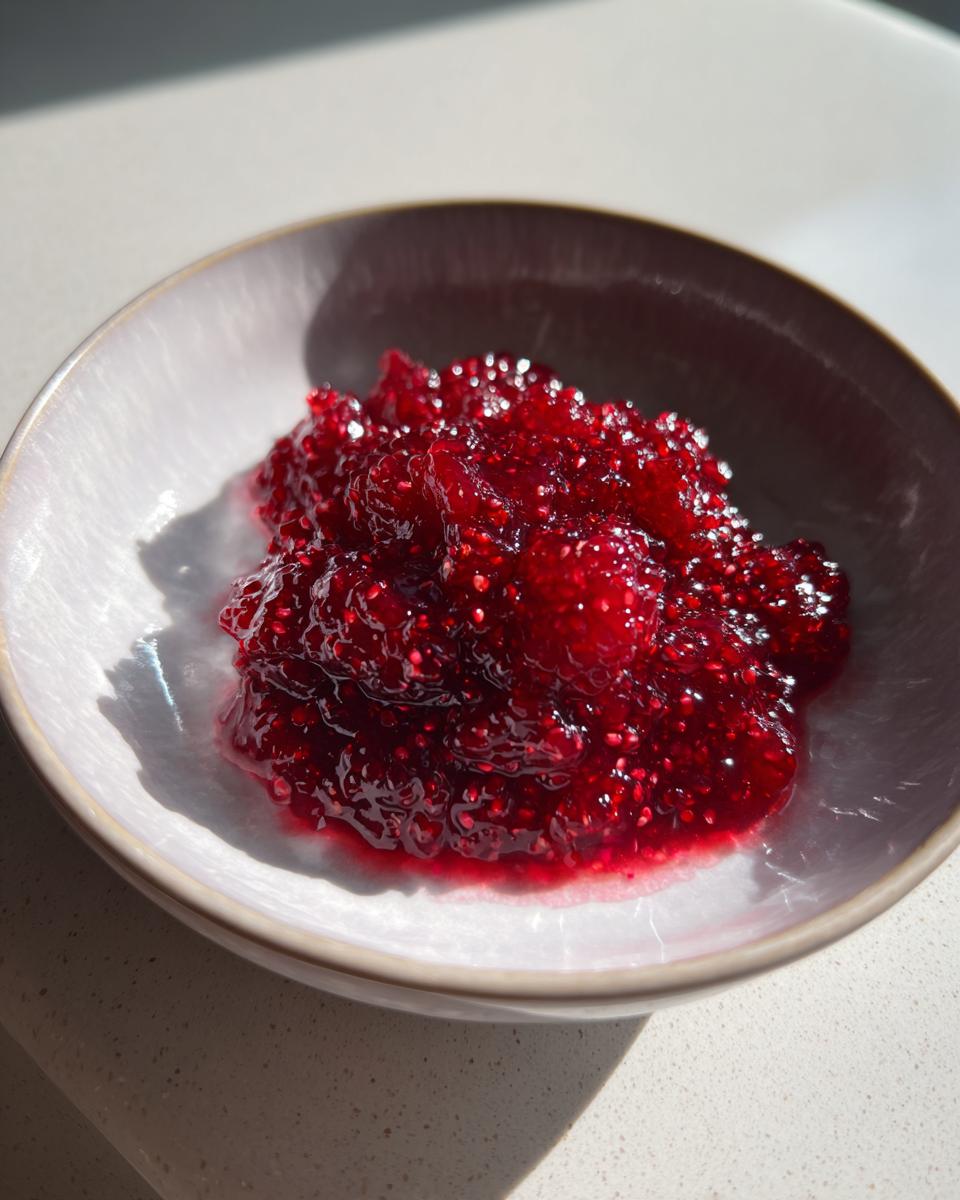
- Why This Easy Jam Recipe is Your New Favorite Raspberry Jam
- Gathering Ingredients for Your Raspberry Jam
- Step-by-Step Instructions for Perfect Raspberry Jam
- Transforming Your Raspberry Jam into Seedless Raspberry Jam Instructions
- Tips for Success When Making Homemade Raspberry Jam
- Serving Suggestions for Your Sweet and Tangy Jam
- Storage and Reheating Instructions for Raspberry Jam
- Frequently Asked Questions About Making Raspberry Jam
- Share Your Vibrant Berry Jam Creations
Why This Easy Jam Recipe is Your New Favorite Raspberry Jam
I know what you’re thinking: jam takes forever and requires a degree in chemistry. Not this one! This recipe is built on simplicity and incredible flavor. It’s my go-to for when I need a beautiful homemade spread without fuss. Here’s why this **easy jam recipe** is destined for your counter:
- It uses only three ingredients—no weird additives!
- It’s completely free of added pectin, relying on natural fruit power.
- It’s incredibly fast, making it perfect for a beginner jam recipe.
- You can either seal it up for pantry stocking or just pop it in the fridge.
The Power of 3-Ingredient Homemade Raspberry Jam
This is where the magic happens, folks. We rely on science, not store-bought thickeners! Raspberries naturally contain acid—that tartness we love. When you combine that natural acid with the right amount of sugar and heat it aggressively, the fruit’s internal pectin jumps into action. It creates that perfect, vibrant set all on its own! It’s truly satisfying to see that happen without shaking in a packet of anything.
Quick Raspberry Preserve Ready in Under an Hour
Forget recipes that require overnight maceration or hours simmering on the stove. This is an absolute dream for a busy weeknight. Once you get the mixture boiling, you’re looking at maybe 20 minutes of active cooking time before you’re testing for the set point. That means you can have glorious, vibrant jam ready for toast or storing before you even finish cleaning up the dinner dishes. This is the ultimate **quick raspberry preserve**.
Gathering Ingredients for Your Raspberry Jam
Okay, Leo’s first rule of making preserves: never skimp on the core ingredients when you are aiming for that vibrant flavor. Because this is a **3 ingredient jam**, each component has to pull its weight perfectly. We are using just four cups of raspberries along with three cups of standard granulated sugar, and the crucial tablespoon of fresh lemon juice. I only ever measure out that lemon juice once I’ve squeezed it, no bottled stuff allowed for this recipe!
Ingredient Notes and Substitutions for Your Raspberry Jam
One of the best parts about this method is that it works beautifully whether you use fresh or frozen raspberries. If you are using frozen, don’t thaw them first! Just toss them straight into the pot with the sugar; they’ll thaw right into the syrupy mix. The fresh lemon juice is non-negotiable, though. It provides that necessary acid to help the natural pectin work its magic. If you want to scale this down for just a tiny jar—perfect for a **small batch jam making** experiment—just halve all these amounts, but be aware your processing time might change if you decide to can it.
Step-by-Step Instructions for Perfect Raspberry Jam
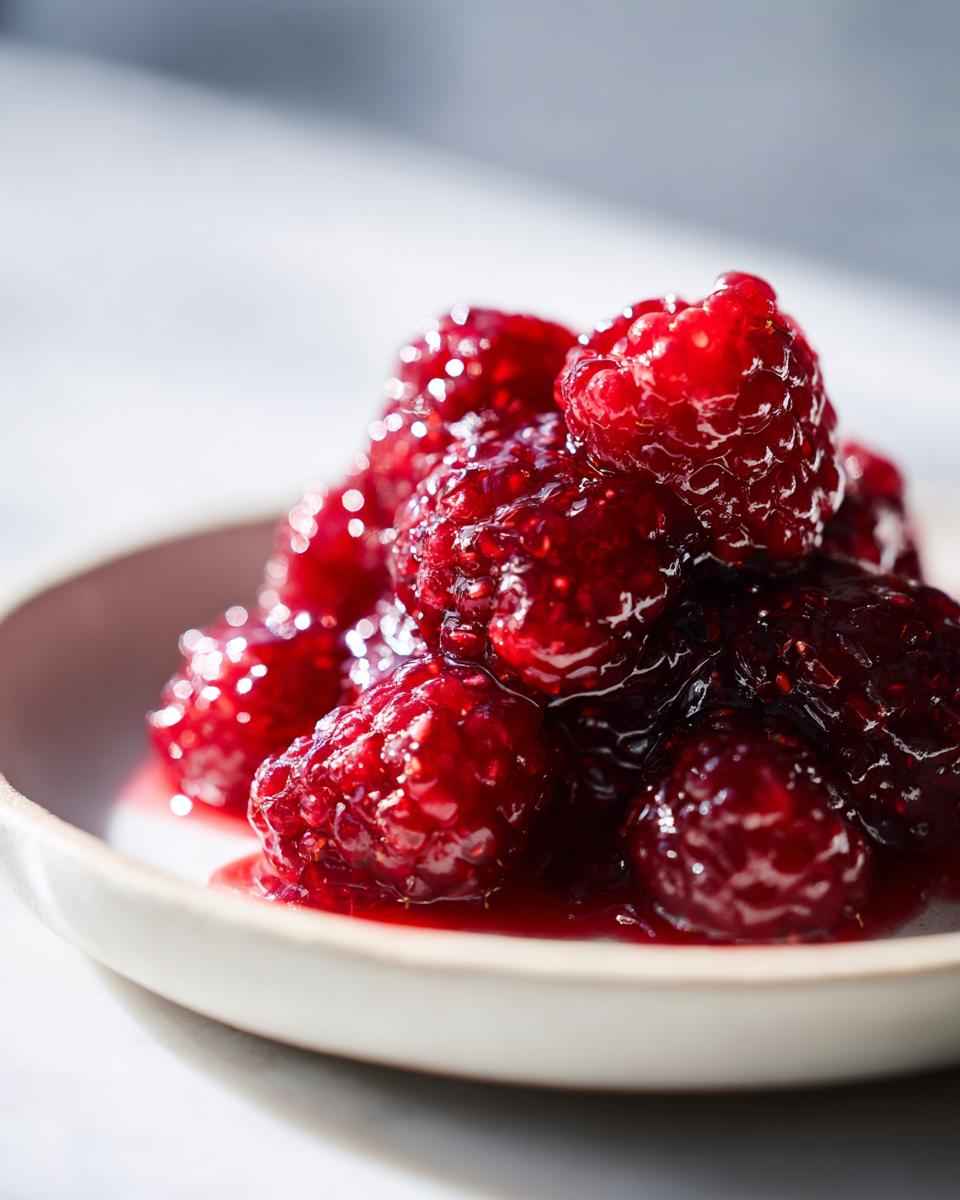
Alright, let’s get cooking! This entire process, from starting the stove to tasting your wonderful **homemade raspberry jam**, takes right around an hour. Since we aren’t using commercial pectin, the timing is key, but trust me, staying by the pot is worth it for this natural jam. Remember, keep your heat steady and watch for that crucial rolling boil. This must be easy for anyone trying this **beginner jam recipe** for the very first time!
First thing you do is combine those four cups of raspberries and three cups of sugar in your big, heavy-bottomed pot. Now, don’t rush this part! Give it a good stir and let it sit on the counter for at least 30 minutes. This allows the sugar to start dissolving and the berries to weep out those beautiful juices. This simple step makes a huge difference in preventing scorching later!
Preparing Jars for Canning Raspberries
If you’re planning on keeping this amazing spread on your shelf for winter, you need to start your jars first. Get them sterilized and keep them piping hot—I mean hot! You can use a water bath canner, but make sure you follow all the standard safety guidelines to ensure your **canning raspberries** work out perfectly. Placing hot jam into cold jars is a recipe for disaster, so keep those jars warm until the very second you ladle in your finished product. If you are just making a small batch to keep in the fridge, you can skip this fuss, but you still need clean jars, of course!
Achieving the Set Point in Your No Pectin Jam
Once your sugar-berry mixture hits a full, rolling boil—and I mean one that won’t stir down—it’s mushroom time! You stir in that tablespoon of lemon juice. Now, keep boiling, stirring like crazy so it doesn’t stick. When you think it’s done, pull the pan off the heat. Grab a plate you’ve chilled in the freezer (this is my secret weapon!). Spoon a little jam onto that cold plate. If you push it with your finger and the surface wrinkles up nicely, congratulations, your **no pectin jam** is set! If it’s still watery, just pop it back on the heat for five more minutes and test again. That wrinkle check tells you everything you need to know!
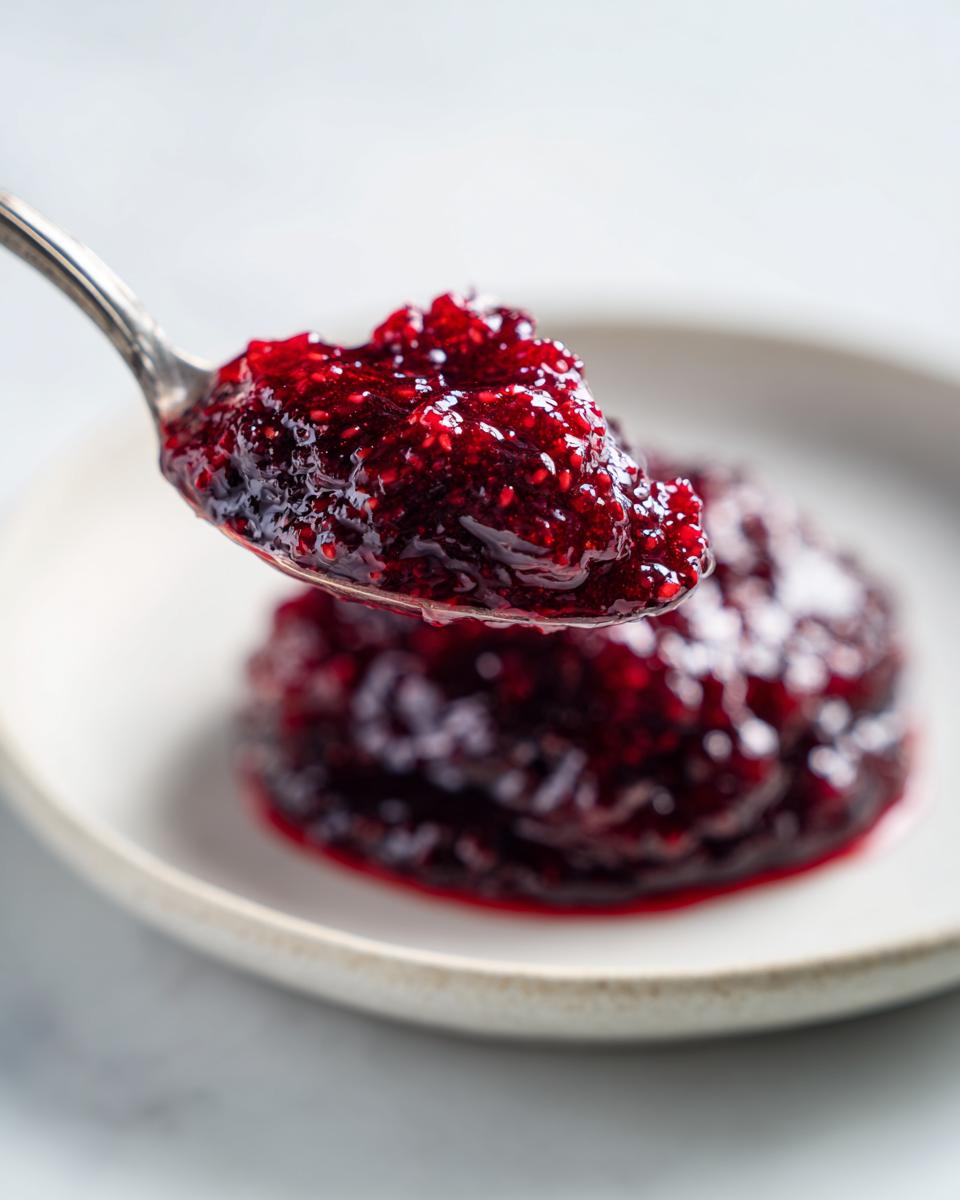
Once you bottle it up, head over to my latest blog post for some fun ideas on what to make next!
Transforming Your Raspberry Jam into Seedless Raspberry Jam Instructions
I know some people just aren’t fond of those tiny seeds in their preserves, and that’s totally fair! If you prefer a smoother, almost jelly-like texture that’s elegant on a pastry or perfect as a **fruit filling for baking**, you absolutely need to try making a batch of **seedless raspberry jam instructions** style. Don’t worry, it’s an easy addition to the main process, but you have to know *when* to strain the fruit!
The best time to handle the seeds is right after you think the jam is cooked, but before you do that final set test. Once the mixture has boiled for a while and you’ve added your lemon juice, pull the pot off the heat. You’re going to carefully ladle the hot mixture through a fine-mesh sieve. You’ll need a sturdy spoon or spatula to gently push all the pulp through the sieve to extract the smooth juice and berry bits, leaving those pesky seeds behind in the strainer basket.
After you’ve strained everything, you’ll be left with pure, velvety smooth raspberry liquid. Now, you put that strained liquid *back* into your clean pot. At this point, you return it to the heat and finish the boiling process until it sets. You might find that since you removed the bulk of the seeds, the mixture might need just a minute or two longer to reach that wrinkling set point we talked about. If you’re looking for more great canning advice, I really enjoyed reading through the tips over at Canning Magic when I was perfecting my technique!
Remember, if you choose this route, you are sacrificing a little bit of the natural pectin that comes bundled with those seeds, so keep a close eye on the setting time. But the payoff is a gloriously smooth jam perfect for spreading on scones or layering into a birthday cake!
Tips for Success When Making Homemade Raspberry Jam
Making this **natural jam recipe** is quite straightforward, but like any cooking project, a few seasoned tips can take it from great to absolutely stellar. Since this is an old-fashioned method—relying totally on the fruit and sugar to make the magic happen—we need to be proactive. Here are a few things I always do when I’m working on preserving my summer bounty, whether it’s a full batch or just a small one.
- Use the Right Vessel: This recipe makes a relatively small batch, but you need room for that boil! Never use a pan that is more than half full of fruit and sugar combined. If you cram the mixture into a small saucepan, you risk serious boil-overs and scorching on the bottom. I always reach for my largest stockpot for this, even if I’m only making four jars. It gives the jam room to breathe and boil hard without making a mess on my stovetop.
- Stir the Bottom Constantly Near the End: As the sugar dissolves and the liquid thickens, the mixture gets heavy, and it loves to stick to the bottom of the pot, which means it scorches fast. Once you hit that rolling boil (around the 15-minute mark), I switch from stirring occasionally to stirring persistently, making sure to scrape my wooden spoon right across the bottom surface. Nobody wants a bitter, burnt layer on the bottom of their beautiful spread!
- Skim the Foam, But Don’t Panic: When the jam is boiling hard, you’ll likely see a layer of light pink, frothy foam build up on top. This is just air mixed with fruit solids, and if you can it, it can sometimes cause issues or just look cloudy. Right before I ladle the jam into the jars, I take a wide, flat spoon and gently scoop that foam right off the top and toss it. It’s not essential for the set, but it makes for a clearer, gorgeous final jar.
- Try Chicken Piccata for Contrast: If you happen to be making this jam alongside cooking a savory meal, I highly recommend trying my Chicken Piccata with Lemon Recipe. The bright, acidic notes in that main course are the perfect balance to the sweet, gorgeous preserves you’re making here!
Serving Suggestions for Your Sweet and Tangy Jam
Now that you’ve got this incredible, vibrant jam, the question becomes: where does it go? While spreading it thick on a toasted English muffin is heaven, don’t let it just be a breakfast star! This **sweet and tangy jam** begs to be used in surprising ways. Think of it as a beautiful, natural shortcut for desserts.
You can quickly transform waffles or layer it into yogurt parfaits for a bright, fresh snap. My favorite trick, though, is using it as a **fruit filling for baking**. Try spooning a dollop into the center of a scone before baking, or use it as a layer in a simple coffee cake. If you love that combination of salty and sweet, it’s absolutely divine next to some sharp cheddar on a cheese board. Looking for another comforting recipe? You have to try my Easy Apple Crumble Recipe this fall, maybe topped with a swirl of this beautiful raspberry preserve!
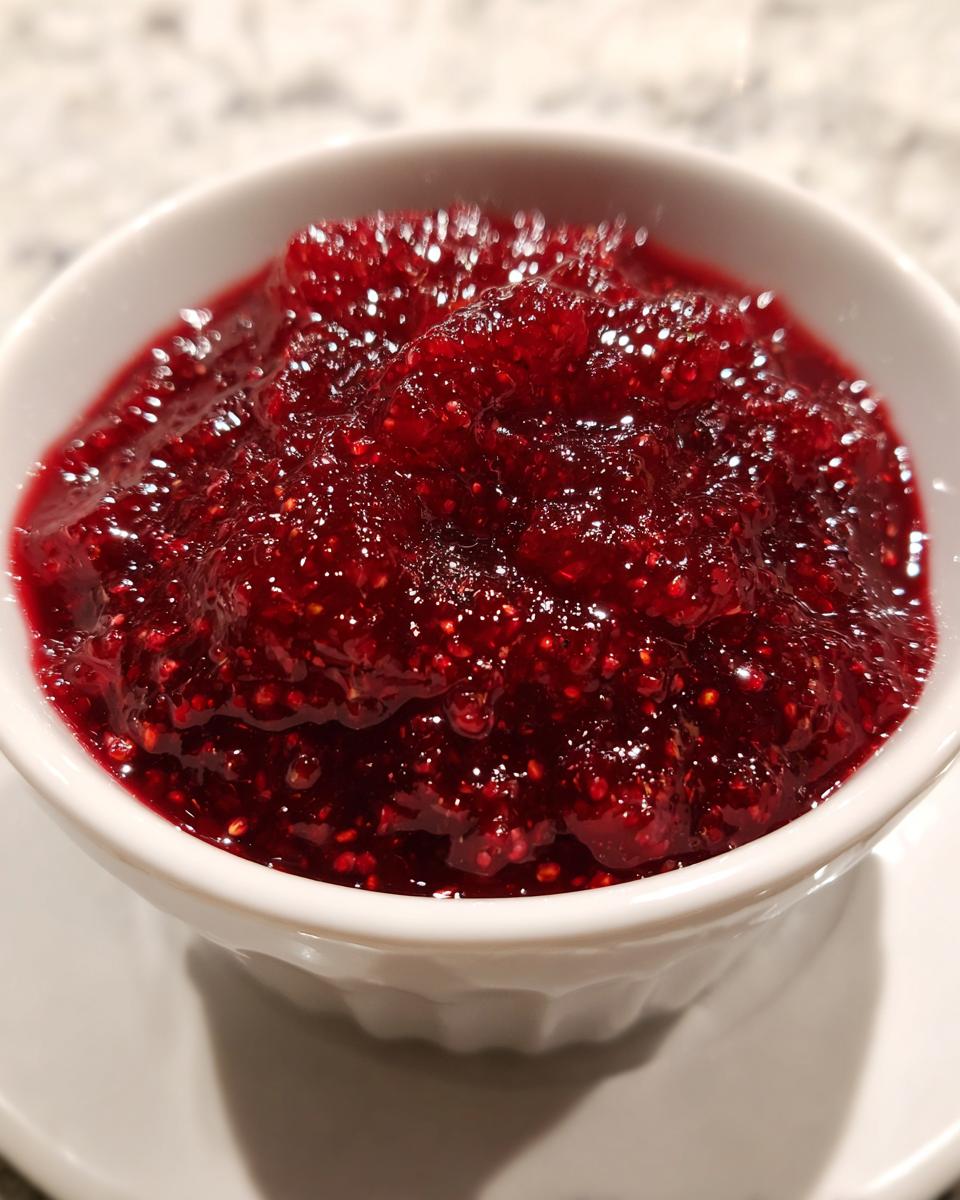
Storage and Reheating Instructions for Raspberry Jam
Congratulations! You’ve successfully made a batch of gorgeous **raspberry jam**. Now, we need to make sure it stays perfect, whether it’s for immediate enjoyment or for stocking up the pantry for later. Storing it correctly is just as important as getting that perfect set!
The way you store your jam depends entirely on whether you went through the official water bath canning process or if you just cooled it down and put it straight into the fridge. Always be meticulous here; food safety comes first, even when we are moving away from corporate life!
Canned Jars for Long-Term Pantry Stocking
If you sealed your jars correctly, processed them for the recommended 10 minutes, and they have cooled completely (you should hear that satisfying ‘pop’ as the lids seal!), these are shelf-stable. This means you can feel great about **pantry stocking jam** for next winter!
- Shelf Life: Properly canned raspberry jam should maintain quality for at least one full year when stored in a cool, dark pantry.
- Checking Before Opening: Before you crack one open months from now, always visually check the seal. The lid should be concave (pulled down tightly). If the lid is bulging or pops up when pressed, do not eat it; discard the contents immediately.
- Reheating: Canned jam does not typically need reheating unless you are incorporating it directly into a hot glaze or sauce. It’s ready to spread right out of the jar!
Refrigerator Storage for Fresh Jam
If you skipped the canning process—maybe you just made a tiny batch to eat this week, which is totally fine—your storage method is much simpler, but the clock starts ticking faster.
- Shelf Life: Jars stored only in the refrigerator (unsealed, or after opening a sealed jar) should be consumed within 3 to 4 weeks. The quality starts to dip after that, even though the high sugar content keeps it safe longer.
- What to Watch For: If you see any signs of mold creeping across the top surface, toss it—no arguing about it!
- Reheating Note: If your refrigerator jam gets a little firm or cloudy after a week or two, you can always gently warm a spoonful in the microwave for about 10 seconds to bring back that pourable consistency before drizzling it over ice cream or yogurt.
Either way, you now have a beautiful product of summer ready to enjoy!
Frequently Asked Questions About Making Raspberry Jam
I know that when you’re trying something new—especially preserving fruit without commercial additives—questions pop up! My goal here at Gourmet Gaze is to make sure every attempt at a **homemade raspberry jam** is a success. If you are dealing with a small batch or worrying about the sugar levels, I’ve compiled the most common things people ask me when they first try this recipe.
Can I use less sugar in this raspberry jam recipe?
This is the big one when you’re asking **how to make jam without added pectin**! Sugar does more than just sweeten; it’s absolutely critical for the set. Sugar binds with the acid and the natural pectin in the raspberries to create that thick, spoonable texture. If you significantly cut the sugar, you risk ending up with fruit syrup instead of jam, even if you boil it for ages. I really advise sticking to the ratio here for the first batch. If you want a less sweet version later, maybe try reducing the sugar by just 1/4 cup, but don’t go further unless you plan to use a commercial pectin booster!
How long does this easy jam recipe last in the fridge?
If you seal your jars using the water bath method, they are good for a year in the pantry, as we discussed. But if you follow the quick-prep route and just cool the jars on the counter for your **easy jam recipe**, they become refrigerator jam only. When sealed tightly and kept cold, this jam stays fresh and flavorful for about three to four weeks. After that, the color starts to dim a bit, and the flavor isn’t quite as bright. If you want it to last longer than a month, you really need to go through the canning steps!
If you have any other burning questions about technique or just want to tell me how great your preserves turned out, please don’t hesitate to reach out through my Contact Page!
Share Your Vibrant Berry Jam Creations
And just like that, you’ve captured the taste of summer! Honestly, that first jar of **vibrant berry jam** you pull off the counter is one of the most rewarding feelings in the kitchen. It beat the spreadsheets, it beat the burnout—it’s pure joy in a jar.
I absolutely love seeing what you create. Did your **natural jam recipe** set perfectly on the first try? Are you slathering it on homemade scones, or maybe you used it as a filling for a spectacular layer cake? Don’t keep all that deliciousness to yourself!
Please, take a minute to leave a rating right below this post. Your feedback helps others in the community who are looking for a clear, approachable, and reliable way to make amazing fruit preserves. And if you snapped a picture of your beautiful jars ready for storage or your toast absolutely dripping with your new creation, tag me on social media! I always feature reader successes right here on the site.
Thank you again for cooking with me today. Now go enjoy that beautiful, homemade flavor!
PrintEasy 3-Ingredient Homemade Raspberry Jam (No Pectin Required)
Make this vibrant, homemade raspberry jam using just three simple ingredients. This recipe requires no added pectin and is perfect for beginners, whether you plan to can it for storage or enjoy it fresh.
- Prep Time: 30 min
- Cook Time: 30 min
- Total Time: 60 min
- Yield: About 4 half-pint jars 1x
- Category: Preserves
- Method: Stovetop Cooking
- Cuisine: American
- Diet: Vegetarian
Ingredients
- 4 cups fresh or frozen raspberries
- 3 cups granulated sugar
- 1 tablespoon fresh lemon juice
Instructions
- Prepare your jars if canning: Sterilize your canning jars and keep them hot, or prepare a water bath canner according to standard safety guidelines.
- Combine the fruit and sugar: In a large, heavy-bottomed saucepan, combine the raspberries and sugar. Let this mixture sit for at least 30 minutes, or up to 2 hours, stirring occasionally until the sugar dissolves and the berries release their juices.
- Cook the jam: Place the saucepan over medium-high heat. Stir constantly until the mixture reaches a full, rolling boil that cannot be stirred down.
- Add lemon juice: Stir in the lemon juice. Continue to boil, stirring frequently to prevent scorching, until the jam thickens. This usually takes 15 to 25 minutes after reaching a full boil.
- Test for set: To check if the jam is ready, remove the pan from the heat. Spoon a small amount onto a chilled plate. If the jam wrinkles when you push it with your finger, it has reached the setting point. If it is still too runny, return it to the heat and boil for a few more minutes before testing again.
- Fill jars: Carefully ladle the hot jam into the prepared hot jars, leaving 1/4 inch of headspace. Wipe the rims clean.
- Process or cool: For canning, seal the jars with lids and rings and process in a boiling water bath for 10 minutes, adjusting for altitude. For fresh use, let the jam cool completely on the counter before sealing and refrigerating.
Notes
- For a seedless raspberry jam, press the cooked jam mixture through a fine-mesh sieve before the final boiling stage to remove seeds.
- This recipe makes a great fruit filling for baking pies or pastries.
- This small batch jam recipe is excellent for preserving summer berries when they are at their peak.
Nutrition
- Serving Size: 2 tablespoons
- Calories: 105
- Sugar: 27g
- Sodium: 1mg
- Fat: 0g
- Saturated Fat: 0g
- Unsaturated Fat: 0g
- Trans Fat: 0g
- Carbohydrates: 27g
- Fiber: 1g
- Protein: 0g
- Cholesterol: 0mg