
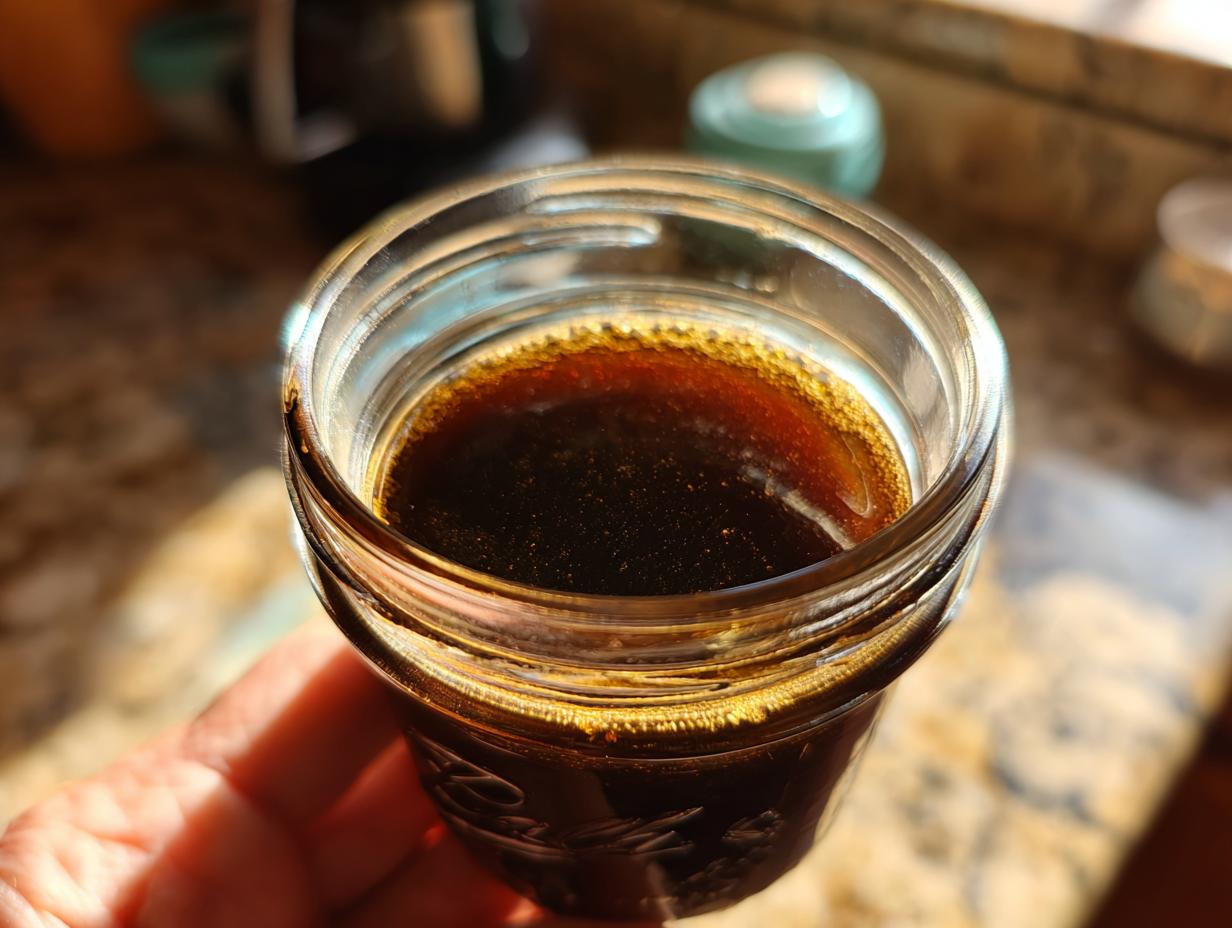

When the chill starts to bite and those sniffles begin to make an appearance, I always reach for something to give my immune system a little boost. For years, folks have sworn by natural remedies, and honestly, I stumbled into the world of elderberries myself during a particularly rough flu season a few years back. My grandmother used to make all sorts of things from her garden, and one winter, she gifted me some of her homemade elderberry syrup. It wasn’t just warming and delicious; I really felt a difference, and it got me hooked! That’s why I’m so excited to share my own super simple, 4-ingredient elderberry syrup recipe with you today. It’s my go-to for staying well.
- Why You'll Love This Elderberry Syrup Recipe
- Gather Your Simple 4-Ingredient Elderberry Syrup Ingredients
- How to Make Elderberry Syrup: Step-by-Step
- Tips for the Best Elderberry Syrup
- Understanding Elderberry Syrup: Benefits and Safety
- Storage and Make-Ahead Elderberry Syrup
- Frequently Asked Questions about Elderberry Syrup
- Nutritional Snapshot of Your Homemade Elderberry Syrup
- Share Your Elderberry Syrup Creations!
Why You’ll Love This Elderberry Syrup Recipe
Honestly, making your own elderberry syrup is super satisfying! You’re going to love how:
- It’s incredibly easy to make with just four simple ingredients.
- It’s a fantastic way to support your immune system naturally during those chilly months.
- You know exactly what’s going into it – no weird stuff!
- It tastes amazing – a little sweet, a little tart, and perfectly warming.
Gather Your Simple 4-Ingredient Elderberry Syrup Ingredients
Alright, let’s get down to business! Making this elderberry syrup is so straightforward, you’ll only need a handful of things. Grab these from your pantry or the store:
- 2 cups dried elderberries: These are the stars of the show! Make sure they’re good quality.
- 4 cups water: Just plain old water to get things simmering.
- 1 cup raw honey: This adds that lovely sweetness and boosts the goodness.
- 1 tablespoon fresh ginger, sliced (optional): If you’re feeling fancy, or just love that little kick, add some fresh ginger. It’s totally up to you!
How to Make Elderberry Syrup: Step-by-Step
Alright, let’s get cooking! Making this elderberry syrup is honestly such a joy, and it’s really not complicated at all. Just follow these easy steps, and you’ll have a wonderful batch of homemade goodness in no time. Remember, we always cook elderberries to make sure they’re safe and sound to enjoy!
Simmering the Elderberries for Your Elderberry Syrup
First things first, grab a medium-sized saucepan. Toss in your dried elderberries, the water, and that optional sliced ginger if you decided to use it. Give it a good stir. Now, crank up the heat until it comes to a boil. Once it’s bubbling away, turn the heat down low so it’s just gently simmering. Let it do its thing for about 45 to 60 minutes, or until you can see the liquid has reduced by roughly half. You want all that goodness to really infuse into the water!
Straining and Cooling the Elderberry Mixture
Once the simmering is done, take the pot off the heat. Let it sit and steep for another 10-15 minutes. This part is important for really getting all the flavor out! Then, it’s time to strain. I like to use a fine-mesh sieve set over a clean bowl, but a piece of cheesecloth will work great too. Gently press on the solids to get every last drop of that precious purple liquid. Toss those solids – they’ve done their job! Now, let that liquid cool down. We want it warm, not piping hot, just around 110°F (that’s about 43°C). If it’s too hot, it can mess with the good stuff in the honey. You can check out our blog for more cooking tips!

Incorporating Honey for Your Natural Syrup
This is where the magic happens and turns our strained elderberry base into a beautiful, natural syrup. Once that liquid is warm (remember, not hot!), it’s time to stir in your raw honey. Keep stirring gently until it’s completely dissolved. Adding the honey when it’s just warm is key; trust me, you don’t want to add it when it’s boiling hot because it can actually destroy some of the beneficial properties honey is known for.
Tips for the Best Elderberry Syrup
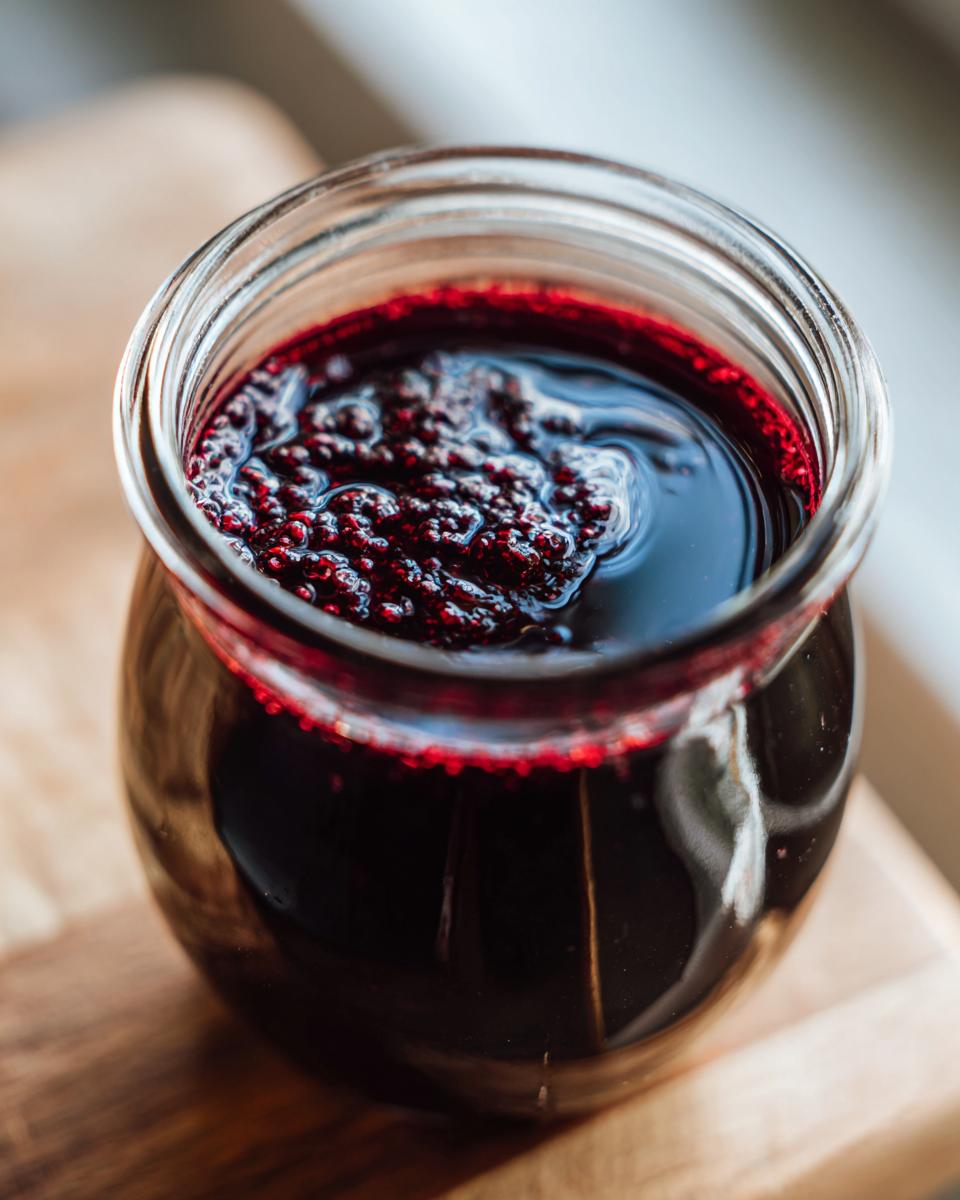
Making this elderberry syrup is pretty straightforward, but a few little tricks can really elevate it. First off, quality ingredients matter! Using good dried elderberries makes a huge difference in the final flavor. And remember, always, always cook those elderberries; that’s super important for safety. You’re making a natural syrup, so keeping things pure is key!
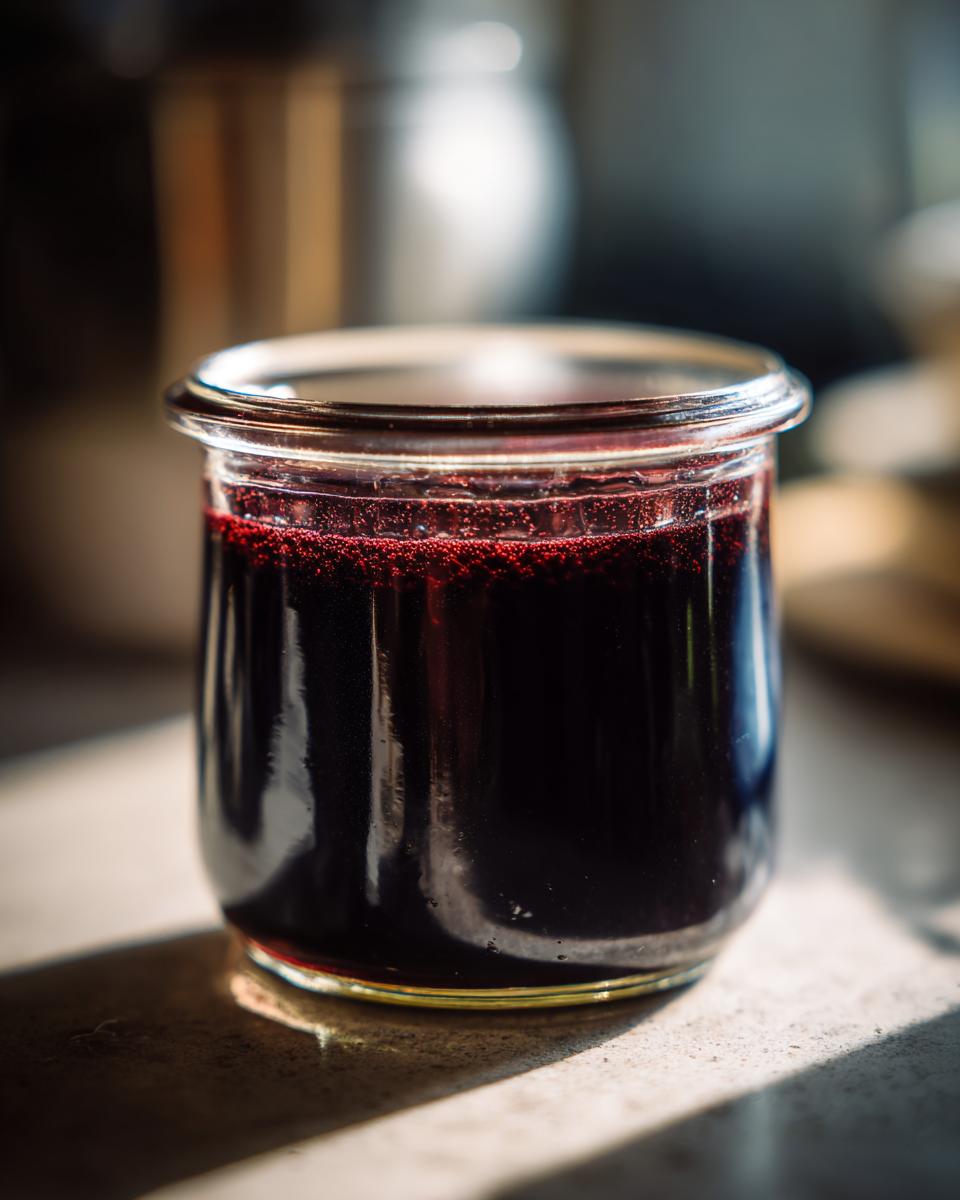
If you don’t have raw honey, regular honey will work, but raw tends to have more of those good-for-you properties. Don’t sweat it if your syrup isn’t super thick like commercial ones; it takes a bit of practice to get that consistency. Mine isn’t always perfectly thick either! For more kitchen wisdom, check out my story – it’s all about learning as you go!
Understanding Elderberry Syrup: Benefits and Safety
Okay, so why all the fuss about elderberry syrup? Well, people have been singing its praises for ages, especially when it comes to giving your immune system a little extra love during cold season! It’s packed with things like antioxidants, which are like tiny little helpers for your body. But here’s the super important part, and I can’t stress this enough: never eat raw elderberries. They contain something called cyanogenic glycosides, which can make you feel pretty unwell. That’s why cooking them down into this lovely, natural syrup is absolutely essential. It neutralizes those compounds, making our delicious elderberry syrup safe and beneficial.
Storage and Make-Ahead Elderberry Syrup
Alright, so you’ve got this gorgeous batch of homemade elderberry syrup! Now, how do you keep it fresh? Pop it into a clean glass jar or bottle and store it in the refrigerator. It’s great for having on hand, making it a perfect ‘make ahead syrup’ for all your cold season remedies. It’ll keep nicely in the fridge for a few weeks, giving you plenty of time to enjoy its goodness.
Frequently Asked Questions about Elderberry Syrup
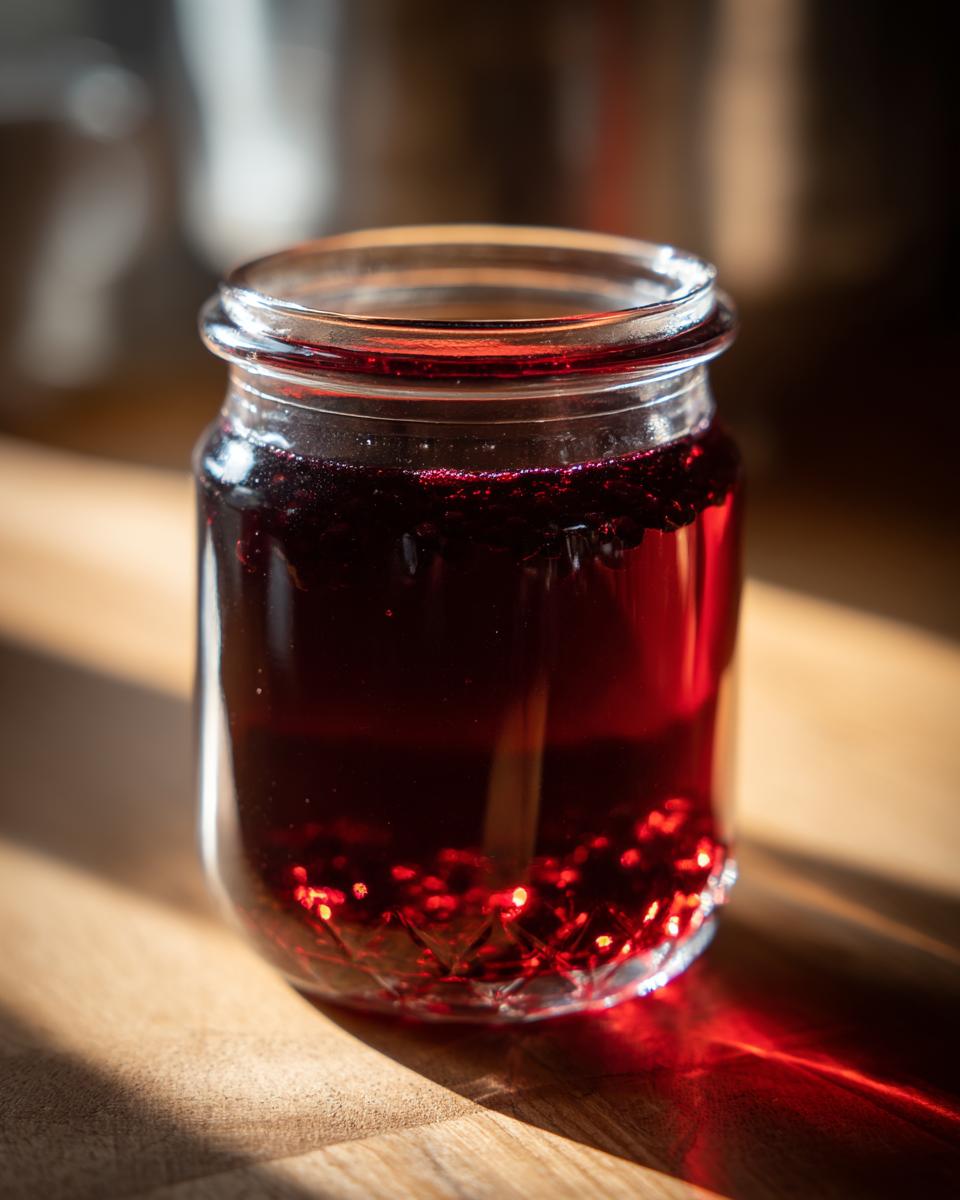
You know, people have so many great questions when they start making this stuff! It’s good to be curious, especially with natural remedies. Here are a few things I get asked a lot about my immune support DIY elderberry syrup, perfect for winter wellness.
Is it safe to consume raw elderberries?
Oh, absolutely not! You really, really need to cook elderberries before you eat them. Raw ones have compounds that can make you feel pretty sick, but simmering them down like we do in the recipe completely sorts that out. So, always cook them!
What is the best way to store homemade elderberry syrup?
Once it’s cooled, just pop your beautiful elderberry syrup into a clean glass jar or a bottle with a tight lid. Keep it in the fridge! It should stay good for a good few weeks that way.
Can I use fresh elderberries instead of dried?
Yes, you can! If you happen to have fresh elderberries, you can use them. Just know you’ll probably need about twice as many fresh ones as dried, and you might want to add a splash more water since fresh berries have more moisture already. Simmer them the same way.
What is a typical serving size for elderberry syrup?
A good starting point is usually about a tablespoon a day. You can take it straight, or mix it into water, tea, or even on top of yogurt if you like! Just listen to your body and see what feels right for you.
Nutritional Snapshot of Your Homemade Elderberry Syrup
Making your own elderberry syrup is fantastic, but remember that the nutrition can shift a bit depending on the exact ingredients you use, especially the honey. Generally, one tablespoon of my syrup offers about 50 calories and 12 grams of sugar, primarily from the honey. It’s pretty much fat-free and a good little boost for your winter wellness!
Share Your Elderberry Syrup Creations!
Alright, have you made this elderberry syrup? I’d absolutely love to hear all about it! Seriously, drop a comment below with your experience, or tell me how you’re using it to stay well this season. You can always reach out through our contact page with any questions, or share your photos and thoughts on the blog. And if you tried the recipe, a quick rating is always super helpful for other cooks!
PrintHomemade Elderberry Syrup
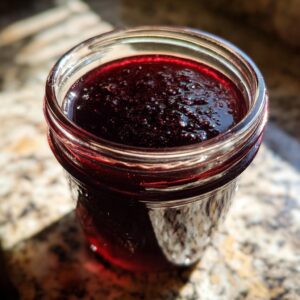
A simple, four-ingredient elderberry syrup recipe for immune support during cold seasons. This recipe focuses on safe preparation through cooking, storage, and provides an overview of elderberry benefits.
- Prep Time: 10 min
- Cook Time: 1 hour
- Total Time: 1 hour 10 min
- Yield: About 2 cups 1x
- Category: Wellness
- Method: Stovetop
- Cuisine: American
- Diet: Vegetarian
Ingredients
- 2 cups dried elderberries
- 4 cups water
- 1 cup raw honey
- 1 tablespoon fresh ginger, sliced (optional)
Instructions
- Combine dried elderberries, water, and ginger (if using) in a saucepan.
- Bring to a boil, then reduce heat and simmer for 45-60 minutes, or until the liquid has reduced by about half.
- Remove from heat and let the mixture steep for another 10-15 minutes.
- Strain the elderberry mixture through a fine-mesh sieve or cheesecloth into a clean bowl, pressing gently to extract as much liquid as possible. Discard the solids.
- Allow the elderberry liquid to cool until it is warm but not hot (around 110°F or 43°C).
- Stir in the raw honey until it is fully dissolved.
- Pour the syrup into a clean glass jar or bottle.
- Store in the refrigerator.
Notes
- Always cook elderberries before consuming to neutralize potential toxins.
- Honey should not be added to hot liquid as it can destroy its beneficial properties.
- This syrup is best consumed within a few weeks when stored properly in the refrigerator.
- For a smoother syrup, you can mash the elderberries slightly before simmering.
Nutrition
- Serving Size: 1 tablespoon
- Calories: 50
- Sugar: 12g
- Sodium: 0mg
- Fat: 0g
- Saturated Fat: 0g
- Unsaturated Fat: 0g
- Trans Fat: 0g
- Carbohydrates: 13g
- Fiber: 1g
- Protein: 0g
- Cholesterol: 0mg