
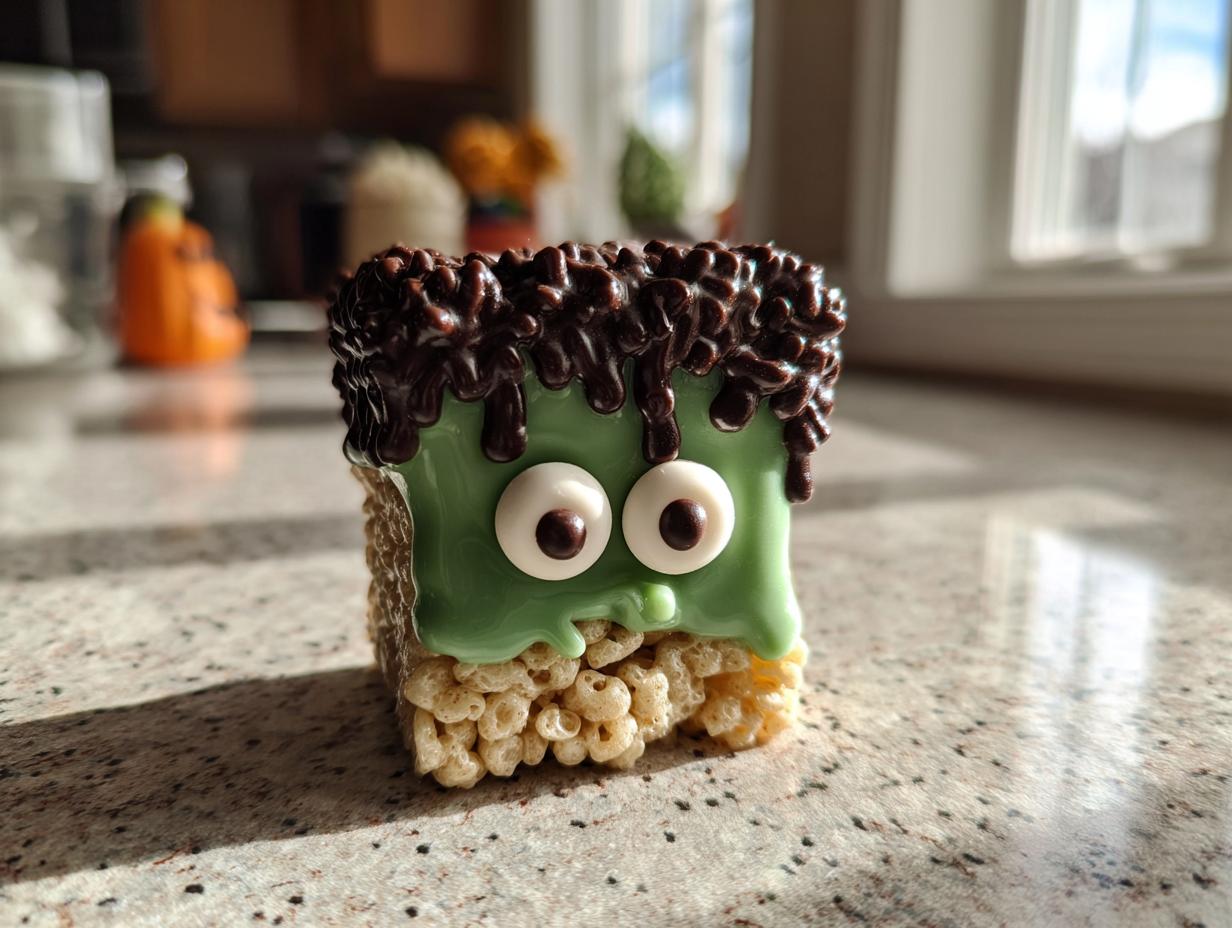

Halloween isn’t just about candy—it’s about creating edible magic that makes kids (and let’s be honest, adults too) light up with excitement. That’s exactly what these Frankenstein Rice Krispie Treats do. Last October, my niece and I whipped up a batch for her school party, and let me tell you, those little green monsters were gone before the costume parade even started! The best part? No oven required. These spooky no-bake desserts come together in minutes with just a handful of pantry staples. You get all the nostalgic crunch of classic Rice Krispie treats, but with a monster twist that’ll be the hit of any Halloween gathering. Kids go wild for them, parents love how simple they are, and trust me—you’ll have way too much fun piping chocolate “hair” and placing candy melt eyes. Whether you’re throwing a big bash or just want a fun kitchen project, these Frankenstein Rice Krispie treats are your golden ticket to Halloween success.
- Why You'll Love These Frankenstein Rice Krispie Treats
- Ingredients for Frankenstein Rice Krispie Treats
- How to Make Frankenstein Rice Krispie Treats
- Tips for Perfect Frankenstein Rice Krispie Treats
- Make-Ahead and Storage Tips
- Frankenstein Rice Krispie Treats FAQ
- Nutritional Information
- Share Your Frankenstein Rice Krispie Treats
Why You’ll Love These Frankenstein Rice Krispie Treats
Listen, I don’t blame you for being obsessed with these little green monsters already – I make them every October and they never disappoint!
- No-bake magic: No oven? No problem! These come together in minutes with just a pot and a spatula. Perfect for when you’re short on time (or energy).
- Minimal ingredients: Seven simple things you probably have in your pantry right now. Marshmallows, cereal, and a little food coloring – that’s basically it!
- Kid-approved assembly: Let the little ones help with decorating! Piping chocolate “hair” and placing candy eyes is messier than you’d think, but that’s half the fun.
- Party superstar: These always disappear first at Halloween gatherings. They’re cute, they’re festive, and – bonus – they won’t ruin anyone’s costume contest energy.
- Make-ahead lifesaver: Stash them in an airtight container for up to 3 days. Hosting panic? Solved.
Trust me, once you see kids’ faces light up when they spot these on the dessert table, you’ll be adding them to your permanent Halloween rotation.
Ingredients for Frankenstein Rice Krispie Treats
Gather these simple ingredients, and you’re already halfway to creating your monster masterpieces! I always pull everything out before starting – trust me, you don’t want to be scrambling for vanilla while your marshmallows are melting. Here’s what you’ll need:
- 6 cups Rice Krispies cereal: The classic! No substitutions here – that signature crunch is essential.
- 4 tbsp butter: Unsalted is my go-to. That way, I control the sweetness.
- 10 oz marshmallows: One standard bag. Mini ones melt faster, but regular work just fine if you’re patient.
- 1 tsp vanilla extract: Just a splash adds depth to all that sweetness.
- Green food coloring: Gel gives the most vibrant color, but liquid works in a pinch (you’ll need more drops though).
- 1 cup chocolate chips: Semi-sweet balances the sweetness, but milk chocolate works for extra kid appeal.
- White candy melts: About ¼ cup for those iconic Frankenstein eyes. Candy coating works better than white chocolate here – it holds its shape beautifully.
See? Nothing fancy. Odds are, you’ve got most of this in your pantry already. The magic is in how it all comes together!
How to Make Frankenstein Rice Krispie Treats
Okay, let’s make some monster magic happen! These Frankenstein Rice Krispie treats come together in just a few simple steps, but I’ll walk you through each one so they turn out perfect. The key is working quickly while the marshmallow mixture is warm – but don’t worry, even if things get a little messy (they probably will), that’s part of the Halloween fun!
Preparing the Green Rice Krispie Base
First, grab your largest pot – you’ll want plenty of room to stir. Melt the butter over low heat so it doesn’t brown. As soon as it’s fully liquid, dump in all the marshmallows. Now comes the fun part: watching those pillowy clouds slowly melt into a sticky, glossy pool. Stir constantly with a rubber spatula – it’ll feel like arm exercise, but trust me, it’s worth it!
Once you’ve got a smooth marshmallow river, kill the heat and stir in the vanilla and green food coloring. Start with a few drops (gel works best for vibrant color), then add more until you get that perfect monster-green hue. Now, working quickly, dump in the Rice Krispies! I like to add them in two batches, folding gently until every last crispy piece is coated in that gorgeous green goo.
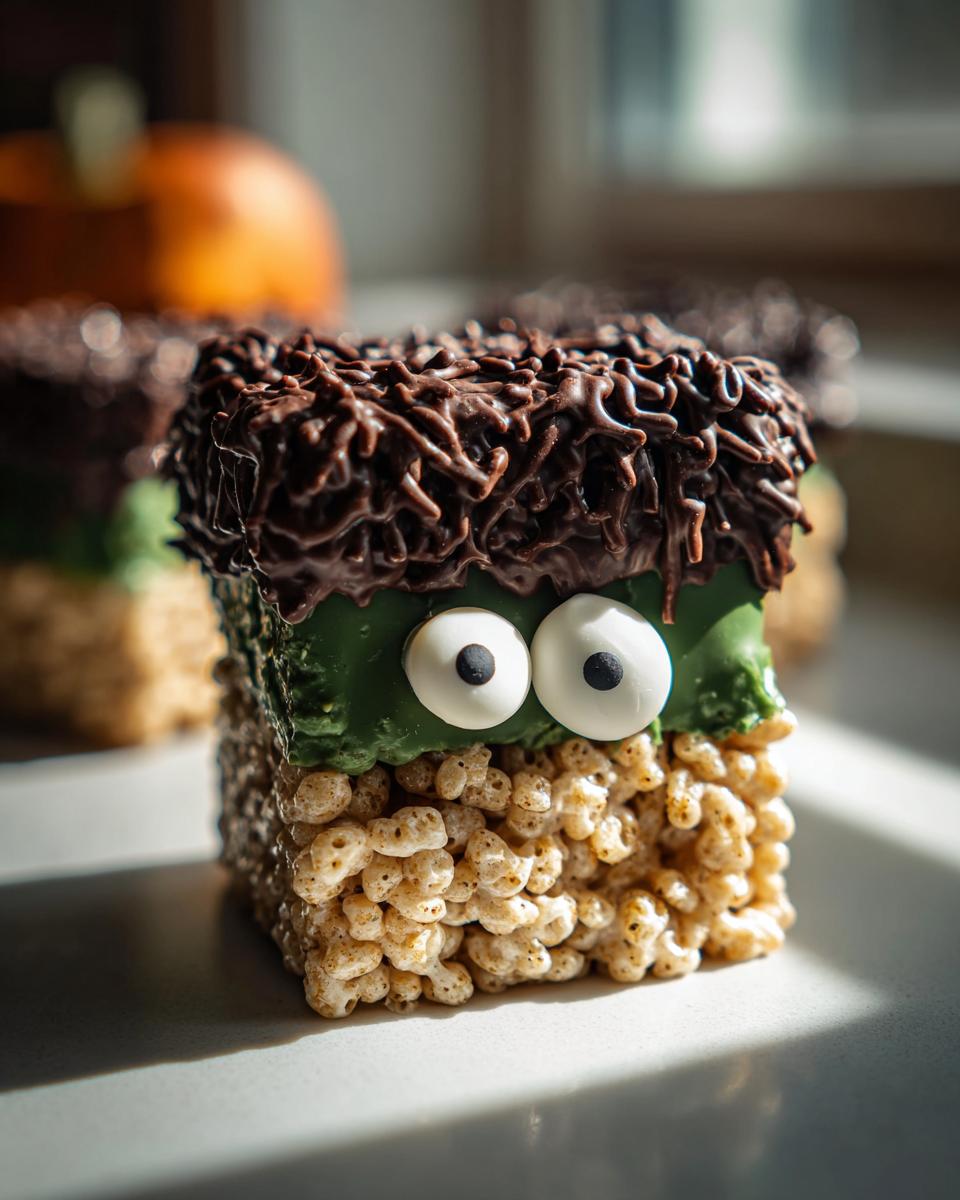
Immediately scrape the mixture into a greased 9×13″ pan and press it down firmly with buttered hands or a piece of parchment. Pro tip: if you wet your hands slightly, the mixture won’t stick as much when pressing. Let this cool completely before decorating – about 30 minutes if you can resist!
Decorating Frankenstein Rice Krispie Treats
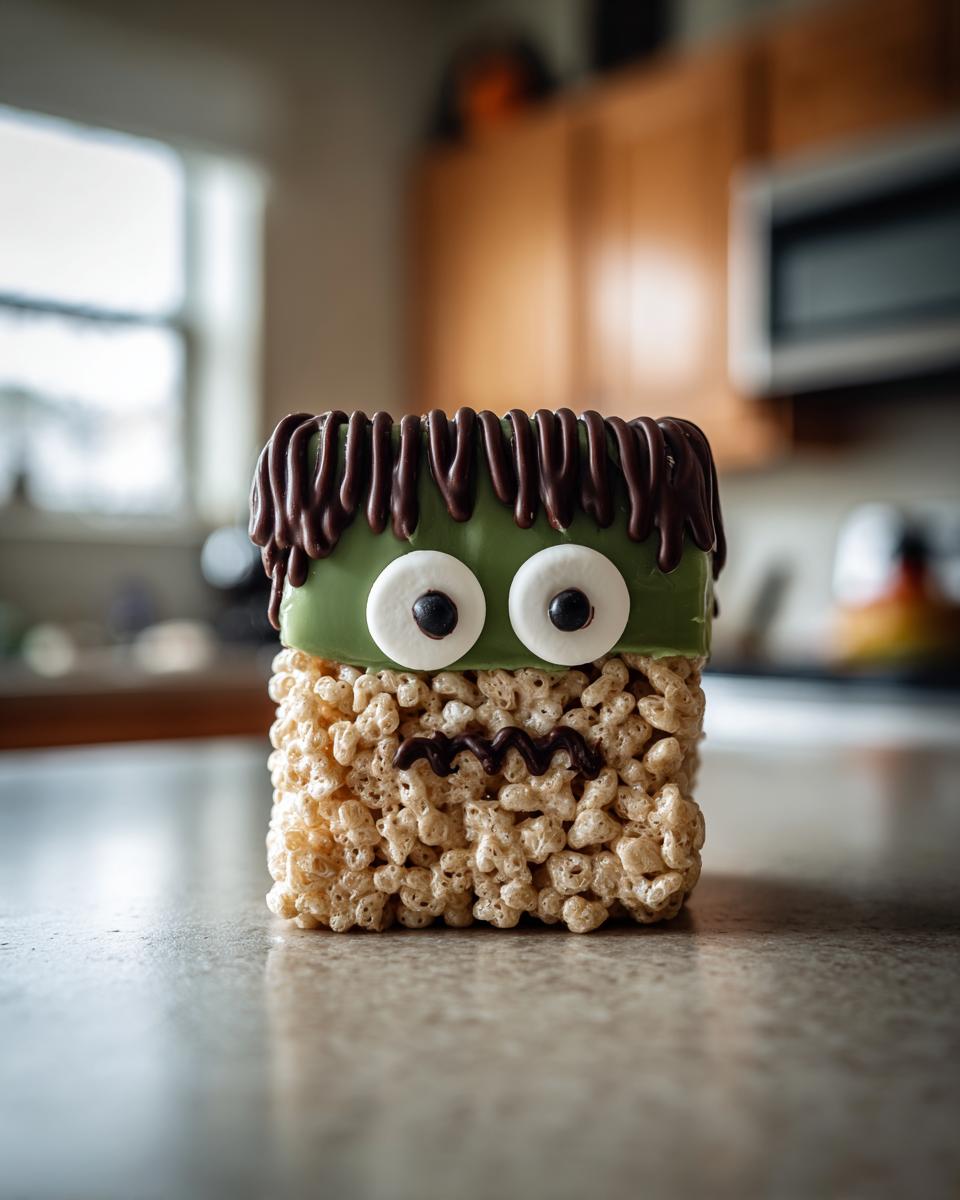
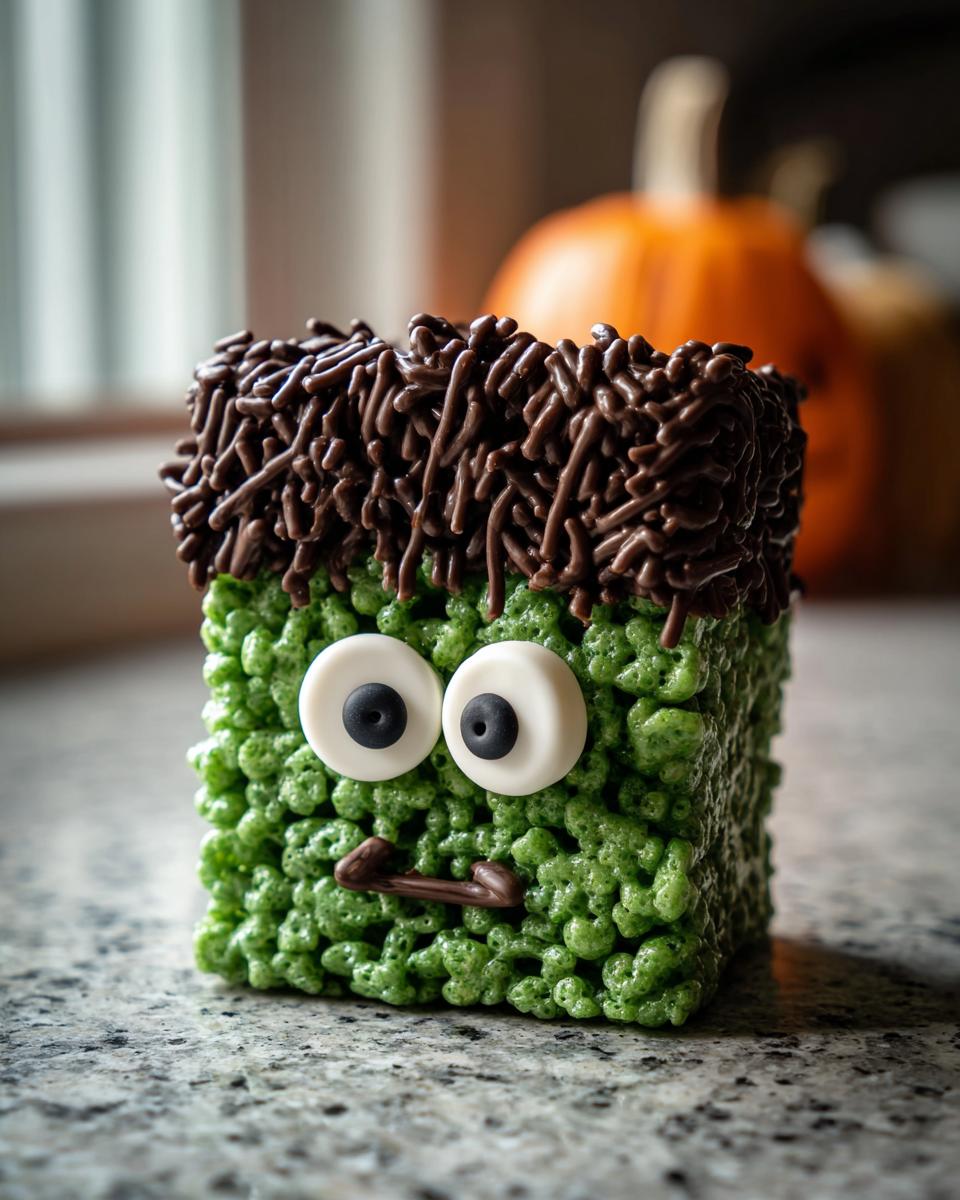
Now for the transformation from green squares to Frankenstein’s famous face! Melt your chocolate chips in 30-second microwave bursts, stirring between each. When it’s smooth and drippy, spread it over about two-thirds of each square to make that iconic messy hair. I like to use the back of a spoon to create “streaks” for texture.
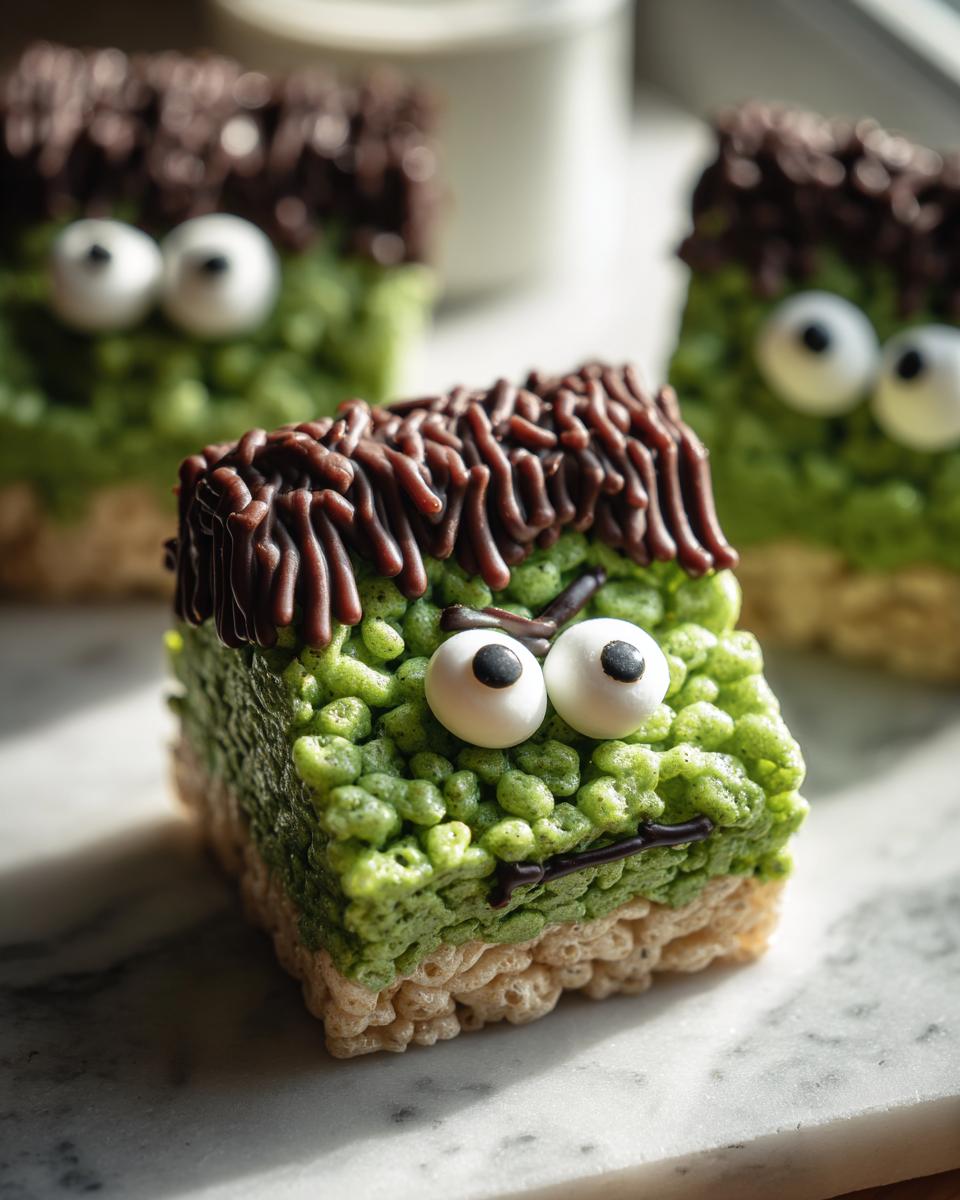
For the eyes, melt a few white candy melts and spoon two small circles onto each square before the chocolate sets. You can use a toothpick to make cute little pupils with any leftover dark chocolate. Want to get fancy? After everything’s set, pipe on some “stitches” along the edges with black icing gel – instant spooky perfection!
Let the chocolate harden completely (about 15 minutes at room temp, or faster in the fridge), then cut into squares with a sharp knife between cleanings. And just like that, you’ve created a whole squad of edible monsters ready to haunt your Halloween party!
Tips for Perfect Frankenstein Rice Krispie Treats
Want to take your Frankenstein Rice Krispie treats from good to ghoulishly great? Here are my hard-earned tricks after many Halloweens of monster-making mishaps!
- Grease like your life depends on it: Seriously, butter every inch of that pan – sides too. If you think you’ve used enough? Add more. Nothing’s sadder than losing chunks of poor Frankenstein’s face to the pan.
- Gel food coloring wins: Liquid will get you a pastel monster (not scary!), but gel gives that perfect neon-green Frankenstein hue. Start with just a dab – it’s shockingly potent!
- Patience is a virtue: Wait until the treats are completely cool before cutting or decorating. I know it’s hard, but warm bars = chocolate smear city.
- Black icing stitches steal the show: A quick zigzag of store-bought black gel icing along the edges makes them look professionally “stitched.” Kids go wild for this detail!
- Crisco is your secret weapon: Rub a tiny bit on your knife before cutting – you’ll get those perfect clean edges every time.
Follow these simple tricks, and your Frankenstein treats will be the spookiest, most Instagram-worthy monsters on the block!
Make-Ahead and Storage Tips
These Frankenstein Rice Krispie treats are practically made for busy Halloween prep! Store them in an airtight container at room temperature for up to 3 days – they actually stay perfectly fresh and chewy. Want to get way ahead? You can freeze the undecorated green bases for up to a month (wrap tightly in plastic first). Just thaw at room temp before adding the chocolate hair and eyes. Pro tip: If stacking decorated treats, use parchment between layers so Frankenstein’s face doesn’t smudge!
Frankenstein Rice Krispie Treats FAQ
Got questions about these spooky no-bake desserts? I’ve made enough batches to have all the answers! Here’s what people ask me most:
Can I use other cereals besides Rice Krispies?
Technically yes, but stick with crisped rice cereal for that classic texture. I tried Cheerios once – let’s just say Frankenstein ended up looking more like a lumpy swamp creature!
How do I make these Frankenstein Rice Krispie treats vegan?
Easy swaps! Use vegan marshmallows (Dandies work great), plant-based butter, and dairy-free chocolate chips. The candy melts can be tricky – look for allergen-friendly white candy coating or skip the eyes and use coconut flakes for wild “hair” instead!
What’s the best way to transport these to Halloween parties?
I line a sturdy container with parchment paper and pack them in a single layer. If you need to stack, slide wax paper between layers. Pro tip: Transport them slightly chilled – the chocolate stays firmer during the trip.
Can I use regular food coloring instead of gel?
You can, but you’ll need way more drops (think 15-20!) to get that vivid Frankenstein green. The gel’s concentrated color keeps your treats from getting sticky.
How early can I make these monster treats before Halloween?
3 days max at room temp for best texture. Any longer and they start losing their crunch – plus, let’s be honest, they rarely last that long!
Nutritional Information
Let’s be real – these Frankenstein Rice Krispie treats aren’t health food, but they’re perfect for Halloween fun! Nutrition will vary slightly depending on your specific ingredients and brands. Since we’re all about enjoying festive treats in moderation, I don’t calculate exact counts – but that extra chocolate “hair” and playful spirit make every bite worth it!
Share Your Frankenstein Rice Krispie Treats
I’d love to see your monster creations! Snap a pic of your Frankenstein Rice Krispie treats and tag me @GourmetGaze – nothing makes me happier than seeing your Halloween masterpieces. Bonus points for creative spins (I once saw one with candy corn teeth—genius!). Let’s make this year’s treat table the spookiest yet!
PrintFrankenstein Rice Krispie Treats
Easy no-bake green Rice Krispie bars decorated like Frankenstein with chocolate hair and eyes, perfect for Halloween.
- Prep Time: 15 min
- Cook Time: 10 min
- Total Time: 25 min
- Yield: 12 servings 1x
- Category: Dessert
- Method: No-Bake
- Cuisine: American
- Diet: Vegetarian
Ingredients
- 6 cups Rice Krispies cereal
- 4 tbsp butter
- 10 oz marshmallows
- 1 tsp vanilla extract
- Green food coloring
- 1 cup chocolate chips
- White candy melts (for eyes)
Instructions
- Melt butter in a large pot over low heat.
- Add marshmallows and stir until fully melted.
- Mix in vanilla and green food coloring.
- Remove from heat and fold in Rice Krispies.
- Press mixture into a greased baking dish and let cool.
- Melt chocolate chips and spread over the top for hair.
- Use white candy melts to create eyes.
- Cut into squares and serve.
Notes
- Make ahead and store in an airtight container.
- Use black icing for extra details like stitches.
Nutrition
- Serving Size: 1 bar
- Calories: 180
- Sugar: 15
- Sodium: 120
- Fat: 6
- Saturated Fat: 4
- Unsaturated Fat: 2
- Trans Fat: 0
- Carbohydrates: 30
- Fiber: 0
- Protein: 1
- Cholesterol: 10