
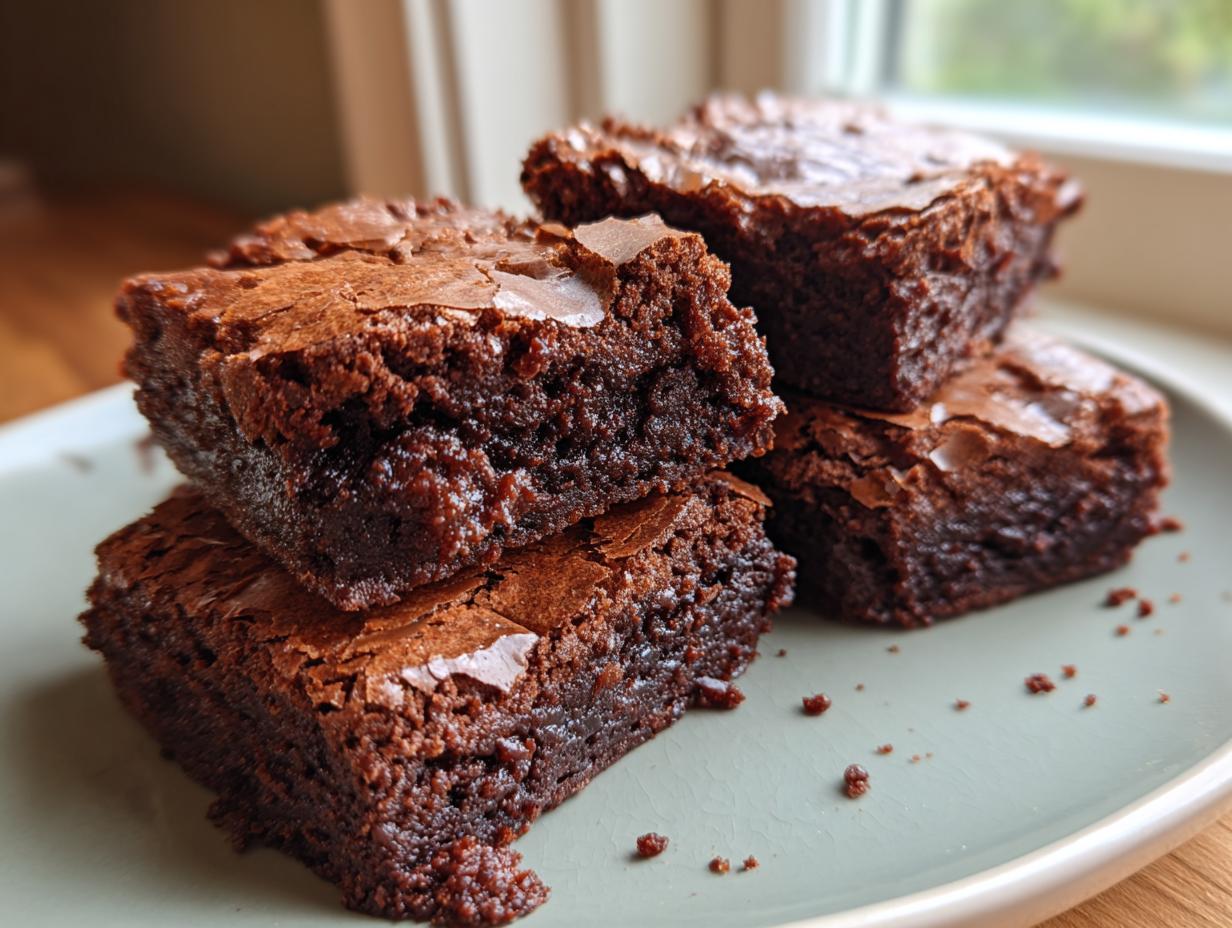

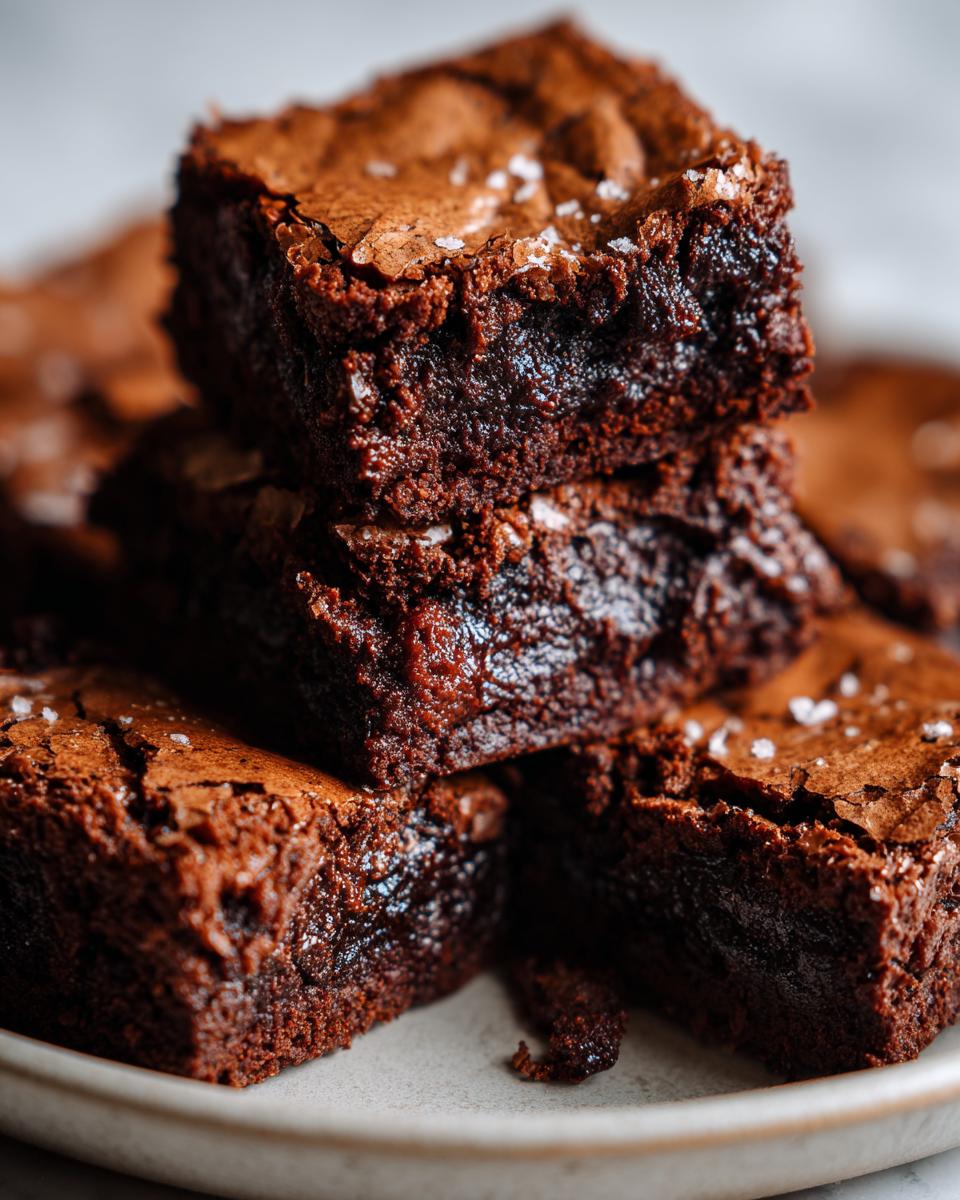
Okay, let’s talk about brownies. Not just any brownies, but the kind of homemade brownies that make you close your eyes and savor every single bite. You know the ones – super fudgy in the middle, with that signature crackly, almost shiny top that just screams pure chocolate bliss? Yeah, those. I remember the first time I *really* nailed them. It was years ago, during a particularly stressful work week, and I just needed something to make me happy. I whipped these up in about 15 minutes, and the smell that filled my apartment… pure magic! It was like a warm hug in dessert form. This recipe has become my go-to because it’s just so darn reliable, delivering that perfect texture *and* that gorgeous crackly top every single time, all with stuff you probably already have in your pantry.
- Why You'll Love These Homemade Brownies
- Ingredients for the Best Fudgy Brownies
- How to Make Homemade Brownies From Scratch
- Tips for Achieving the Perfect Crackly Top on Brownies
- Ingredient Spotlight: Cocoa Powder vs. Melted Chocolate
- Understanding Doneness Cues for Homemade Brownies
- Variations and Serving Suggestions for Your Dessert Bars
- Storage and Reheating Your Homemade Brownies
- Frequently Asked Questions about Fudgy Brownies
- Nutritional Information for Homemade Brownies
- Share Your Homemade Brownie Creations!
Why You’ll Love These Homemade Brownies
Honestly, what’s not to love? These aren’t just any brownies; they’re your new best friends for satisfying any chocolate craving:
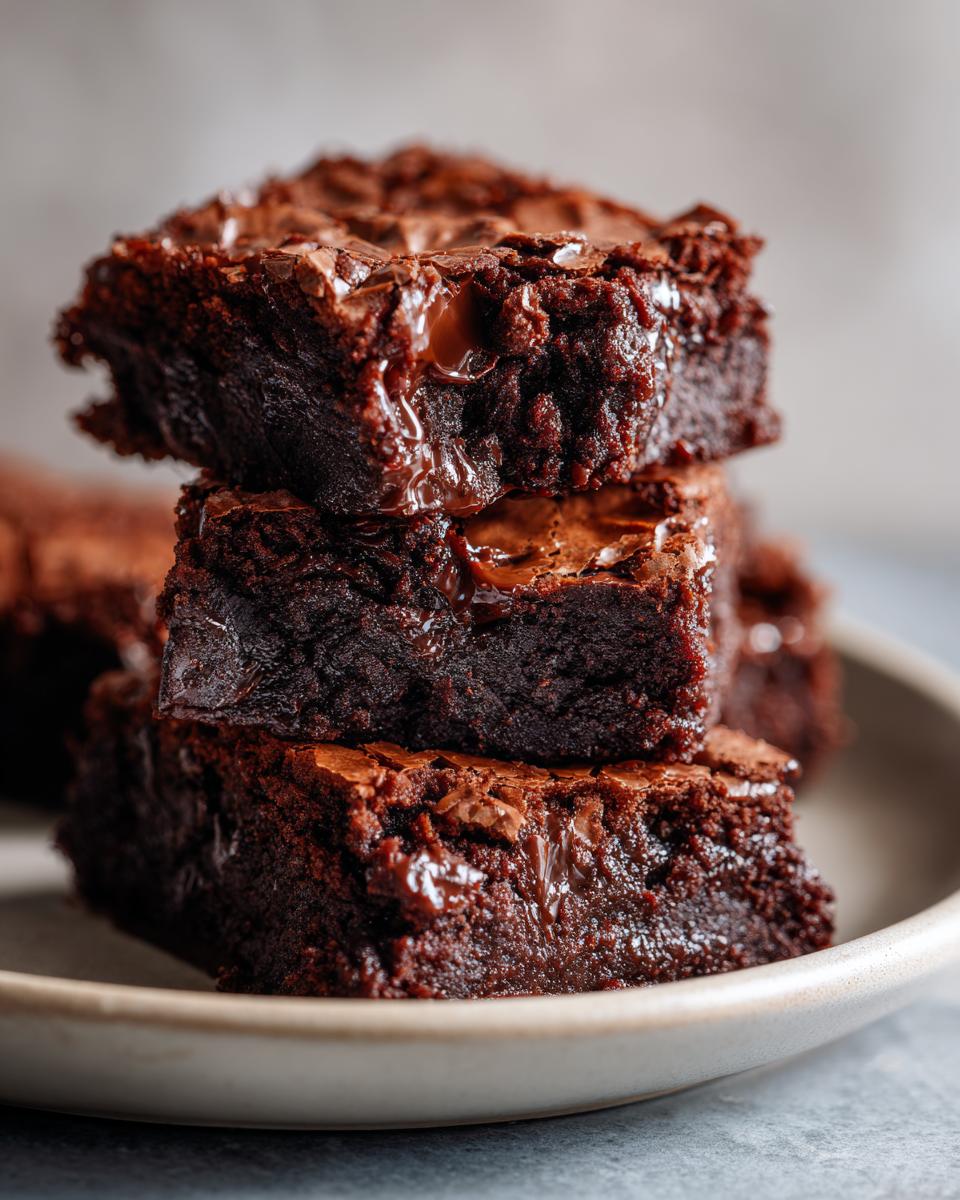
- Seriously Fudgy: We’re talking dense, moist, melt-in-your-mouth fudgy brownies. No cakey disappointments here!
- That Crackly Top: That gorgeous, shiny, crackly crust? It’s easier to achieve than you think with this recipe.
- From Scratch Ease: Made with simple pantry staples, these from scratch brownies come together in minutes. Seriously, one bowl magic.
- Rich Chocolate Flavor: We use good old cocoa powder to get this deep, decadent chocolate taste that’s just perfection.
Ingredients for the Best Fudgy Brownies
Alright, let’s gather our chocolatey treasures! This is where the magic really starts to happen, using simple things you likely have hanging out in your kitchen right now. The quality of what you use really does shine through here, especially with the chocolate! So, grab your favorite mixing bowl and let’s get these beautiful ingredients ready:
- 1 cup (that’s 2 sticks, or 226g for my fellow bakers who measure in grams!) of unsalted butter, melted. Melting it makes everything so much smoother, trust me.
- 2 cups (400g) of granulated sugar. This is key for that gorgeous crackly top we talked about – so don’t swap it out if you can help it!
- 1 teaspoon of pure vanilla extract. It just adds that little something extra, a warm hug to the chocolate.
- 4 large eggs. Make sure they’re at room temperature; they mix in so much better.
- 1 cup (96g) of unsweetened cocoa powder. I love using Dutch-process for an extra deep chocolate flavor, but regular works too!
- 1 cup (120g) of all-purpose flour. Just plain old flour, nothing fancy needed.
- 1/2 teaspoon of baking powder. This is just a little lift, not too much so we keep them fudgy!
- 1/2 teaspoon of salt. It really makes the chocolate flavor pop, don’t skip this!
- 1 cup (about 170g) of chocolate chips. Totally optional, but who ever said no to extra chocolate in their brownies? Milk, semi-sweet, dark – whatever your heart desires!
How to Make Homemade Brownies From Scratch
Alright, let’s get these gorgeous homemade brownies into the oven! Honestly, the best part about this recipe is how simple it is to get that intense chocolate flavor and perfectly fudgy center. It truly is a from scratch dream without any fuss. You’re going to love how quickly this comes together, making it perfect for a weeknight craving or a last-minute dessert!
Step 1: Prepare Your Pan and Oven for Homemade Brownies
First things first, get that oven preheating to 350°F (that’s 175°C). While the oven is warming up, grab your 8×8 inch baking pan. I like to give mine a good grease and then a light flour dusting, but you can also line it with parchment paper – this makes lifting the brownies out later SO much easier!
Step 2: Mixing the Wet Ingredients for Fudgy Brownies
Grab your biggest mixing bowl – we’re aiming for a one-bowl wonder here! Pour in that melted butter and the sugar. Give it a really good whisk; you want it to look smooth and combined. Then, stir in the vanilla extract for that lovely aroma. Now, add the eggs, one at a time, whisking really well after each one. Keep going until the mixture looks glossy and smooth – this is where that fudgy texture starts to build!
Step 3: Combining Dry Ingredients for Cocoa Powder Brownies
In a separate, smaller bowl, whisk together your cocoa powder, flour, baking powder, and salt. Just give them a good whisk until everything is nicely blended. This just makes sure you don’t get any pockets of flour or cocoa powder in your finished brownies!
Step 4: Combining Wet and Dry for One Bowl Brownies
Now for the magic part: add those dry ingredients to your big bowl of wet ingredients. Gently mix them together until they are *just* combined. Seriously, don’t overmix here! Overmixing develops the gluten in the flour, which can make your brownies a bit too cakey instead of wonderfully fudgy. Stop mixing as soon as you don’t see streaks of flour anymore.
Step 5: Adding Mix-ins and Baking Your Homemade Brownies
If you’re adding chocolate chips (and I totally recommend it!), gently fold them in now. Pour that glorious batter into your prepared pan – it will be thick, that’s good! Spread it out evenly with your spatula. Now, pop it into the preheated oven. You’ll want to bake these for about 25 to 30 minutes. Keep an eye on them! For those perfect homemade brownies with that desired crackly top brownies finish, we’re looking for a toothpick inserted into the center to come out with just a few moist crumbs attached. If it comes out totally clean, they might be a little overdone.
Step 6: Cooling and Cutting Your Fudgy Brownies
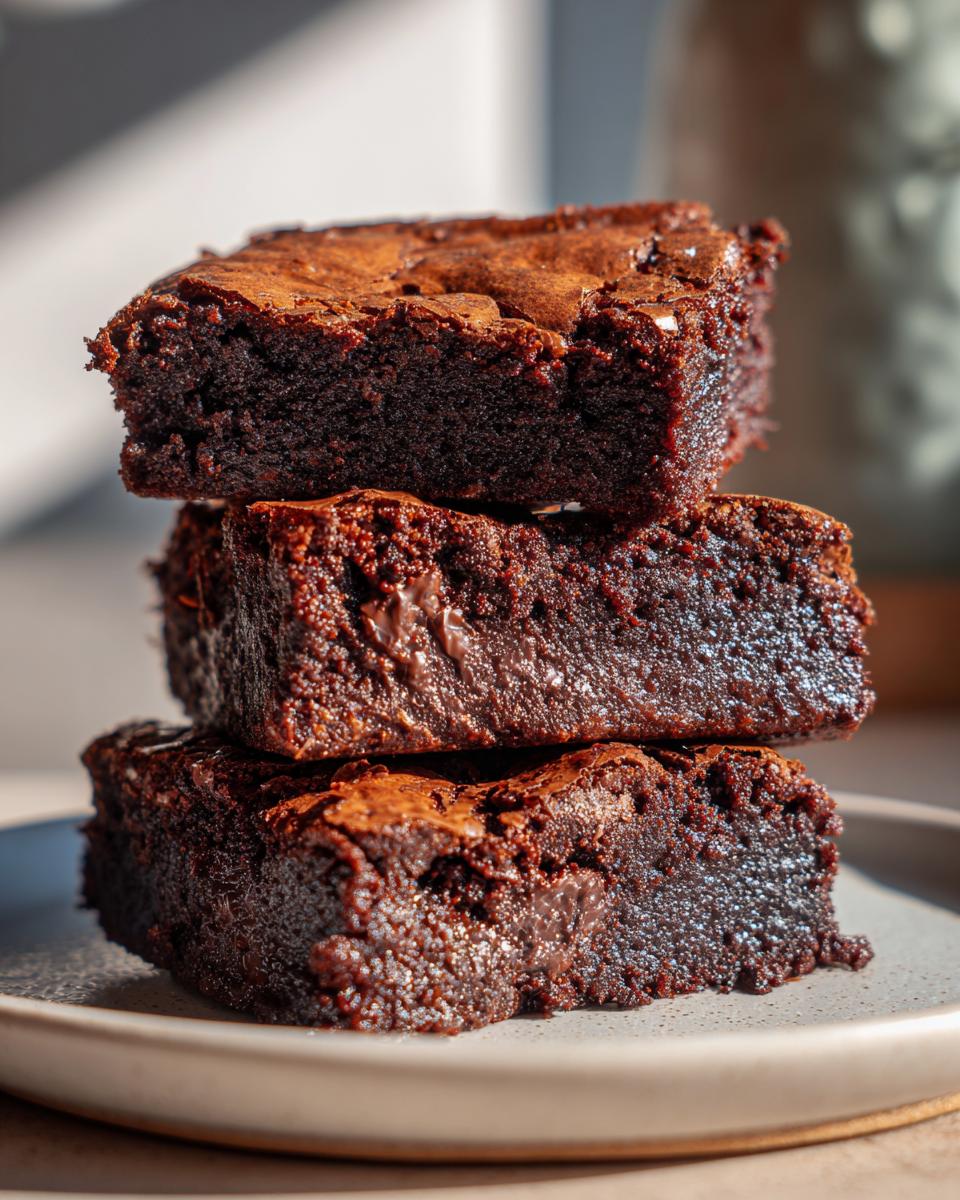
This is the hardest part, I know! Let the brownies cool completely in the pan on a wire rack. Seriously, resist the urge to cut into them while they’re hot! Cooling is super important to let them set up properly, which is key for that super fudgy texture and for getting nice, clean squares when you cut them. Patience will be rewarded, I promise! Looking for more dessert inspiration? You’ve come to the right place!
Tips for Achieving the Perfect Crackly Top on Brownies
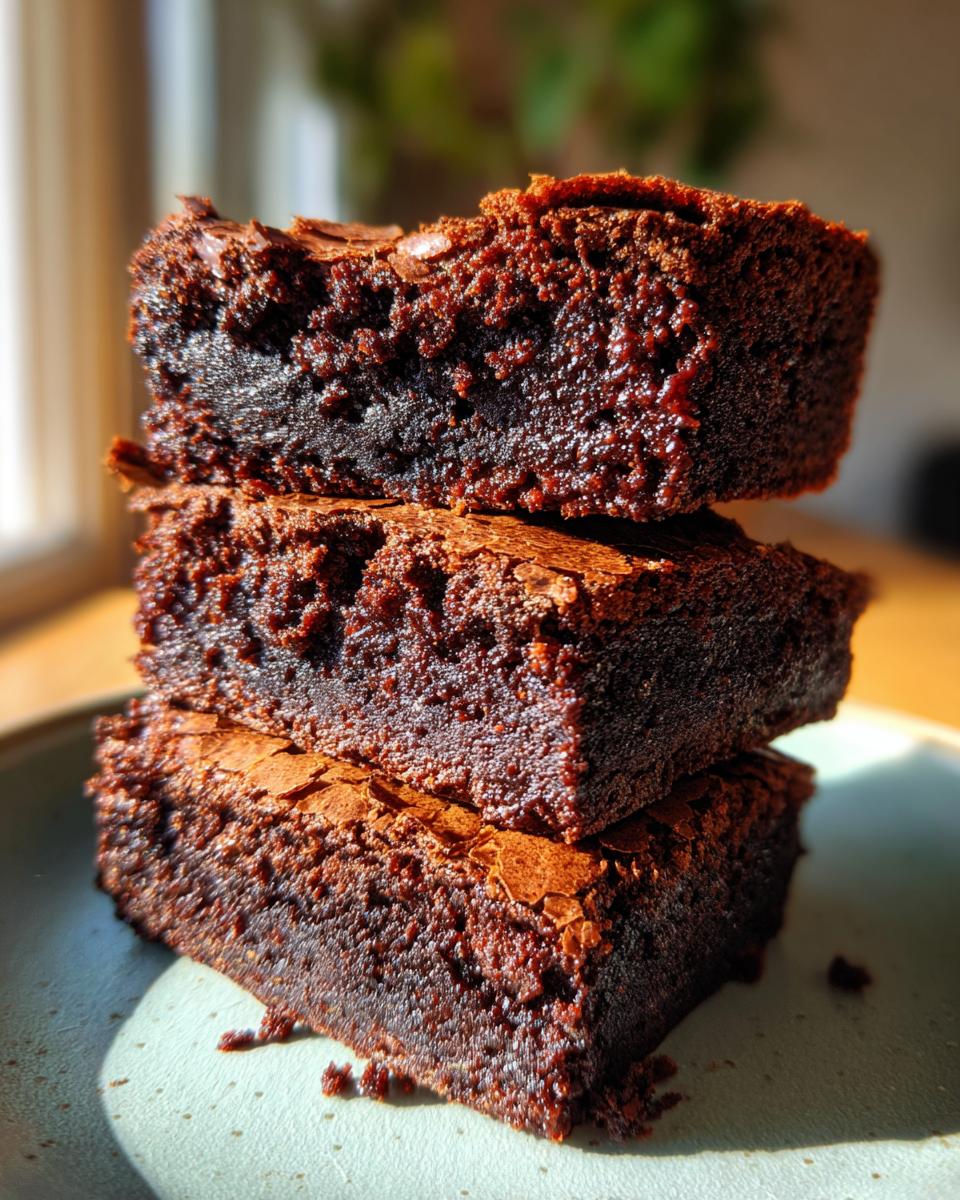
Okay, let’s talk about that coveted crackly top on your homemade brownies! It’s like the signature wink of a perfect brownie, and honestly, it’s not as tricky as it might seem. The key is really in how you treat those sugar and eggs. First off, using granulated sugar is a must for that delicate crust; it dissolves in a way that brown sugar just doesn’t quite replicate, so stick with the granulated sugar! Then, when you’re mixing the butter and sugar, really give it a good beat. That sugar needs to dissolve properly. And when you add those eggs, whisk them in until the mixture is light and glossy – this aeration step is super important for creating that delicate shell on top. It seems simple, but trust me, these little steps make all the difference for those gorgeous crackly top brownies!
Ingredient Spotlight: Cocoa Powder vs. Melted Chocolate
So, you might wonder why this recipe calls for cocoa powder instead of, say, melted baking chocolate. For these particular homemade brownies, cocoa powder is our secret weapon for achieving that super fudgy center and deep chocolate flavor we’re going for. When you use cocoa powder, it absorbs some of the moisture, which really concentrates that chocolatey goodness and helps create that wonderfully dense texture. Plus, it’s amazing for getting that beautiful crackly top we love so much! Melted chocolate can sometimes lead to a more cakey brownie, and while that’s fine sometimes, for this recipe, cocoa powder gives us that perfect, rich cocoa flavor we’re craving.
Understanding Doneness Cues for Homemade Brownies
Knowing exactly when your homemade brownies are ready is kind of an art, but it’s totally you can master! The biggest clue is the toothpick test. When you poke a toothpick into the center, you’re looking for moist crumbs to cling to it – not wet, gooey batter, but definitely not completely clean either. That’s your signal for perfect fudgy brownies! If the toothpick pulls out with totally wet batter, give them another few minutes. If it comes out bone dry, oops, they might be a little overbaked. For extra fudgy brownies, it’s always better to pull them out a minute or two early. They’ll continue to bake a bit from the residual heat in the pan, ensuring that super moist, dense texture. It’s much easier to fix slightly underbaked than overbaked brownies, right? If you’re ever unsure, you can always check out my super quick microwave brownie recipe for a different way to get that chocolate fix!
Variations and Serving Suggestions for Your Dessert Bars
Okay, so these brownies are *amazing* just as they are, but sometimes it’s fun to jazz things up a bit, right? You can totally play around with this blueprint to make them your own! If you love a little crunch with your fudgy goodness, stir in about a cup of chopped nuts like pecans or walnuts along with the chocolate chips. Or, why not use a mix of different chocolate chips? Dark chocolate, milk chocolate, white chocolate – go wild! A swirl of caramel sauce stirred in right before baking is also just divine, making them feel a bit like fancy dessert bars. Now, for serving when you want to kick things up a notch, these brownies are heavenly warm with a scoop of vanilla bean ice cream. Seriously, it’s a match made in heaven! Or, for a simpler elegance, a light dusting of powdered sugar or even a dollop of whipped cream works beautifully. For a refreshing contrast, try a scoop of lime sorbet alongside them – the tartness is surprisingly perfect!
Storage and Reheating Your Homemade Brownies
Now, about what to do with any leftoverhomemade brownies (if, by some miracle, you even have any!). These beauties stay wonderfully fudgy for up to 3 days. Just pop them into an airtight container at room temperature. Seriously, no need for the fridge, as that can make them too hard. If you *do* want to reheat a piece to get that fresh-from-the-oven gooeyness, just pop it in the microwave for about 10-15 seconds. It’s the perfect little treat to revive that fudgy magic!
Frequently Asked Questions about Fudgy Brownies
Got questions about whipping up these amazing fudgy brownies? I’ve got you covered! Baking is all about asking the right questions, and I’ve heard a few over the years about getting that perfect texture. Think of this section as your little brownie FAQ!
Can I use butter substitutes in this recipe?
While you *can* use other fats, unsalted butter really is the gold standard here. It gives the best flavor and helps with that perfect texture and that gorgeous crackly top. Using margarine or oil might change the texture a bit, making them less fudgy or affecting that crust. For the absolute best results, stick with butter!
Can I make these brownies vegan?
You sure can adapt them! To make these vegan, you’ll want to swap the butter for a vegan butter substitute. For the eggs, you can use a flax egg (1 tablespoon flaxseed meal mixed with 3 tablespoons water, let sit for 5 minutes) or another commercial egg replacer. Keep the sugar and other ingredients the same, and you’ll still get a delicious, albeit slightly different, texture! It’s a great way to enjoy this easy chocolate dessert without animal products.
How do I get a super fudgy texture?
Ah, the holy grail of brownie-making! For ultimate fudginess in your brownies, make sure you don’t overmix the batter once you add the flour. Overmixing develops gluten, which leads to a cakier texture. Also, pay close attention to the baking time – pulling them out when a toothpick still has a few moist crumbs attached is key. They’ll firm up as they cool, giving you that dense, gooey center! It’s a science, but a delicious one!
Is this recipe quick to make?
Absolutely! This is truly an easy chocolate dessert option. From start to finish, you can have these brownies mixed and ready for the oven in about 15 minutes. The baking does take a bit, but the prep is super speedy, making it perfect for when that chocolate craving hits hard and fast! It’s way faster than ordering delivery from those meal delivery companies you see advertised everywhere!
Can I make these in a different sized pan?
You can! If you use a larger pan, like a 9×13 inch, your brownies will be thinner and bake faster, so keep an eye on them. If you use a smaller pan, they’ll be thicker and need a bit longer in the oven. Just keep checking with that toothpick! Remember, consistency comes from paying attention to those little details. If you’re looking for more ways to satisfy that sweet tooth, check out my recipe for an easy chocolate dessert!
Nutritional Information for Homemade Brownies
Just so you know, while these brownies are pure deliciousness, the nutritional info is an estimate, okay? It can totally vary based on the specific brands of ingredients you use, especially things like butter and chocolate chips. But generally speaking, one of these amazing homemade brownies clocks in at around 250 calories, with roughly 14g of fat (about 8g of that is saturated fat), and about 30g of carbs. You’ll also get a little bit of protein and fiber in there too. It’s good to know, but let’s be real, sometimes you just gotta treat yourself!
Share Your Homemade Brownie Creations!
Okay, now that you’ve hopefully made this amazing batch of homemade brownies, I would just LOVE to hear all about it! Did you get that perfect crackly top? Did they turn out super fudgy? Please, tell me everything in the comments below! If you snap a pic, tag me on social media – I’m always looking to see your beautiful creations. You can also rate this recipe if you’d like! Check out my About page to learn more about my baking journey, or browse my blog for more recipes!
PrintHomemade Fudgy Brownies with a Crackly Top
Learn to make rich, fudgy brownies from scratch with a signature crackly top. This easy recipe uses pantry staples and provides clear cues for perfect doneness.
- Prep Time: 15 min
- Cook Time: 30 min
- Total Time: 45 min
- Yield: 16 servings 1x
- Category: Dessert
- Method: Baking
- Cuisine: American
- Diet: Vegetarian
Ingredients
- 1 cup (2 sticks) unsalted butter, melted
- 2 cups granulated sugar
- 1 teaspoon vanilla extract
- 4 large eggs
- 1 cup unsweetened cocoa powder
- 1 cup all-purpose flour
- 1/2 teaspoon baking powder
- 1/2 teaspoon salt
- 1 cup chocolate chips (optional)
Instructions
- Preheat your oven to 350°F (175°C). Grease and flour an 8×8 inch baking pan, or line it with parchment paper.
- In a large bowl, combine the melted butter and granulated sugar. Whisk until well combined.
- Stir in the vanilla extract and then add the eggs one at a time, whisking well after each addition until the mixture is smooth and glossy.
- In a separate medium bowl, whisk together the cocoa powder, flour, baking powder, and salt.
- Gradually add the dry ingredients to the wet ingredients, mixing until just combined. Do not overmix.
- If using, fold in the chocolate chips.
- Pour the batter into the prepared baking pan and spread evenly.
- Bake for 25-30 minutes, or until a toothpick inserted into the center comes out with moist crumbs attached, not wet batter. For fudgier brownies, err on the side of less time.
- Let the brownies cool completely in the pan on a wire rack before cutting into squares.
Notes
- For a crackly top, ensure your sugar is granulated and not packed.
- Using Dutch-process cocoa powder can result in a darker, richer flavor.
- If you prefer chewy brownies, slightly reduce the baking time.
- These brownies are best stored in an airtight container at room temperature for up to 3 days.
Nutrition
- Serving Size: 1 brownie
- Calories: 250
- Sugar: 30g
- Sodium: 100mg
- Fat: 14g
- Saturated Fat: 8g
- Unsaturated Fat: 6g
- Trans Fat: 0g
- Carbohydrates: 30g
- Fiber: 2g
- Protein: 3g
- Cholesterol: 60mg