
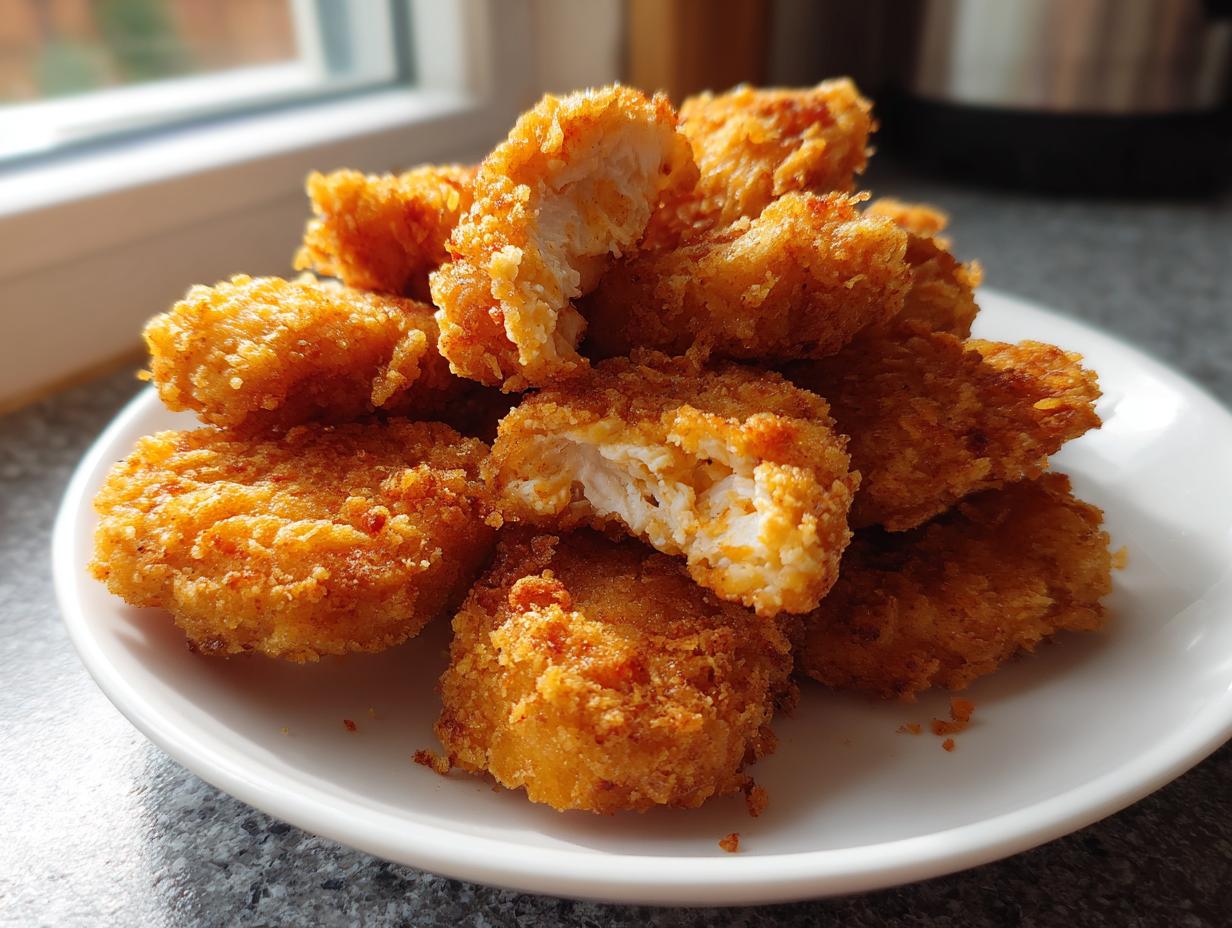

Listen, I know what the craving is. That primal urge for that perfectly textured, salty, ridiculously satisfying nugget—the kind that disappears faster than fries at a diner. For years, I accepted mediocrity from frozen bags or fast-food wrappers. But I’m Leo Maxwell, and since starting Gourmet Gaze, I’ve learned that food should tell a story, and frankly, the story of industrial nuggets is a bit dull.
We fix that here. This recipe isn’t just about making chicken bites; it’s about achieving culinary perfection in a kid-friendly package. We are talking about the ultimate homemade chicken nuggets that defy expectations. Forget sad, floppy snacks; my mission is to give you a guarantee: these are the crispiest nuggets you’ll ever make at home, usable whether you use your oven or your air fryer. That crunch? That’s the magic we’re chasing.
- Why This Homemade Chicken Nuggets Recipe is Your New Favorite
- Gathering Ingredients for Perfect Homemade Chicken Nuggets
- Step-by-Step Instructions for Crispy Homemade Chicken Nuggets
- Cooking Methods: Oven vs. Air Fryer Chicken Nuggets
- Serving Suggestions for Your Homemade Chicken Nuggets Dinner
- Storage and Reheating Homemade Chicken Nuggets
- Frequently Asked Questions About Homemade Chicken Nuggets
- Nutritional Estimates for Homemade Chicken Nuggets
- Share Your Crispy Homemade Chicken Nuggets Creations
Why This Homemade Chicken Nuggets Recipe is Your New Favorite
If you believe homemade means sacrificing texture or time, let me change your mind immediately. This recipe is built for speed and sensational flavor, balancing everything that makes fast food appealing with everything real food should be. My goal was to deliver an easy chicken nuggets dinner that actually tastes gourmet.
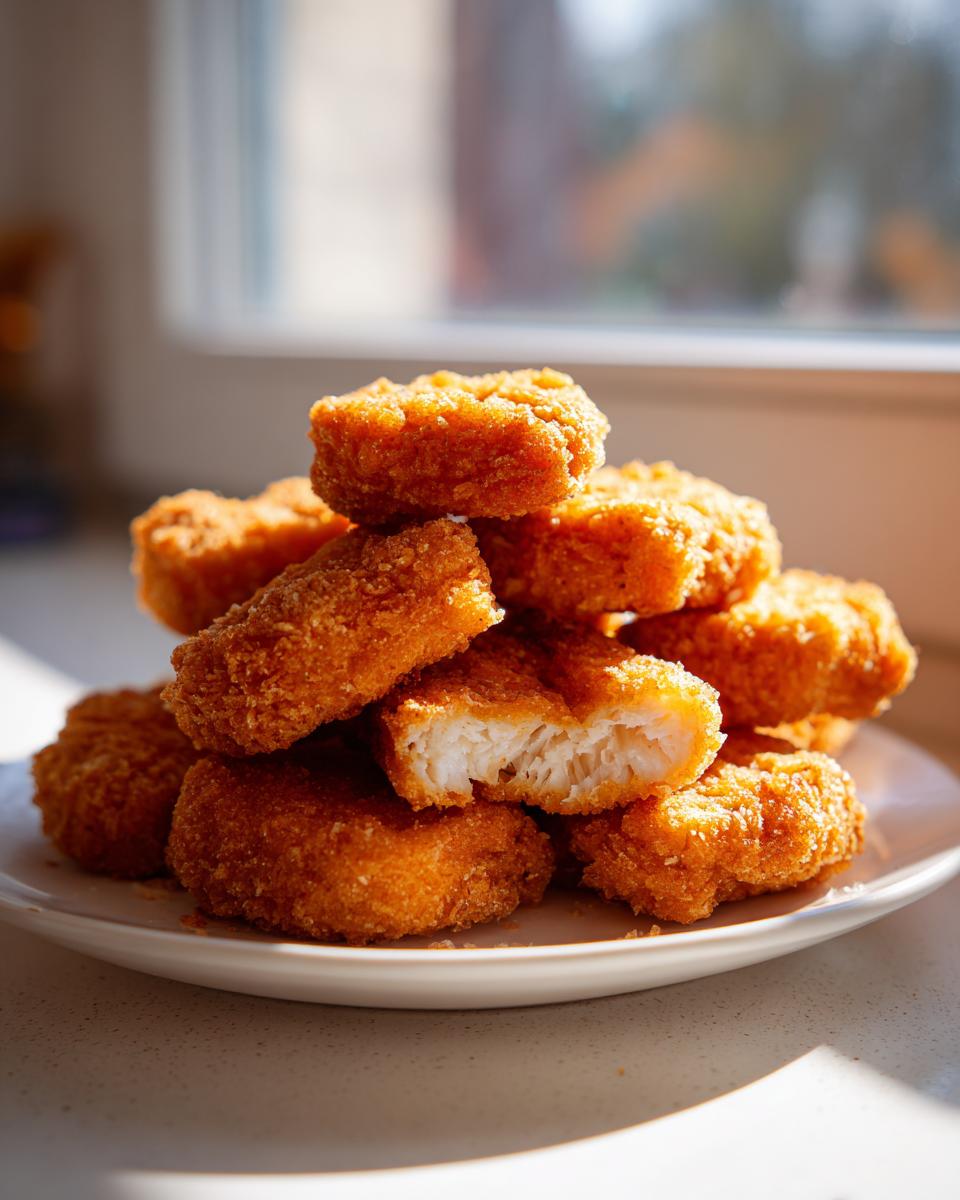
The secret sauce here is the crunch. We use a simple Panko breading and a breading hack that guarantees a shattering exterior, whether you slide them into the oven or the air fryer. They are genuinely healthy homemade nuggets because you control every single ingredient, and they are ready faster than ordering takeout!
This becomes your go-to family recipe the first time you see the golden-brown results. Check out more of my tried-and-true favorites over on my blog!
Gathering Ingredients for Perfect Homemade Chicken Nuggets
To build a beautiful dish, you need beautiful components, right? That’s the Gourmet Gaze philosophy shining through even in our quickest meals. Making these homemade chicken nuggets requires just a few simple fridge staples, but selecting the right seasoning and breading is where we separate good from gourmet.
You’ll need about 1.5 pounds of boneless, skinless chicken breast, which you should cut into rough 1-inch pieces—we’ll process it shortly. Then we gather our coating essentials: flour, two eggs, and our breading powerhouse. Don’t skip the Panko!
- 1.5 lbs boneless, skinless chicken breast, cut into 1-inch pieces
- 1 cup all-purpose flour
- 2 large eggs, lightly beaten
- 1 cup Panko breadcrumbs (this is the game changer!)
- 1/2 cup regular breadcrumbs
- 1 teaspoon salt
- 1/2 teaspoon black pepper
- 1/2 teaspoon garlic powder
- 1/4 teaspoon paprika
- Cooking spray (essential for our baking/air frying methods)
I learned early on that ingredient sourcing matters, especially for texture. When aiming for that fantastic crunch, Panko breadcrumbs are the only way to go. They absorb just enough moisture from the egg wash but stay airy and crisp when cooked. For a full list of sides and sauces that pair perfectly, check out my recipe for Crispy Baked Garlic Parmesan Potato Wedges—they make a fantastic sidekick!
Ingredient Notes and Substitutions for Homemade Chicken Nuggets
Let’s talk breading for a minute, since that dictates how we meet that ‘how to make chicken nuggets crispy’ goal. That Panko is non-negotiable for maximum shattering goodness, but sometimes we need flexibility.
If you have dietary needs and need to skip the all-purpose flour, you can absolutely substitute it with almond flour or even finely ground cornmeal. However, be aware that switching the flour can slightly alter how well the egg wash adheres, so you might need to press that first flour coat onto the chicken a little harder. It’s worth the small extra effort for a truly satisfying result!
Step-by-Step Instructions for Crispy Homemade Chicken Nuggets
Okay, this is where we stop dreaming about great chicken and start making it. While these are technically homemade chicken nuggets, they require the focus of a designer creating a masterpiece—think precision, but fun precision! We are laying the groundwork now for that ultimate crispiness you want.
We need three distinct dredging stations set up before we even think about shaping the chicken. Trust me, having everything ready makes this process fly by. You’ll first handle the chicken, then move through the coating layers. If you want the absolute best results, make sure you check out my deep dive on exactly how to make chicken nuggets crispy using these exact steps!
Preparing the Chicken Mixture for Homemade Chicken Nuggets
First things first: the chicken. Take those breast pieces and toss them into your food processor. Now, here is the biggest trap people fall into when trying to make moist and tender chicken nuggets: over-processing! You want to pulse it a few times until it looks coarsely ground—like little textured bits are still identifiable. If you process it until it’s a smooth paste, you’ve made baby food, not a nugget.
You need that remaining texture to give the nugget body and keep it from shrinking into a hard pebble when it cooks. Once it has that rough, ground texture, scoop it out and set it aside. Keep it cool; cold chicken holds its shape better!
Mastering the Breading Process for Homemade Chicken Nuggets
Now for the fun part—the coating! You should have your three stations ready: Flour, Egg, Breadcrumbs. Take a small piece of your ground chicken and gently form it into a rustic nugget shape, maybe an inch or so across. Don’t pack it too tight!
- Flour First: Dredge the shaped nugget in the flour, making sure every nook and cranny is covered. Shake off the excess—we don’t want clumpy flour spots.
- Egg Dip: Dip it quickly into the beaten egg, letting the extra liquid drip back into the bowl.
- The Crunch Coat: Press it firmly into the breadcrumb mix. You want that Panko to really stick.
Here’s my little trick, the one that elevates these from good to jaw-droppingly crispy: the double-dip! After you pull the nugget out of the breadcrumbs, dip it *back* into the egg wash for just a second, and then press it *one last time* into the breadcrumbs. This creates a thicker, more rugged crust that holds up beautifully in the oven or air fryer. Seriously, don’t skip this if you want that satisfying crunch!
Cooking Methods: Oven vs. Air Fryer Chicken Nuggets
We’ve done the hard work shaping and breading these beauties! Now we have to cook them, and honestly, this is where this recipe shines because you have options. Whether you’re aiming for an easy chicken nuggets dinner on a busy Tuesday or just want to use your favorite appliance, these methods deliver that beautiful, golden-brown finish.
If you want the absolute best results for true crispiness, you need to pay attention to the temperature curves for both methods. We’re working hard to get these results without deep frying, so a little precision goes a long way!
For the oven, you’ll want to preheat to 400°F (200°C). If you’re using your air fryer, set it a touch lower at 380°F (195°C). This lower heat allows the outside to crisp without burning before the center is cooked through. Check out my recipe for Air Fryer Crab Cakes if you love using that appliance!
Tips for Achieving Maximum Crispiness in Homemade Chicken Nuggets
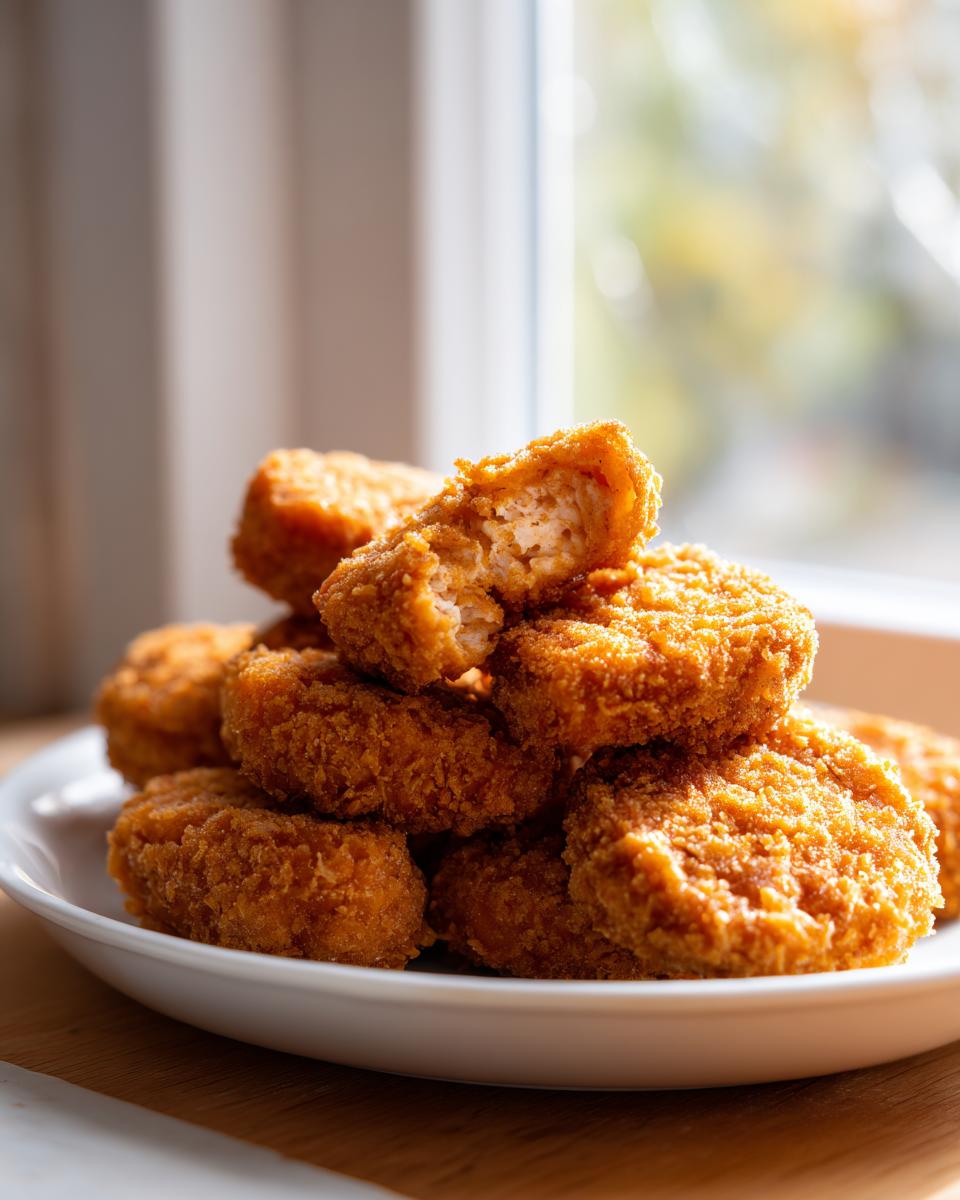
The biggest question I get is, “Which one is crispier?” My answer? They are both excellent, but the technique changes slightly depending on the tool. For the oven method, you must be generous with the cooking spray when arranging your crispy baked chicken nuggets on the parchment-lined sheet. That fat is what helps the Panko toast up perfectly.
If you are going the route of air fryer chicken nuggets, single-layer placement is everything. Don’t stack them up! They need air circulating around every surface to truly crisp. If they are touching, they steam, and we want zero steaming action happening here.
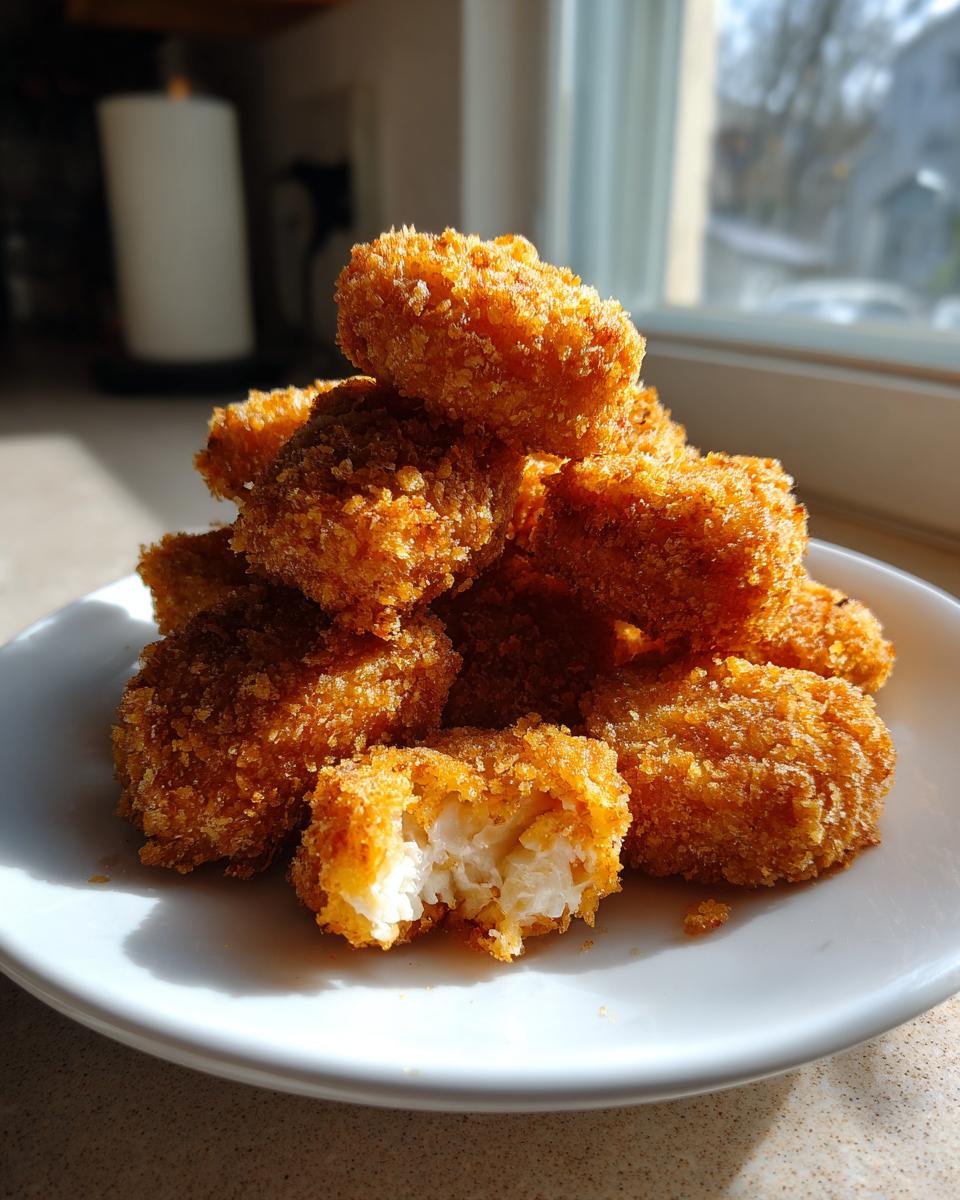
No matter which method you choose, the food safety check is vital. Always ensure your nuggets hit that magic internal temperature of 165°F. You can use a quick-read thermometer to check the center of the thickest nugget. Once they hit that temperature and look golden, take them out! That perfect crunch is waiting for you right there on the plate, ready for dipping.
Serving Suggestions for Your Homemade Chicken Nuggets Dinner
We have achieved superior crunch and perfect juiciness—now, let’s present these beautiful homemade chicken nuggets like the showstoppers they are! A great nugget demands an equally great supporting cast. This isn’t just about throwing them on a plate; it’s about completing that easy, satisfying, quick weeknight chicken meal.
If we are going for that classic appeal, you simply must have the right dips. Forget those sad, tiny packets you get at the drive-thru. We make our own, and it changes everything! Think beyond ketchup. A smoky BBQ sauce is always welcome, but a sharp honey mustard cuts beautifully through the richness of the breading. My personal favorite, though, is using my own homemade sauce.
I’ve spent a lot of time perfecting creamy, flavorful drizzles. You should definitely try making my Easy Creamy Garlic Aioli Sauce Recipe—it turns these simple chicken bites into something truly gourmet. The garlic notes elevate the whole experience.
To turn this into a complete dinner that kids and adults both adore, you need simple, colorful sides. Skip elaborate casseroles; we’re prioritizing speed here. Think crisp sweet potato fries (because everything in our kitchen should feel a little special), or maybe just some quick-steamed broccoli drizzled with lemon juice. Sometimes, an apple sauce cup is all you need to bring the kids back to the table, and that’s perfectly fine by me. The star is the nugget, after all!
Storage and Reheating Homemade Chicken Nuggets
One of the best things about making a big batch of these homemade chicken nuggets is knowing you have leftovers for lunch the next day or a super fast freezer stash. This recipe is absolutely designed to be freezer-friendly! You put in the work once, and you get rewards all week.
If you’re planning ahead, make sure you use the flash-freeze method I mentioned in the main notes. After you’ve cooked the nuggets—and they’ve cooled down completely on a wire rack—lay them out in a single layer on a nice, rimmed baking sheet. Pop that sheet into the freezer for about an hour. This step is critical because it freezes them individually so they don’t just clump together into one giant nugget boulder!
Once they are solid little nuggets, transfer them to a heavy-duty freezer bag or an airtight, freezer-safe container. They hold up beautifully for about three months. If you are looking for more great make-ahead meals that save you time later, you should look at my recipe for the Easy Chicken Pot Pie Casserole—it’s another winner for batch cooking.
Now, let’s get to the most important part of storing these: reheating! If you try to heat these up in a microwave, you are instantly sacrificing texture, and we worked too hard for that crunchy exterior! The microwave turns delicious crispy baked chicken nuggets into sad, soggy mush.
The undisputed champion for bringing them back to life? The air fryer! Seriously, if you want to restore that just-fried texture, toss the frozen nuggets straight into the air fryer basket. I set mine to about 375°F for 8 to 10 minutes. Give the basket a good shake halfway through. The powerful, quick heat not only cooks them through reliably but actually re-crisps that Panko coating to perfection. It’s magic, and it means your healthy homemade nuggets taste just as good on Friday as they did on Monday!
Frequently Asked Questions About Homemade Chicken Nuggets
I know you might have a few lingering thoughts before you dive in—that’s what happens when you’re moving from convenience food to truly fantastic homemade chicken nuggets! Don’t worry about a thing. I’ve compiled the most common questions I get about texture, efficiency, and flavor tweaks right here.
Can I use ground chicken for this recipe instead of cutting breast meat?
Absolutely, you can! In fact, many people prefer using ground chicken for a more uniform, almost copycat chicken nuggets style experience. If you look at variations on my site, you’ll see recipes that start entirely with ground chicken. If you use ground, you skip the food processor step entirely, which saves a little time. However, you must chill that ground mixture very well before forming the nuggets, or they get mushy fast. Cold chicken equals better texture!
Is the double-dip really necessary for crispy baked chicken nuggets?
If you’re asking me, Leo Maxwell, the answer is a resounding yes! Look, if you’re truly short on time and just want *a* coating, the single dip works okay, especially in the air fryer. But if your main goal—your obsession, like mine—is achieving that ultimate, shattering crunch that rivals deep-fried versions, you need that double-dip. That second coating of egg and Panko creates microscopic layers that puff up when heated, giving you the most satisfying texture for your crispy baked chicken nuggets.
What’s the best oil substitute if I don’t have cooking spray?
This comes up a lot, especially when baking! Cooking spray is just vaporized oil, and it’s great because it ensures even, light coverage. If you don’t have a can, you can brush them lightly with melted butter or a neutral oil like canola or avocado oil. Just make sure you use a pastry brush and apply it thinly and evenly over the entire surface of the breading. Too much pooled oil will hinder the crisping process. You can find some other great sauce ideas to pair this with on my Chicken Cheese Steak Sandwiches Recipe page—you might find a new dip!
Can I marinate the chicken first for extra flavor?
You bet! That’s how you take these from a quick weeknight chicken meal to something even more special. If you want to really boost the flavor profile—especially for those copycat chicken nuggets vibes—try a brief soak. Soak the cut pieces of chicken breast in buttermilk for about 30 minutes before you even start your dredging station prep. The enzymes in the buttermilk tenderize the meat beautifully, guaranteeing incredibly moist and tender chicken nuggets, even after baking!
Can I make these homemade chicken nuggets taste like fast food favorites?
This is where we have fun recreating nostalgia! To move toward that classic, familiar taste that everyone craves from those older recipes, you need a little secret magic in your breading mix. Specifically, try adding about a quarter teaspoon of celery salt to your Panko mixture. It sounds odd, but that slight umami and vegetal note is often the missing link in those commercial flavor profiles. Also, for a Chick-fil-A inspired twist, marinating them in pickle juice instead of plain egg wash makes a huge difference!
Nutritional Estimates for Homemade Chicken Nuggets
We strive for beauty here at Gourmet Gaze, but that doesn’t mean we ignore the facts! When we create easy meals built around whole ingredients, the nutritional profile usually ends up much better than whatever you find in a brightly colored box at the grocery store. That’s a definite win for feeding your family!
These figures are based on using the oven-baked method and dividing the entire recipe batch into five servings, giving you about five nuggets per person. Remember, these numbers are estimates. If you use an air fryer with less added fat from the spray, or if you use leaner cuts, your final numbers will shift. But this gives you a great starting point!
Here is a quick look at what you can expect from this delicious batch of homemade chicken nuggets:
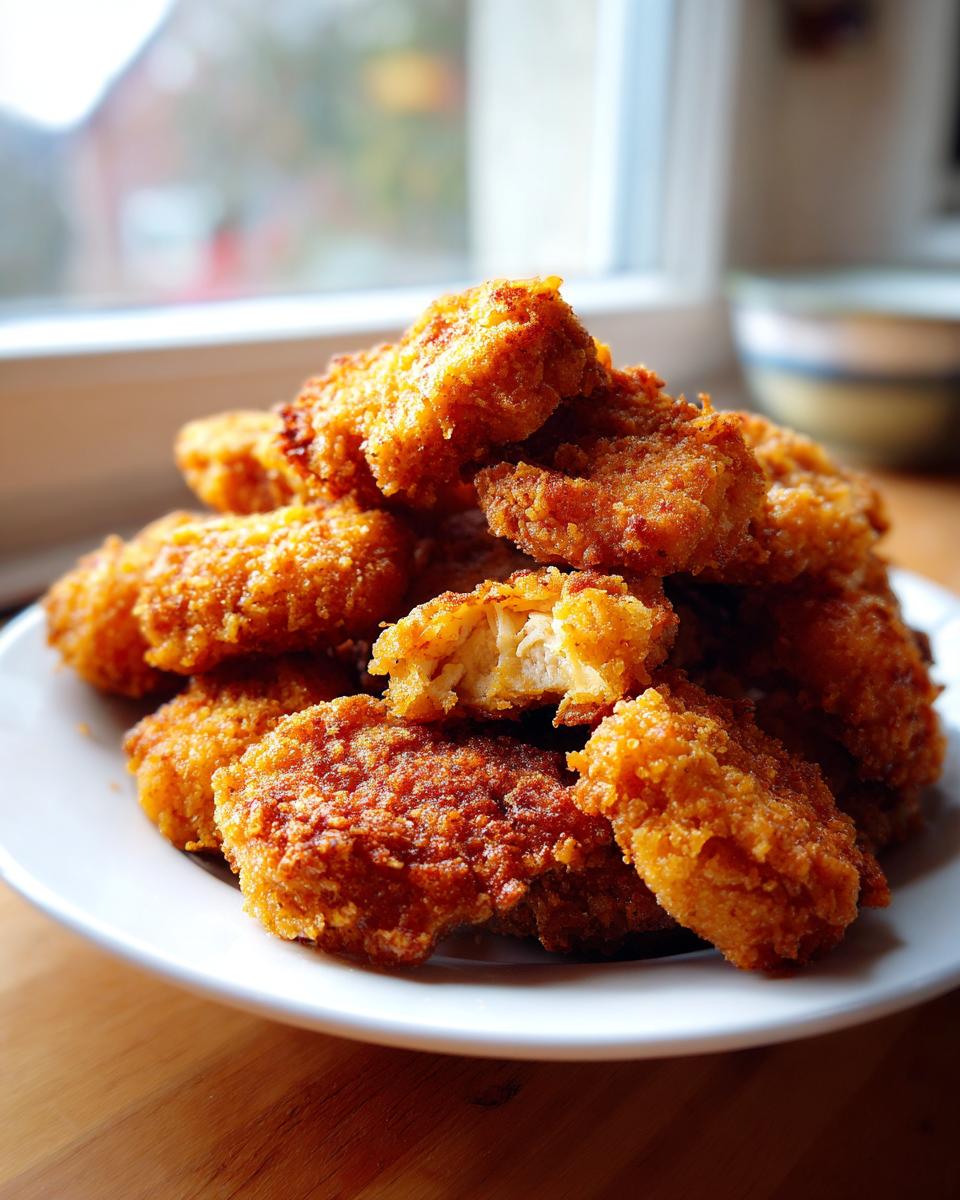
- Serving Size: 5 nuggets
- Calories: 280
- Protein: 32g (An excellent source to keep everyone full!)
- Fat: 8g
- Carbohydrates: 18g
See that protein count? That’s why this is such a fantastic easy chicken nuggets dinner option! It anchors the meal with substance. A quick disclaimer, as I always mention: these estimates don’t account for whatever creamy dipping sauce you end up drowning them in—and believe me, you should definitely use that homemade aioli!
Share Your Crispy Homemade Chicken Nuggets Creations
I want to know how they turned out! Creating food that performs perfectly for you—that’s why I spend hours testing and restyling these recipes to move them from my kitchen to yours. Now that you’ve conquered the breading and achieved that flawless, craveable crunch, the Gourmet Gaze table is open for you to sit down and share.
Did the double-dip technique pay off? Did your family finally abandon the freezer aisle for good? Don’t keep that success a secret!
Please leave a rating below—five stars if these homemade chicken nuggets knocked your socks off. Even better, snap a photo of your golden-brown masterpieces and tag me on social media. Seeing your kitchen successes truly makes my day and reaffirms that we can all create something beautiful and deeply satisfying, even on a busy night. If you have any lingering questions or need help troubleshooting a specific technique, feel free to reach out via my Contact page. Happy cooking!
PrintUltimate Crispy Homemade Chicken Nuggets (Oven-Baked & Air Fryer Friendly)
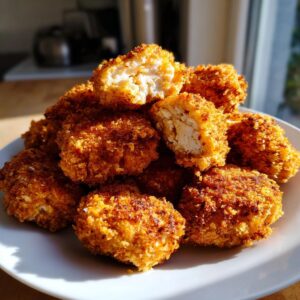
Make the best homemade chicken nuggets that are crispy on the outside and juicy inside. This recipe works perfectly for oven baking or air frying, offering a quick, family-friendly dinner solution.
- Prep Time: 15 min
- Cook Time: 18 min
- Total Time: 33 min
- Yield: 4 servings 1x
- Category: Dinner
- Method: Baking/Air Frying
- Cuisine: American
- Diet: Low Fat
Ingredients
- 1.5 lbs boneless, skinless chicken breast, cut into 1-inch pieces
- 1 cup all-purpose flour
- 2 large eggs, lightly beaten
- 1 cup Panko breadcrumbs
- 1/2 cup regular breadcrumbs
- 1 teaspoon salt
- 1/2 teaspoon black pepper
- 1/2 teaspoon garlic powder
- 1/4 teaspoon paprika
- Cooking spray (for baking/air frying)
Instructions
- Prepare the chicken: Place the chicken pieces in a food processor and pulse until coarsely ground. Do not over-process; you want texture, not paste.
- Set up the dredging stations: Place flour in a shallow dish. In a second dish, whisk the eggs. In a third dish, combine the Panko breadcrumbs, regular breadcrumbs, salt, pepper, garlic powder, and paprika. This breading mix creates the best breading for chicken nuggets.
- Coat the chicken: Take a piece of ground chicken and form it into a small nugget shape. Dredge the nugget first in the flour, shaking off excess. Dip it into the egg mixture, letting excess drip off. Finally, press firmly into the breadcrumb mixture to coat completely.
- For extra crispiness (optional but recommended): Dip the breaded nugget back into the egg wash briefly, then coat again in the breadcrumbs. This double-dip technique helps achieve superior crunch.
- Cook the nuggets: Preheat your oven to 400°F (200°C) or your air fryer to 380°F (195°C).
- Oven Method: Arrange nuggets on a baking sheet lined with parchment paper. Spray generously with cooking spray. Bake for 15-18 minutes, flipping halfway through, until golden brown and cooked through (internal temperature 165°F).
- Air Fryer Method: Place nuggets in a single layer in the air fryer basket, ensuring they do not touch. Spray lightly with cooking spray. Air fry for 10-12 minutes, shaking the basket halfway through, until crispy.
- Serve immediately with your favorite dipping sauces for a quick weeknight chicken meal.
Notes
- For a healthier version using ground chicken, ensure the mixture is well-chilled before forming the nuggets.
- These homemade chicken nuggets freeze well. Flash freeze them on a baking sheet, then transfer to a freezer bag for up to three months. Reheat in the air fryer for best results.
- To mimic a copycat chicken nuggets taste, add a pinch of celery salt to the breading mixture.
Nutrition
- Serving Size: 5 nuggets
- Calories: 280
- Sugar: 1
- Sodium: 350
- Fat: 8
- Saturated Fat: 2
- Unsaturated Fat: 6
- Trans Fat: 0
- Carbohydrates: 18
- Fiber: 1
- Protein: 32
- Cholesterol: 85