
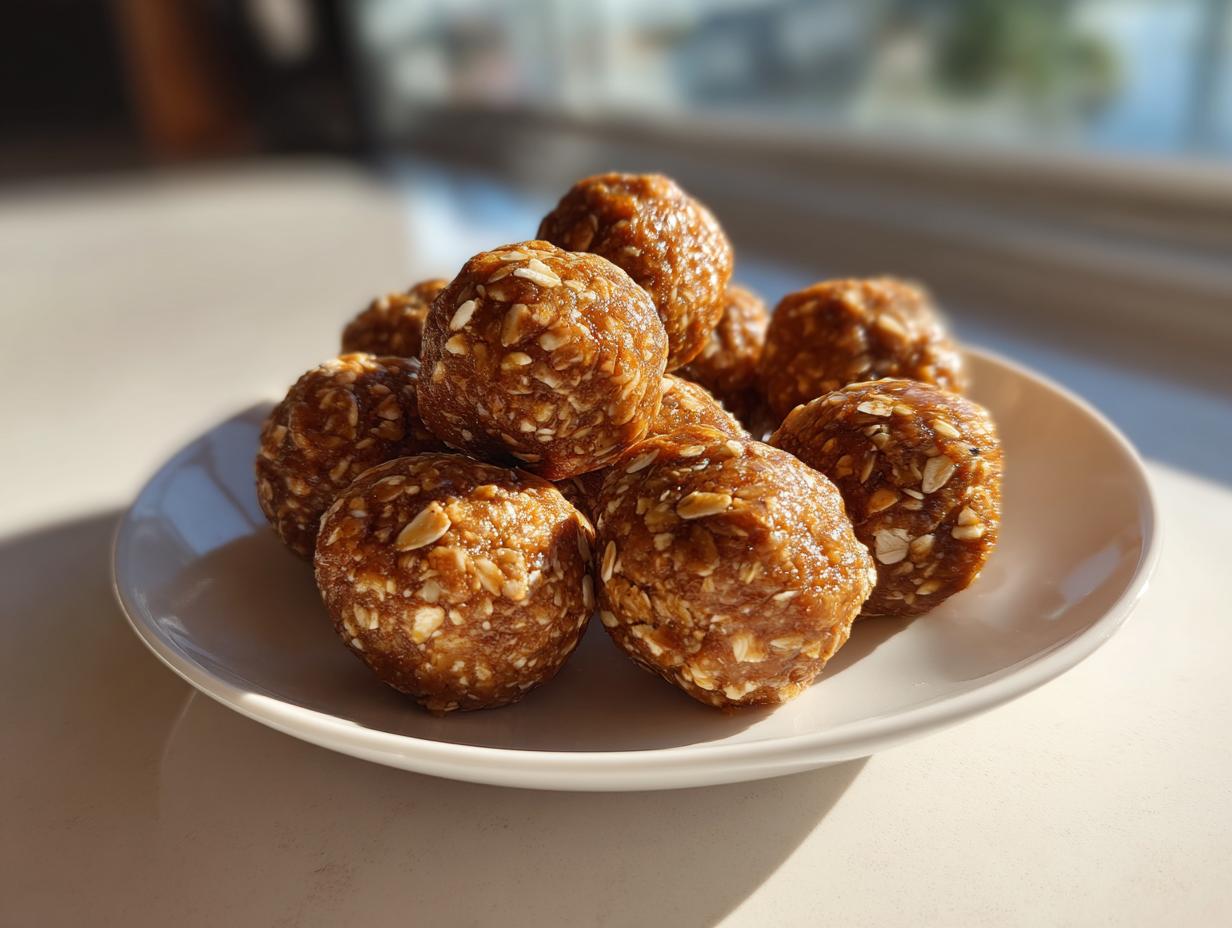

Hey there! You know, when I was first getting back into cooking after my whole corporate burnout phase, finding quick, genuinely healthy snacks felt like a mission. My kitchen used to be the place where ingredients went to die, honestly! But then I discovered the magic of no bake protein balls. Seriously, these little powerhouses are a game-changer for anyone juggling a busy life. They take just minutes to whip up with stuff you probably already have in your pantry, and wow, do they hit the spot after a workout or when you just need a little something to get you through the afternoon. They’re proof that simple, wholesome food can be incredibly satisfying and totally doable, even on your most hectic days.
- Why You'll Love These No Bake Protein Balls
- Ingredients for Your No Bake Protein Balls Recipe
- Simple Steps to Make No Bake Protein Balls
- Tips for Success with Your Protein Balls Recipe
- Storing and Serving Your No Bake Snacks
- Nutritional Information for No Bake Protein Balls
- Frequently Asked Questions About Protein Balls
- Share Your No Bake Protein Balls Creations!
Why You’ll Love These No Bake Protein Balls
Trust me, these little bites are absolute lifesavers! You’ll love them because:
- They’re ridiculously fast to make – seriously, like 15 minutes max!
- Super easy, no fancy equipment or cooking skills needed.
- Perfect for grabbing on the go, whether it’s for healthy snacks or part of your meal prep snacks plan.
- They’re packed with good-for-you ingredients to keep you fueled.
Ingredients for Your No Bake Protein Balls Recipe
Alright, let’s talk about what you’ll need for these amazing little no-bake protein balls. The best part is, you probably have most of this stuff already! You’ll want about a cup of rolled oats – like the kind you’d use for oatmeal, but don’t cook them! Then, grab about half a cup of your favorite creamy peanut butter. If you’re not a peanut butter fan, no worries, we’ll chat about swaps later! You’ll also need a third of a cup of honey or maple syrup to make them nice and sweet, and a quarter cup of protein powder. Vanilla or unflavored totally works! Two tablespoons of chia seeds add a little boost, then just a teaspoon of vanilla extract and a tiny pinch of salt to make all those flavors pop.
Simple Steps to Make No Bake Protein Balls
Okay, so now that you’ve got all your goodies ready, let’s get down to the fun part: making these no-bake protein balls! It’s seriously so straightforward, you’ll wonder why you haven’t been making them all along. The whole process is about mixing, rolling, and chilling. Easy peasy, right? This recipe is a lifesaver when I need a quick, healthy bite but don’t have time to turn on the oven. Let’s dive in!
Combine and Mix Your No Bake Protein Balls Mixture
First things first, grab a medium-sized bowl. Toss in all those glorious ingredients we just talked about: the rolled oats, peanut butter, honey or maple syrup, protein powder, chia seeds, vanilla extract, and that pinch of salt. Now, get your hands in there or use a sturdy spoon to mix everything together really well. You want it all to be super combined. The mixture should feel nice and sticky, almost like dough. My tip? Make sure you really get down to the bottom of the bowl to scoop up everything, so every single bite has that perfect flavor balance. It’s all about getting that consistency just right!
Rolling the Perfect Protein Balls
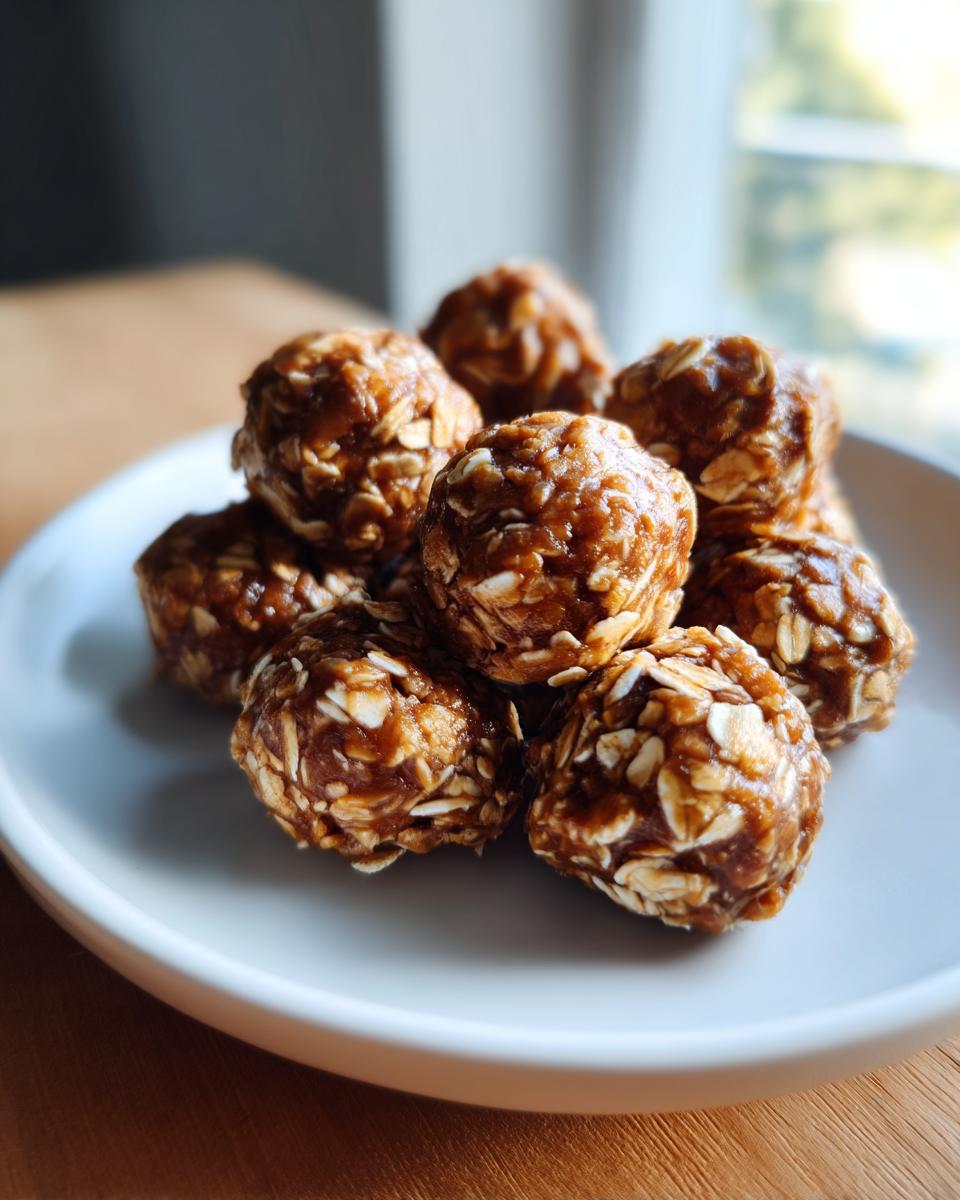
Once you’ve got that perfectly sticky mixture, it’s time for the fun part – rolling! Grab about a tablespoon’s worth of the mixture and roll it between your palms. Aim for about 1-inch balls. Don’t worry if your hands get a little sticky; that’s totally normal! If it’s really sticking to your hands, try lightly dampening them with a tiny bit of water. It makes rolling so much smoother. You’ll want to roll them into nice, neat little balls. This is where they start to look like actual edible treats!
Chilling Your No Bake Protein Balls
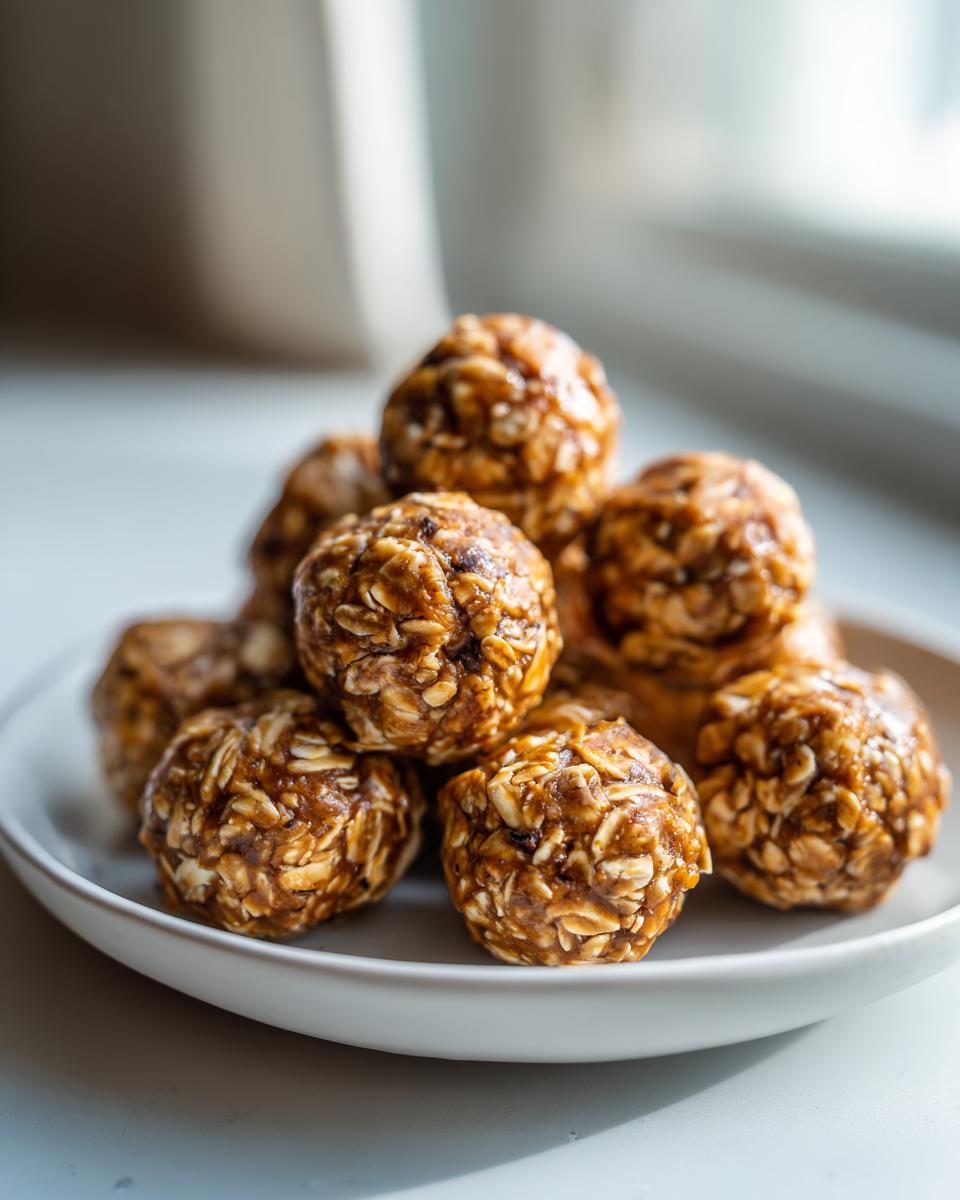
Alright, you’ve rolled all your little protein powerhouses! Now, here comes the crucial step that makes all the difference: chilling. Arrange all those perfectly rolled balls on a plate or a baking sheet that you’ve lined with parchment paper. Parchment paper is great because nothing sticks to it! Pop that plate or sheet into the refrigerator. You’ll want to let them chill for at least 30 minutes. This is super important because it helps them firm up and hold their shape. Honestly, the patience is worth it; it makes them so much easier to eat and less messy!
Tips for Success with Your Protein Balls Recipe
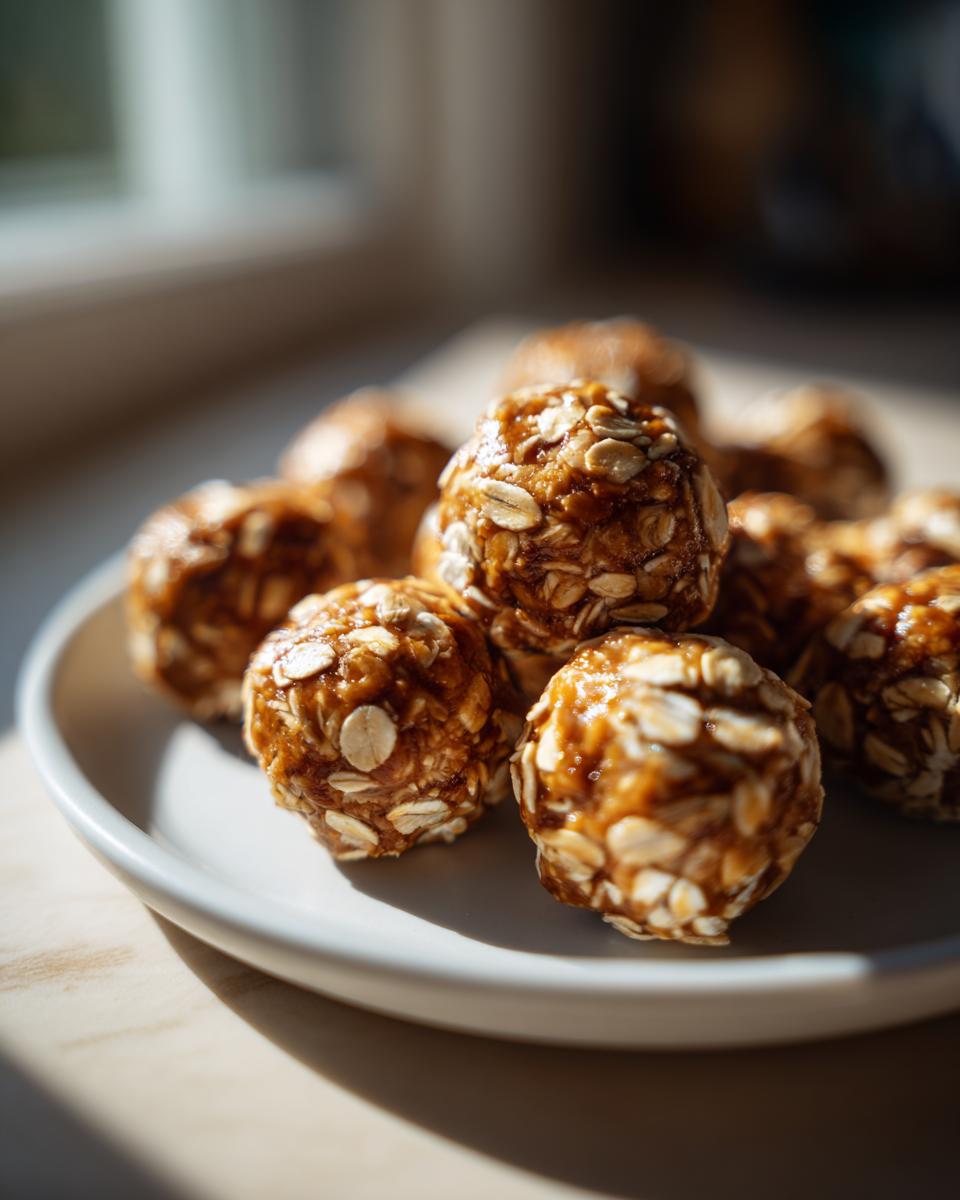
Now that you’ve got the hang of the basic no bake protein balls recipe, let’s talk about making them absolutely perfect every single time! I love playing around with this base recipe, and I’ve learned a few tricks along the way that I think you’ll find super helpful. Whether you’re aiming for the best peanut butter protein balls or want to mix things up with different flavors, these tips will help you nail the texture and taste.
Ingredient Substitutions for Variety
Don’t be afraid to get a little creative with these! If peanut butter isn’t your jam, feel free to swap it out for almond butter, cashew butter, or even sunflower seed butter for a nut-free option. Just know that different nut butters can sometimes have slightly different consistencies, so you might need a tiny adjustment with your liquids or oats. For sweetness, maple syrup is a fantastic vegan alternative to honey. You can also stir in extras like mini chocolate chips, shredded coconut, or even a few dried cranberries for extra flavor and texture!
Achieving the Right Texture
Okay, so the mixture consistency is key here, and sometimes it can be a little tricky. If your mixture feels too dry and kind of crumbly, just add a tiny bit more liquid – maybe a teaspoon of water, milk (dairy or non-dairy!), or even more honey/maple syrup. Mix it in really well. On the flip side, if it’s too wet and sticky, like it’s not holding together at all, add a little more rolled oats, maybe a tablespoon at a time. Mix it in until it feels right – sticky enough to hold its shape but not so wet that it falls apart. It’s all about finding that perfect balance!
Storing and Serving Your No Bake Snacks
So you’ve got these amazing no bake protein balls, but how do you keep them fresh and ready to go? Easy! The best way to store them is in an airtight container right in the refrigerator. They’ll last beautifully for about a week like that. This makes them absolutely perfect for prepping ahead of time – think of them as your go-to post workout snack ready to grab, or a tidy addition to your weekly meal prep snacks. They stay nice and firm in the fridge, so they’re always ready when hunger strikes!
Nutritional Information for No Bake Protein Balls
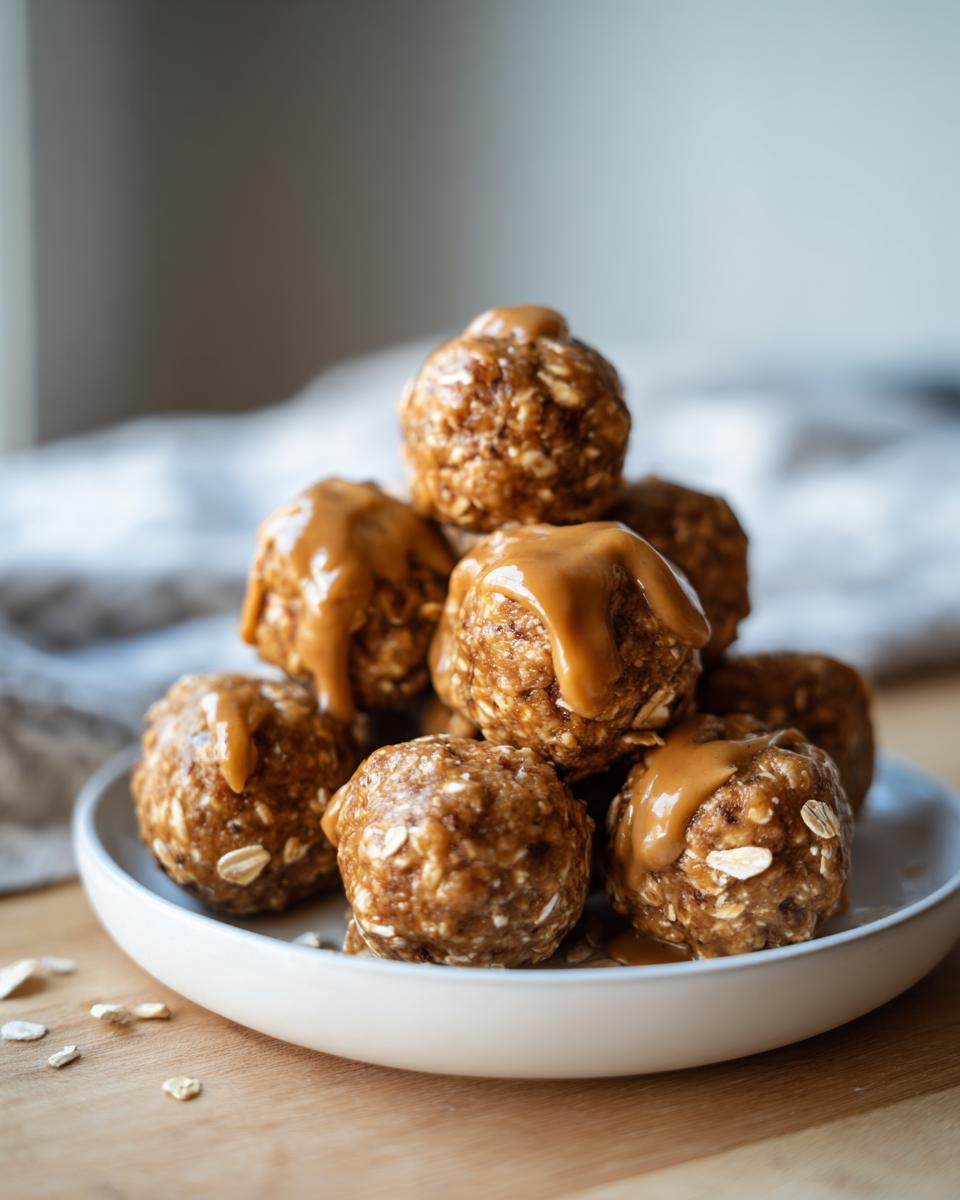
When you’re whipping up these delicious no bake protein balls, it’s good to have an idea of what you’re putting into your body. Keep in mind that these numbers are estimates, and they can totally change depending on the exact brands and types of ingredients you use, especially things like peanut butter and protein powder. But as a general guide, each ball usually comes out to about 120 calories, with around 7g of fat, 5g of protein, and 12g of carbohydrates. It’s a fantastic little energy boost!
Frequently Asked Questions About Protein Balls
You’ve probably got a million questions buzzing around after seeing how easy these are, right? I get it! It’s always good to iron out the details. Let’s tackle some common queries about making and storing these tasty little powerhouses. They’re such a great addition to my routine, and I hope they become a staple for you too! For more quick tips and ideas, check out my blog!
Can I make these protein balls without protein powder?
You absolutely can! While the protein powder really bumps up the protein content, giving you that awesome ‘post workout snack‘ or energy boost, it’s not strictly essential if you don’t have it. The balls will still hold together thanks to the peanut butter and oats, but they won’t be quite as protein-packed. You might just notice a slightly different texture and less protein per serving.
How long do no bake protein balls last?
Great question! Because we’re not baking these, they do need a little chill time to stay firm and fresh. The best way to keep your no bake protein balls is in an airtight container in the refrigerator. They’ll happily last there for about a week. I find they’re perfect for grabbing throughout the week as a convenient snack!
Are these energy bites suitable for meal planning?
Oh, 100%! These energy bites are practically made for meal planning. Seriously, the fact that you can whip them all up on a Sunday and have grab-and-go snacks ready for the entire week is a total game-changer. They’re perfect for tossing in your bag for a quick breakfast on busy mornings or having on hand for those moments when you need a healthy pick-me-up. They really help keep my eating on track when life gets hectic, and I think they’ll do the same for you.
Share Your No Bake Protein Balls Creations!
I absolutely love seeing what you all come up with in your kitchens! If you make these yummy no bake protein balls, please, please share your experience in the comments below. Did you try a fun variation? Did they disappear faster than you could count? I can’t wait to hear all about it! And if you have a moment, a quick rating would be amazing too. It really helps others find these simple, healthy recipes. You can always reach out here too if you have any questions!
PrintNo-Bake Peanut Butter Protein Balls
Quick and easy no-bake protein balls made with peanut butter and oats. Perfect for a healthy snack, post-workout fuel, or a portable breakfast.
- Prep Time: 15 min
- Cook Time: 0 min
- Total Time: 45 min
- Yield: 12-15 balls 1x
- Category: Snacks
- Method: No-Bake
- Cuisine: American
- Diet: Vegetarian
Ingredients
- 1 cup rolled oats
- 1/2 cup peanut butter
- 1/3 cup honey or maple syrup
- 1/4 cup protein powder (vanilla or unflavored)
- 2 tablespoons chia seeds
- 1 teaspoon vanilla extract
- Pinch of salt
Instructions
- Combine all ingredients in a medium bowl.
- Mix until well combined. The mixture should be sticky.
- Roll the mixture into 1-inch balls.
- Place the balls on a plate or baking sheet lined with parchment paper.
- Refrigerate for at least 30 minutes to firm up.
Notes
- Store in an airtight container in the refrigerator for up to one week.
- For a different flavor, try almond butter or cashew butter.
- Add mini chocolate chips or shredded coconut for extra texture and flavor.
- If the mixture is too dry, add a teaspoon of water or milk at a time. If it’s too wet, add a tablespoon more oats.
Nutrition
- Serving Size: 1 ball
- Calories: 120
- Sugar: 6g
- Sodium: 50mg
- Fat: 7g
- Saturated Fat: 1.5g
- Unsaturated Fat: 5.5g
- Trans Fat: 0g
- Carbohydrates: 12g
- Fiber: 2g
- Protein: 5g
- Cholesterol: 0mg