
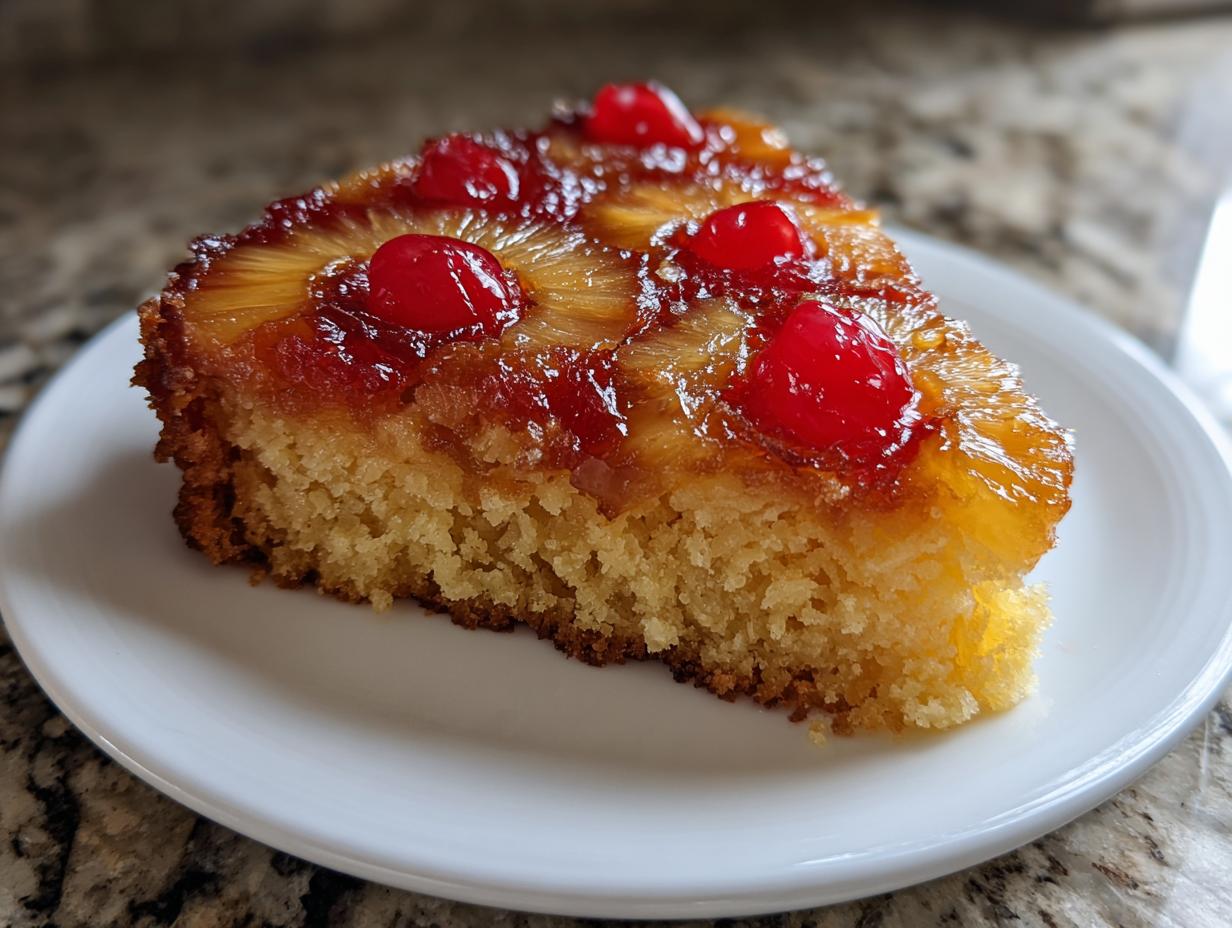

There’s something truly magical about desserts that take you straight back to your childhood, isn’t there? They wrap you up in warmth and memory. For me, that feeling centers entirely around the glorious, glistening Pineapple Upside Down Cake. I remember watching chefs in New Orleans effortlessly turn simple ingredients into art during my road trip away from the spreadsheets, and that’s where I learned that presentation is everything. That initial spark of culinary inspiration has guided my entire journey here at Gourmet Gaze. Trust me when I say this classic pineapple upside down cake recipe isn’t just pretty; it’s reliable. I’ve tested this until the sticky caramel layer shines perfectly every single time, making it completely fail-proof for your next family dinner.
- Why This Is The Best pineapple upside down cake Recipe
- Ingredients for the Ultimate pineapple upside down cake
- How to Make a Classic pineapple upside down cake from Scratch (or Box Mix)
- Tips for the Perfect caramelized pineapple cake Release
- Serving Suggestions for your pineapple upside down cake
- Variations: Box Mix vs. pineapple upside down cake from scratch
- Storage and Reheating Instructions for leftover pineapple upside down cake
- Frequently Asked Questions about this tropical fruit dessert
- Enjoying This Nostalgic Baked Goods Recipe
Why This Is The Best pineapple upside down cake Recipe
I’m telling you, this recipe delivers the trio every baker dreams of: a perfectly caramelized topping, a guaranteed release from the pan—no shattering allowed!—and a wonderfully moist pineapple upside down cake crumb. When I first served this particular version at a neighborhood potluck, people genuinely thought I bought it from a fancy bakery. That’s the power of getting that brown sugar layer just right. We’re aiming for the best homemade pineapple upside down cake experience possible, and the secret is all in the timing before you flip it. It’s simply stunning.
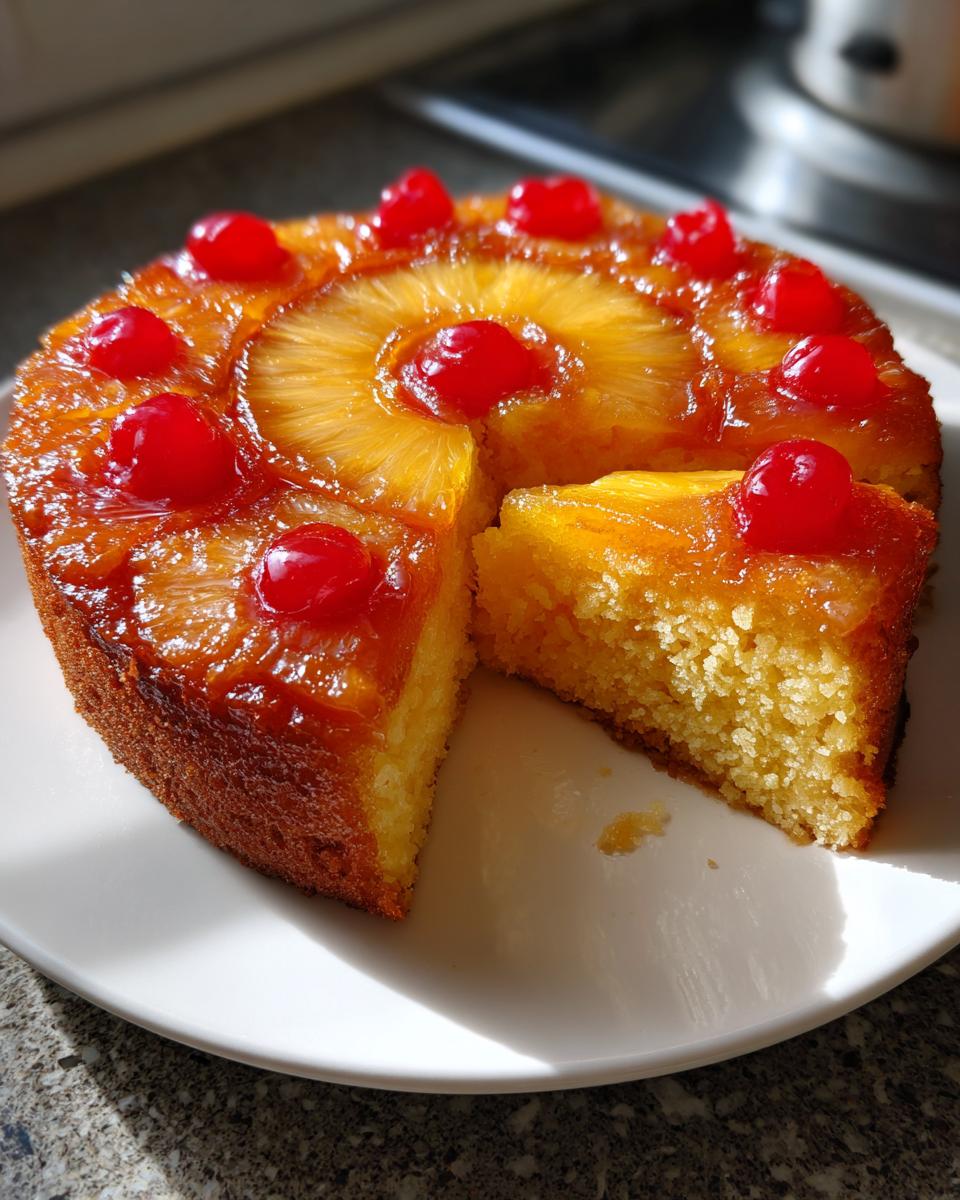
Quick Facts: Prep Time, Cook Time, and Yield for your pineapple upside down cake
- Prep Time: 15 min—so fast!
- Cook Time: 40 min
- Yield: 8 generous servings
Ingredients for the Ultimate pineapple upside down cake
Listing everything out clearly is the first step toward any successful bake, and transparency builds trust, right? I want you to feel completely confident when you line up your items. We need to be precise, especially with that crucial topping, because that’s where all the golden, buttery magic happens. Don’t worry if you’re reaching for a box mix—we’re dressing it up so beautifully here that no one will ever know the difference. We want that gorgeous, syrupy moisture, and the fruit choice is key to pulling that off.
For the Caramelized Pineapple Topping
This is the jewel in our crown! Don’t skimp here; make sure your butter is room temperature for melting, and really pack that brown sugar into the cup measure. I always try to use good quality maraschino cherries because those bright red pops are what makes this retro dessert recipes dish a true classic.
- 1/2 cup unsalted butter, freshly melted
- 3/4 cup packed brown sugar (this molasses content is everything!)
- 1 (20 ounce) can pineapple slices, which you must use *in juice, undrained*—we need that juice!
- 10 beautiful maraschino cherries
For the Moist pineapple upside down cake Batter
Since the goal here is speed and reliability while still getting an amazing result, we are using a quality box mix as the base. But trust me, even doctoring a mix this way makes it taste deep and homemade. You’ll just mix this right according to the directions on the side of your box, but we’re reserving it to spoon over the fruit layer.
- 1 box yellow cake mix
- All the things the box tells you to add: eggs, water, and oil
How to Make a Classic pineapple upside down cake from Scratch (or Box Mix)
Okay, friend, this is where we put it all together. Learning exactly how to make pineapple upside down cake that sets up perfectly takes just a little attention to timing, but it’s so rewarding when that glossy top appears. We’re going to build this gorgeous caramelized pineapple cake layer by layer. Remember, precision in the baking part makes the upside-down reveal so much sweeter!
Preparing the Brown Sugar Pineapple Base
First things first, get that oven warmed up to 350 degrees F. I always give my 9-inch round cake pan a good light grease first. Then comes the fun part! Pour that melted butter evenly across the bottom—make sure it coats everything. Next, sprinkle that brown sugar generously over the butter. You want an even distribution here; thin spots mean a sparse caramel later on. Think of this as building your own little sugary, buttery foundation!
Assembling and Baking the pineapple upside down cake
Now for the artistry! Arrange your pineapple slices neatly over that sugary base. I usually fit about 6 or 7 rings snugly. Then, pop one of those bright red maraschino cherries right into the center hole of every single ring. It’s fussy, but oh, those little jewels make the final cake look utterly professional! While that’s laid out, mix up your cake batter—whether you’re using the box mix directions or working from a scratch recipe—and here’s a big Leo tip: do not overmix the batter! Just combine it until you don’t see streaks.
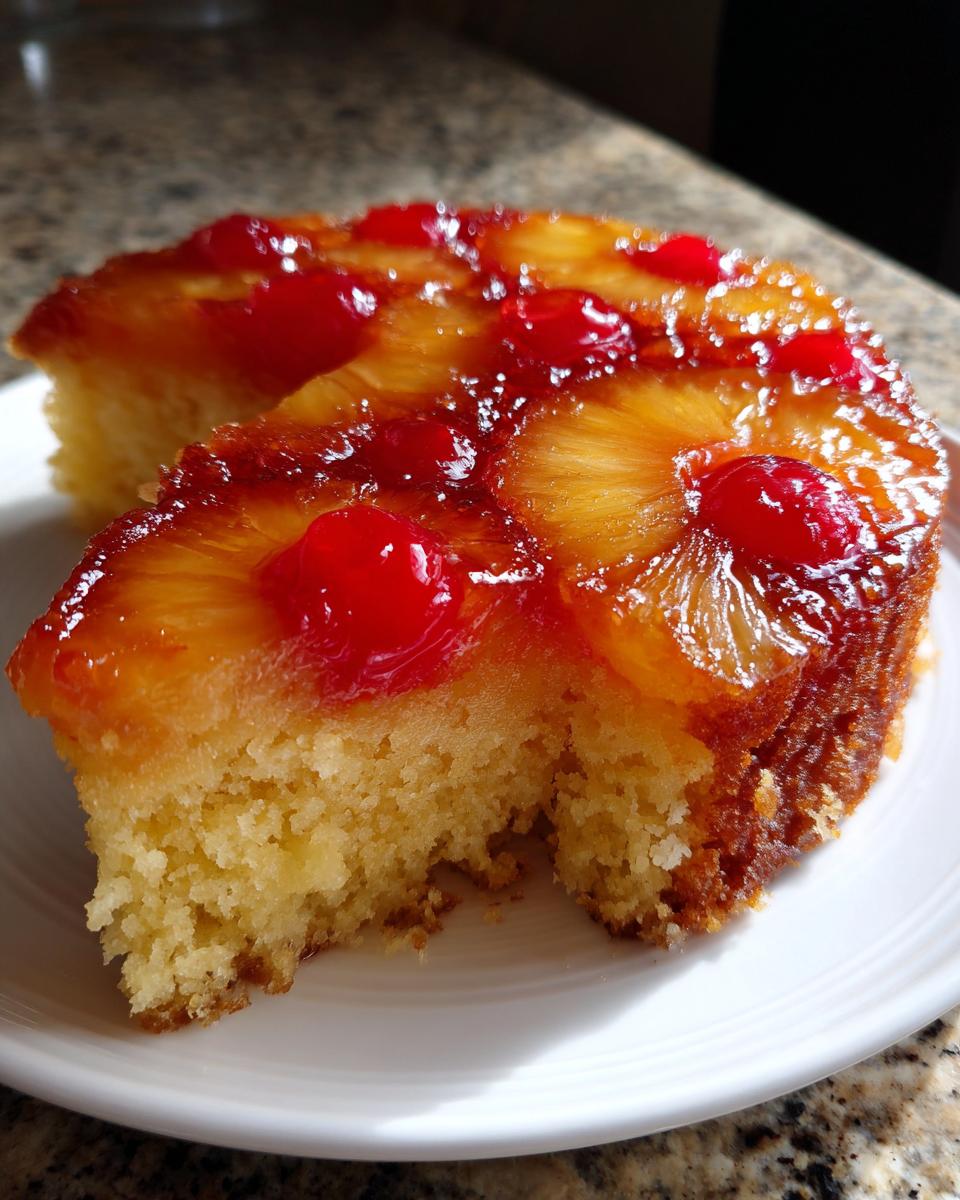
Gently spoon that fluffy batter right over the fruit. You have to be delicate here; use the back of your spoon to spread it out just enough to cover the fruit layer underneath. Don’t press down, or you’ll mix it all up! Pop it into your preheated oven and let it bake for about 35 to 45 minutes. You’re looking for that wooden pick inserted into the center to come out clean. This dish is such a wonderful part of retro dessert recipes history!
The Crucial Inversion Technique for your pineapple upside down cake
This is the moment of truth, and honestly, it’s the easiest step if you follow my timing. Pull the cake out of the oven and set it on a wire rack. You must let it cool for exactly 10 minutes. Not five, and definitely not twenty! Ten minutes allows the caramelized sugar to set slightly, but it stays melted enough to release gracefully. After that ten minutes is up, place a serving plate upside down right over the pan. Hold them tight together and, with confidence, quickly—and I mean *quickly*—flip the whole thing over. Lift the pan slowly. If a stray piece of pineapple stuck behind, don’t panic! I just grab a small offset spatula right away and gently place it back on top. Ta-da! Perfection.
Tips for the Perfect caramelized pineapple cake Release
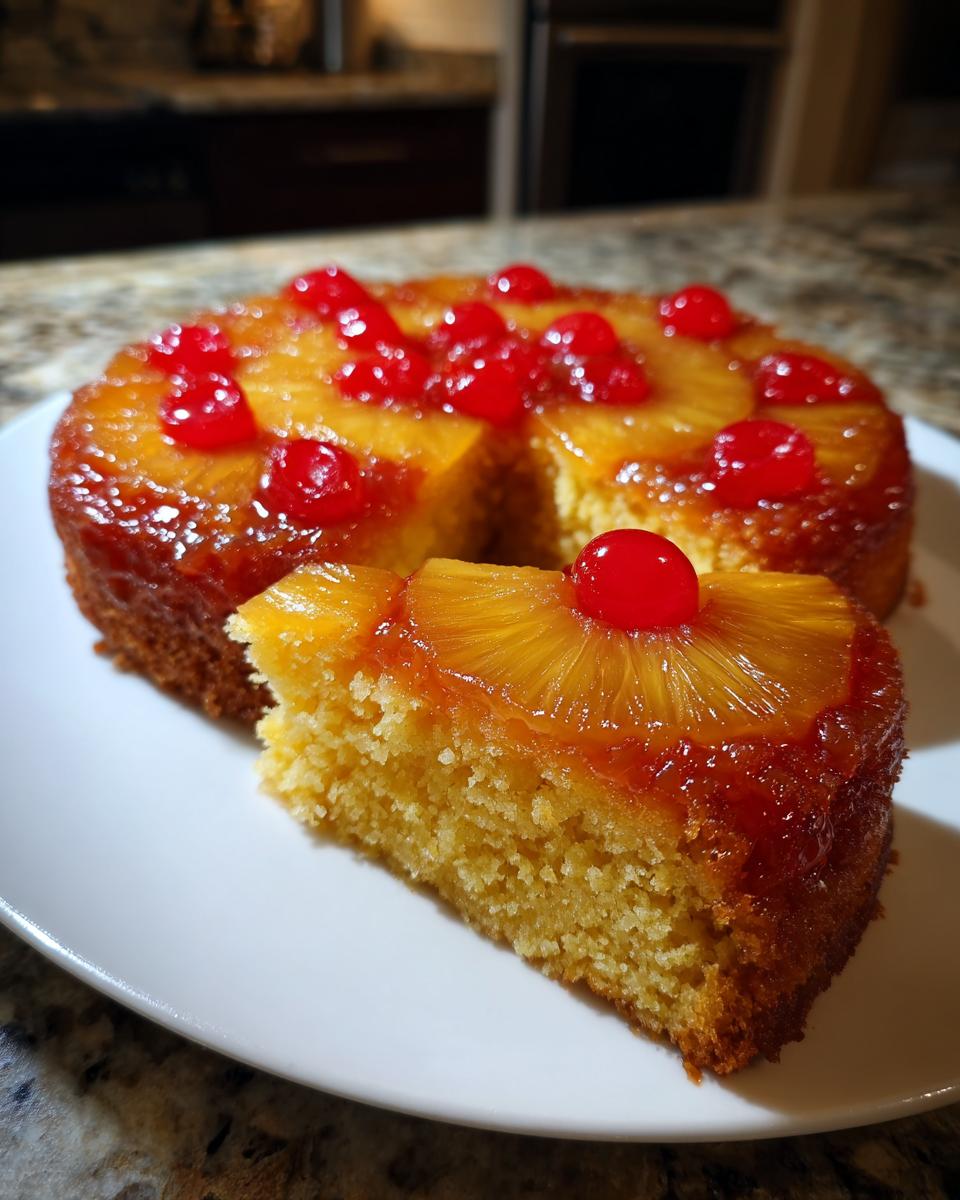
I know that inversion can feel terrifying, but trust me, getting that glossy, sticky brown sugar pineapple cake topping intact is all about prevention. If you are worried—and honestly, who isn’t?—the absolute best trick I ever learned is to use a homemade cake release agent, sometimes called ‘cake goop,’ but you can also use parchment paper.
For this cake specifically, I recommend lining the bottom of your 9-inch pan with a circle of parchment paper *before* you pour in the melted butter and sugar. That combination acts like glue, sealing the fruit to the parchment, not the pan itself. When you flip, the parchment peels right off, leaving you with a stunning, clean edge every single time. It’s an investment in peace of mind, trust me!
Serving Suggestions for your pineapple upside down cake
Once this beauty is sitting proudly on its platter, the work is mostly done, but the best part—the tasting—is just beginning! This cake sings loudest when served warm. That warmth keeps the caramel sauce wonderfully gooey, contrasting perfectly with the soft cake. My absolute favorite way to serve the pineapple upside down cake is with a big, cold scoop of vanilla ice cream nestled right beside it.
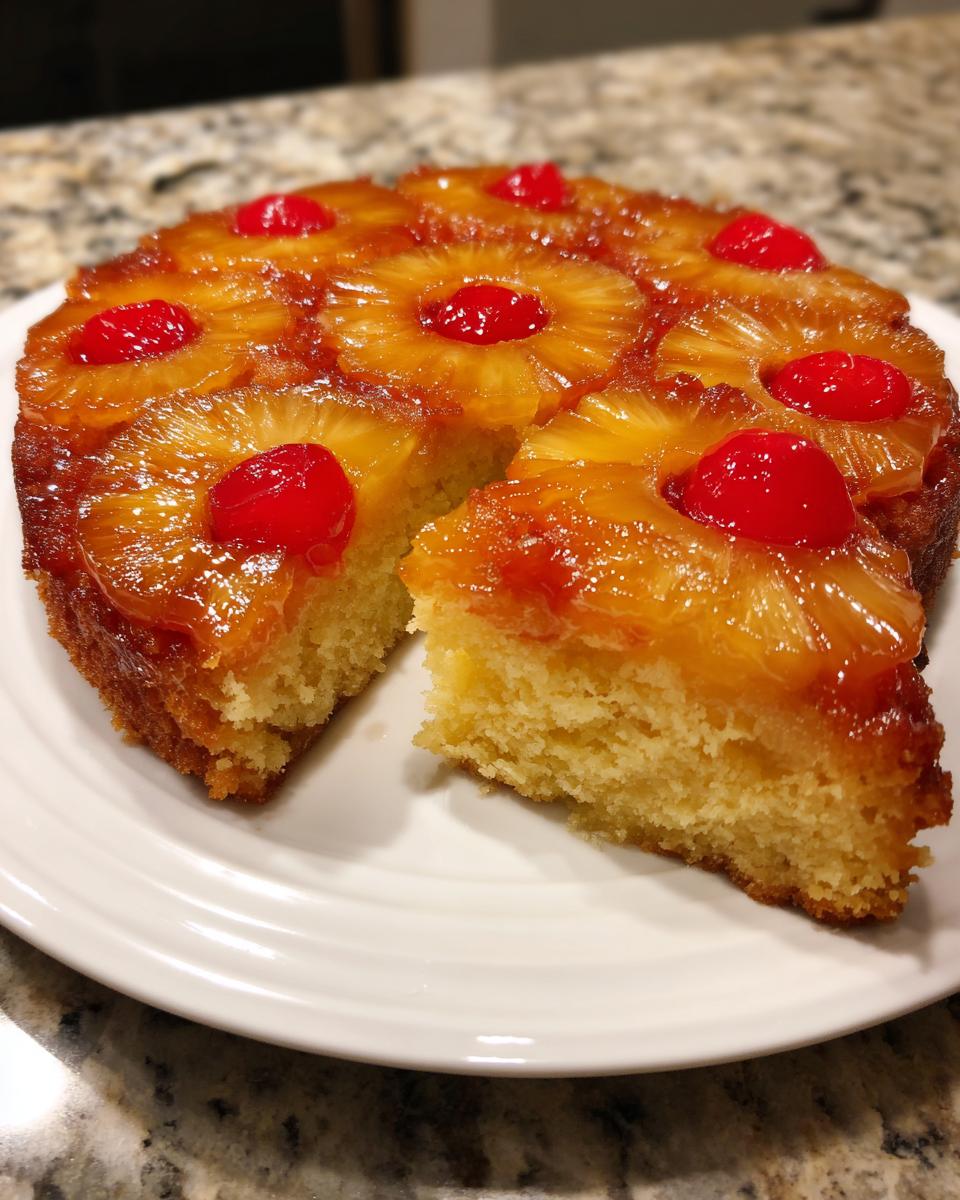
The chill of the ice cream melting slowly into that warm, buttery pineapple glaze? Phenomenal. It’s that temperature contrast that elevates this simple dessert into something truly decadent. It also works beautifully with a fancy whipped cream topping, perhaps flavored with a bit of coconut extract if you’re feeling tropical. If you happen to have my recipe for easy lime sorbet ready, that bright citrus tang cuts through the sweetness of the caramel so nicely. Either way, serve it warm, and get ready for the applause!
Variations: Box Mix vs. pineapple upside down cake from scratch
I know that while my method here is quick and reliable, some folks out there, the true pastry purists, simply prefer to go fully homemade—and I totally respect that! You absolutely can use your favorite tried-and-true *pineapple upside down cake from scratch* recipe instead of the box mix. Just make sure you measure the required cake batter volume roughly to fit your 9-inch pan, and follow the same assembly and inversion steps outlined above.
Now, if you’re thrilled with the ease of the box mix but just want to elevate it slightly, that’s where the fun of doctored cake mix recipes comes in. A super easy trick to transform a standard yellow or white box mix pineapple upside down cake is to swap out some of the required water for pineapple juice—use half water, half juice! You can also add a teaspoon of vanilla extract and maybe a tiny pinch of ground ginger to the mix for depth. These little nudges make it taste truly bespoke without adding an extra hour to your prep time. It’s the best of both worlds!
Storage and Reheating Instructions for leftover pineapple upside down cake
This is one of those beautiful, tender cakes that tastes just as good the next day, provided you store it right. Since this cake is so rich with that buttery caramel topping, we need to be mindful about keeping the fruit from getting too gummy, and the cake from drying out. It’s surprisingly resilient, though!
For short-term storage—say, eating it over the next couple of days—keeping the cake right there in the serving platter, covered loosely with plastic wrap or a cake dome, works perfectly at cool room temperature. Just keep it away from any direct sunlight or heat sources, as that beautiful sugar topping can get a little unruly if it heats up.
If you need to keep it longer than two days, move it into the refrigerator. Pop it into an airtight container first. When you’re ready for a slice, you absolutely must bring it back to room temperature first—cold cake is sad cake! If you’re in a rush, try this trick I use: pop a single slice into the microwave for just 8 to 10 seconds. That brief zap melts the butter and sugar just enough to restore that comforting, warm, gooey texture. Seriously, try that little microwave zap; it’s a game-changer for reheating this nostalgic baked goods treasure.
Frequently Asked Questions about this tropical fruit dessert
It’s natural to have questions when you’re about to commit to baking a classic! I get asked the same things whenever I pull this gorgeous cake out of the oven. Here are the little details that always pop up when folks are asking how to make pineapple upside down cake the right way, ensuring you get that stunning presentation every time.
Can I substitute the maraschino cherries in the pineapple upside down cake?
You absolutely can! If you aren’t a fan of those vibrant red cherries, or just didn’t have them on hand, go ahead and skip them for sure. If you want to substitute them with something, I adore using fresh raspberries; they burst beautifully and add a little tartness. However, I have to admit, if you are going for that true, nostalgic, mid-century look for your pineapple upside down cake, those cherries are the little pop of color that makes it iconic, so for the absolute classic version, I recommend keeping them in!
Why is my pineapple upside down cake sticking to the pan?
Oh, the dreaded stick! That’s the absolute worst way to end an otherwise perfect bake. This usually happens for two main reasons. First, you didn’t let it rest long enough—remember that crucial 10-minute cooling window before you flip it? You need the sugar to settle just a touch. Second, your butter/sugar base wasn’t even. Make sure when you melt that butter and sprinkle that brown sugar on top, it covers the entire bottom surface of the pan edge-to-edge. If you use parchment paper underneath the butter layer, as I suggested in the tips section, you almost completely eliminate the risk, making your skillet pineapple upside down cake (if you bake it in one!) or round pan release perfectly.
Another common question I get is about pan size. While I call for a standard 9-inch round, if you try to use a smaller pan, the batter will be too thick, and the center won’t bake properly before the edges burn. Stick to the 9-inch or if you must use a larger 10-inch pan, know that you’ll need to bump up the cook time slightly and keep an eye on the topping so it doesn’t burn.
And yes, you can definitely make this as a skillet pineapple upside down cake! Just use an oven-safe, 10-inch cast-iron skillet, and follow every single step the same way. The cast iron holds heat wonderfully, which just makes that caramel even richer. It’s a fantastic look!
Enjoying This Nostalgic Baked Goods Recipe
Well, we made it! We conquered the caramelization, mastered the flip, and now you have this absolutely stunning, glistening **pineapple upside down cake** sitting right in front of you. Seriously, take a moment to admire that perfect, shiny layer—that deserves a little moment of appreciation! If you used the box mix, don’t tell anyone how easy it was; this looks like it took you all day, and frankly, you deserve the credit.
Now that you have this showstopper ready, I really want to know how it turned out for you. Did you serve it warm with ice cream? Did you try adding a little spice to the batter? Please, take a picture and share it over on social media and tag me! It truly feeds my soul to see other people enjoying these recipes that I put so much care into perfecting for the site.
And if you struggled with the flip or have a brilliant tip I didn’t even think of—maybe you used a different fruit or perfected a specific pan prep—drop a comment below. Your thoughts and ratings help other home cooks feel confident trying this recipe next time they’re looking for amazing pineapple dessert recipes for potluck, or just craving a little nostalgic sweetness. Thank you so much for cooking with me today. Let’s make something delicious again soon!
PrintThe Ultimate Pineapple Upside Down Cake Recipe

This classic pineapple upside down cake recipe guarantees a perfectly released, gloriously golden, and wonderfully moist cake with no sticking to the pan. It is an irresistible dessert that is easier than you think to make.
- Prep Time: 15 min
- Cook Time: 40 min
- Total Time: 55 min
- Yield: 8 servings 1x
- Category: Dessert
- Method: Baking
- Cuisine: American
- Diet: Vegetarian
Ingredients
- 1/2 cup unsalted butter, melted
- 3/4 cup packed brown sugar
- 1 (20 ounce) can pineapple slices in juice, undrained
- 10 maraschino cherries
- 1 box yellow cake mix (or your favorite scratch cake recipe)
- Ingredients required by cake mix box (eggs, water, oil)
Instructions
- Preheat your oven to 350 degrees F. Lightly grease a 9-inch round cake pan.
- In the prepared cake pan, pour the melted butter evenly over the bottom. Sprinkle the brown sugar evenly over the butter.
- Arrange the pineapple slices on top of the brown sugar mixture. Place one maraschino cherry in the center of each pineapple ring.
- Prepare the cake batter according to the package directions for a standard 9-inch round cake, or use your preferred scratch recipe. Do not overmix the batter.
- Gently spoon the cake batter over the pineapple and brown sugar layer. Spread the batter evenly without disturbing the fruit arrangement underneath.
- Bake for 35 to 45 minutes, or until a wooden pick inserted into the center comes out clean. Baking time may vary based on your oven and cake mix.
- Remove the cake from the oven and let it cool in the pan on a wire rack for exactly 10 minutes. This cooling time is important for proper release.
- Place a serving plate upside down over the cake pan. Carefully and quickly invert the pan and plate together. Lift the pan off the cake. If any fruit sticks, gently replace it onto the cake.
- Serve warm, perhaps with a scoop of vanilla ice cream for the ultimate indulgent treat.
Notes
- For a truly classic look, use pineapple rings and maraschino cherries.
- If you are worried about the cake sticking, line the bottom of the pan with parchment paper before adding the butter and sugar.
- This cake is best served warm on the day it is made.
Nutrition
- Serving Size: 1 slice
- Calories: 380
- Sugar: 35g
- Sodium: 320mg
- Fat: 18g
- Saturated Fat: 11g
- Unsaturated Fat: 7g
- Trans Fat: 0g
- Carbohydrates: 54g
- Fiber: 1g
- Protein: 4g
- Cholesterol: 55mg