
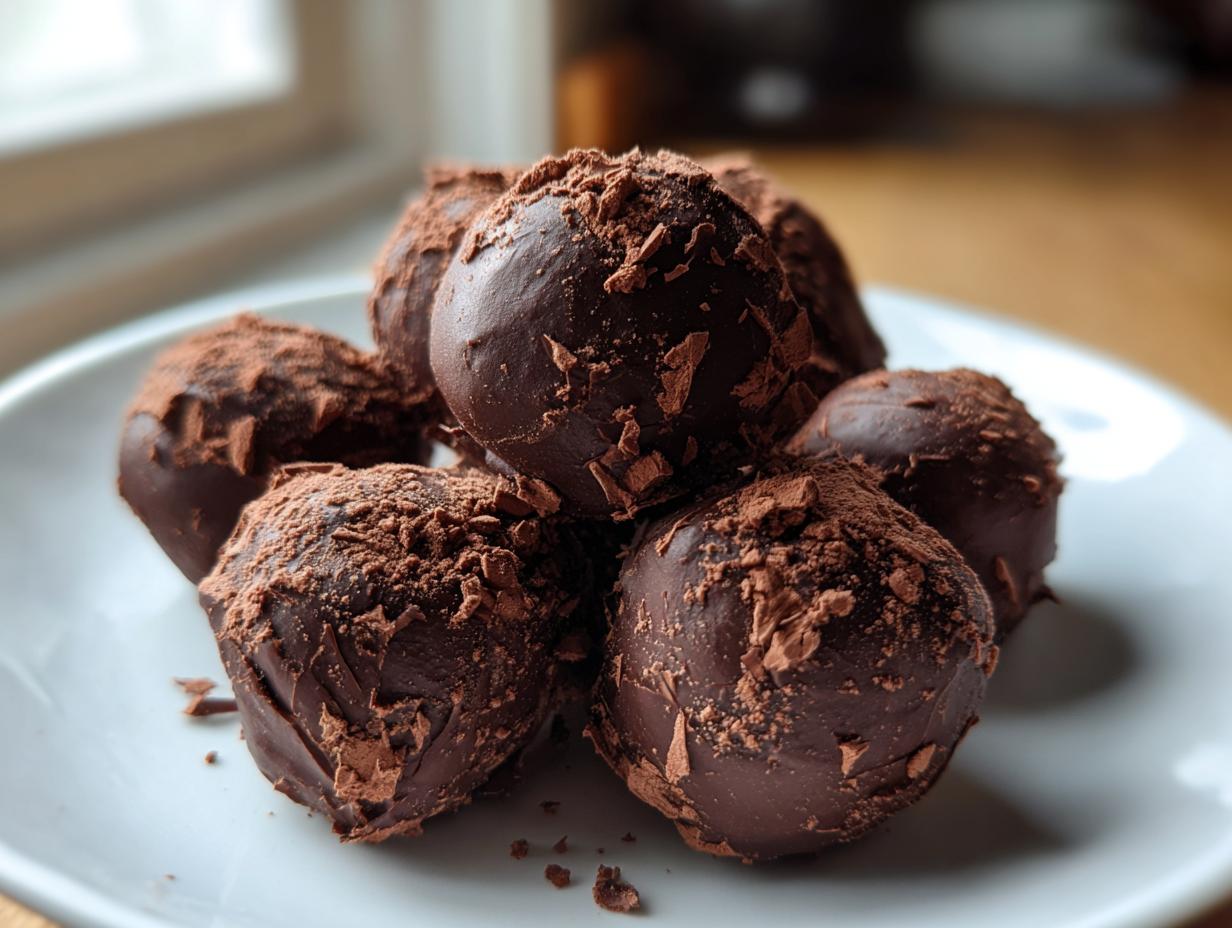

If you’re like me—someone who loves dessert magic but loathes turning on the oven after a long week—then I have found your new obsession. We are diving into the absolute simplest, most impressive treat you can make: the legendary oreo balls. Forget complicated steps; this is the no bake dessert that consistently wins every party I bring them to. Over my culinary journey, I’ve refined this method until it’s practically foolproof. This Classic 3-Ingredient No-Bake Oreo Balls recipe delivers a rich, cheesecake-like center wrapped in a snappy chocolate shell. It’s proof that the most satisfying sweets require almost no effort.
- Why You Need This Recipe for Oreo Balls
- Ingredients for Perfect Oreo Balls
- Step-by-Step Instructions for Easy Oreo Balls
- Tips for Making the Best Oreo Truffles
- Variations on Classic Oreo Balls
- Storage and Make Ahead Tips for Oreo Balls
- Serving Suggestions for Your Oreo Dessert Balls
- Frequently Asked Questions About Oreo Balls
- Nutritional Estimate for Oreo Balls
Why You Need This Recipe for Oreo Balls
Seriously, stop what you’re doing and pay attention to why these treats are essential for your baking rotation. My goal at Gourmet Gaze is to deliver reliability, and these deliver every single time.
- They are the ultimate no bake dessert—no oven time means less heat in your kitchen!
- With just three core ingredients, they are one of the fastest 3 ingredient sweets you’ll ever make.
- They are truly a crowd pleasing dessert; I’ve never seen a single leftover truffle when I bring these to an event.
- Perfect for gifting or stuffing into cookie tins during holidays.
Ingredients for Perfect Oreo Balls
When you stick to the basics, these work beautifully. Trust me, you don’t need anything fancy here—just the right foundation for these chocolate covered cookies. It all starts with a standard 14.3 oz package of Oreos, 8 ounces of cream cheese that’s been softened up nicely, and about 12 ounces of good melting chocolate.
Step-by-Step Instructions for Easy Oreo Balls
Making these easy truffle recipe favorites is just like assembling LEGOs—simple parts leading to something amazing! We are assembling these incredible Oreo Balls using nothing but muscle, a bowl, and that microwave. Before you know it, you’ll have a pan full of elegant chocolate covered cookies ready for the fridge. Just remember that patience in the chilling stage is what separates a gooey mess from a perfect coatable ball!
Preparing the Oreo Cookie Base
First up, we process the Oreos. If you have a food processor, toss that entire package of cookies right in and pulse away until you have fine, uniform crumbs. Simple! Now, if your processor is dirty or you hate hauling it out—I totally get it—just throw those cookies into a sturdy, zip-top freezer bag. Grab a rolling pin—or maybe a heavy can of tomatoes, whatever works—and crush them until they look like decent cookie sand. Transfer everything to your bowl and add that softened cream cheese. You need to mix this thoroughly, either with a hand mixer or a really sturdy spoon, until it blends into one thick, slightly sticky dough. Don’t stop until you see zero white streaks!
Chilling and Coating the Oreo Balls
Roll that dough into little bites, about one inch across, and line them up on parchment-covered sheet pans. Now for the critical part: they absolutely must chill for a minimum of 30 minutes. If you skip this, the balls will fall apart when they hit the warm chocolate. While they firm up, melt your chocolate wafers slowly in the microwave, stirring every 30 seconds until smooth. If you want that ultra-professional, glossy finish, stir in just a teaspoon of coconut oil. Lift your cold balls out, dip them quickly, and let any excess drip off over the bowl. Set them back on the parchment immediately, add sprinkles if you’re decorating, and let them set up in the fridge for about 15 more minutes until that chocolate shell is completely hard.
Tips for Making the Best Oreo Truffles
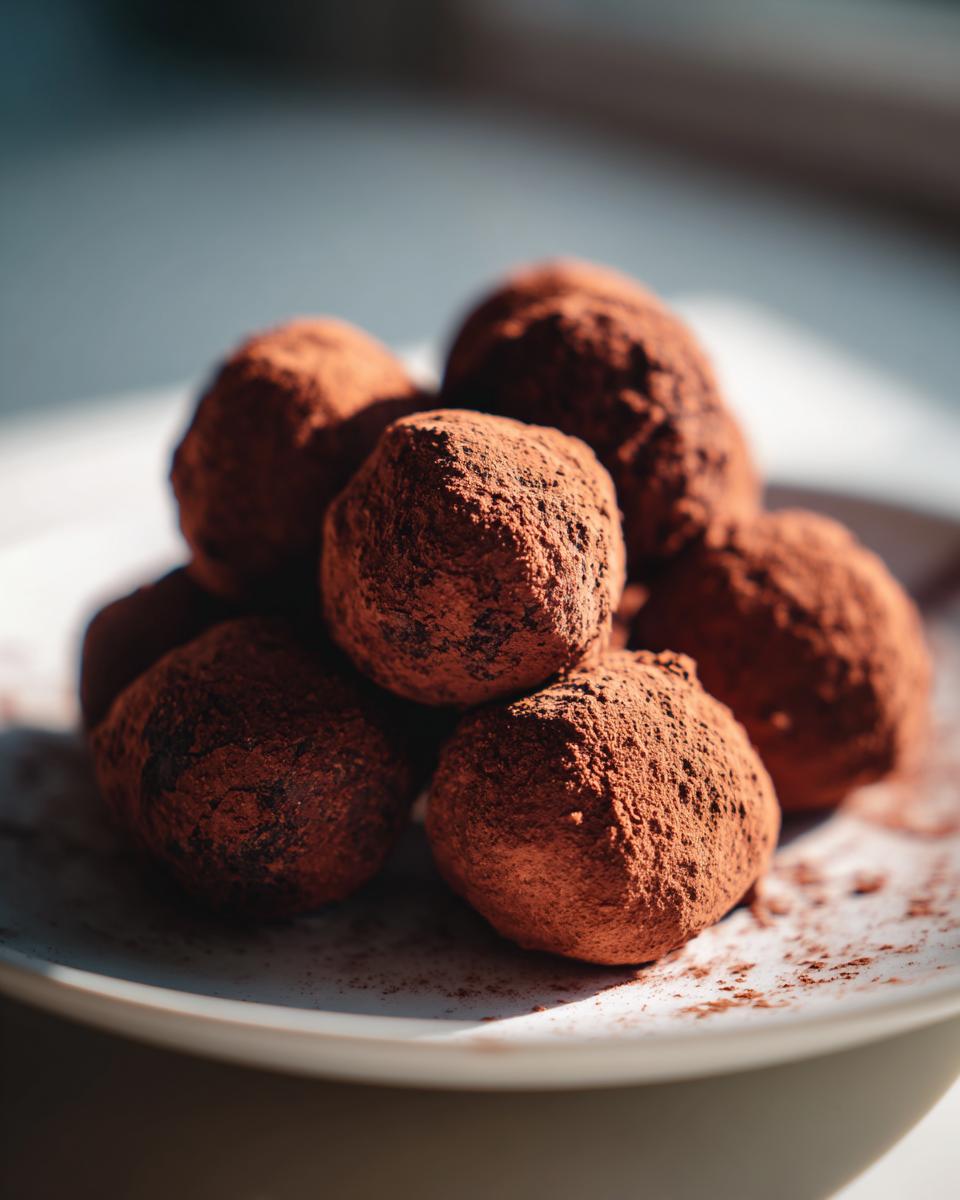
Even though these are so simple, a few insider tricks elevate your homemade oreo truffles from good to totally unforgettable. My goal is always to make these miniature chocolate desserts look and taste like they took hours, not minutes! First, don’t rush the chilling time for the dough balls—that firmness is what prevents them from dissolving in the melted coating.
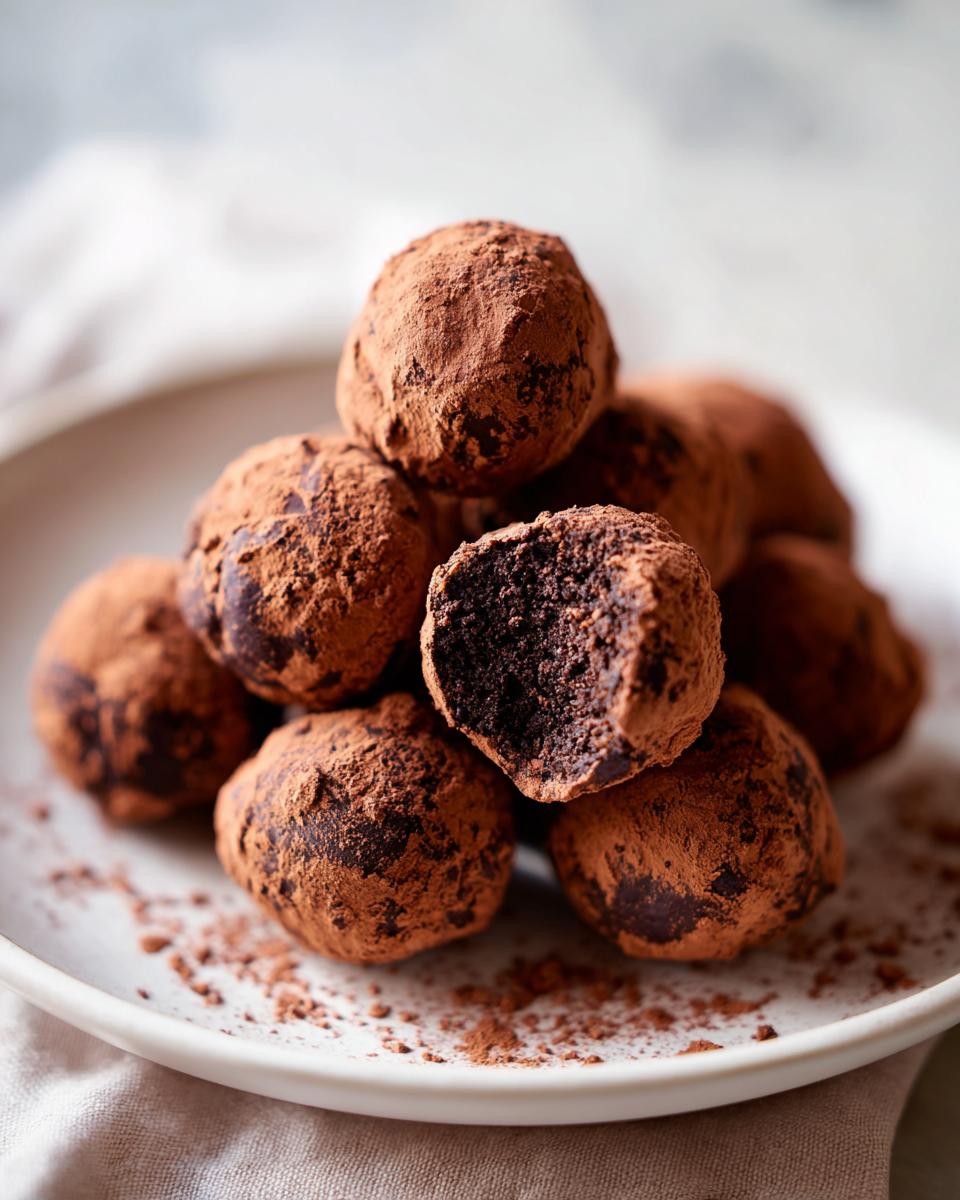
When melting your chocolate, use the shortest microwave intervals possible—seriously, 15 seconds toward the end is better than 30. If the chocolate gets too hot, it can become thick and seize up, ruining your beautiful coating job. Don’t forget that secret teaspoon of coconut oil I mentioned; it keeps the shell liquid long enough for a perfect dip.
If you want an extra layer of visual appeal without extra work, try dipping half the ball only. A partial dip looks incredibly elegant on a platter. For the best look, always transfer them directly from the fridge to your serving platter; these taste best when they are still slightly cool, which keeps that creamy center firm, much like the cheese crunch bites in our appetizer roundup.
Variations on Classic Oreo Balls
The beauty of using Oreos and cream cheese is how versatile this base is! While the classic dark chocolate coating is fantastic, we can easily pivot these for any celebration. For the holidays, you absolutely must try dipping half the batch into white chocolate wafers and dusting them with crushed peppermint—hello, instant Christmas magic!
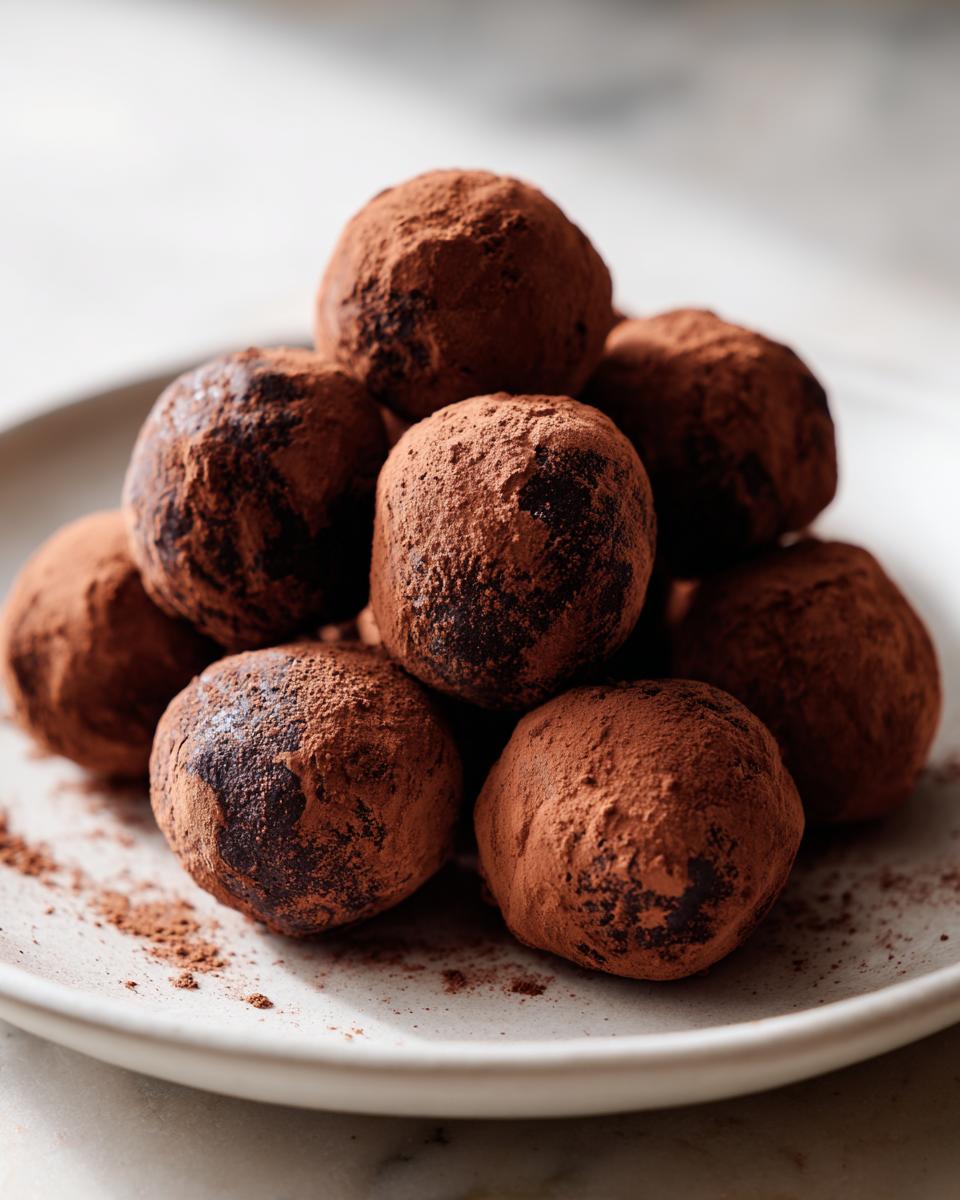
If you’re feeling green, use some oil-based food coloring directly in your melted white chocolate to make vibrant Grinch-style oreo balls. For birthdays, skip the standard chocolate completely and use colored candy melts to match your party theme. These are fantastic easy giftable sweets because the look changes completely just by changing the outer coating.
You can even mix in a teaspoon of espresso powder into the filling if you want a deeper, mocha note. It’s all about using that simple base as your starting point!
Storage and Make Ahead Tips for Oreo Balls
Since these are the ultimate make ahead chocolate treats, planning ahead for parties is so easy! Good news: these homemade oreo truffles hold up beautifully. You can keep them stored airtight in the refrigerator for nearly two full weeks, and they stay just as perfect.
If you need to make them even further out, freezing is your best friend. Pop them into a freezer-safe container—layer them with parchment paper so they don’t stick together—and they’ll last for about two months. Just let them thaw on the counter for about 20 minutes before serving, or transfer them to the fridge earlier for a slightly firmer bite. Find more ideas for advance prep sweets over at my guide to make ahead chocolate treats!
Serving Suggestions for Your Oreo Dessert Balls
Presentation is key here at Gourmet Gaze, even for something as simple as oreo balls! Because these are such perfect simple party treats, display them beautifully on a tiered stand surrounded by fresh fruit accents. If you’re gifting them, arrange them snugly in small decorative boxes lined with paper doilies—they look much more expensive than they are!
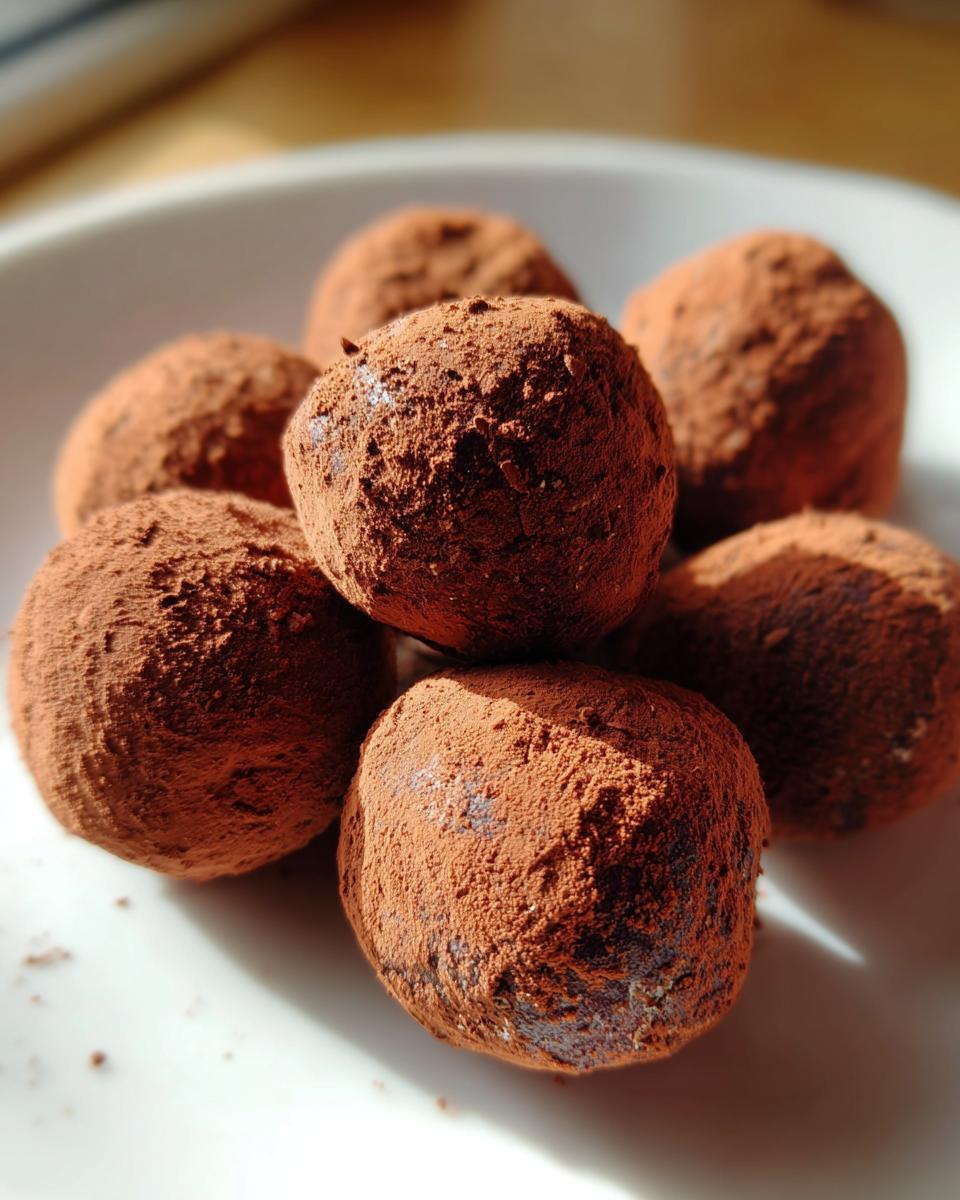
For a contrast in texture, serve them alongside something bright and creamy, maybe even my chocolate banana pops for a nice palate cleanser. These little decadent bites are always the first things to disappear!
Frequently Asked Questions About Oreo Balls
Can I make Oreo balls without a food processor?
Absolutely! Please don’t let equipment stop you from making these wonderful easy dessert for beginners. If you don’t have a food processor, the old-fashioned way works just fine. Grab a heavy-duty zip-top bag—the kind meant for freezing works best—toss the Oreos inside, seal it up almost completely (leaving a tiny bit of air to escape), and then get crushing! A rolling pin is fantastic, but honestly, standing on the bag works too, just be careful not to rip it! You might have to work a bit harder for those fine crumbs, but the result is the same delicious base for your chocolate covered cookies.
What is the difference between Oreo balls and cake balls?
That’s a question I get asked a lot! The main difference is the filling base. Oreo balls, or Oreo truffles, use crushed Oreo cookies mixed with cream cheese to create a dense, rich, fudge-like center. True cake balls are made by crumbling up a baked, cooled cake and mixing it with frosting—they tend to be lighter and more cake-like in texture. These are definitely the simpler option since they’re a no bake dessert and avoid the baking step entirely!
How long do these easy truffle recipe treats last?
Because of the cream cheese in the center, these homemade oreo truffles must be refrigerated. Stored in an airtight container, they are fantastic for up to two weeks! If you’re prepping way ahead for a big holiday event, they freeze beautifully too. I find they keep their texture nicely in the deep freeze for about two months. Just let them sit on the counter for about 20 minutes before you plan to serve them so they aren’t rock hard.
Are these considered Christmas Oreo Balls if I decorate them?
Yes, they absolutely are! We often categorize them based on their fantastic versatility. If you switch out the chocolate coating for colored candy melts—think green for Grinch style or red and white swirls—they instantly become one of the best christmas no bake treats available. A simple sprinkle overlay makes these simple party treats look incredibly festive.
Nutritional Estimate for Oreo Balls
Keep in mind that these estimates are based on using standard, full-fat ingredients and serving size of one truffle. Since these are incredibly rich miniature chocolate desserts, they are best enjoyed in moderation! We estimate about 150 calories per ball, with 15 grams of sugar. This is a deeply satisfying sweet snack, meant for special enjoyment!
PrintClassic 3-Ingredient No-Bake Oreo Balls (Truffles)

Make these irresistibly rich Oreo Balls using only three simple ingredients. This no-bake dessert is fast, easy, and perfect for parties or gifting.
- Prep Time: 20 min
- Cook Time: 5 min
- Total Time: 50 min
- Yield: 24 servings 1x
- Category: Dessert
- Method: No Bake
- Cuisine: American
- Diet: Vegetarian
Ingredients
- 1 package (14.3 oz) Oreo cookies
- 8 oz cream cheese, softened
- 12 oz semi-sweet chocolate melting wafers or chips
Instructions
- Place the entire package of Oreo cookies into a food processor. Pulse until you have fine crumbs.
- Transfer the Oreo crumbs to a medium bowl. Add the softened cream cheese.
- Mix the crumbs and cream cheese together using a hand mixer or a sturdy spoon until a thick, uniform dough forms.
- Roll the dough into small, uniform balls, about 1 inch in diameter. Place the balls on a baking sheet lined with parchment paper.
- Chill the Oreo balls in the refrigerator for at least 30 minutes until firm. This step is crucial for easy dipping.
- Melt the chocolate wafers according to package directions, usually in a microwave-safe bowl in 30-second intervals, stirring between each interval until smooth.
- Dip each chilled Oreo ball into the melted chocolate, ensuring it is fully coated. Use a fork or a dipping tool to lift the ball out, allowing excess chocolate to drip off.
- Return the coated balls to the parchment-lined baking sheet.
- If desired, immediately sprinkle with festive sprinkles before the chocolate sets.
- Refrigerate the finished Oreo balls for about 15 minutes, or until the chocolate coating is completely firm.
Notes
- For a smoother coating, add 1 teaspoon of coconut oil or shortening to the melted chocolate.
- If you do not have a food processor, place cookies in a large zip-top bag and crush them thoroughly with a rolling pin.
- These are excellent make ahead chocolate treats; store them in an airtight container in the refrigerator for up to two weeks.
Nutrition
- Serving Size: 1 truffle
- Calories: 150
- Sugar: 15
- Sodium: 85
- Fat: 9
- Saturated Fat: 5
- Unsaturated Fat: 4
- Trans Fat: 0
- Carbohydrates: 16
- Fiber: 0
- Protein: 2
- Cholesterol: 10