
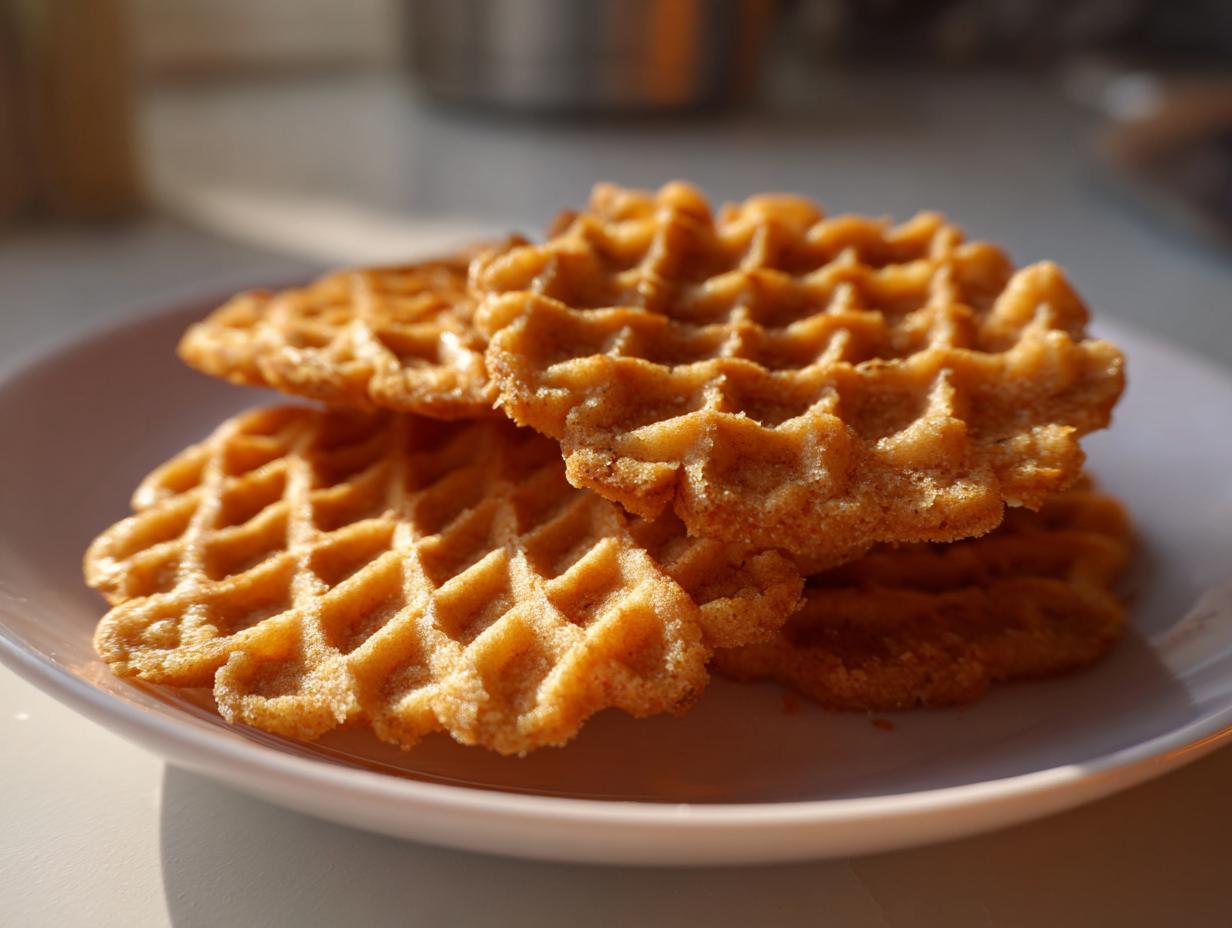

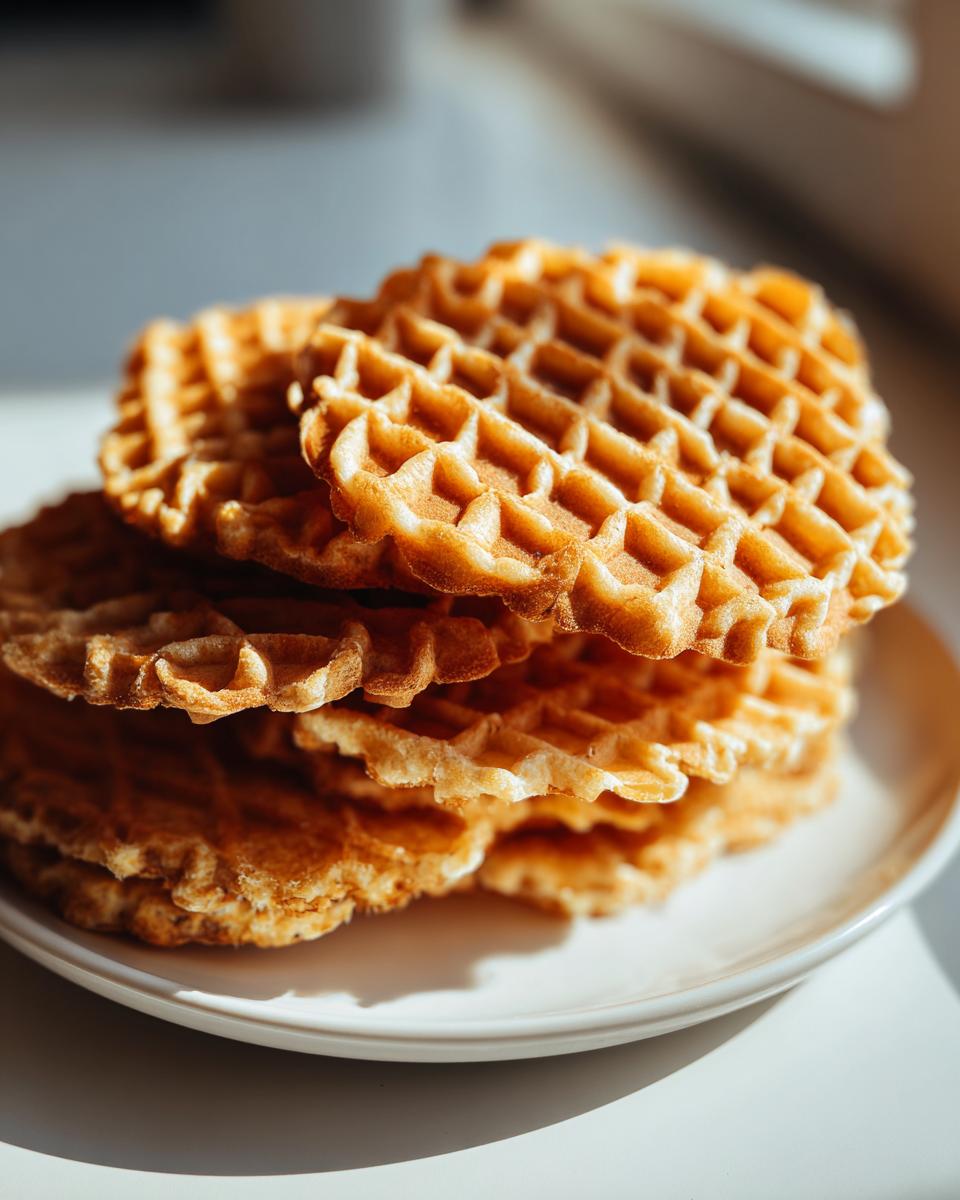
When I traded my spreadsheets for spatulas, I realized that true culinary joy often lies in mastering the classics—the recipes that carry centuries of tradition in their delicate structure. Few things embody beauty and meticulous technique like authentic Italian baking. That’s why I absolutely have to share my method for the most perfectly pizzelle cookies; these aren’t just treats, they are edible lace. Forget those soft, cakey imitations! My goal here is to give you the secret to that shatteringly crispy texture and those gorgeous, recognizable patterns. Coming from a background where precision mattered, I bring that same dedication to this delicate dough to ensure your homemade festive treats look and taste like they came straight from Nonna’s kitchen.
- Why These Classic pizzelle cookies Are a Must-Try Holiday Cookie Recipe
- Essential Equipment for Perfect pizzelle cookies
- Ingredients for Authentic pizzelle cookies
- How to Prepare Light and Delicate pizzelle cookies
- Tips for Success with Your pizzelle cookies
- Making pizzelle cookies Ahead for Holiday Cookie Recipes
- Serving Suggestions for Traditional Italian Desserts
- Frequently Asked Questions About pizzelle cookies
- Estimated Nutritional Information for pizzelle cookies
Why These Classic pizzelle cookies Are a Must-Try Holiday Cookie Recipe
If you’re assembling your holiday cookie platter, you need something that stands out visually but melts in your mouth. That’s exactly what these pizzelle cookies deliver. They are the definition of traditional Italian desserts executed perfectly at home. Trust me, once you master these, they become a required addition to your baking lineup every year!
- They achieve that elusive, perfect crispy texture that store-bought versions just can’t match.
- The intricate, beautifully patterned look makes them instantly impressive for any gathering.
- They are incredibly versatile—flavor them with vanilla or go traditional with anise!
- As gorgeous Italian Waffle Cookies, they are incredibly light and delicately thin, so you can eat three without feeling guilty.
Plus, the recipe itself is surprisingly fast once your iron heats up. You can see how they stack up against other favorites here: old-fashioned tea cakes recipe.
Essential Equipment for Perfect pizzelle cookies
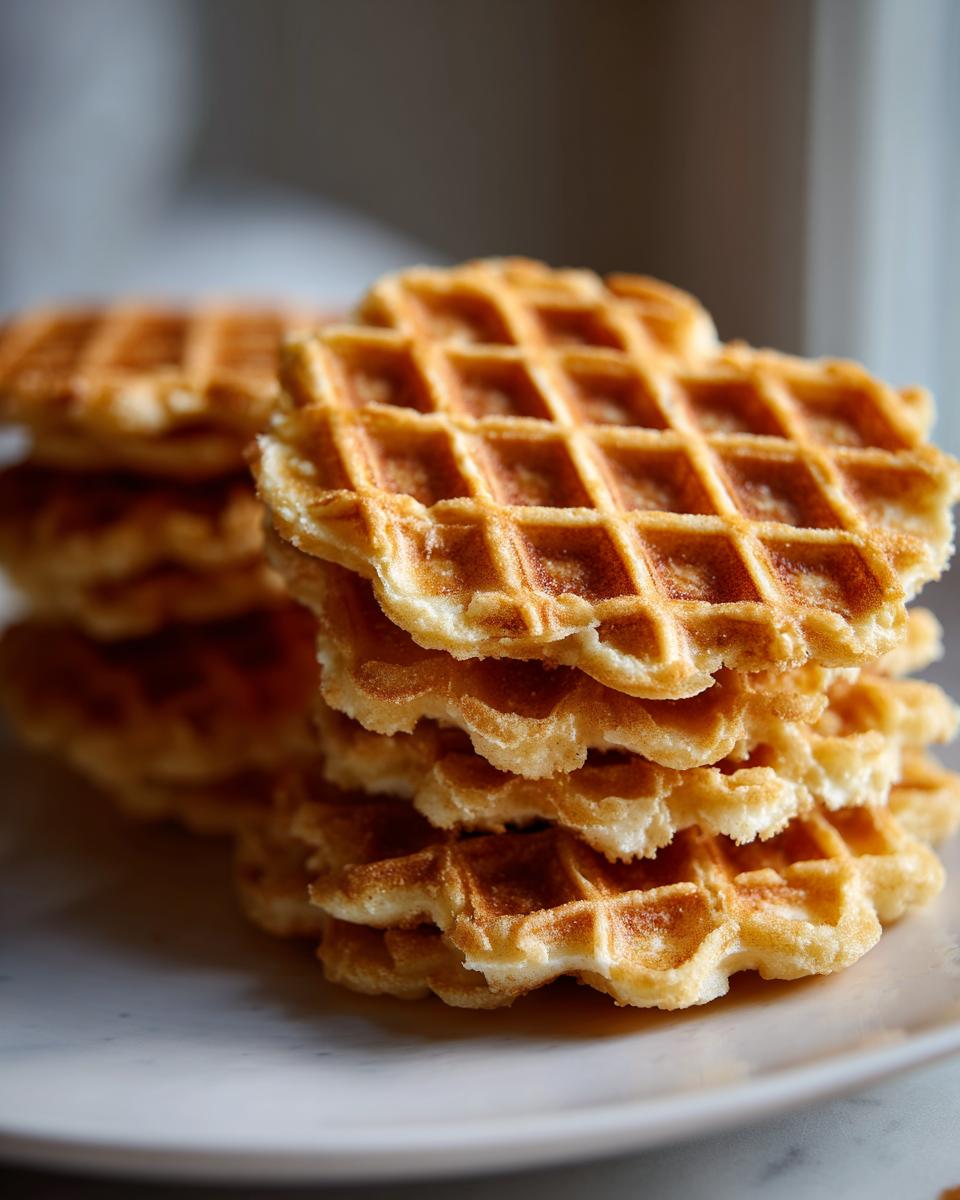
Let’s get straight to the point: while you can make a general waffle cookie in a standard Belgian waffle iron, you simply cannot achieve the true magic of these pizzelle cookies without the right tool. This is non-negotiable if you want those thin, elegant designs. You absolutely need a dedicated pizzelle maker. Think of it as the specialized brush an artist needs for specific details—this appliance creates those lacy edges that define this traditional Italian dessert.
The good news is that once you have one, you are set for life! These makers heat up fast, but don’t assume they all work the same way. Some of the newer electric models get screaming hot quickly, while older cast-iron types might take longer to reach the necessary temperature for crispy lattice cookies.
Choosing Your Pizzelle Maker
When you’re looking to buy one of these wonderful machines for your Pizzelle Maker Recipes collection, here are the two things I always check first. First, look for a good quality, highly reliable non-stick surface. Cleaning is so much easier, and trying to scrape a delicate cookie off a stuck iron is guaranteed heartbreak!
Second, see if it has adjustable heat settings. If it has a simple light that tells you when it’s ready, that’s usually enough, but if you plan on doing lots of batches, having control over the heat ensures you can pull those wafer-thin cookies perfectly golden every single time.
Ingredients for Authentic pizzelle cookies
The list for these pizzelle cookies looks simple, I know, but every element plays a vital role in achieving that signature delicate crunch. Because these are so thin, there’s nowhere for lackluster ingredients to hide, so make sure you use quality butter and extracts! This recipe, which forms the base of our favorite easy lime sorbet recipe counterpart, relies on simple, pure flavors.
Ingredient List for Classic pizzelle cookies
- 1 cup all-purpose flour
- 1 teaspoon baking powder
- 1/4 teaspoon salt
- 3 large eggs
- 3/4 cup granulated sugar
- 1/2 cup unsalted butter, melted and cooled
- 1 teaspoon vanilla extract
- 1/2 teaspoon anise extract (optional, for traditional flavor)
How to Prepare Light and Delicate pizzelle cookies
This is where the magic happens, transforming a simple batter into those signature crispy lattice cookies. It’s all about gentle handling and knowing exactly when to pull them off the iron. Don’t rush the preheating, and definitely don’t overmix the flour! Overmixing is the enemy when you’re aiming for a light, delicate texture in these Vanilla Pizzelle Recipe staples.
Mixing the pizzelle cookies Batter
First things first: get your dry ingredients acquainted. In one bowl, whisk together the flour, baking powder, and salt. Just a quick whisk is fine; we don’t want to work that gluten too much yet. Now for the wet stuff, which builds the flavor! In a separate large bowl, beat those three eggs with the sugar until they get pale and feel slightly thicker—it looks almost ribbon-like. Then, gradually whisk in your cooled, melted butter, vanilla, and that lovely optional anise extract. Pay attention here: when you bring the dry mixture into the wet, only mix until you just see the flour disappear. If you see streaks of flour, stop! I cannot stress this enough: gently fold it in by hand if you have to. Overmixing is how you get tough cookies instead of light ones.
Baking Your pizzelle cookies on the Iron
This step requires knowing your machine! Get that pizzelle maker piping hot. You must preheat it completely according to its directions—if it’s not hot enough, the cookie will steam instead of crisping up right away. Once it’s ready, lightly grease it if needed, and then drop just about one teaspoon of batter right into the center. Close the lid firmly but gently. Now, watch the steam! When the steam coming out of the sides dramatically slows down or stops, that’s your cue. For me, this usually takes about 45 seconds. Pull it out immediately! If you leave it in too long, it gets brittle and might crack when you try to remove it or fold it.
Cooling and Shaping pizzelle cookies
This is the make-or-break moment for crispness! The second that piping-hot, nearly fragile disk comes off the iron, transfer it instantly to a wire cooling rack. Don’t let them touch each other, either; air circulation is everything here. As they cool, they go from soft and pliable to wonderfully crisp in seconds. If you want to turn them into cones for fillings or roll them around a dowel to make cannoli shape, you have to do it right away, within about 10 seconds of pulling them off!
For flat, decorative thin patterned wafers perfect for dusting with sugar, just let them cool flat on that rack. For a successful batch that lasts, check out my tips on how to store them perfectly after you’ve mastered the bake: easy apple crumble recipe.
Tips for Success with Your pizzelle cookies
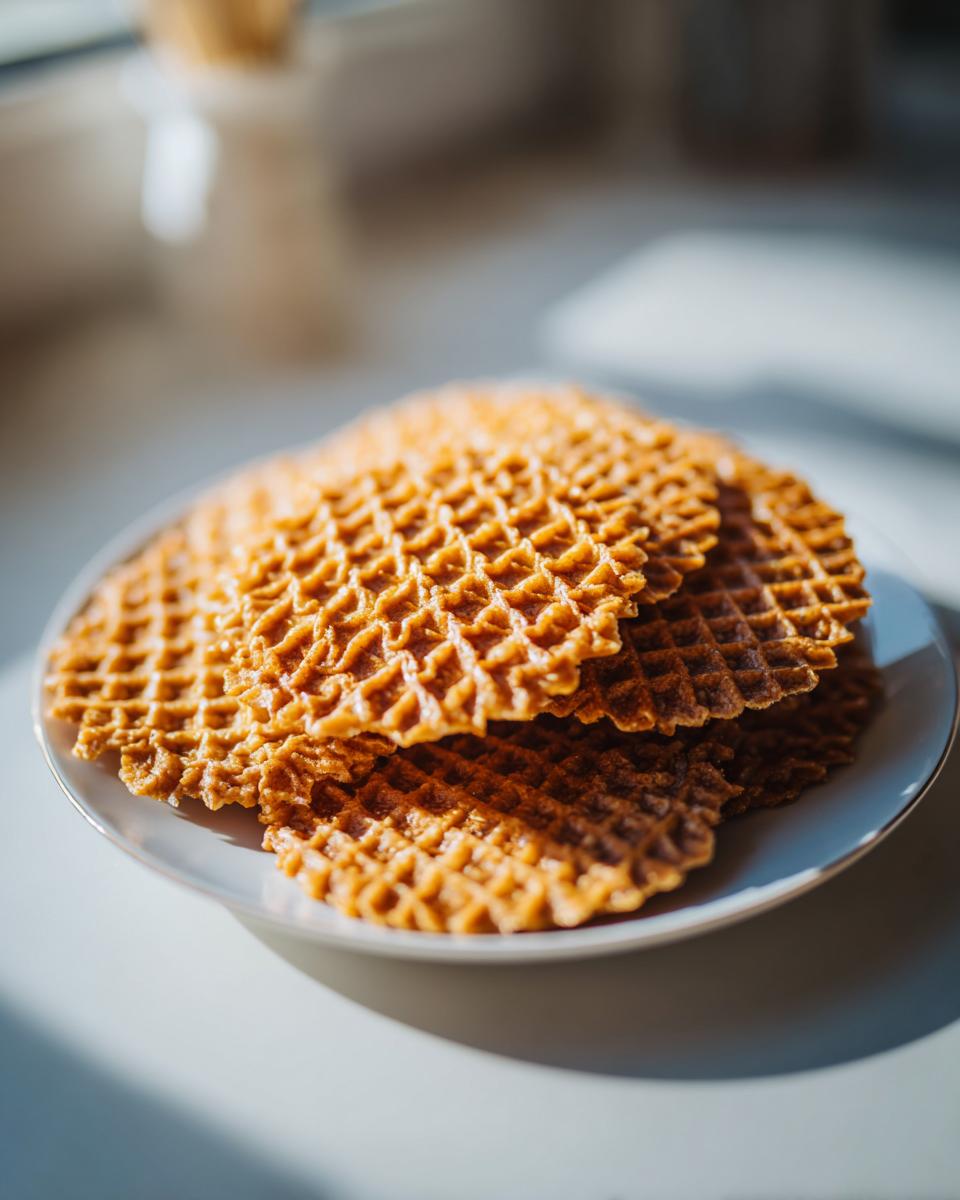
So, you’ve got the batter mixed and you’re rocking that hot iron—fantastic! Now, let’s talk endgame: texture and variety. The absolute biggest secret to getting truly crispy pizzelles is making sure they cool quickly and completely, away from any sink or steam. Lay them out on a wire rack so air flows underneath them. If they are still soft after 5 minutes, they need more time outside the container!
Don’t feel limited to just vanilla or anise! Want to try some exciting Almond Pizzelle Variations? Just swap out that anise extract for a teaspoon of almond extract. If you’re feeling dramatic and want Chocolate Pizzelle Ideas, replace two tablespoons of your flour measurement with unsweetened cocoa powder for a deep, rich color and flavor combination. These are wonderful Homemade Festive Treats, and mixing up the flavors keeps everyone guessing!
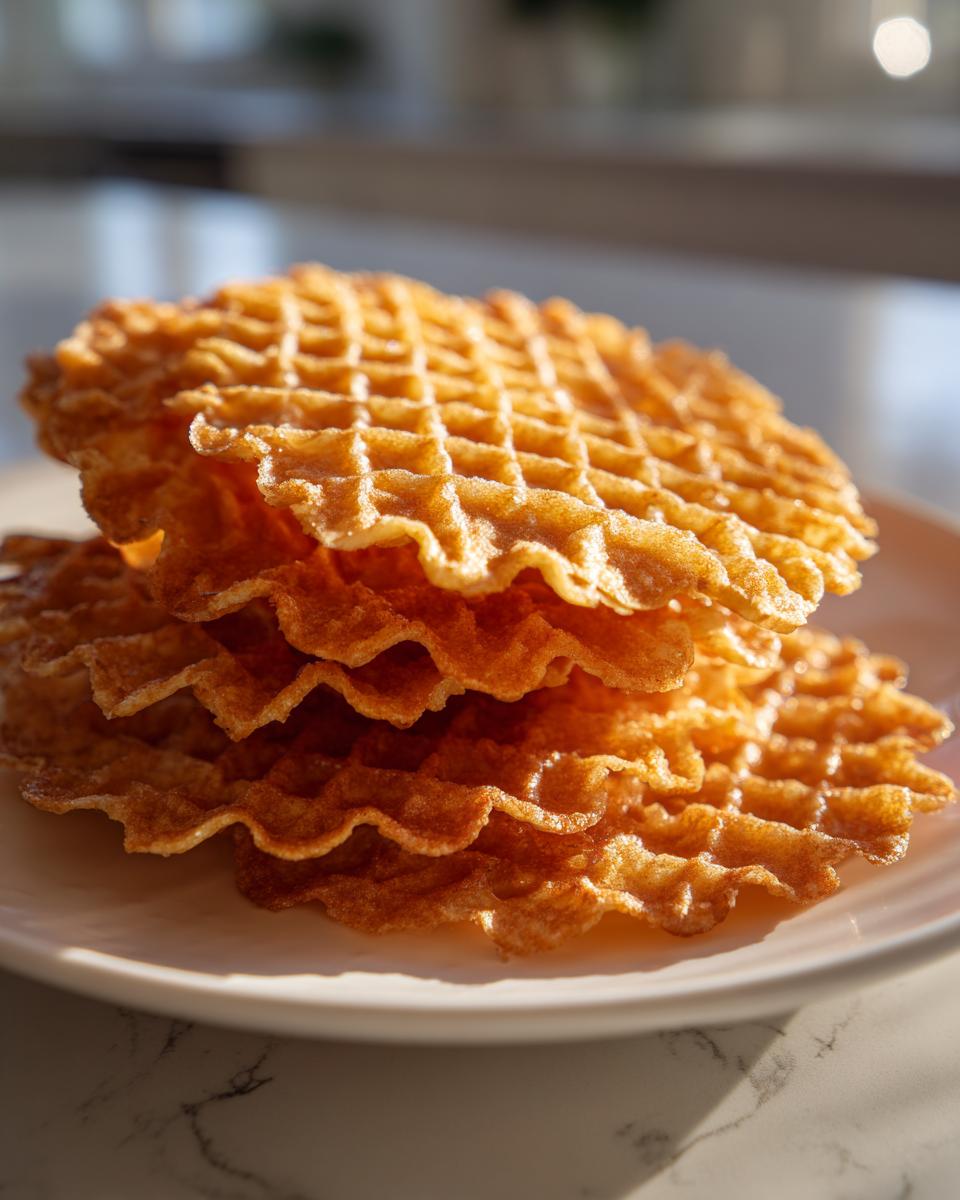
When you store them, grab an airtight tin, but don’t pack them in tightly—keep them single layered or use parchment paper between the layers. If you want to see how these stack up against other favorites, check out my easy peanut butter cookies recipe or my guide to maple brown sugar cookies for different types of storage tips.
Making pizzelle cookies Ahead for Holiday Cookie Recipes
Because these delicate pizzelle cookies are so incredibly light, they shine as perfect Homemade Festive Treats you can bake weeks before your big event! The key to their longevity is strict humidity control. Once they are completely cool—and I mean 100% cool to the touch—I stack them gently with wax paper between the layers.
Tuck them into a truly airtight container or cookie tin. I keep mine in a cool, dark pantry. They hold up beautifully for almost two weeks this way! If you’re looking for another make-ahead holiday favorite, don’t forget to check out my creamy white hot chocolate recipe to serve alongside them!
Serving Suggestions for Traditional Italian Desserts
Making beautiful pizzelle cookies is only half the fun; the real joy comes in how you present them! While eating them plain is absolutely divine—especially for sampling while they’re still warm—I love using these thin patterned wafers to elevate any dessert course. It’s what takes your baking from good to embodying true Authentic Italian Baking.
If you’re serving these for breakfast or an afternoon bite, they are a dream alongside a strong, hot espresso or a creamy cappuccino. The crispness just absorbs the coffee flavor perfectly. If you prefer something richer, try dipping the flat edge of a vanilla pizzelle into melted chocolate. Dark chocolate is my go-to, but milk chocolate works beautifully too!
But here’s where you can really impress! Remember how I mentioned shaping them when they are still pliable? If you curve those hot cookies quickly, you can create stunning cones to hold fresh fruit, pastry cream, or even scoop of ice cream. They make incredible homemade cannoli shells, too! For a truly decadent experience, serve a pizzelle cone filled with my rich French hot chocolate recipe when it cools down slightly.
Frequently Asked Questions About pizzelle cookies
It’s totally normal to have a few questions when you start working with a delicate dough like this. These aren’t your standard drop cookies! I’ve compiled the ones I get the most often to make sure your first batches of these gorgeous, patterned wafers turn out perfectly crisp every single time. Getting these pizzelle cookies right is all about small adjustments!
Why are my pizzelle cookies not crispy?
This is my number one troubleshooting question, and it almost always boils down to two things: cooling or heat. If your Italian Waffle Cookies come off the iron soft, they need more time baking—wait until the steam nearly stops escaping the iron. If they are crisp initially but get chewy sitting out afterward, you need to cool them somewhere totally dry! Never cool them on your stovetop or near running water; use a good wire rack so air circulates underneath them completely. If you had a humid day, they might absorb moisture quicker, so store them extra carefully!
Can I use lemon zest instead of anise in these pizzelle cookies?
Absolutely, that’s the beauty of this base recipe! If the thought of anise flavored cookies doesn’t appeal to you, you can easily pivot. I mentioned the Almond Pizzelle Variations in the tips section, but lemon zest works beautifully with vanilla. I would suggest substituting the anise extract entirely with the zest of one whole lemon right into your wet ingredients when you mix in the vanilla. It gives the cookie a lovely, bright flavor that pairs wonderfully with the butter, making for a truly refreshing treat!
How long does the pizzelle batter last?
The batter for these pizzelle cookies is actually quite sturdy, which is fantastic for Holiday Cookie Recipes when you want to bake ahead. You can keep the mixed batter sealed tightly in the refrigerator for up to three days. If you notice it seems a little stiff after being chilled, just let it sit on the counter for 15 minutes before you start baking again. It softens up nicely and usually doesn’t require any extra whisking before you start dropping spoonfuls onto the iron. If you ever have questions about baking processes, feel free to reach out on my contact page!
Estimated Nutritional Information for pizzelle cookies
Now, I know many of you are like me—we want to know the breakdown, even when indulging in something as traditional and delicate as these pizzelle cookies. Since these are Traditional Italian Desserts made with simple pantry staples, the numbers aren’t too bad, provided you stick to a single, perfect cookie!
Remember, because every cook uses different brands of butter, flour, or vanilla (and whether or not you add that optional anise!), this nutritional information is just an estimate designed to give you a good idea of what one crisp cookie contains. When you’re enjoying these gorgeous, light and delicate cookies, just keep the serving size in mind!
Here is the general estimated data based on the recipe yields of about 3 dozen:
- Serving Size: 1 cookie
- Calories: 85
- Sugar: 5g
- Total Fat: 4g (Saturated Fat: 2g)
- Carbohydrates: 11g
- Protein: 2g
You see? They are wonderfully light! That’s why they are such a treasured part of Christmas cookie baking tradition—you can enjoy so many of these beautiful, patterned wafers without breaking your whole dessert plan!
PrintClassic Crispy Italian Pizzelle Cookies

Make these traditional Italian waffle cookies at home. This recipe yields light, delicate, and crispy pizzelle cookies, perfect for holidays or serving with coffee.
- Prep Time: 15 min
- Cook Time: 15 min
- Total Time: 30 min
- Yield: About 3 dozen 1x
- Category: Dessert
- Method: Waffle Iron
- Cuisine: Italian
- Diet: Vegetarian
Ingredients
- 1 cup all-purpose flour
- 1 teaspoon baking powder
- 1/4 teaspoon salt
- 3 large eggs
- 3/4 cup granulated sugar
- 1/2 cup unsalted butter, melted and cooled
- 1 teaspoon vanilla extract
- 1/2 teaspoon anise extract (optional, for traditional flavor)
Instructions
- Combine flour, baking powder, and salt in a medium bowl. Whisk these dry ingredients together.
- In a separate large bowl, whisk the eggs and sugar until the mixture is pale and slightly thickened.
- Whisk in the melted butter, vanilla extract, and anise extract (if using) into the egg mixture.
- Gradually add the dry ingredients to the wet ingredients, mixing until just combined. Do not overmix the batter.
- Preheat your pizzelle maker according to the manufacturer’s instructions. This tool is essential for authentic pizzelles.
- Lightly grease the iron if your model requires it.
- Drop about one teaspoon of batter onto the center of the hot iron. Close the lid quickly.
- Bake for 30 to 60 seconds, or until the steam stops escaping and the cookie is golden brown. The time depends on your specific iron.
- Carefully remove the hot, soft pizzelle with a thin spatula.
- Place the cookie immediately onto a wire cooling rack. It will crisp up as it cools.
- If you want to shape the cookies (into cannoli shells or cones), do so while they are still warm and pliable.
- Repeat with the remaining batter. Serve these Italian waffle cookies plain or dust with powdered sugar.
Notes
- For a crisp texture, cool the cookies completely on a wire rack away from humidity.
- To make chocolate pizzelle, substitute 2 tablespoons of the flour with 2 tablespoons of unsweetened cocoa powder.
- For almond pizzelle variations, increase the almond extract to 1 teaspoon and omit the anise extract.
- These are excellent holiday cookie recipes; make them ahead and store them in an airtight container.
Nutrition
- Serving Size: 1 cookie
- Calories: 85
- Sugar: 5
- Sodium: 35
- Fat: 4
- Saturated Fat: 2
- Unsaturated Fat: 2
- Trans Fat: 0
- Carbohydrates: 11
- Fiber: 0
- Protein: 2
- Cholesterol: 25