
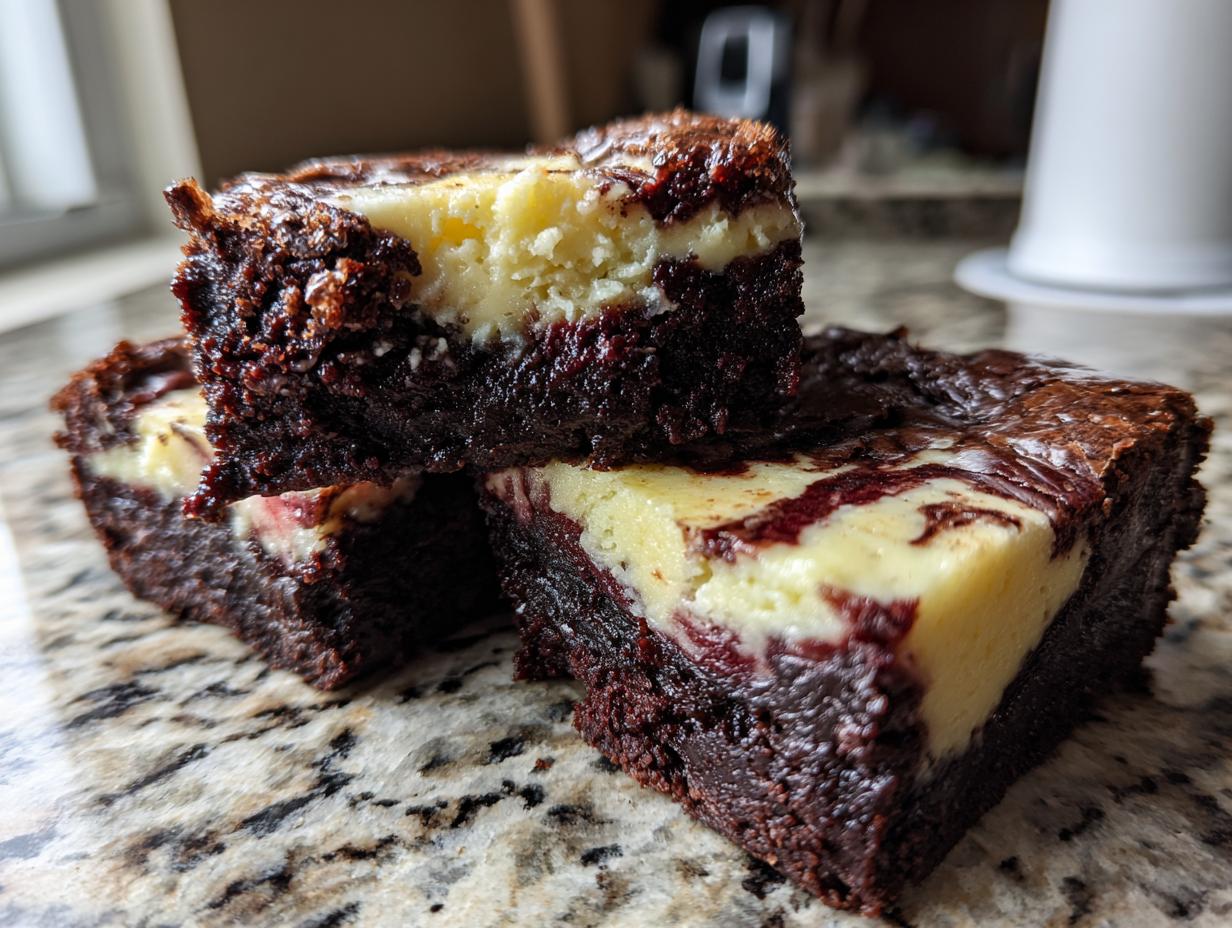

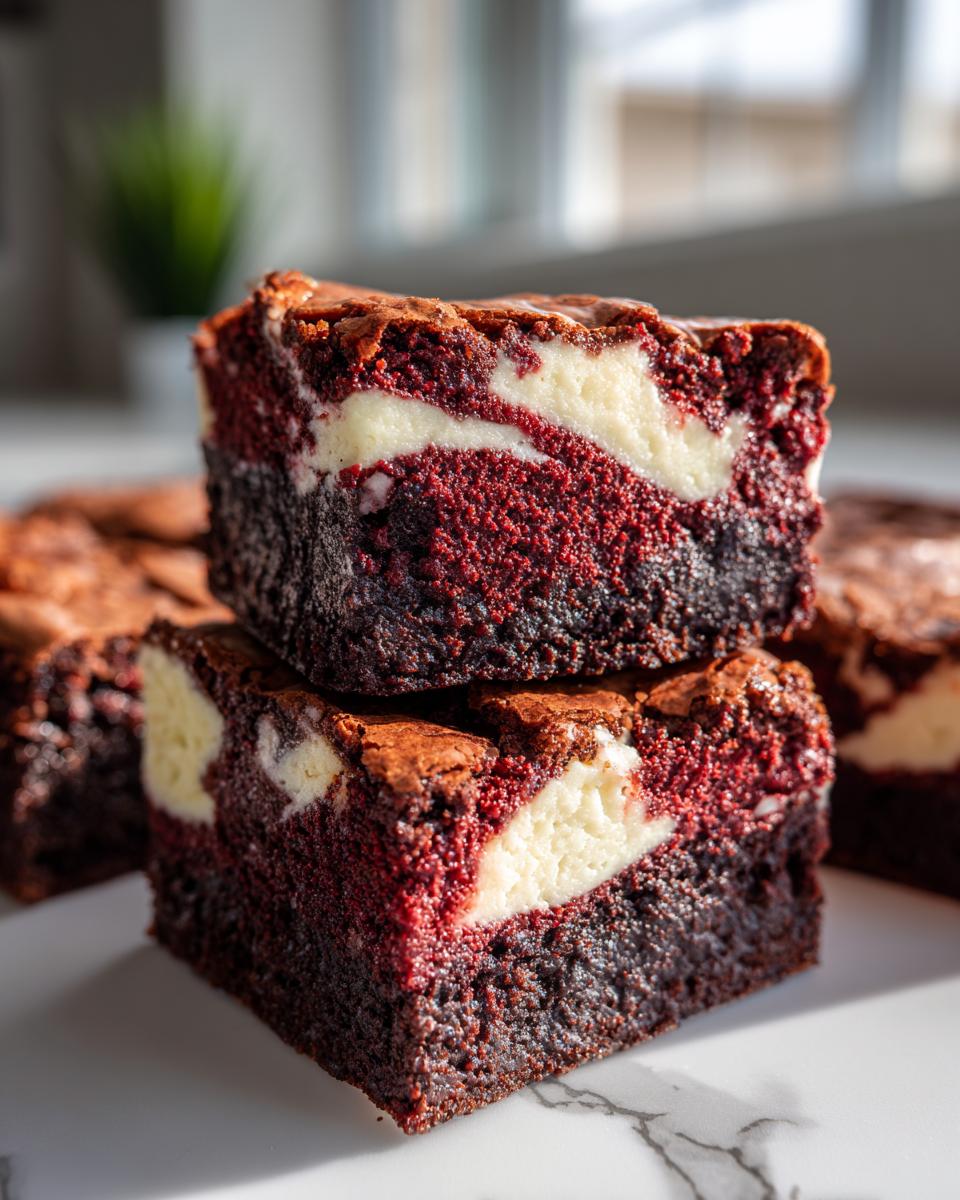
When I was stuck behind a desk designing marketing campaigns, I never thought I’d be the person telling you how to execute the perfect hybrid dessert. But trust me, when you finally taste the convergence of two fantastic sweets, everything changes. That’s exactly what we’re doing here today with the Ultimate Fudgy Red Velvet Cheesecake Brownies with Perfect Cream Cheese Swirls. These aren’t just bars; they are decadent, showstopping pieces of edible art that manage to be both intensely chocolatey and beautifully tangy. Trading my spreadsheets for this vibrant red velvet batter was the best decision I ever made. You are going to absolutely fall in love making this stunning treat!
- Why This Ultimate Fudgy Red Velvet Cheesecake Brownies Recipe Works
- Gathering Ingredients for Your Red Velvet Cheesecake Brownies
- Step-by-Step Instructions for Perfect Red Velvet Cheesecake Brownies
- Tips for Success When Making Red Velvet Cheesecake Brownies
- Storage and Reheating for Your Decadent Chocolate Treats
- Variations on Red Velvet Cheesecake Brownies
- Frequently Asked Questions About Cheesecake Brownie Recipe
- Estimated Nutritional Snapshot for Indulgent Weekend Baking
- Share Your Ultimate Red Velvet Cheesecake Brownies Creations
Why This Ultimate Fudgy Red Velvet Cheesecake Brownies Recipe Works
I know you’ve seen countless recipes promising the world, but this one truly delivers. When I create one of these Ultimate Fudgy Red Velvet Cheesecake Brownies, I focus on making sure the results are stunning but the process remains totally approachable. Anyone can nail this, even if your previous brownie experience involved store-bought mixes!
Here is why this combination of flavors and textures always hits perfectly:
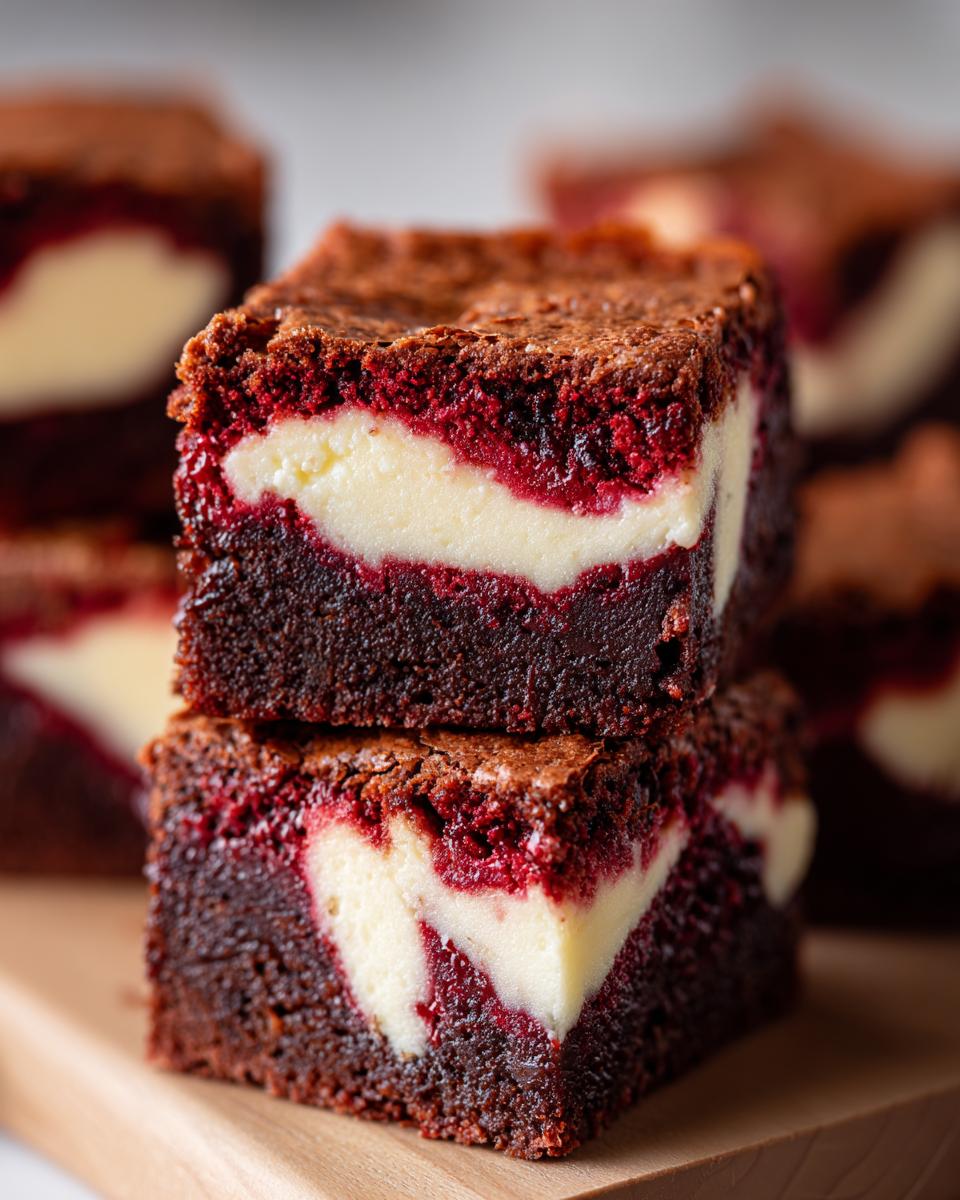
- It nails the fudge factor. We aren’t aiming for cakey; we’re going rich and dense.
- The cream cheese swirls spread beautifully—no fussy techniques required to get that gorgeous marbled look.
- That deep, vibrant red color pops, making these perfect for your holiday baking recipes spread.
- And honestly, you get two amazing desserts in one pan. Who doesn’t love that?
Gathering Ingredients for Your Red Velvet Cheesecake Brownies
Okay, let’s talk tools. To make these red velvet cheesecake brownies really sing, ingredient quality and preparation are everything. I’ve learned the hard way that trying to rush the temperature of ingredients just leads to lumpy swirls and dense batter. We want smooth, decadent results here, so trust me on this temperature advice!
We’re dividing our shopping list into two parts: the brownie base, which carries that beautiful, rich velvet flavor, and the tangy counterpoint, which is that dreamy cheesecake filling.
For the Rich Red Velvet Brownie Base
- We start with 1/2 cup of unsalted butter, and yes, it needs to be melted right before we mix it.
- You’ll need 1 cup of granulated sugar stirred into that butter first.
- We need 2 large eggs for the base, and they absolutely must be at room temperature—this helps them emulsify better with the fat.
- For that vibrant hue we are famous for, grab the 1 1/2 teaspoons of red food coloring. I always use a gel kind for the best color!
- Don’t forget 2 teaspoons of vanilla extract, salt, 3/4 cup of all-purpose flour, and about 3 Tablespoons of Dutch process cocoa powder. That cocoa powder is key for that little chocolate backbone!
For the Cream Cheese Swirl Layer
This part is super simple, but the texture must be perfect. Grab your 8 ounces of cream cheese—and I mean truly room temperature, soft enough to easily mash with a fork—for this. It has to blend smoothly!
- We’ll combine that soft cream cheese with 1/3 cup of granulated sugar.
- And just one more large egg, also at room temperature, goes in here to bind our baking with cream cheese mixture beautifully.
Step-by-Step Instructions for Perfect Red Velvet Cheesecake Brownies
Now for the fun part—bringing all these ingredients together! As someone who used to dread baking because it felt too precise, I promise you; these red velvet cheesecake brownies are super straightforward. The key is working efficiently and not fussing too much with the mixing!
Preparing the Pan and Brownie Batter
First things first: get your oven warmed up to 350°F (175°C). You need an 8×8 inch pan, and listen, you absolutely must line it with parchment paper with an overhang. This sling makes lifting these rich bars out later so much easier—no broken corners, trust me. Now, whisk together your melted butter and the main cup of sugar. Beat in the 2 eggs one by one until they look happy together. Add your vanilla and that gorgeous red food coloring—get it richly colored!
In a separate little spot, whisk your dry ingredients: flour, cocoa powder, and salt. Gently add the dry stuff to the wet mixture. And here’s the rule for that fudgy texture: mix only until the white streaks are *just* gone. Overmixing develops the gluten, and we don’t want tough brownies; we want decadent chocolate treats!
Creating the Cream Cheese Mixture and Swirling Technique
While that batter is resting, quickly beat your room-temperature cream cheese with its sugar and that final egg until it’s perfectly smooth. You don’t want any lumps sticking around!
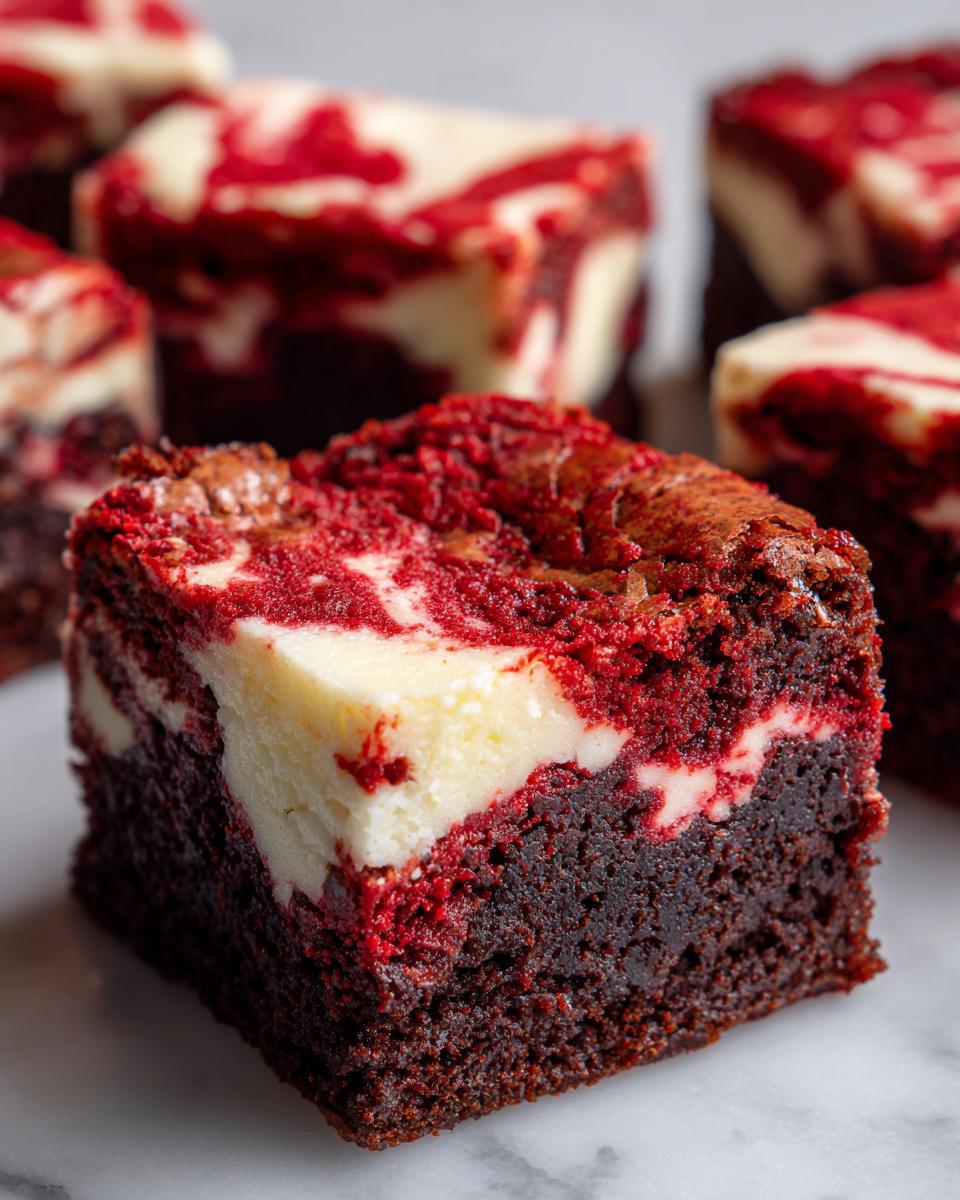
Time to layer! Spread half of your red velvet batter into the prepared pan. Next, lovingly dollop all of that creamy cheesecake mixture on top. Finish it by spooning the remainder of the red velvet batter over the cheese layer. To create those beautiful marbled dessert bars, take a knife or a small skewer and gently pull it through the layers a few times. Big, sweeping strokes work better than tiny zigzags. Bake for about 30 to 35 minutes. Remember, we are looking for moist crumbs on the toothpick, not a dry stick!
Tips for Success When Making Red Velvet Cheesecake Brownies
I want your red velvet cheesecake brownies to look as incredible as mine do, so let’s go over the little details that separate a good batch from an absolutely showstopping one. These are the rules I stick to every single time I bake these bars.
First, if you want that deep, dramatic color that really makes these shine, you have to invest in high-quality gel-based red food coloring. The liquid stuff just gets absorbed, leaving you with a sad, brownish-pink mess. We need that pop!
Second, and I can’t emphasize this enough: room temperature ingredients for the swirl. If your cream cheese is cold, you’ll end up fighting lumps the entire time. Soft cream cheese means a beautifully smooth, creamy texture in every bite.
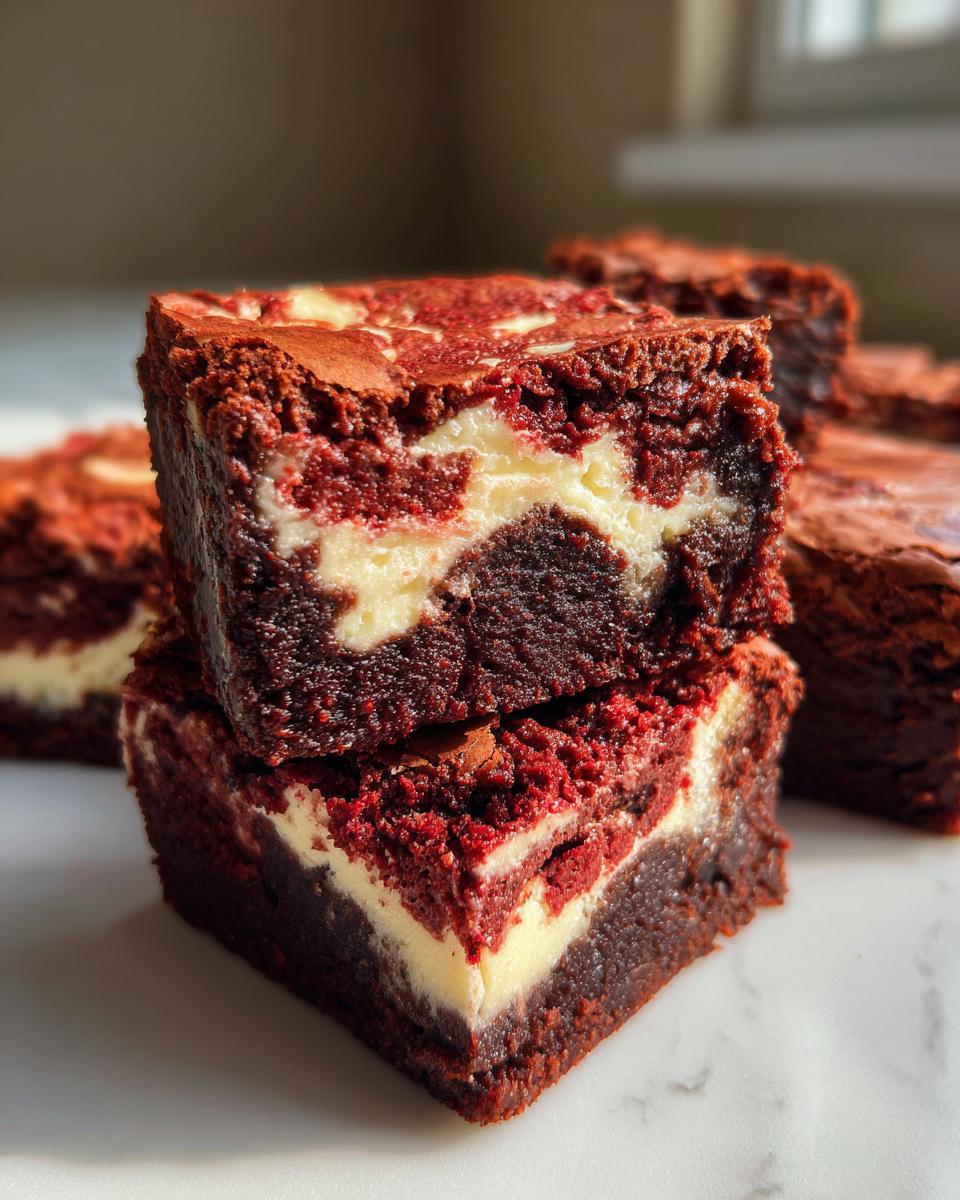
Finally, patience at the end! Once they come out of the oven, put the pan aside and walk away. Seriously. You need to let these bars cool completely on that wire rack—I often leave them overnight. This firms up both the fudgy base and the cheesecake, which guarantees you get those beautiful, clean slices you see in photos. It makes all the difference when you go to cut them for serving.
If you want some other ideas on making amazing brownies, you might check out my take on lemon brownies sometime!
Storage and Reheating for Your Decadent Chocolate Treats
These rich, layered bars are so good, you might have leftovers—though I doubt it! Proper storage is key to keeping that fudgy brownie texture intact while ensuring the top cheesecake layer stays nice and creamy. I treat these a little differently than a standard cookie, since we have two distinct textures fighting for dominance!
The absolute best way to keep these beauties fresh is in an airtight container at room temperature. Yes, room temperature! Since the cheesecake layer is bound with its own egg and sugar, it handles being on the counter fine for a couple of days, provided your kitchen isn’t searingly hot. Place wax paper or parchment sheets between layers if you stack them high. This stops the fudgy bottoms from sticking to the gorgeous swirls of the layer above.
If you’re making these ahead for a party or just want to save them for a week of indulgent weekend baking, the refrigerator is your friend. Wrap individual squares tightly in plastic wrap before placing them in a sealed container. This keeps them firm, which is great if you like a chewier bar. When you grab one from the fridge, let it sit on the counter for about 15 to 20 minutes before you dig in. That little bit of warming softens the brownie back up perfectly.
Reheating isn’t usually necessary for bars like these, but if you want that warm, gooey chocolate experience, microwave a single square for about 10 seconds. But be careful—too long, and that cream cheese layer can get a little weird! If you’re ready for another amazing bake after these are gone, you should absolutely try my recipe for fudgy chocolate crinkle cookies.
Variations on Red Velvet Cheesecake Brownies
I love playing with these red velvet cheesecake brownies! Once you have the core recipe down—the fudgy base, the tangy swirl—it’s so fun to experiment. I’ve found little additions can turn these into entirely new red velvet desserts.
For a bit of textural contrast, try folding half a cup of white chocolate chips right into the brownie batter before you layer it. They melt just enough to add little pockets of creamy sweetness. Another small tweak I love is adding just a drop or two of almond extract to the cream cheese mixture. It gives those swirled dessert bars a sophisticated, almost cherry-like note that complements the cocoa beautifully. Honestly, baking is about making things your own, so have fun with it!
If you want a different direction for dessert next time, take a peek at my recipe for a chocolate mousse pie!
Frequently Asked Questions About Cheesecake Brownie Recipe
I get so many questions after people try making these showstoppers, and that’s great! It means you’re baking, which is half the battle won. Anytime someone asks me about achieving perfection with these red velvet cheesecake brownies, it usually comes down to temperature and technique. Let’s clear up a few of those common head-scratchers so your next batch is your best batch yet.
How do I get the best cream cheese swirls?
This is probably the number one concern when people are working with these beautiful marbled dessert bars! Achieving those gorgeous ribbons is shockingly easy if you follow two simple rules. Rule one: Your cream cheese and your egg for the swirl mixture must be completely at room temperature. If they’re cold, you end up fighting lumps, which forces you to overmix. Rule two: When you actually swirl the spatula through the batter, use broad, gentle strokes. You’re not whipping egg whites here; you’re just lightly integrating the two layers to create that stunning visual effect.
Can I make these without red food coloring?
You absolutely can! If you mix out the food coloring, you end up with what I call a Chocolate Cream Cheese Swirl Brownie—which is still a totally decadent chocolate treat! You’ll lose that iconic ‘red velvet’ identity and the deep, cocoa-infused red color, but the flavor profile of the brownie base will still be rich and chocolatey. It just won’t look as festive or match the traditional best homemade brownies look we’re going for here. It’s purely aesthetic; flavor-wise, you’re safe either way!
Estimated Nutritional Snapshot for Indulgent Weekend Baking
Because we are dealing with rich cream cheese and fudgy chocolate, these bars definitely fall into the “treat yourself” category of indulgent weekend baking. Remember, this snapshot is an estimate based on the ingredients listed in the recipe, giving you a general idea of what you’re working with per square.
Here is a quick breakdown for one square:
- Calories: 280
- Total Fat: 16g (with 9g saturated fat)
- Carbohydrates: 32g
- Protein: 4g
- Sugar: 25g
- Cholesterol: 55mg
Treats this decadent are meant to be enjoyed! The important thing is that they are homemade and taste absolutely incredible.
Share Your Ultimate Red Velvet Cheesecake Brownies Creations
Wow, you made it! Now that you’ve pulled those gorgeous, fudgy bars out of the oven, I absolutely need to see them! Creating these ultimate red velvet cheesecake brownies is truly about sharing joy, and nothing makes me happier than seeing your culinary masterpieces.
Did they end up with huge swirls? Was the color perfect? Please head over to the comments below, leave your star rating, and tell me about your experience. I love hearing how these dishes come to life in your kitchens. Tag me on social media too! Let’s keep that creative energy flowing on the Gourmet Gaze blog!
PrintUltimate Fudgy Red Velvet Cheesecake Brownies with Perfect Cream Cheese Swirls
You will create decadent red velvet cheesecake brownies that combine a rich, fudgy brownie base with a tangy, creamy cheesecake swirl. This recipe delivers a showstopping dessert perfect for holidays or indulgent weekend baking.
- Prep Time: 15 min
- Cook Time: 35 min
- Total Time: 50 min
- Yield: 16 servings 1x
- Category: Dessert
- Method: Baking
- Cuisine: American
- Diet: Vegetarian
Ingredients
- 1/2 cup unsalted butter, melted
- 1 cup granulated sugar
- 2 large eggs, room temperature
- 1 1/2 teaspoons red food coloring
- 2 teaspoons vanilla extract
- 1/2 teaspoon salt
- 3/4 cup all-purpose flour
- 3 Tablespoons Dutch process cocoa powder
- 8 ounces cream cheese, room temperature
- 1 large egg, room temperature (for the swirl)
- 1/3 cup granulated sugar (for the swirl)
Instructions
- Preheat your oven to 350°F (175°C). Line an 8×8 inch baking pan with parchment paper, leaving an overhang for easy removal.
- Prepare the brownie batter: In a medium bowl, whisk together the melted butter and 1 cup of sugar until combined.
- Beat in the 2 room temperature eggs one at a time until fully incorporated. Stir in the red food coloring and vanilla extract.
- In a separate small bowl, whisk together the flour, cocoa powder, and salt. Gradually add the dry ingredients to the wet ingredients, mixing until just combined. Do not overmix.
- Prepare the cream cheese swirl: In a separate bowl, beat the softened cream cheese, the remaining 1/3 cup sugar, and the remaining 1 room temperature egg until the mixture is smooth and creamy.
- Spread half of the red velvet brownie batter into the prepared pan.
- Carefully dollop the cream cheese mixture evenly over the brownie layer.
- Top with the remaining red velvet batter.
- Create the marbled effect: Use a knife or a skewer to gently swirl the cheesecake layer into the brownie batter. Make broad strokes for large swirls.
- Bake for 30 to 35 minutes, or until the edges are set and a toothpick inserted near the center comes out with moist crumbs attached, not wet batter.
- Let the brownies cool completely in the pan on a wire rack before lifting them out using the parchment overhang.
- Cut into 16 squares for serving.
Notes
- For the deepest red color, use a high-quality gel-based red food coloring.
- Ensure your cream cheese and eggs for the swirl mixture are at room temperature to prevent lumps.
- Cool the brownies completely before slicing; this helps achieve clean cuts for perfect swirled dessert bars.
Nutrition
- Serving Size: 1 brownie square
- Calories: 280
- Sugar: 25g
- Sodium: 150mg
- Fat: 16g
- Saturated Fat: 9g
- Unsaturated Fat: 7g
- Trans Fat: 0.5g
- Carbohydrates: 32g
- Fiber: 1g
- Protein: 4g
- Cholesterol: 55mg