
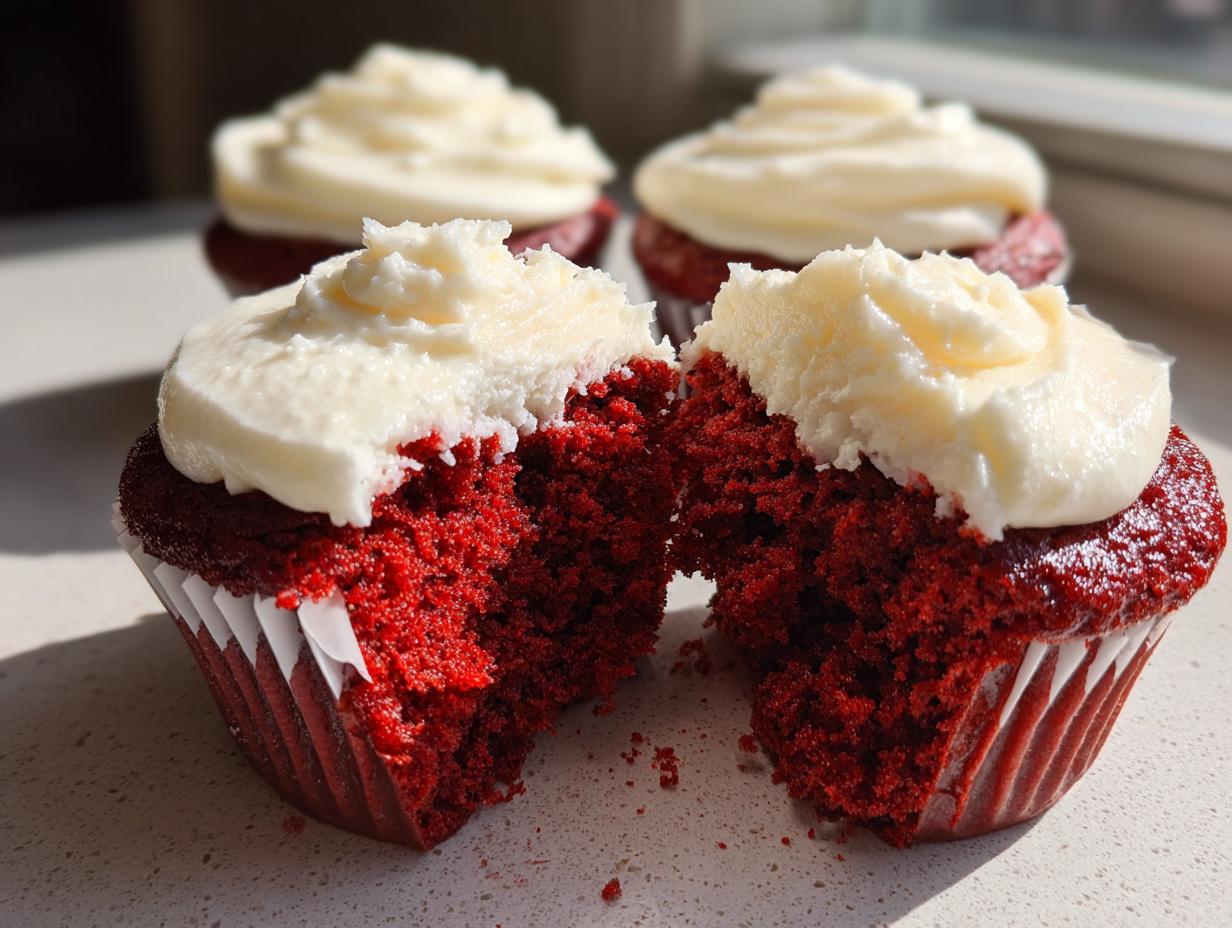

There’s something eternally captivating about a dessert that marries deep, mysterious color with the comforting tang of cream cheese. For years, I chased that perfect texture—the one where the cake melts in your mouth. When I finally traded spreadsheets for whisks, I dedicated myself to conquering the classic American favorite. Forget dry, disappointing results; I’m here to show you the foolproof way to bake the absolute best, moist red velvet cupcakes from scratch, topped with that dreamy, fluffy frosting you crave. This isn’t just a recipe; it’s the result of my journey to bring reliable, show-stopping desserts right to your kitchen. You can read more about my culinary pivot over on the About Page!
- Why You Will Make the Best Homemade Red Velvet Cupcakes
- Essential Ingredients for Perfect Red Velvet Cupcakes
- Step-by-Step Instructions for Moist Red Velvet Cupcakes
- Expert Tips for Bakery Style Red Velvet Cupcakes
- Ingredient Notes and Substitutions for Red Velvet Cupcakes
- Storing and Serving Your Homemade Red Velvet Cupcakes
- Frequently Asked Questions About Red Velvet Cupcakes
- Estimated Nutritional Data for Red Velvet Cupcakes
- Share Your Red Velvet Cupcakes Creations
Why You Will Make the Best Homemade Red Velvet Cupcakes
I understand why so many people buy these from bakeries, but trust me, you are going to make better ones right here at home. This process lets you control every perfect crumb!
- You finally nail that *moist red velvet cupcakes* texture every single time.
- It’s an incredibly *easy red velvet recipe*; we’re keeping the mixing super simple.
- The result is pure, decadent, *bakery style red velvet* that your friends will beg you to make again.
We keep the fuss minimal so you can focus on that incredible flavor. Check out more of my baking adventures on the Blog!
Essential Ingredients for Perfect Red Velvet Cupcakes
Okay, let’s talk ingredients. Since we are aiming for that deep, authentic Southern flavor and unbeatable moisture, we can’t just throw things into a bowl randomly. Precision here is what sets us apart from those dry mistakes you’ve had in the past! Think of this list like a treasure map—each item has a specific job, especially when it comes to that gorgeous color and velvety bite. If you want a truly superior cake, don’t skip the specifics here. You’ll find that quality matters immensely, just like in my Cream Cheese Caramel Dip!
For the Velvety Red Velvet Cupcakes Batter
These measurements need to be accurate, so please measure your flour and sugar correctly! I always use the ‘spoon and level’ method for flour, rather than just scooping straight from the bag.
- 1 ½ cups all-purpose flour (Sifted before measuring is always best!)
- 1 cup granulated sugar
- 1 teaspoon baking soda (Make sure this is fresh!)
- 1 teaspoon cocoa powder (Don’t go wild here; it’s for depth, not chocolate cake flavor!)
- ½ teaspoon salt
- 1 cup buttermilk (Must be room temperature—this is crucial for texture!)
- 1 teaspoon white vinegar
- 1 teaspoon vanilla extract
- ½ cup vegetable oil (The oil keeps these cakes incredibly moist!)
- 2 large eggs (Again, room temperature is ideal!)
- 1 tablespoon red food coloring (If you can get gel coloring, use it; the color payoff is much richer!)
For the Classic Cream Cheese Frosting Recipe
This is the essential partner to the cake. You cannot skimp on the quality of your cream cheese or butter here; they need to be perfectly softened, but not greasy or melted. We’re aiming for fluffy, tangy perfection for this iconic cream cheese frosting recipe.
- ½ cup unsalted butter, softened completely to room temperature
- 8 ounces cream cheese, full fat, softened to room temperature
- 3 cups powdered sugar, sifted well (Sifting prevents those little gritty lumps!)
- 1 teaspoon vanilla extract
Step-by-Step Instructions for Moist Red Velvet Cupcakes
Now we move into the fun part! This is where you transform those beautiful ingredients into magnificent red velvet cupcakes. I’ve designed this method to be as straightforward as possible—it’s nearly a one-bowl wonder, which keeps cleanup manageable for you. Remember, the goal here is that pure, unmistakable velvety crumb that so many other recipes miss entirely. We want soft, we want tender, and we certainly want vibrant! Before we even look at the ingredients, get your oven fired up. If you need a refresher on baking timing for other simple sweets, my guide on the Easy Vanilla Cake might help, but focus here for now!
Preparing the Cake Batter and Baking the Red Velvet Cupcakes
First things first: Preheat your oven to 350°F (175°C). Grab that 12-cup muffin tin and pop in those paper liners. Don’t skimp on the liners; a little extra insurance never hurts!
In your largest bowl—your trusty mixing bowl—whisk together all the dry bits: the flour, sugar, baking soda, cocoa powder, and salt. Get everything evenly distributed before moving on. This saves you elbow grease later!
In a separate, medium bowl, mix up the liquids. Whisk the buttermilk, vinegar, vanilla, oil, and eggs until they’re buddies. Then, pour in that red food coloring and mix until the color is absolutely uniform. It should look alarmingly red—that’s exactly what you want!
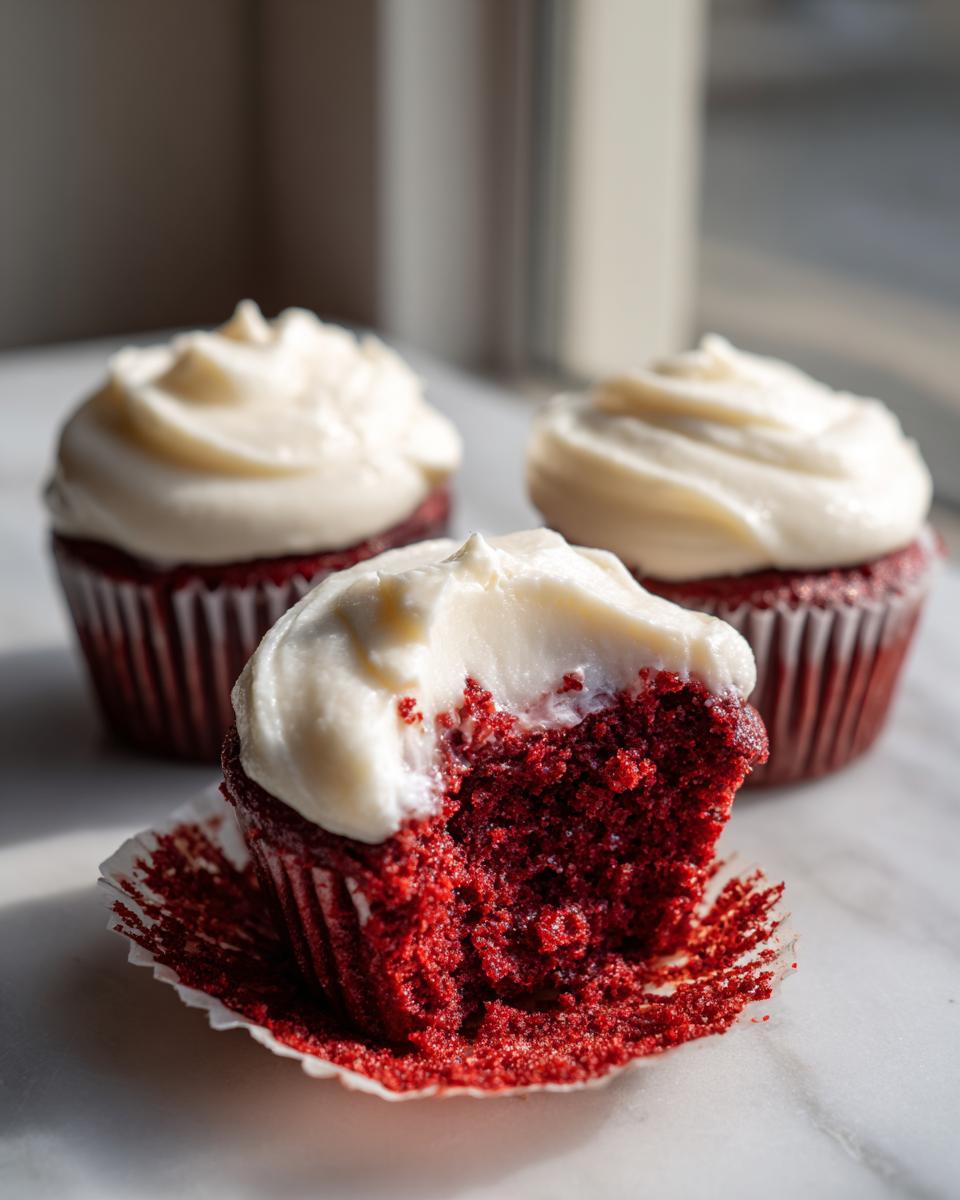
Now, pour all those wet, red ingredients into the dry mixture. Mix this only on low speed or gently by hand. Why so gentle? We are avoiding overmixing! Overmixing develops gluten, and gluten leads to tough cupcakes, which is the enemy of that gorgeous *velvety red velvet cake* texture. Mix just until you see no dry streaks remaining. That’s it! Divide that beautiful batter evenly into your 12 cups, filling them about two-thirds full.
Bake these little beauties for about 18 to 20 minutes. You’ll know they are ready when a toothpick inserted right in the center comes out clean. Let them chill out in the pan for a quick 5 minutes, then transfer them lovingly to a wire rack to cool completely. If you try to frost them warm, you’ll have a melted disaster, trust me!
Crafting the Fluffy Cream Cheese Icing
While the cakes are cooling—and I mean *completely* cool—it’s frosting time. This is where we create that famous, tangy topping. Make sure your butter and cream cheese are soft. If your kitchen is hot, sometimes I even pop them back in the fridge for 10 minutes to firm up slightly; this ensures we get that stiff structure we need for a *fluffy cream cheese icing*.
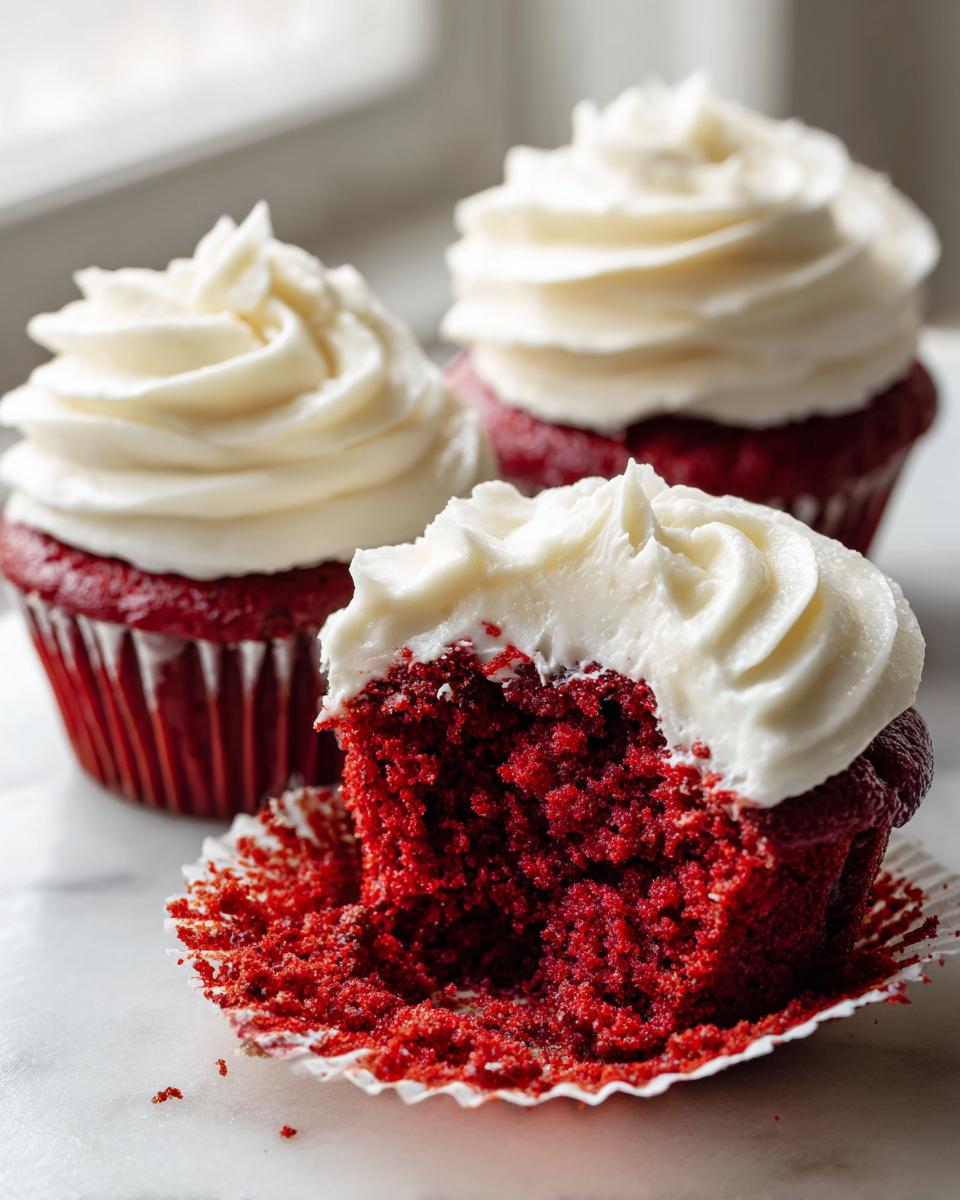
In a clean bowl, beat the softened butter and the cream cheese together until they look perfectly smooth and creamy, with absolutely no lumps remaining. This takes a minute, so be patient!
Next, start adding your sifted powdered sugar gradually. I mean *slowly*. Begin mixing on the lowest speed possible so the sugar doesn’t just fly everywhere! Once most of the sugar is incorporated and the mixture looks thick, turn the mixer up a bit and beat it until it’s light and fluffy. Finally, stir in that vanilla extract. That’s it—dreamy frosting achieved!
Assembling Your Classic Red Velvet Cupcakes
Patience is rewarded here. You absolutely *must* wait until the cupcakes are fully cooled back down to room temperature. If they are even slightly warm, the beautiful frosting we just worked so hard on will weep right off the top. Once they are completely cool, transfer your *fluffy cream cheese icing* into a piping bag fitted with a star tip if you want that classic bakery look, or just use an offset spatula for a rustic swirl. Don’t be shy; they deserve a generous crown of frosting! These are perfect for any celebration, making them wonderful for birthdays or even beautiful holiday cupcake recipes.
Expert Tips for Bakery Style Red Velvet Cupcakes
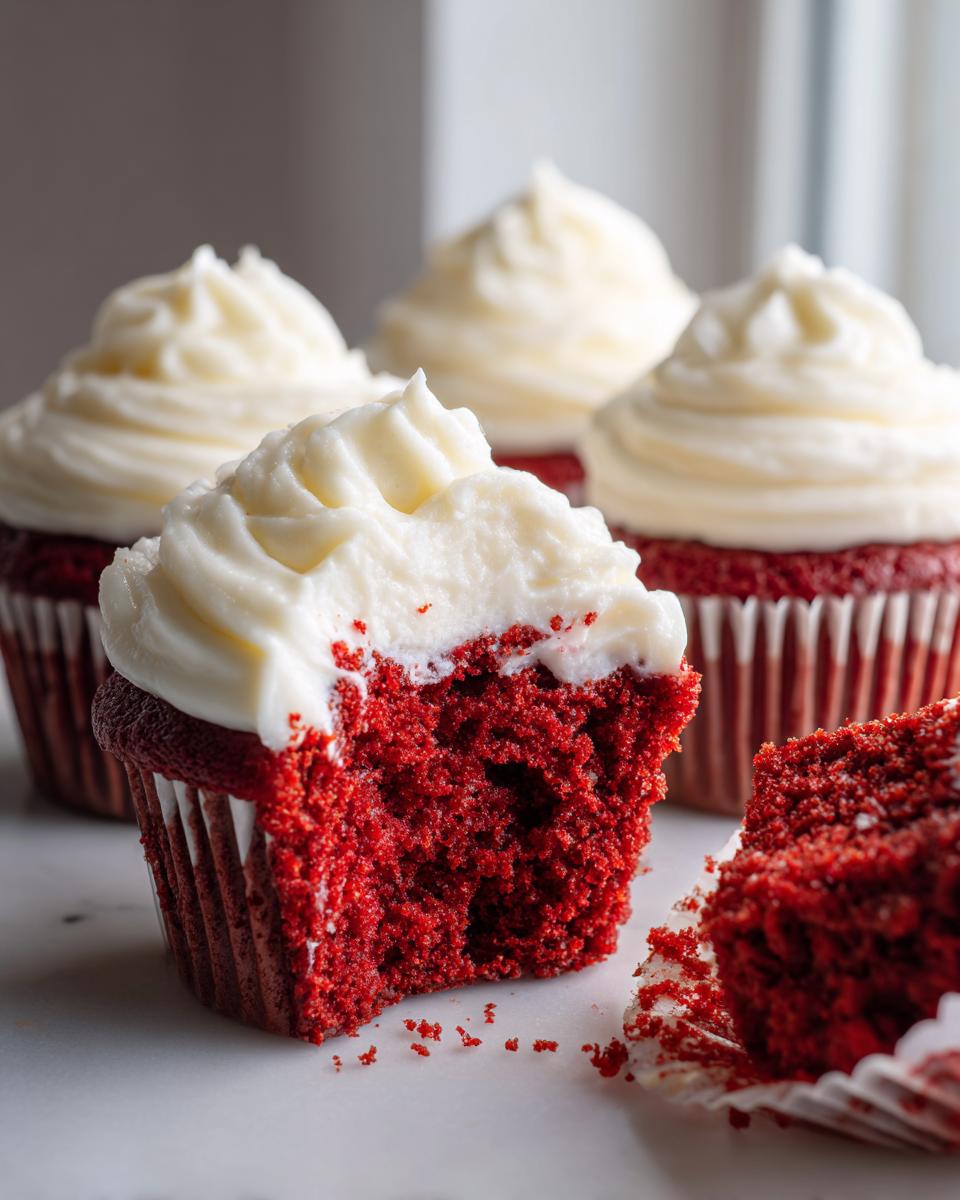
Achieving that truly spectacular, bakery style red velvet look at home isn’t magic—it’s just knowing the little tricks that make a huge difference. My years spent perfecting this finally paid off, and I want to share those secrets with you so your cupcakes look as good as they taste. Trust me, these small adjustments elevate the entire experience.
First, let’s talk color, as that vibrant hue is non-negotiable for classic red velvet cupcakes. While the recipe calls for liquid coloring, if you want that super deep, rich red without diluting the batter, you absolutely must use a high-quality red gel food coloring. A little bit goes a very long way. I noticed mine looked almost dull until I switched to the gel.
The secret sauce for that famous tender crumb is our use of baking soda reacting with the acid in the buttermilk and vinegar. This creates millions of tiny bubbles, which is the core foundation of the buttermilk red velvet tang and tenderness. Don’t substitute the buttermilk if you can avoid it!
My personal tip for flawless baking every time relates to environment. If you find your cupcakes are doming too sharply, it often means the oven temperature is a tad too high initially. Try reducing the temperature by 10 degrees for the first five minutes of baking, then return it to 350°F. It helps them set gently. While you are here exploring decadent bakes, you might also love my recipe for Old Fashioned Tea Cakes!
Ingredient Notes and Substitutions for Red Velvet Cupcakes
When we talk about achieving that authentic, deep red velvet flavor, every ingredient plays a crucial role—we aren’t just making chocolate cake with food dye, after all! Sometimes we have to make swaps based on what’s in the pantry. I’ve always found that sticking close to the classic formula gives the absolute best results, especially for that *classic red velvet cupcakes* experience.
Let’s tackle the tangy duo: buttermilk and vinegar. This combination is the key to that subtly complex, tender bite. The acid in the buttermilk and vinegar reacts powerfully with the baking soda. This reaction is what gives you that soft, spongy, velvety red velvet cake texture we are aiming for. If you absolutely cannot find buttermilk, don’t panic! You can make a quick substitute: take one cup of regular milk and stir in one tablespoon of white vinegar or lemon juice. Let it sit on the counter for about 10 minutes. It will curdle slightly, and that’s perfect for this recipe.
What about the vivid color? While gel coloring is my go-to for intensity, some folks feel nervous about using so much dye. If you prefer a less intense red, you can try a combination of a smaller amount of red coloring mixed with a pinch of unsweetened cocoa powder—this pulls the color toward a richer mahogany tone while still hinting at red. It’s certainly not the brightest, but it leans into the subtle cocoa notes beautifully.
Next up: fats. This recipe uses vegetable oil because it stays liquid at room temperature, guaranteeing a super moist final product. Can you substitute melted butter? You certainly can, but be mindful: using melted butter instead of oil can sometimes make the crumb feel a little heavier or slightly drier once they cool down. If you must use butter, use the same amount, but whisk it in quickly with the other liquids. If you’re interested in mastering a deeper, richer topping, you should check out my recipe for quick stovetop glossy chocolate fudge frosting, though I still insist cream cheese is the only way for true red velvet!
Storing and Serving Your Homemade Red Velvet Cupcakes
Alright, you have managed to bake the most magnificent batch of red velvet cupcakes ever. The beauty of using that tangy cream cheese frosting, however, is that it requires a little different storage advice than a plain buttercream cupcake. We want to maintain that velvety texture while keeping the icing stable and delicious!
Because that fluffy topping is dairy-based, these are best stored in the refrigerator, especially if you made a big batch and they won’t vanish within a day (which, let’s be honest, is a real possibility in my house!). Pop them into an airtight container. I find that if you place a small sheet of parchment paper between any layers of cupcakes in the container, it stops the frosting from smearing, which keeps them looking gorgeous.
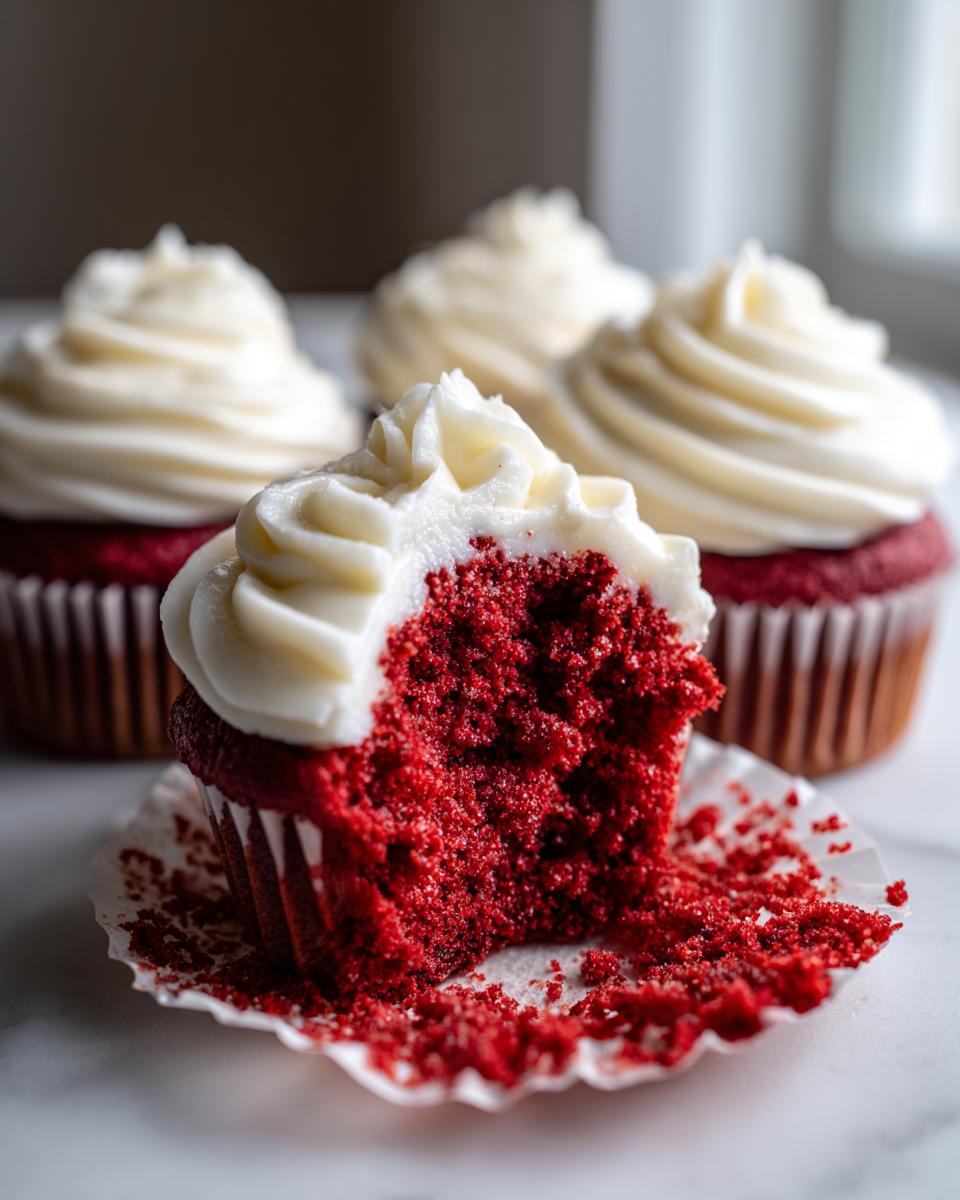
They are perfectly safe in the fridge for about three to four days, but here is a *crucial* Leo Maxwell tip: Cream cheese frosting gets firm in the cold! If you serve them straight from the fridge, the lovely, soft texture you worked so hard for will be hard. So, about 30 to 45 minutes before you plan to serve them—whether it’s for a big reveal like birthday dessert ideas or just an afternoon treat—take them out. Letting them come to room temperature is non-negotiable for the best experience.
When it comes to presentations, these cupcakes are naturally showstoppers. Their deep red color makes them absolutely perfect as stunning valentine’s day cupcakes, but honestly, they look amazing on any platter. For a little extra flair, skip the sprinkles and just dust the tops lightly with powdered sugar right before serving, or maybe drizzle the very top edge of the frosting with a tiny bit of melted dark chocolate—it complements that hint of cocoa perfectly. If you’re looking for another stunning dish perfect for a summer lunch party, check out my Strawberry Chicken Salad Recipe!
Frequently Asked Questions About Red Velvet Cupcakes
Why is my red velvet cake always so dry?
That is the question that keeps so many home bakers awake at night! Usually, dryness comes from overbaking or overmixing the batter. Remember, for that perfect velvety red velvet cake, you need that balance of fat (oil in our case) and liquid (buttermilk). The second you insert that toothpick and it comes out with only moist crumbs—no wet batter—pull the tray out immediately! They continue to bake slightly as they cool in the tin, so err on the side of slightly underdone rather than overdone.
Can I skip the vinegar and call them classic red velvet cupcakes?
Oh, I strongly advise against skipping the vinegar if you want the real deal! When we talk about classic red velvet cupcakes, we are talking about that subtle tang that cuts through the richness. The vinegar, combined with the buttermilk, is an acid. This acid reacts with the baking soda to create the lift and that signature light, airy crumb structure. Without it, you’re basically making a vanilla cupcake with red food coloring, and you miss out on that foundational Southern flavor profile.
Why do recipes use cocoa powder if the flavor isn’t supposed to be chocolate?
This is such a smart question that gets right to the heart of the flavor! The small amount of cocoa powder we include isn’t meant to make this a chocolate cupcake at all. It is actually there to enhance and deepen the red color chemically! Cocoa powder naturally contains compounds that react slightly with the acidic buttermilk and the red dye, making the final color richer and less pinky-red. It adds that trace element of complexity that distinguishes it from a plain vanilla cake.
What is the correct way to store frosted red velvet cupcakes?
Because these beauties are topped with that delicious, but temperature-sensitive, cream cheese frosting, they need a little TLC. I keep mine in an airtight container in the refrigerator because of the dairy content. However—and this is critical—always let them sit out on the counter for about 30 minutes before serving. If you eat that wonderful frosting cold, it becomes hard and loses its creamy appeal. For the best experience, bring them up to room temperature before enjoying!
If you have any burning questions about technique or need to get in touch about a recipe, don’t hesitate to reach out via the Contact Page. Happy baking!
Estimated Nutritional Data for Red Velvet Cupcakes
Look, I left my life analyzing market data for a reason—I’m here to talk about tasting, not spreadsheets! But since every feast should also be informative, here is a rough idea of what you’re getting into with one of these decadent beauties. Remember, this is just an estimate!
The numbers below are based on the recipe serving 12 cupcakes, but if you sneak an extra bit of frosting on yours, well, you know the score. When you’re making things from scratch, the final count always shifts a bit depending on the brand of cream cheese or the way you measure your sugar.
- Serving Size: 1 cupcake
- Calories: Approximately 350
- Total Fat: About 18g (Don’t worry about the good fats!)
- Carbohydrates: Roughly 45g
- Protein: Around 4g
- Sugar: High, as expected! Around 35g—it’s the price of happiness!
Think of this as a guide for your indulgence budget. It’s a small price to pay for achieving that perfect, rich red velvet flavor! Remember, these values assume you’ve followed the recipe exactly as written.
Share Your Red Velvet Cupcakes Creations
Now that you have conquered the quest for the best red velvet cupcakes, I truly want to see what you’ve made! This is the moment that makes all the testing and perfecting worthwhile—seeing these beautiful, velvety treats arrive in your homes. I built Gourmet Gaze to be a true community space, and your feedback is the most important ingredient here.
Did they turn out perfectly moist? Did your cream cheese frosting hold its shape beautifully? Did you discover a new favorite way to use this recipe for an occasion? Please, tell me everything in the comments below! Leaving a rating helps other home cooks who are curious about trying this recipe find reliable guidance.
And if you took a gorgeous photo—and I know you did, because we eat with our eyes first!—tag me on social media! Seeing your beautiful presentation truly fuels my passion for sharing classic American baking recipes. Thank you for inviting my culinary journey into your kitchen. For details on how we handle your shared data, you can always check our Privacy Policy, but know that comments and interactions are always welcome here at the table!
PrintBest Moist Homemade Red Velvet Cupcakes with Classic Cream Cheese Frosting
Follow this easy recipe to make bakery-style red velvet cupcakes that are incredibly moist, rich with cocoa flavor, and topped with a silky, tangy cream cheese frosting. This is the definitive recipe for a velvety crumb and vibrant color.
- Prep Time: 20 min
- Cook Time: 20 min
- Total Time: 40 min
- Yield: 12 servings 1x
- Category: Dessert
- Method: Baking
- Cuisine: American
- Diet: Vegetarian
Ingredients
- 1 1/2 cups all-purpose flour
- 1 cup granulated sugar
- 1 teaspoon baking soda
- 1 teaspoon cocoa powder
- 1/2 teaspoon salt
- 1 cup buttermilk
- 1 teaspoon white vinegar
- 1 teaspoon vanilla extract
- 1/2 cup vegetable oil
- 2 large eggs
- 1 tablespoon red food coloring (gel preferred)
- 1/2 cup unsalted butter, softened (for frosting)
- 8 ounces cream cheese, softened (for frosting)
- 3 cups powdered sugar, sifted (for frosting)
- 1 teaspoon vanilla extract (for frosting)
Instructions
- Preheat your oven to 350°F (175°C). Line a 12-cup muffin tin with paper liners.
- In a large bowl, whisk together the flour, sugar, baking soda, and cocoa powder.
- In a separate medium bowl, mix the buttermilk, vinegar, vanilla extract, vegetable oil, and eggs until combined. Add the red food coloring and mix until the color is uniform.
- Pour the wet ingredients into the dry ingredients. Mix on low speed or by hand until just combined. Do not overmix to keep the texture velvety.
- Divide the batter evenly among the 12 cupcake liners, filling each about two-thirds full.
- Bake for 18 to 20 minutes, or until a toothpick inserted into the center comes out clean. Let the cupcakes cool in the pan for 5 minutes before transferring them to a wire rack to cool completely.
- To make the cream cheese frosting, beat the softened butter and cream cheese together in a large bowl until smooth and creamy.
- Gradually add the sifted powdered sugar, mixing on low speed until incorporated, then increase the speed and beat until fluffy. Mix in the vanilla extract.
- Once the cupcakes are completely cool, pipe or spread the fluffy cream cheese frosting onto each cupcake.
Notes
- For the most vibrant color, use a high-quality red gel food coloring instead of liquid coloring.
- Using buttermilk and vinegar reacts with the baking soda to give these cupcakes their classic tender crumb.
- Chill the cream cheese and butter slightly before making the frosting if your kitchen is warm; this prevents the frosting from becoming too soft.
Nutrition
- Serving Size: 1 cupcake
- Calories: 350
- Sugar: 35g
- Sodium: 250mg
- Fat: 18g
- Saturated Fat: 9g
- Unsaturated Fat: 9g
- Trans Fat: 0g
- Carbohydrates: 45g
- Fiber: 1g
- Protein: 4g
- Cholesterol: 45mg