
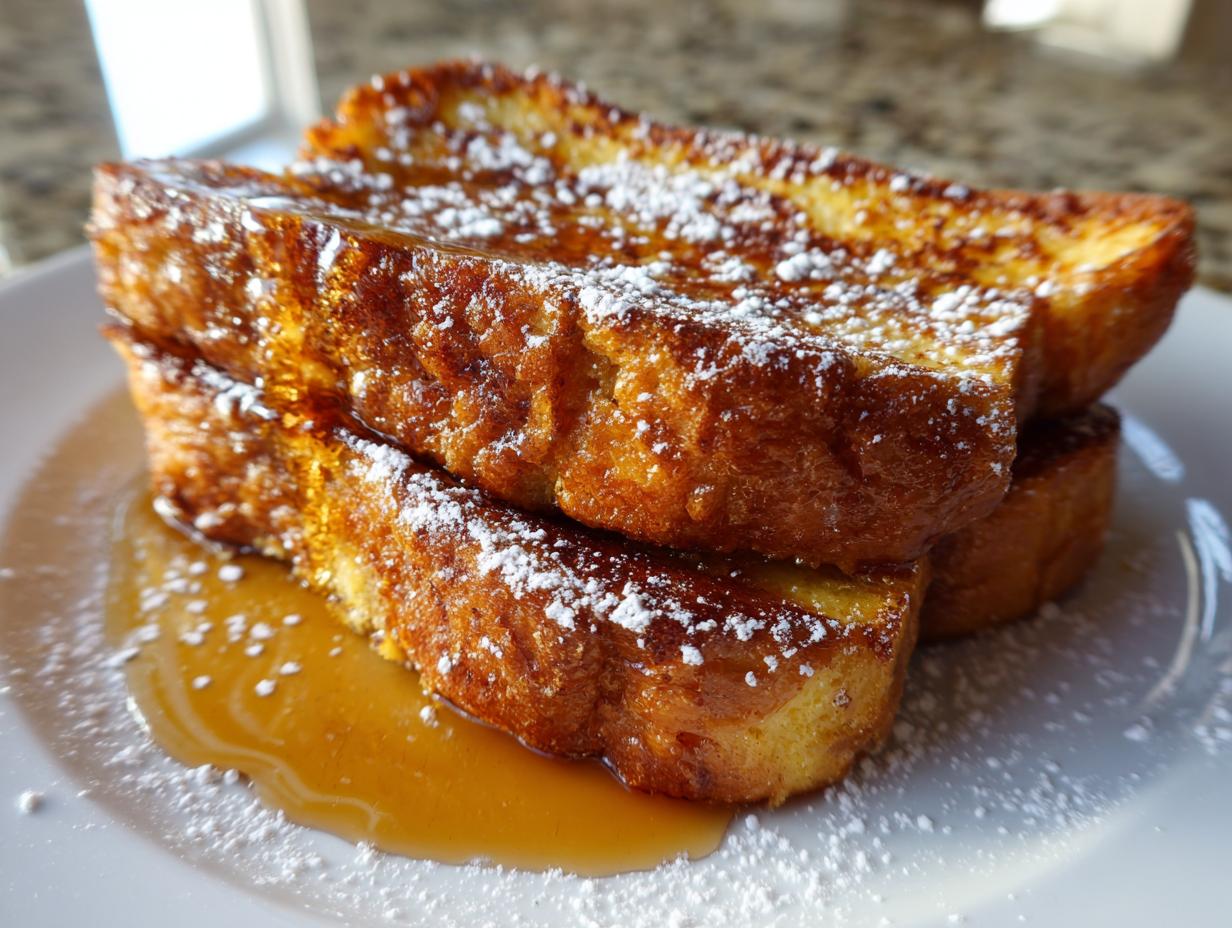

If your weekend mornings feel incomplete without that indulgent, restaurant-quality breakfast, you know the struggle: we want crispy edges, but we need that soft, custardy center. For years, I settled for mediocre results, treating my kitchen like my old Chicago office—rushing through tasks. Then that first bite of shrimp creole changed everything, reminding me that even the simplest meals, like french toast, deserve precision and love.
I am happy to report that after countless tests, I’ve cracked the code for an Ultimate Classic French Toast that delivers that perfect texture every single time. This isn’t just about surviving the morning rush; it’s about creating a memorable moment right here at home. Trust me, once you master this, your weekend brunch game changes forever.
- Why This Is The Ultimate Classic French Toast Recipe
- Ingredients for Perfect French Toast
- How to Prepare Your Ultimate French Toast
- Tips for Fluffy French Toast Success
- Variations on Classic French Toast Recipe
- Serving Suggestions and French Toast Toppings
- Storage and Reheating Instructions for French Toast
- Frequently Asked Questions About Making French Toast
- Nutritional Estimate for This French Toast
Why This Is The Ultimate Classic French Toast Recipe
It’s simple: most recipes aim for ‘fluffy,’ but we are aiming for pure, indulgent perfection. When I was testing this breakfast staple, I realized that true excellence in french toast comes from conquering two textural opposites on one single piece of bread. This is why I insist on these specific techniques over simply throwing bread into a milk bath.
We aren’t just cooking breakfast; we are creating an experience:
- It’s unbelievably easy, yet it tastes like something you’d order at a fancy brunch spot.
- It relies on a balanced custard mix that ensures there’s zero dry bread left behind.
- It hits that ‘wow’ factor every time, just like those stunning meals I saw on my travels. Check out some inspiration here: Best French Toast Recipe.
Achieving that Custardy French Toast Center
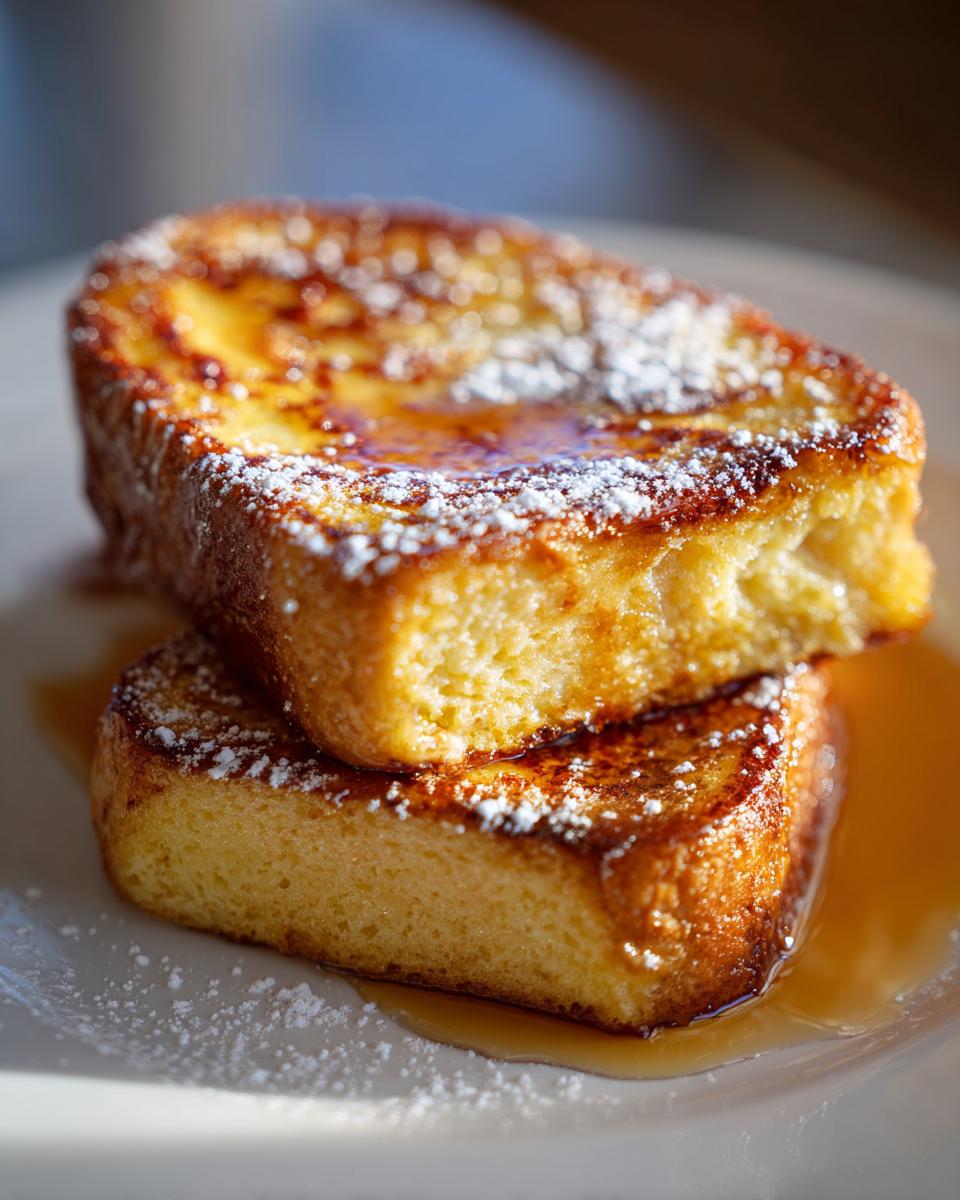
The magic ingredient here, besides good bread, is the heavy cream. Most simple morning meal recipes use just milk, but we need that little bit of fat. That 1/4 cup of heavy cream mixed with the milk creates a rich, thick liquid that soaks deep into the bread fibers. Because we are letting the bread soak just long enough—about 15 seconds on each side for thick slices—you get that glorious custardy french toast center. It’s what elevates this from a quick snack to an indulgent breakfast center slice.
The Secret to Crispy Edge French Toast
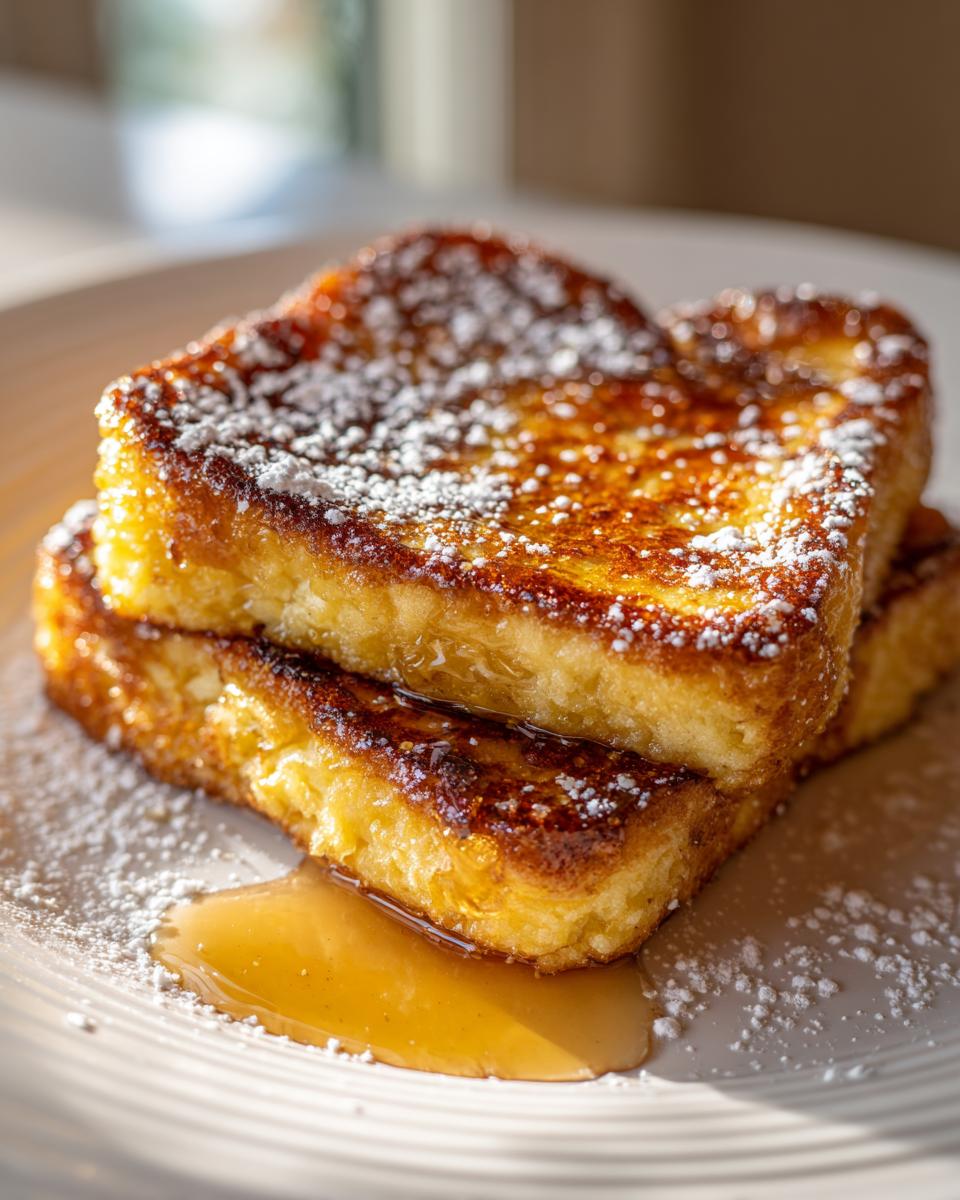
This is where standing over the skillet pays off! You can’t rush the browning. We are cooking this over medium heat, no higher, and adding butter right before each batch hits the pan. The butter aids in searing the exterior sugars in the batter just right. That combination of fat and steady heat gives you those irresistible, buttery, crispy edge french toast borders that snap slightly when you bite into them. It’s the contrast that makes this dish unforgettable.
Ingredients for Perfect French Toast
When I first started experimenting, I just grabbed whatever white bread was on sale. Oops! That was a huge mistake. For this recipe to hit that sweet spot—crispy outside, creamy inside—you can’t skimp on the ingredients, especially the foundation. If you use the right components here, you’ve honestly already done 80% of the work for your french toast.
Here’s what you need ready before you even think about dusting off the skillet:
- 8 slices thick-cut bread (Brioche or Challah recommended)
- 4 large eggs
- 1 cup whole milk
- 1/4 cup heavy cream
- 1 teaspoon vanilla extract
- 1/2 teaspoon ground cinnamon
- 1 tablespoon granulated sugar
- Pinch of salt
- 2 tablespoons unsalted butter, for cooking
- Optional: Powdered sugar, maple syrup, and fresh berries for topping
Selecting the Best Bread for French Toast
Listen, standard, squishy sandwich bread will just dissolve into mush when it hits the custard. We need structure! You absolutely must use thick-cut bread—think at least one inch thick. Brioche or Challah are my favorites because they are rich and slightly dense already. Slightly stale bread is honestly the secret weapon here, it soaks up that beautiful custard without ever falling apart.
How to Prepare Your Ultimate French Toast
Okay, now that we have our gorgeous ingredients assembled, it’s time for the actual cooking process. This is where we build the texture that sets our french toast apart. Don’t rush the preheat; that steady temperature is key to making sure the inside cooks through before the outside burns to a crisp. Have your plate ready nearby, because once these hit the pan, they move fast!
We’re going to follow these steps precisely:
- First things first: get a large skillet or griddle warming up over medium heat. Once it’s hot, add half of your unsalted butter and let it melt until it just starts to foam—that’s your indicator that the temperature is right.
- Take your thick bread slices and dip them quickly into the egg mixture. If you’re using nice, day-old bread, give it about 10 seconds on each side so it absorbs the liquid but doesn’t get soggy.
- Place the soaked bread onto the hot skillet, being mindful not to overcrowd the surface. You need space for that delicious caramelization to happen!
- Cook each side for about 3 to 4 minutes until you see that deep, golden brown color. If the edges look like they are getting too dark, drop that heat slightly!
- For those who want that extra wow factor—the kind that makes people stop and ask what you did—sprinkle a tiny bit of granulated sugar right on top before you flip it for the last minute. Let that sugar gently melt and caramelize right onto the slice.
- Pull the finished pieces off and keep them warm while you repeat the process with the remaining butter and bread.
Mixing the Best French Toast Batter
Don’t just swirl this stuff with a fork! You need to really whisk those eggs, milk, cream, vanilla, sugar, and salt together in a shallow dish until everything is totally uniform. If you see streaks of yolk or white, you haven’t mixed enough. You are looking for a perfectly smooth, pale yellow liquid. This smooth consistency is what makes your best french toast batter—it coats the bread evenly, which is crucial for that custardy interior we talked about.
Cooking the French Toast to Golden Perfection
Medium heat is your friend here. If you use high heat, the outside will burn instantly, leaving you with raw, sloshy centers. We want that gorgeous visual appeal of deeply golden brown, which means we are coaxing out the flavor slowly. Resist the urge to press down on the bread; let the heat do the work! For more tips on getting that quick, fluffy result, check out this guide: Easy French Toast. Taking your time ensures those beautiful, slightly sugary, caramelized french toast edges develop slowly and evenly.
Tips for Fluffy French Toast Success
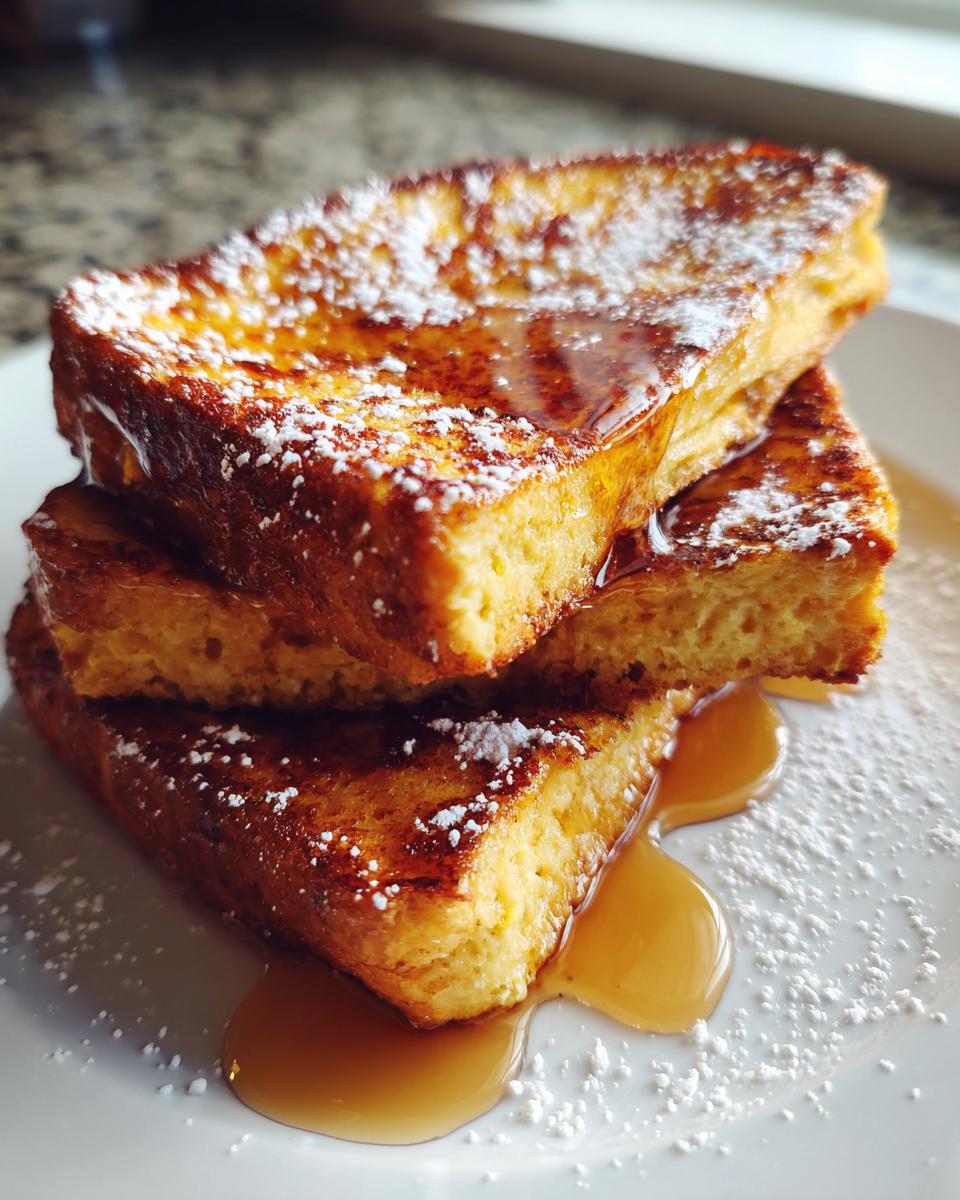
I know you want perfect results, and I’ve learned a few tricks over the years that separate the good french toast from the unbelievable. These aren’t hard rules, just little nudges that ensure you get that beautiful texture every single time you fire up the griddle. Don’t stress if your first go isn’t perfect; that’s just part of the process of cooking with love!
Here are the small details that make a massive difference:
- If you’re using fresh bread, which I don’t totally recommend, you need to let those slices soak longer—maybe 20 seconds per side—so they can really soak up the custard mixture.
- If you’re short on time, you can prep the custard ahead of time. Just keep it covered in the fridge! Find some great inspiration here: The Ultimate Guide to the Best French Toast Recipe You’ll Ever Make.
- Hot pan, cold bread? No thank you. Ensure your pan is evenly heated before that first slice goes down for even cooking.
Variations on Classic French Toast Recipe
Look, the classic recipe is perfect, it truly is. But sometimes on a Tuesday morning, you need a little twist to make your simple morning meal feel exciting, right? You don’t always need a whole new plan to make your french toast feel gourmet. It’s all about those little additions to the custard or the toppings. I love switching things up when I’m making this for myself right before hopping onto a client call—it’s a little moment of luxury.
If you’re looking for easy french toast ideas that take zero extra effort, try these tweaks in the batter itself:
- Bring on the Spice: I mentioned cinnamon in the main recipe, but if you want a real hug in a bite, add a tiny pinch of nutmeg and maybe a *smidge* of cardamom to your egg mixture. This transforms it into a beautiful, warm cinnamon french toast without changing the cooking method at all.
- Citrus Brightness: A tiny bit of orange zest stirred into the custard cuts through the richness beautifully. It just brightens everything up and feels like springtime, even in the middle of winter.
- Nutty Crunch: For texture lovers, try mixing finely chopped pecans or walnuts right into the egg bath. They toast up on the outside of the bread when you grill it, giving you an extra layer of crunch that’s fantastic. For more inspiration on flavored versions, check out my friend’s wonderful post on Sweet Cinnamon French Toast!
See? A few extra scoops of spice or a little zest, and suddenly your standard breakfast feels totally new. That’s the beauty of mastering a great base recipe like this one!
Serving Suggestions and French Toast Toppings
We’ve done the hard work making the absolute best french toast—crispy, custardy, and golden brown. Now, it’s time for the fun part: dressing up our masterpiece! This dish is incredibly forgiving, which is why it’s one of my favorite weekend breakfast ideas. You can keep it simple, making for a great 15-minute breakfast, or you can go all out for brunch.
Honestly, you could serve this plain and it would still be amazing, but why stop there? Great toppings elevate the experience from satisfying to truly memorable. When I’m styling dishes for photos, I always lean into color and texture to live up to the “Gaze” part of Gourmet Gaze, and these suggestions are foolproof!
When you’re thinking about french toast toppings, remember the balance: if your toast is rich (thanks to that cream and butter!), you need something bright or tart to cut through it.
- The Non-Negotiable Classic: You simply must use high-quality maple syrup. Skip the thin, corn-syrup stuff. A thick, dark amber maple syrup pools beautifully in those nooks and crannies we worked so hard to create.
- For Brightness: A big handful of fresh berries—raspberries hold their shape well—or thin slices of barely-ripe banana add a necessary acidic counterpoint. If you have some extra time, my easy apple crumble filling makes a fantastic, warm topping!
- Creamy Finish: A small dollop of whipped cream or, if you’re feeling indulgent, a light sprinkle of toasted pecans adds texture and richness.
- Dusting Delight: Don’t forget the final flourish! A light sifting of powdered sugar is traditional, beautiful, and adds that last whisper of sweetness without weighing the slice down.
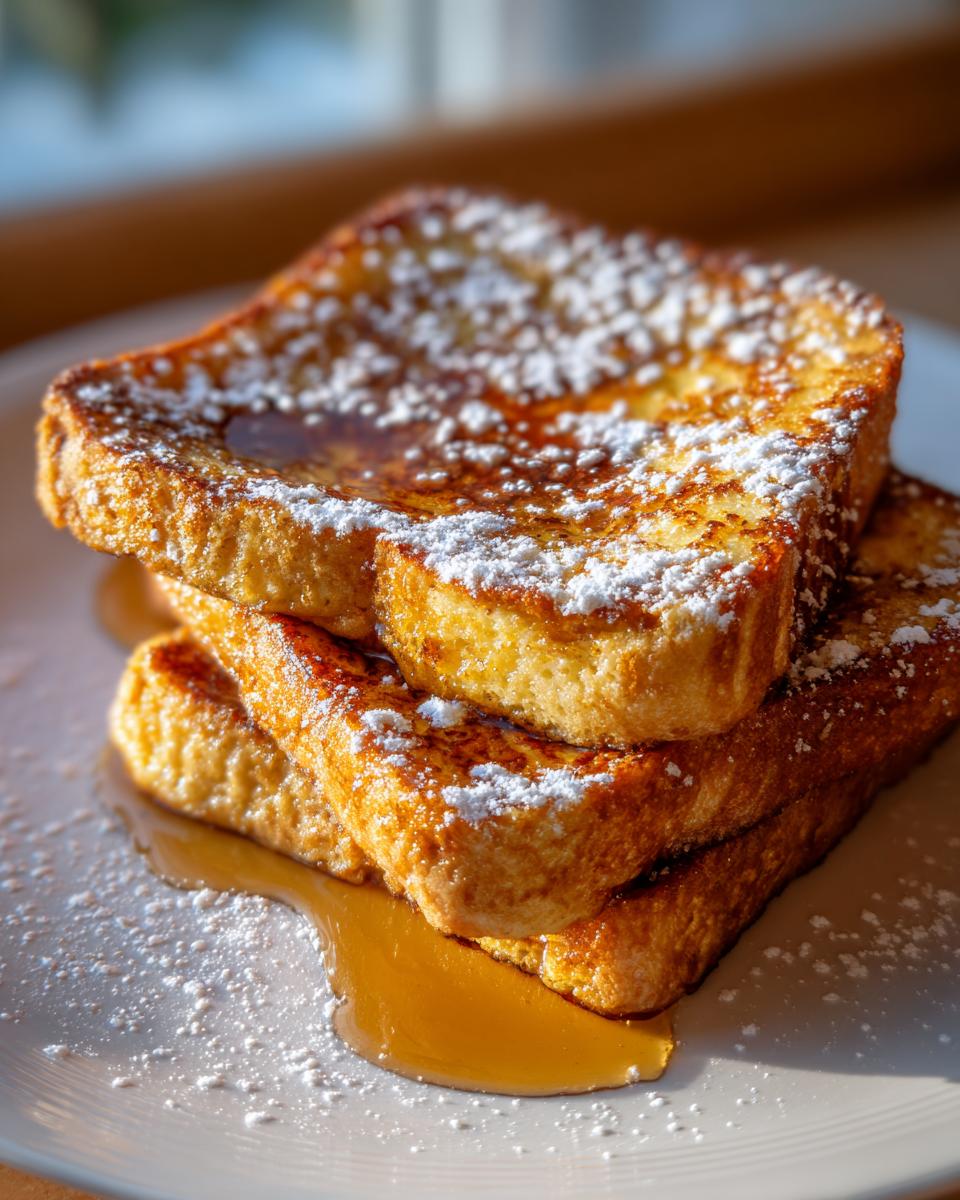
Serve these immediately piled high on a platter. The contrast between the warm, buttery toast and the cool toppings is what makes this such an excellent indulgent breakfast.
Storage and Reheating Instructions for French Toast
If you are cooking this amazing french toast for just yourself, you might end up with leftovers—and that’s a wonderful problem to have! However, we need to talk about reheating because the goal here is to keep that beautiful contrast: crispy edges and that soft, custardy center. Soggy toast is the enemy, and I have a few tricks to make these taste almost as good as fresh.
First off, do not store them stacked right on top of each other while they are warm! That trapped steam is what turns glorious French toast into a sad, wet sponge. Let the slices cool completely on a wire rack first. This is non-negotiable if you want to keep your leftovers tasting great.
Once cooled, you’ll want to store them in an airtight container. I usually place a piece of parchment paper between slices just to make sure they don’t stick together too much when cold. They hold up really well in the fridge for about three days.
When it comes time to reheat, skip the microwave! The microwave is the number one killer of texture. It heats unevenly and brings back all the sogginess we worked so hard to avoid.
- For best results (achieving that lovely crispy edge again): Use a toaster oven or a regular oven set to about 375°F (190°C). Lay the slices flat on a baking sheet and heat them for about 5–8 minutes, flipping halfway through. This dries out the exterior just enough to bring back a slight crisp.
- For speed: If you’re really pressed for time, a skillet works great. Heat a dry (no extra butter needed!) non-stick pan over medium-low heat and warm the slice for about 2 minutes per side. This brings back the warmth and texture really nicely, too.
Treating those leftovers with the same respect you gave the fresh batch ensures your next simple morning meal is just as indulgent!
Frequently Asked Questions About Making French Toast
I get so many questions every time I post this recipe, and honestly, it shows how many people are seeking that perfect french toast experience! It’s totally normal to have questions when you’re trying to perfect a classic dish. I’ve pulled together some of the ones I hear most often below. If you’ve got an eternal debate raging in your house about the perfect bread or soaking time, maybe these answers will help settle it!
Can I use regular sandwich bread for french toast?
Technically, yes, you absolutely *can* use regular sandwich bread, but let me be very clear: you won’t get that fluffy french toast interior we are aiming for here. Thin, soft white bread is often too fresh and too porous. It will soak up the custard way too fast and turn into utter soup when it hits the pan. If that is all you have, you need to adapt! Soak those thin slices for only about 5 seconds per side—just enough to coat them—and use lower heat for a longer cooking time. You won’t get the thick, dreamy center, but you’ll avoid a puddle on your griddle!
Is Overnight French Toast Casserole a good alternative?
That’s a great question, especially since I know a lot of you are looking for make ahead breakfast options for feeding a crowd! Yes, overnight french toast casserole is a fantastic, low-stress way to serve a large group, and those baked versions are great for parties. However, they achieve a different texture—more like a bread pudding, softer throughout. If you are standing at the stove on a Saturday morning wanting that perfectly defined, buttery, crispy edge french toast on individual slices, the stovetop method I gave you is unmatched. The casserole is perfect for eight people at once; the griddle is perfect when you want that immediate, restaurant-quality bite.
I also often get asked about the bread, so here’s one more helpful insight:
What is the best type of bread to use?
If you want to nail the custardy french toast center, you need something sturdy. I always insist on Brioche or Challah because they are rich in fat and eggs already, which complements our custard mixture perfectly. If you can only find those specialty loaves a day or two after they were baked, even better! Stale bread is better than fresh bread because it won’t tear apart when you dip it. For more in-depth looks at classic techniques, you can always check out this guide on Classic French Toast Recipe, or for baking those crowd pleasers, look at this Sheet Pan French Toast idea!
Nutritional Estimate for This French Toast
I always try to be as transparent as possible about what goes into our cooking here at Gourmet Gaze. When we are indulging in something truly special—like this perfect french toast—it’s good to know what you’re enjoying! Remember, I transitioned from a life where I ate whatever was fast, so now I approach ingredients with mindfulness, even when it comes to weekend breakfast perfection.
The figures below are purely an estimate based on the core ingredients listed in the recipe (using standard Brioche) and do not account for the butter used during cooking or any toppings like syrup or powdered sugar. Values can fluctuate wildly depending on the specific thickness of your bread or the brand of milk you choose!
Here is the breakdown per serving (which equals 2 slices of French Toast):
- Serving Size: 2 slices
- Calories: 380
- Fat: 18g
- Saturated Fat: 9g
- Carbohydrates: 42g
- Fiber: 2g
- Protein: 14g
- Sugar: 18g
- Sodium: 350mg
It’s important to understand that the sugar content (18g) is naturally occurring from the milk and the added tablespoon of sugar in the custard, plus traces from the bread itself. If you skip the optional powdered sugar dusting, you cut that down significantly! That slight richness is what gives us that luscious, custardy center, so I think it’s a worthy trade-off for an indulgent breakfast every now and then. Cook wonderfully!
PrintThe Ultimate Classic French Toast: Crispy Edges and Custardy Center
Master the secret to truly delicious classic French toast. This recipe delivers perfectly golden, crispy edges and a rich, soft, custardy center every time you cook it. It is a simple morning meal that feels indulgent.
- Prep Time: 10 min
- Cook Time: 15 min
- Total Time: 25 min
- Yield: 4 servings 1x
- Category: Breakfast
- Method: Stovetop Griddling
- Cuisine: American
- Diet: Vegetarian
Ingredients
- 8 slices thick-cut bread (Brioche or Challah recommended)
- 4 large eggs
- 1 cup whole milk
- 1/4 cup heavy cream
- 1 teaspoon vanilla extract
- 1/2 teaspoon ground cinnamon
- 1 tablespoon granulated sugar
- Pinch of salt
- 2 tablespoons unsalted butter, for cooking
- Optional: Powdered sugar, maple syrup, and fresh berries for topping
Instructions
- In a shallow dish, whisk together the eggs, milk, heavy cream, vanilla extract, cinnamon, sugar, and salt until fully combined. This creates your best French toast batter.
- Heat a large skillet or griddle over medium heat. Add half of the butter and let it melt until it foams slightly.
- Quickly dip each slice of bread into the egg mixture, ensuring both sides are coated but not overly saturated. If you use very fresh bread, let it soak for about 10 seconds per side.
- Place the soaked bread onto the hot skillet, ensuring there is space between slices. Do not overcrowd the pan.
- Cook for 3 to 4 minutes per side, adjusting the heat as needed. You want the exterior to turn deep golden brown and achieve those desired caramelized edges. Reduce the heat if the outside browns before the inside is cooked through.
- Remove the cooked French toast from the skillet and keep warm while you cook the remaining slices, adding more butter to the pan as needed.
- Serve immediately. Dust with powdered sugar and drizzle with maple syrup.
Notes
- For a crème brûlée effect, sprinkle a thin layer of granulated sugar over the top of the cooked slices right before the final flip, allowing it to melt and caramelize slightly in the pan.
- Using slightly stale or day-old bread helps the bread absorb the custard without falling apart.
- For a make-ahead option, prepare the custard and store the bread slices separately in the refrigerator. Assemble and cook in the morning.
Nutrition
- Serving Size: 2 slices
- Calories: 380
- Sugar: 18g
- Sodium: 350mg
- Fat: 18g
- Saturated Fat: 9g
- Unsaturated Fat: 9g
- Trans Fat: 0.5g
- Carbohydrates: 42g
- Fiber: 2g
- Protein: 14g
- Cholesterol: 180mg