
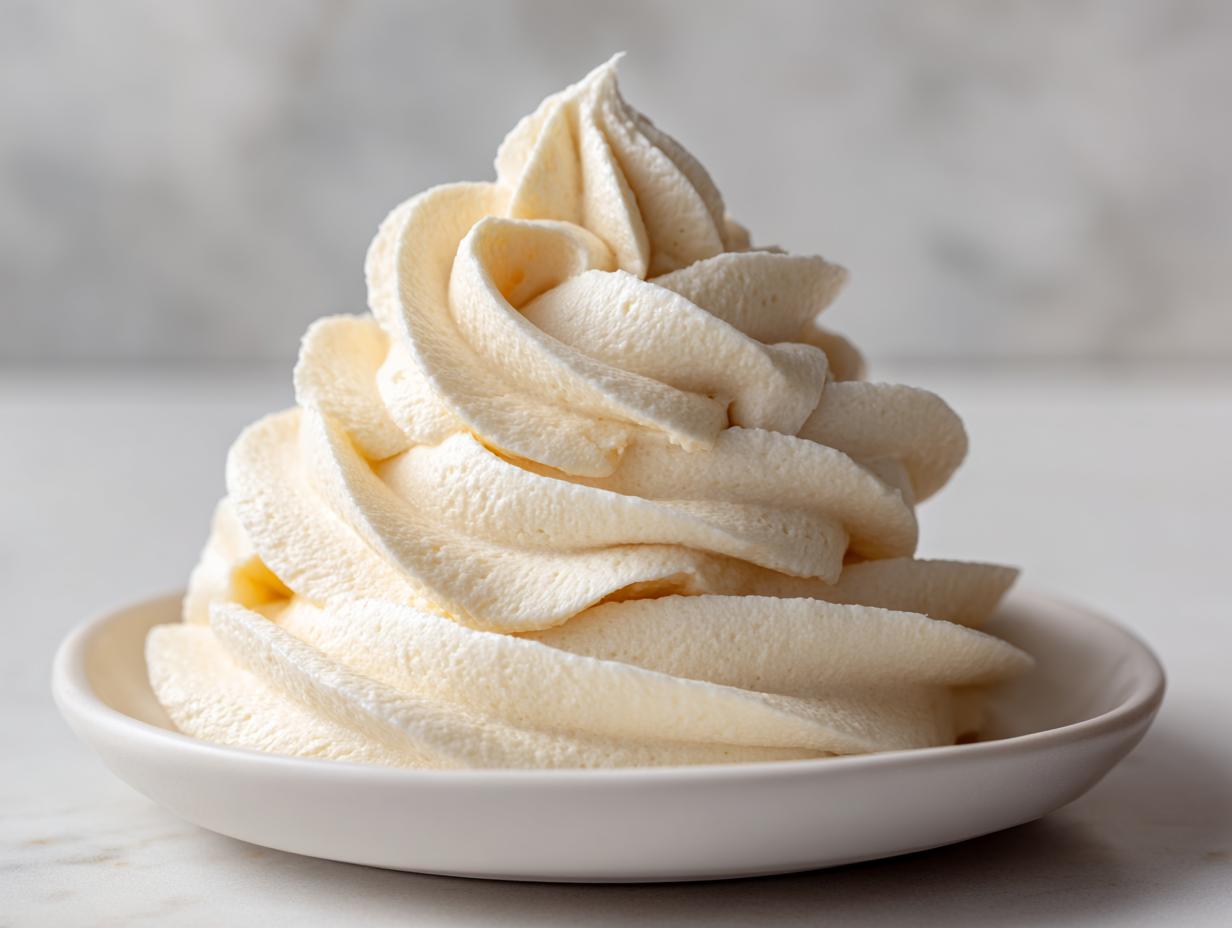

If there is one component that separates an acceptable dessert from something truly celebratory, it’s the frosting. Anyone can make a quick topping, but achieving that airy, perfect texture that holds up to piping and tastes purely of sweet, buttery vanilla? That takes mastery. When I decided to trade spreadsheets for spatulas, perfecting the vanilla buttercream was one of my first missions. Trust me, after countless tests in this very kitchen, I’ve landed on the definitive answer: this is the Ultimate Fluffy and Stable American Vanilla Buttercream Frosting Recipe. It’s incredibly quick, surprisingly reliable, and delivers that classic, craveable flavor every single time.
- Why This is the Best Buttercream for Cakes: Fluffy and Stable Vanilla Buttercream
- Gathering Ingredients for Your Homemade Vanilla Frosting
- How to Make Vanilla Buttercream: The American Buttercream Tutorial
- Tips for Perfect Piping Buttercream Consistency
- Ingredient Notes and Substitutions for Classic Vanilla Frosting
- Serving Suggestions for Your Vanilla Buttercream
- Storage and Reheating Instructions for Leftover vanilla buttercream
- Frequently Asked Questions About Making Vanilla Buttercream
- Nutritional Estimate for This Creamy Frosting Recipe
Why This is the Best Buttercream for Cakes: Fluffy and Stable Vanilla Buttercream
When I was first learning to bake, I made frosting that looked okay when it came out of the bowl but slumped sadly off a cupcake five minutes later. It was frustrating! That’s why I consider this American buttercream my personal triumph—it’s the Best Buttercream for Cakes because it absolutely will not quit on you. The magic here isn’t complicated; it’s just the right foundation of fat and sugar, combined with aggressive whipping.
This ratio gives you a wonderfully Stable Buttercream for Piping. You get that luscious, creamy frosting recipe easy feel without the risk of it becoming soupy. If I’m frosting the beautiful vanilla cake I shared last week, I need sharp edges, and this recipe delivers that sturdy structure beautifully.
Key Attributes of Our Vanilla Buttercream Frosting Recipe
- The texture is instantly creamy and velvety smooth.
- It holds its shape perfectly for sharp rosettes and borders, making it ideal for Decorating Buttercream work.
- We achieve that deep, recognizable rich vanilla flavor without any weird aftertastes.
- It’s ready in about 10 minutes—way faster than most European-style frostings! This makes it a true Quick Buttercream Recipe.
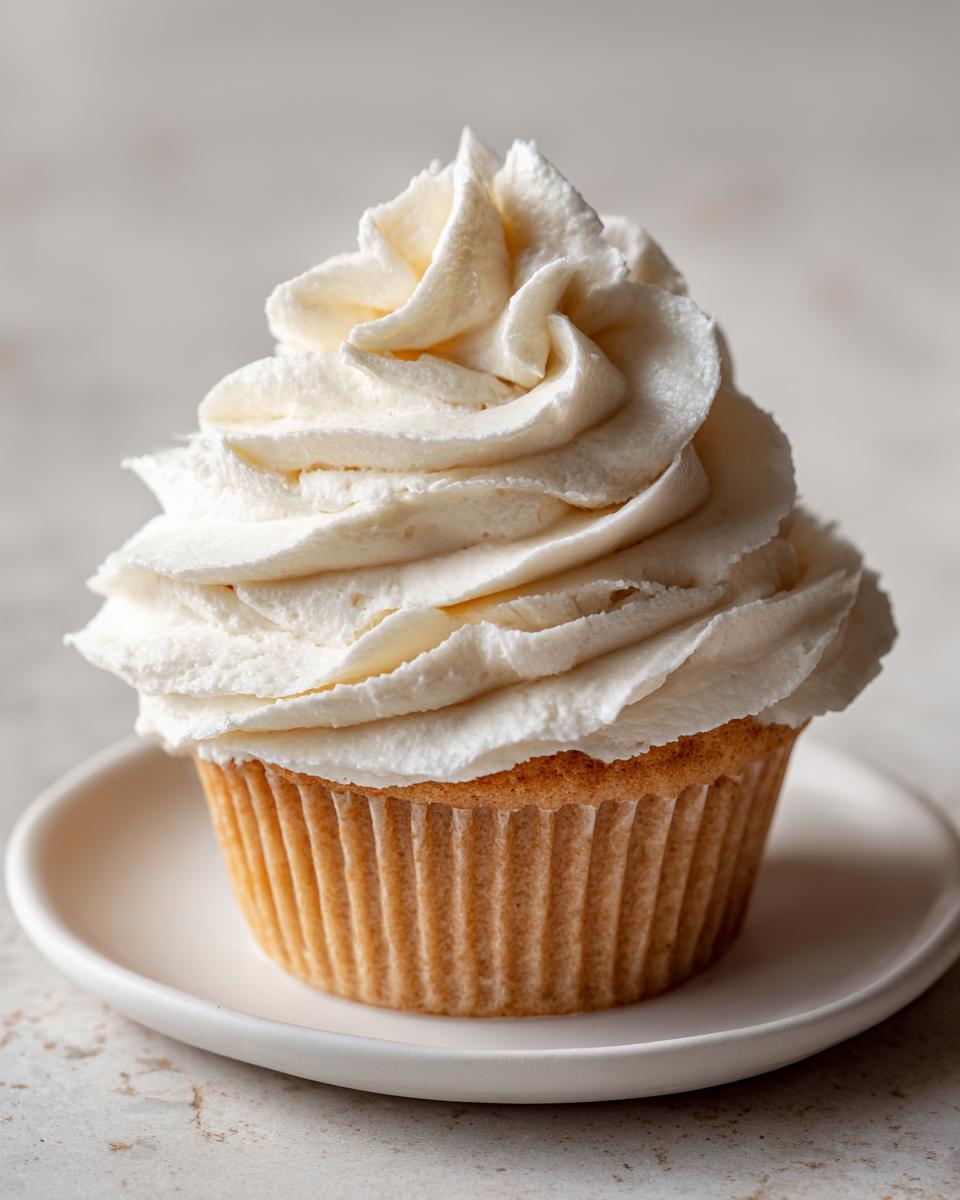
Gathering Ingredients for Your Homemade Vanilla Frosting
Before we even touch that mixer, we have to talk about the players! Building the best vanilla buttercream starts right here on the ingredient lineup. I’ve learned over the years that when you’re making something this simple, quality and preparation are everything. Mediocre ingredients equal mediocre frosting, plain and simple. Skip anything that looks questionable!
The recipe calls for just five things, but their state matters immensely. You absolutely must use butter that is truly softened to room temperature—not melted, not rock-hard—or your mixing process will be a disaster. And please, sift your powdered sugar! Those little lumps just refuse to dissolve in the final mix, and we are aiming for a Smooth Buttercream Frosting here. Get these details right, and the rest is a breeze. You can find the full list below, but remember, this foundation sets the stage for the richest Homemade Vanilla Frosting you’ll ever whip up. If you’re looking for more easy treats later, check out my guide to chocolate banana pops!
How to Make Vanilla Buttercream: The American Buttercream Tutorial
Okay, friend, we have our perfect ingredients, now it’s time for the action! This is the part where we turn those components into the Classic Vanilla Frosting you’ve always dreamed of. Follow these exact steps for the American Buttercream Tutorial that guarantees success. The beauty of this recipe is how truly fast it is—we’re talking a total of 10 minutes of active time to get something worth celebrating. But speed doesn’t mean cutting corners, especially in the first few moments. If you’re interested in other stunning desserts after this, take a peek at my recipe for old-fashioned tea cakes!
Step 1: Creaming the Butter for Smooth Buttercream Frosting
Before anything else, grab that softened butter and put it in the bowl of your stand mixer. You have to beat it until it’s utterly smooth and creamy. I mean it—no lumps, no graininess, just pure, soft gold. Set the mixer to medium speed and let it run for a solid 3 minutes. Don’t sneak a peek or stop early! This extended creaming time gets those initial air bubbles in place, which is the secret to avoiding that heavy, dense finish. Once it looks glossy, scrape down the sides really well. This sets the foundation for that perfect Smooth Buttercream Frosting.
Step 2 & 3: Incorporating Sugar and Flavoring the vanilla buttercream
Now, lower your speed! It’s time for the sifted powdered sugar. Add it slowly, one cup at a time, making sure the sugar is incorporated *before* you add the next cup. If you dump it all in at once, you’ll end up wearing most of your frosting, trust me, I learned that the hard way! Once all four cups are in, we add the flavor: the pure vanilla extract and just a pinch of salt to balance the sweetness. Crank that mixer up to medium-high and beat it for 3 minutes straight. This is where the mixture starts to develop that lovely light color.
Step 4 & 5: Achieving Light and Fluffy Icing Consistency
This is the ultimate stage for getting that Fluffy Vanilla Icing texture we talked about. You’ll add 3 tablespoons of the heavy cream or milk at this point. Now, beat it hard on medium-high speed for another 3 to 5 minutes. This sustained whipping is what develops that airy texture we just can’t live without. Don’t skimp on this final beating time! If it looks a little stiff when you check it, that’s when you add the remaining cream, one teaspoon at a time, until it flows beautifully for spreading onto your cake. This step is essential for that lovely Creamy Frosting Recipe Easy finish!
Tips for Perfect Piping Buttercream Consistency
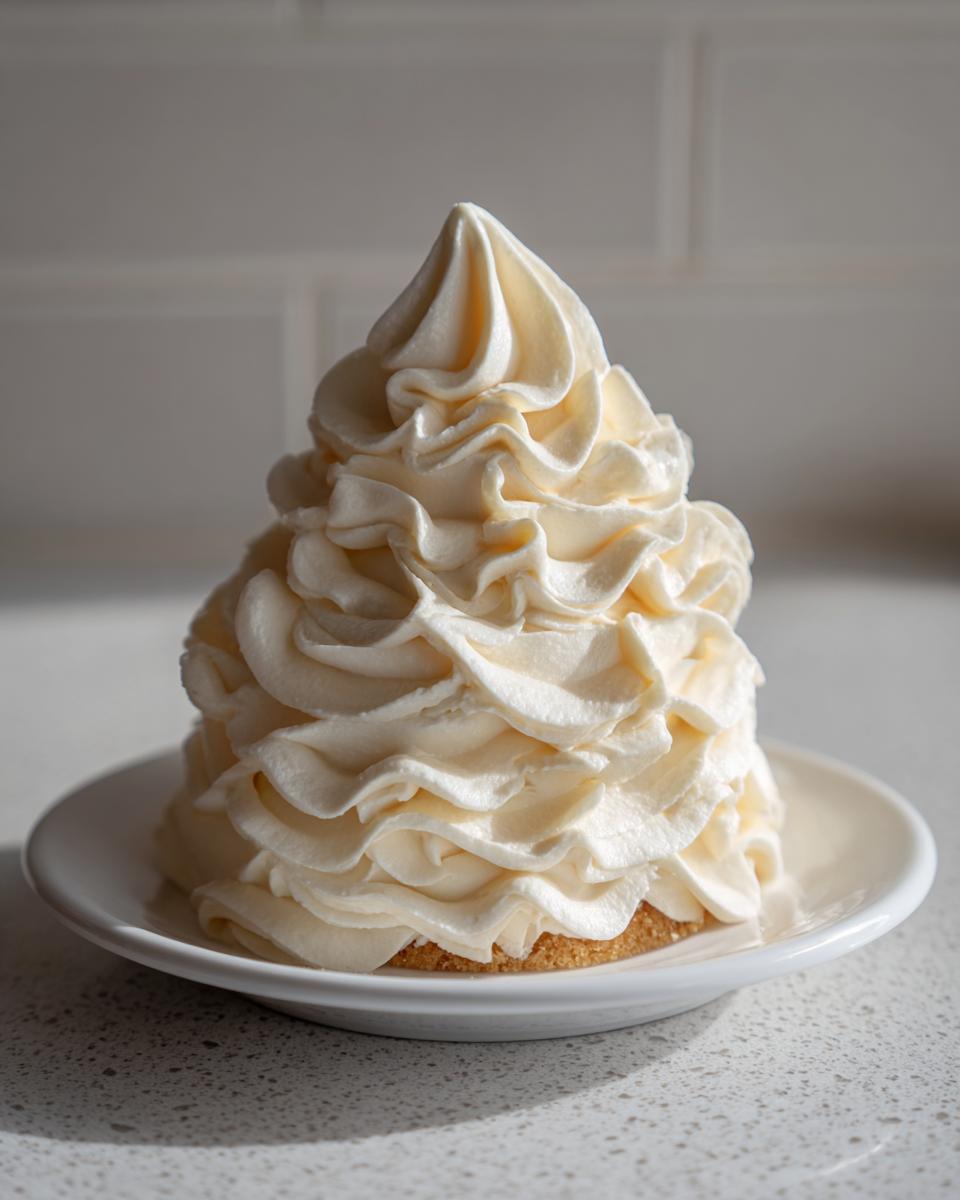
Now that we have this gorgeous, creamy vanilla buttercream base, let’s talk about making it work for you when you break out the piping bags! Remember, the standard recipe yields a texture that’s great for spreading on a cake, but if you want those sharp, beautiful stars and swirls—the kind you see on perfect bakery creations—you need to adjust slightly for Piping Buttercream Consistency.
If your goal is a stark white canvas for decorating, ditch the standard brown vanilla extract. We save that rich flavor for cakes, but for pure white Decorating Buttercream, swap in clear vanilla extract, as noted in my recipe tips. It makes a subtle difference in color that really shines on a white cake!
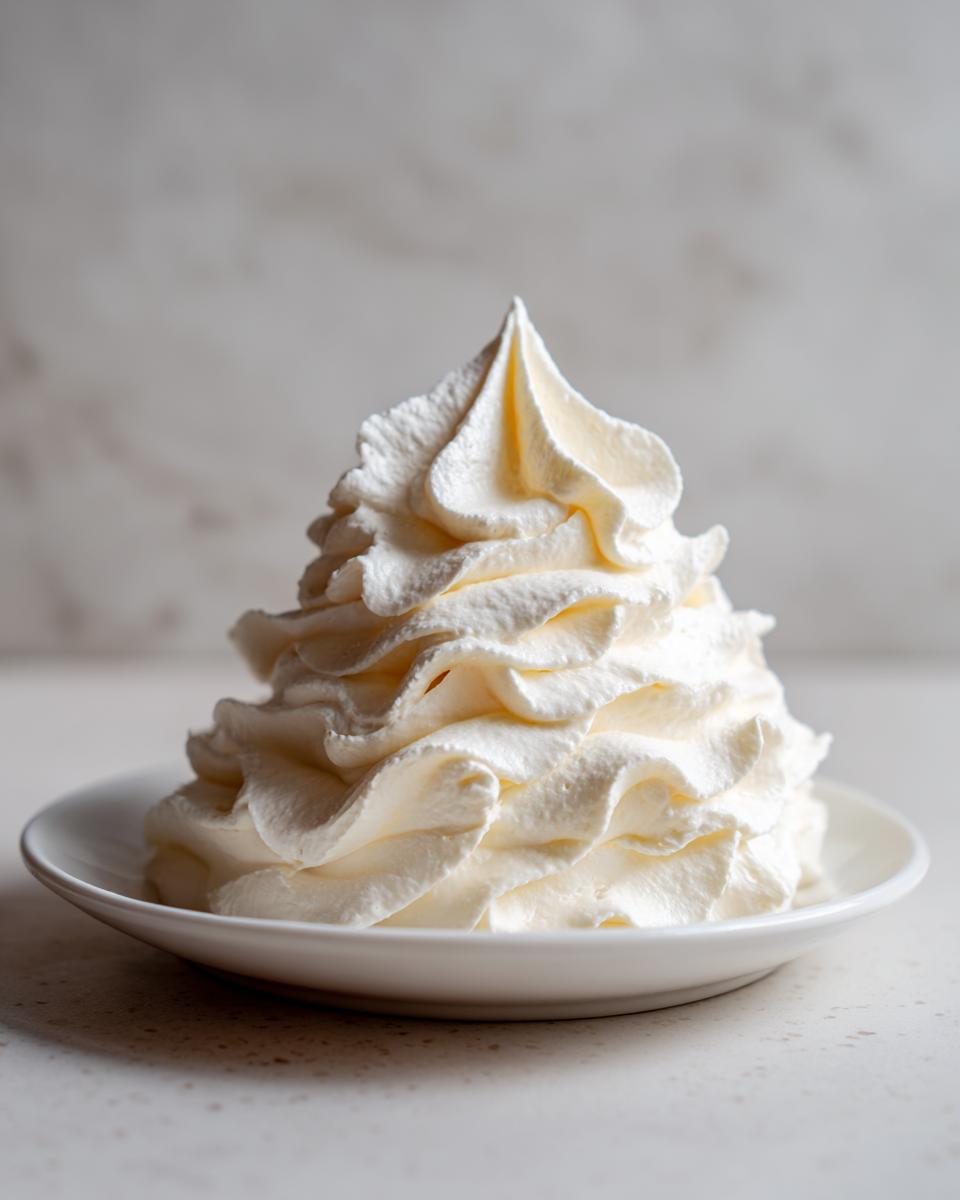
My best advice for keeping it Stable Buttercream for Piping is to use slightly less added liquid than you think you need during that final whipping stage. If you accidentally go too far and your frosting feels soft, don’t panic! This is where I always tell people to trust the mixer. Just drop the speed to low and add one extra tablespoon of sifted powdered sugar at a time. Mix just until it comes back together. It thickens right up! If you’re practicing your swirls on sugar cookies, you’ll see how perfectly this stiffens up by just chilling it for 15 minutes before bagging it. Ready to try it out? Hit up my sugar cookie fruit pizza recipe for the perfect test subject!
Ingredient Notes and Substitutions for Classic Vanilla Frosting
When we are aiming for the best vanilla buttercream, we have to respect the ingredients we are using. This isn’t super complex baking, but the status of that butter will make or break your texture. I want you to feel confident pulling this recipe out for any occasion, so let’s get specific about what goes into the bowl.
First up, butter temperature. This is where so many people rush, and it ruins that beautifully creamy frosting recipe easy finish we want. Melted butter turns your buttercream into a greasy, slick mess that separates quickly. Rock-hard butter won’t incorporate air, making your frosting heavy. You want room temperature butter—soft enough that you can easily press your finger into it and leave a dent, but it should still feel cool to the touch, not oily. This slight resistance is what allows the paddle attachment to create those tiny air pockets needed for a light texture.
Next, let’s talk liquids. The recipe calls for heavy cream, and honestly, it’s my first choice for richness, especially when going for a pure, classic vanilla buttercream flavor. But I know not everyone has cream on hand! You can absolutely substitute it with whole milk or half-and-half. Just know that the fat content changes things slightly.
If you swap to milk, you might find you need less of it because milk is thinner than cream. Start with less, whip longer, and see where you land. If you use milk, you might also notice the final result is slightly less rich, maybe even a bit sweeter because the butter flavor comes forward more. If you need that extra stable feeling for piping, stick with the cream or even use half-and-half. It’s just about knowing how the fat impacts the final texture we achieve in this Simple Buttercream Recipe.
If you’re testing recipes for that bright white frosting, remember what I mentioned earlier: clear vanilla extract is essential to avoid that off-white or slightly yellow tint. Don’t forget to try this frosting on my soft and chewy ube cookies for a fun flavor combination!
Serving Suggestions for Your Vanilla Buttercream
This amazing vanilla buttercream is so versatile, it almost feels like cheating! Since we worked so hard to make this the perfect Buttercream for Cupcakes—fluffy but stable—it’s the ideal topping for everything from a simple batch of sugar cookies to a full-on layer cake. Seriously, the possibilities for this Vanilla Dessert Topping are endless.
When I want something really quick but impressive, I just swirl this frosting onto basic drop cookies. The way it holds that textured swirl is always so satisfying. It’s also the perfect marriage for my classic vanilla bean cake; the sweetness of the frosting complements the subtle flavor of the cake so beautifully.
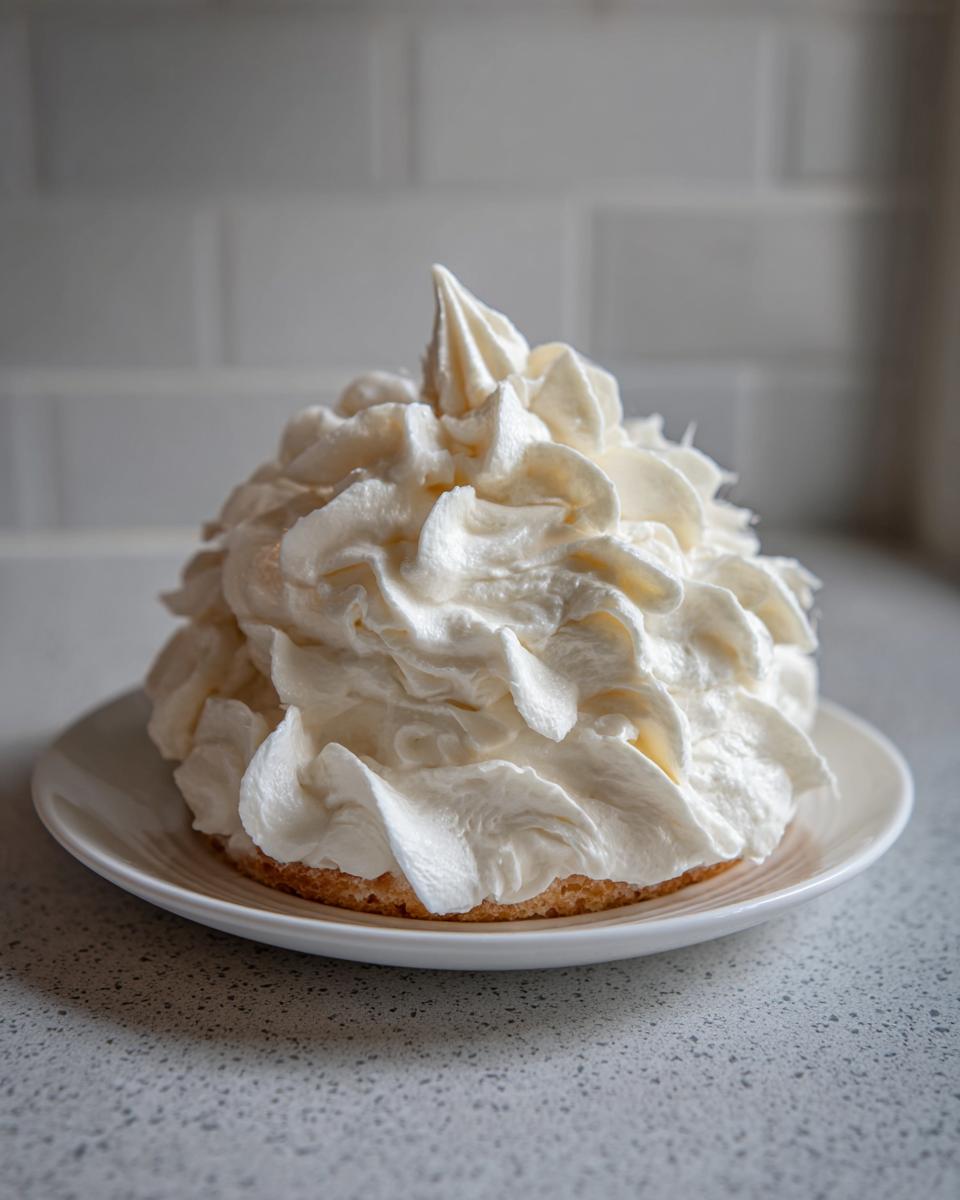
If you’ve baked up my easy apple crumble recipe without the topping, feel free to top a warm serving with a dollop instead of ice cream! It melts slightly and tastes divine. Or, if you’re looking for a palate cleanser after a big meal, this frosting makes a great, decadent topping for a small scoop of my easy lime sorbet. It’s just that good!
Storage and Reheating Instructions for Leftover vanilla buttercream
I rarely have leftovers of this vanilla buttercream because, well, it disappears fast! But life happens, and sometimes you make a double batch, so you need to know how to keep this treasure fresh. The good news is that since this is an American buttercream, it’s quite forgiving regarding storage, unlike some Swiss or Italian meringue types.
For short-term keeping—say, you frosted a cake today but need to move it to the garage fridge for a day or two—you can usually keep the frosted cake covered tightly at room temperature, provided your kitchen isn’t super hot. If you need to store the surplus frosting, transfer it to a clean, airtight container immediately. It’s important that the container seals well to prevent the butter from absorbing any fridge odors.
If you plan on keeping it longer than a week, the refrigerator is the best spot. If you refrigerate it, just remember that the butter will solidify completely. When you pull it out, you can’t just start whipping it straight away—you’ll end up with stiff, crumbly frosting that won’t spread! Wait about an hour or two for it to soften up a bit at room temperature.
The absolute key to bringing refrigerated vanilla buttercream back to that lovely, Creamy Frosting Recipe Easy consistency is the final whipping stage. Once it’s softened, pop it back into your mixer—even if it looks okay—and beat it on medium speed for a solid minute, then crank it up to medium-high for another minute or two. That gentle re-whip reincorporates the air you lost while chilling. It brings back the fluffiness instantly! If you’re looking for other topping ideas that store differently, you might want to check out my recipe for quick stovetop chocolate fudge frosting. That one is fantastic when chilled!
Frequently Asked Questions About Making Vanilla Buttercream
When you’re trying to nail that perfect texture, questions always pop up! I’ve gathered the ones I get asked most often in my own kitchen regarding this incredible vanilla buttercream. This way, you can save yourself the troubleshooting time and get straight to frosting those gorgeous cakes!
Can I make this Simple Buttercream Recipe ahead of time?
Yes, absolutely! This is one of the best parts about this Simple Buttercream Recipe. You can store it airtight at room temperature for about two days, or refrigerate it for up to two weeks. If you chill it, remember what I mentioned earlier: you must bring it back to room temperature until it’s pliable, then give it a good whip in the mixer again! This re-whipping is vital to bring back that airy lift and achieve that light and fluffy icing quality it had when fresh.
What makes this the ‘Bakery Style Frosting’?
That signature Bakery Style Frosting look and feel comes down to two things we focus on in the recipe: the fat-to-sugar ratio and the whipping time. American buttercream is inherently stable because of the high volume of powdered sugar, but many people skimp on the beating time at the end. We beat that frosting on high speed for a full 3 to 5 minutes after adding the liquid. This process incorporates so much air that it lightens the density of the sugar, resulting in a frosting that isn’t overly heavy or grainy—it’s truly light and fluffy, yet sturdy enough for complicated decorating.
How do I fix vanilla buttercream that tastes too sweet?
This is a common issue with American buttercream recipes because they rely heavily on powdered sugar for structure! If your Homemade Vanilla Frosting tastes overwhelmingly sweet, don’t start adding more sugar! Instead, you need a tiny bit of acid or salt to cut through that cloying taste. Try adding another small pinch of salt—sometimes just a little more counter-flavor does the trick. If that doesn’t work, add just one small teaspoon of fresh lemon juice or a tiny splash of buttermilk. Mix it in slowly. That hint of tang or extra saltiness will balance the sweetness instantly, making the vanilla flavor pop instead!
If you run into any other snags while baking, feel free to reach out to me directly via my contact page. I’m always happy to help troubleshoot a batch of frosting!
Nutritional Estimate for This Creamy Frosting Recipe
I always like to include a general idea of what’s in a serving of this incredibly delicious, yet definitely decadent, vanilla buttercream. Remember, this entire batch yields about 3 cups, so this information is calculated based on a serving size of about 1/4 cup. Keep in mind, every baker uses slightly different brands of butter and sugar, so these numbers are averages. Think of this as a great guideline, not a hard rule enforced by the kitchen police!
If you’re keeping track, the numbers look something like this:
- Serving Size: 1/4 cup
- Calories: 320
- Sugar: 42g
- Fat: 17g (with 10g saturated)
- Sodium: 35mg
- Protein: 0.5g
Because this is made primarily of butter and powdered sugar, the calorie and sugar counts are what you’d expect from a rich, Classic Vanilla Frosting. If you’re worried about the sugar, remember that using this amount to frost a large cake means the actual amount per slice is much smaller! We add a pinch of salt (35mg of sodium) to balance that sweetness out, which is key to making this frosting taste less sharp.
Making your own frosting, like this super smooth and creamy frosting recipe easy method, is worth it every time. Knowing exactly what goes into your homemade vanilla frosting is part of the joy of cooking! Enjoy every luscious bite!
PrintUltimate Fluffy and Stable American Vanilla Buttercream Frosting Recipe
Make the best vanilla buttercream frosting that is creamy, fluffy, and stable for piping cakes and cupcakes. This easy American buttercream recipe delivers rich vanilla flavor in minutes.
- Prep Time: 10 min
- Cook Time: 0 min
- Total Time: 10 min
- Yield: About 3 cups 1x
- Category: Dessert Topping
- Method: Mixing
- Cuisine: American
- Diet: Vegetarian
Ingredients
- 1 cup (227g) unsalted butter, softened to room temperature
- 4 cups (480g) powdered sugar, sifted
- 1 teaspoon pure vanilla extract
- 3–5 tablespoons heavy cream or milk
- Pinch of salt
Instructions
- Place the softened butter in the bowl of a stand mixer fitted with the paddle attachment. Beat the butter on medium speed until it is very smooth and creamy, about 3 minutes. Scrape down the sides of the bowl.
- Gradually add the sifted powdered sugar, one cup at a time, mixing on low speed until just combined after each addition.
- Add the vanilla extract and the pinch of salt. Increase the mixer speed to medium-high and beat for 3 minutes until the mixture is lightened in color.
- Add 3 tablespoons of heavy cream or milk. Beat on medium-high speed for another 3 to 5 minutes until the frosting is light, fluffy, and smooth. This whipping time develops the airy texture.
- If the frosting seems too stiff for spreading, add the remaining cream, one teaspoon at a time, until you reach your desired consistency for your cake or cupcakes.
- If the frosting is too soft for piping, add a little more sifted powdered sugar, one tablespoon at a time, until it holds stiff peaks.
Notes
- For the smoothest buttercream, ensure your butter is truly at room temperature, not melted.
- If you want a stark white frosting, substitute clear vanilla extract for the standard brown extract.
- To achieve a bakery style frosting that holds sharp piping designs, use slightly less liquid and whip for the full 5 minutes.
Nutrition
- Serving Size: 1/4 cup
- Calories: 320
- Sugar: 42g
- Sodium: 35mg
- Fat: 17g
- Saturated Fat: 10g
- Unsaturated Fat: 7g
- Trans Fat: 0.5g
- Carbohydrates: 43g
- Fiber: 0g
- Protein: 0.5g
- Cholesterol: 45mg