
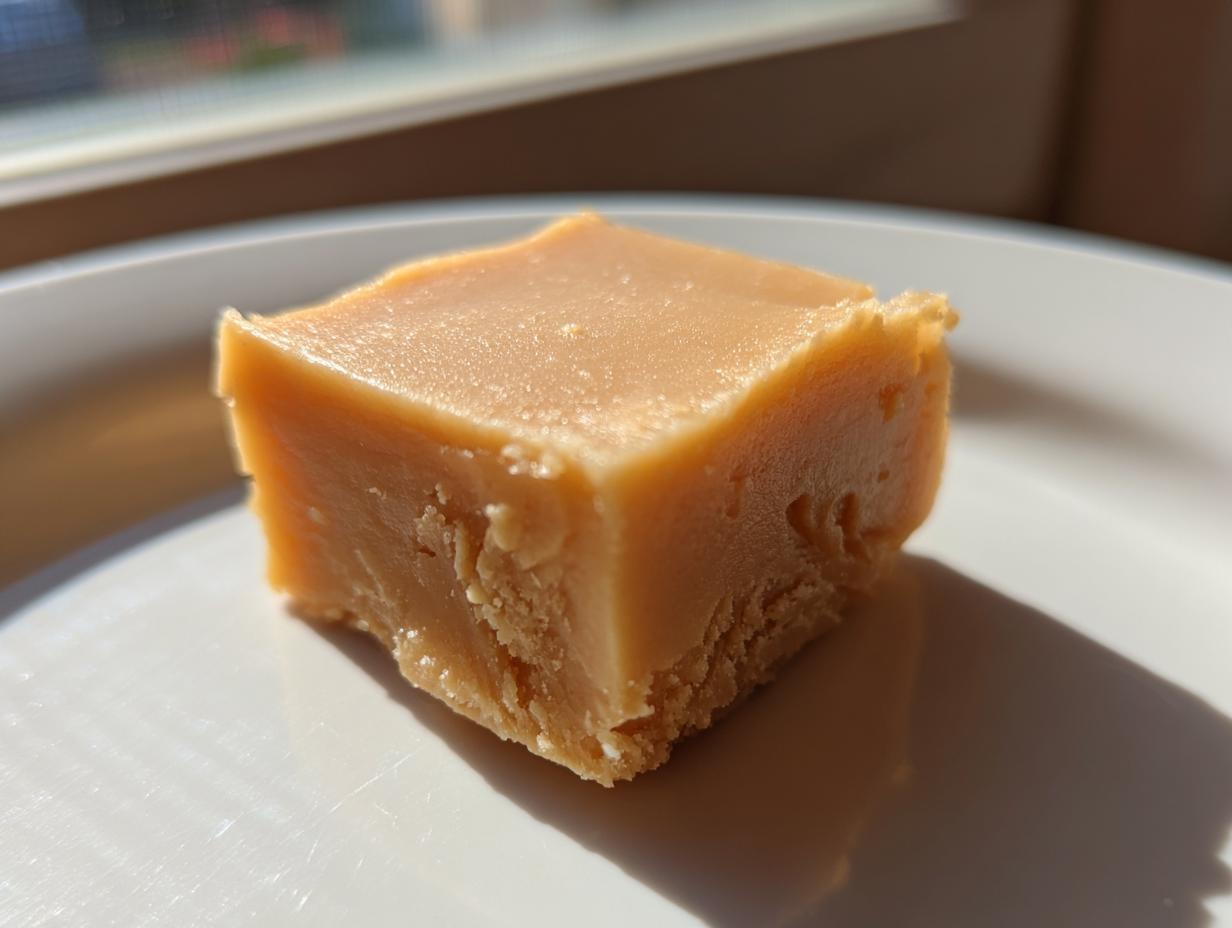

I remember when my culinary world felt like it had to involve complex reductions and perfect knife cuts just to be ‘good.’ But honestly, the best moments in the kitchen often come from simple, deeply satisfying sweets. That’s why this Easiest Ever, No-Bake peanut butter fudge has earned a permanent spot in my rotation. It’s pure luxury made with just four humble ingredients! This recipe is proof that you don’t need hours of time or a dozen steps to achieve that incredible, melt-in-your-mouth texture we all crave in homemade peanut butter fudge. It’s comfort food perfected, and I can’t wait for you to see how easy it is to master. If you’re curious about my journey from spreadsheet warrior to home cook, you can always read more on the About page!
- Why This Is the Best Peanut Butter Fudge Recipe
- Gathering Ingredients for Your Peanut Butter Fudge
- How to Prepare Easy Homemade Fudge Recipe
- Tips for Perfect Creamy Peanut Butter Candy
- Variations for Your Peanut Butter Fudge
- Storage and Serving Suggestions for Classic American Fudge
- Frequently Asked Questions About Peanut Butter Fudge
- Nutritional Information for This Peanut Butter Fudge
- Share Your Experience Making This Sweet Peanut Butter Confection
Why This Is the Best Peanut Butter Fudge Recipe
When I look for a great sweet treat, I need three things: foolproof, unbelievably rich, and fast. This peanut butter fudge delivers on all counts. Forget fussy candy thermometers; this is about pure, straightforward deliciousness that makes everyone ask for the recipe.
- It genuinely melts on your tongue—it’s unbelievably smooth.
- You only need about 10 minutes of active work, promise!
- It’s perfect for making ahead, especially when the holiday rush hits.
Trust me, this is the version you’ll be bookmarking.
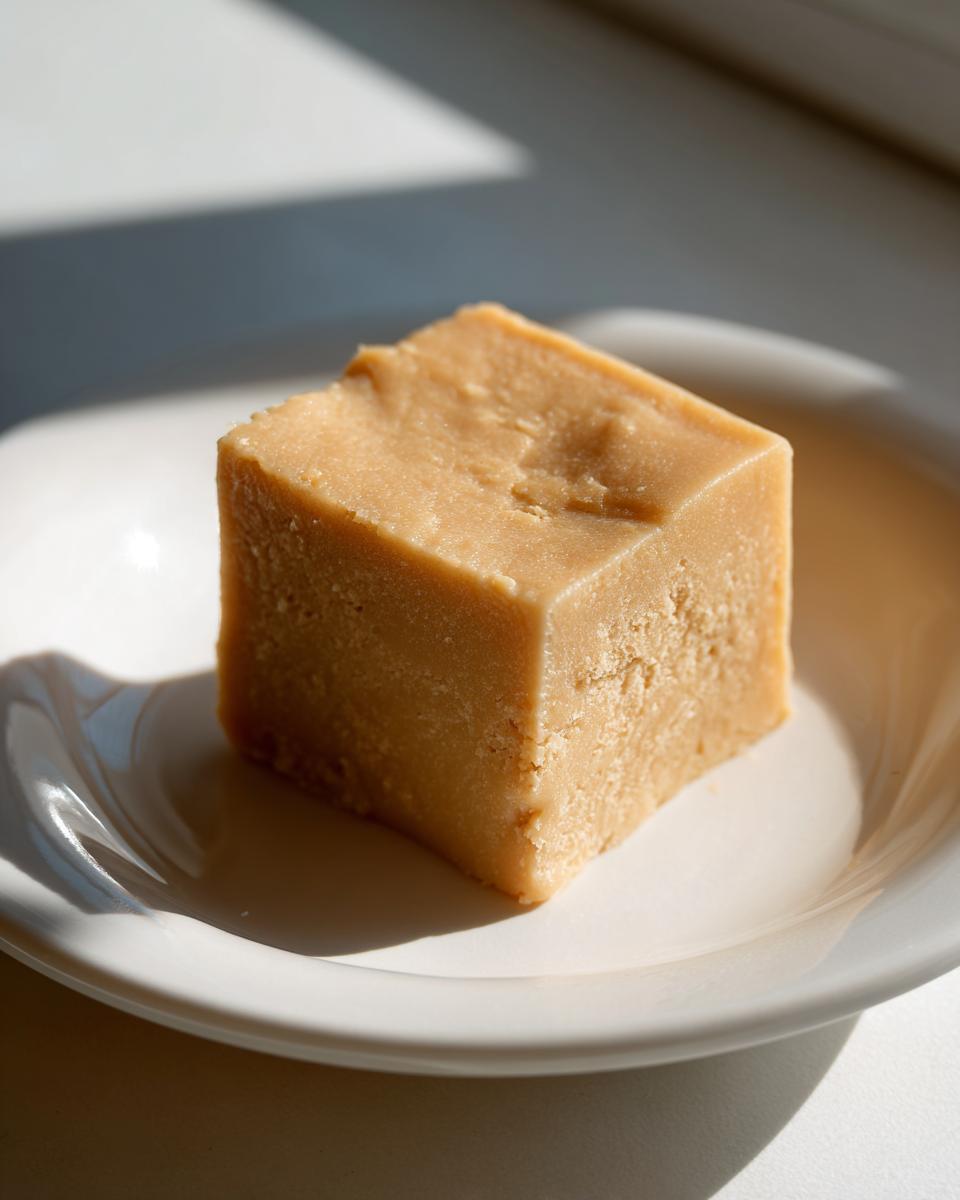
Achieving Melt in Your Mouth Fudge Texture
That grainy texture people complain about? We are avoiding that, absolutely. The secret to that gorgeous, smooth finish isn’t some fancy secret ingredient; it’s technique. You have to start by making sure your butter is perfectly soft, and that you sift that powdered sugar like your life depends on it. When you incorporate the sugar gently after creaming the fats, you lock in the creaminess.
Quick Fudge Candy with Minimal Ingredients
You won’t spend your afternoon slaving over a stove. This is the gold standard for a Quick Fudge Candy because the mixer does all the heavy lifting. Once you incorporate the main ingredients, it’s ready for the pan. Seriously, if you can stir, you can make this fudge successfully. It’s indulgence made ridiculously fast. Check out more of my favorite quick recipes over in the Desserts category!
Gathering Ingredients for Your Peanut Butter Fudge
When you are making something this simple, the quality and preparation of those few ingredients really shine through. We are working with just four core items here, which means there’s no room to hide a sub-par ingredient! This list is what gets you that signature rich, melt-in-your-mouth peanut butter fudge every single time. Keep these measured out and ready to go before you even turn on your mixer; efficiency is key to beating the heat!
- 1 cup (2 sticks) unsalted butter, softened
- 1 cup creamy peanut butter
- 4 cups powdered sugar, sifted
- 1 teaspoon vanilla extract
Ingredient Notes and Substitutions
Okay, let’s talk details, because these matter immensely for texture. First, your butter must be properly softened—room temperature, easily yielding when pressed, but definitely not oily or melted. Second, stick with standard creamy peanut butter. The kind where the oils don’t separate naturally tends to hold the structure of the fudge perfectly.
The most important step here that you absolutely cannot skip is sifting that powdered sugar! If you dump it in without sifting, you are guaranteeing lumps, and that ruins the smooth dessert experience we are aiming for. If you are determined to use natural peanut butter, just be aware it’s often runnier, so your fudge might need an extra 1/4 cup of powdered sugar or a longer chill time. This attention to the small stuff is what separates a good batch from the *best* batch.
How to Prepare Easy Homemade Fudge Recipe
The beauty of this Easy Homemade Fudge Recipe is that it’s entirely hands-off once the mixing starts. We are aiming for speed and perfection here. Just follow these steps exactly as written, and you’ll see why people call this the best fudge they’ve ever made while thinking they needed a candy thermometer! If you’re ever looking for a great cookie to go with your fudge, check out my tips on making easy peanut butter cookies, but for now, let’s focus on this melt-in-your-mouth magic.
Preparing the Pan and Creaming Base
First things first: grab your 8×8 inch pan. Line it properly with parchment paper, making sure you leave a little overhang on the sides—this is our built-in handle for lifting the finished block out later. Make sure you give that parchment a quick light grease so nothing sticks! Next, get your softened butter into a big bowl. Use your mixer, even if it’s a hand mixer, and beat that butter until it’s perfectly smooth on its own. We are building our foundation now, so don’t rush this simple step.
Mixing the Peanut Butter Fudge Batter
Now, incorporate your cup of creamy peanut butter right into that smooth butter. Beat them together until they look completely uniform and creamy—no streaks allowed! This is where the flavor profile begins to develop. When you start adding that sifted powdered sugar, lower your mixer speed right down. You want to add it slowly, maybe a cup at a time, just until it starts to disappear into the mixture.
Here is the critical moment: once all the sugar is mixed in, beat it only for about sixty seconds on medium speed until it looks light and fluffy. Stop mixing right there! If you keep beating it after the sugar is incorporated, you drive out the air we just whipped into the butter, and that’s how you end up with dense, hard fudge instead of that luscious texture we want. A quick stir of vanilla extract finishes the mix.
Setting and Cutting Your Smooth Peanut Butter Dessert
Take that glorious, thick batter and press it evenly into your prepared pan. Use a spatula or the back of a spoon to smooth the top surface—this ensures your final squares look beautiful. Then, it goes into the fridge to chill out for at least two hours; this gives the fats time to firm up properly.
When it’s chilled and solid, use those parchment overhangs like handles to lift the entire block right out onto your cutting board. Then, just cut it into nice squares. The result is the most perfect Smooth Peanut Butter Dessert you could hope for, ready to eat!
Tips for Perfect Creamy Peanut Butter Candy
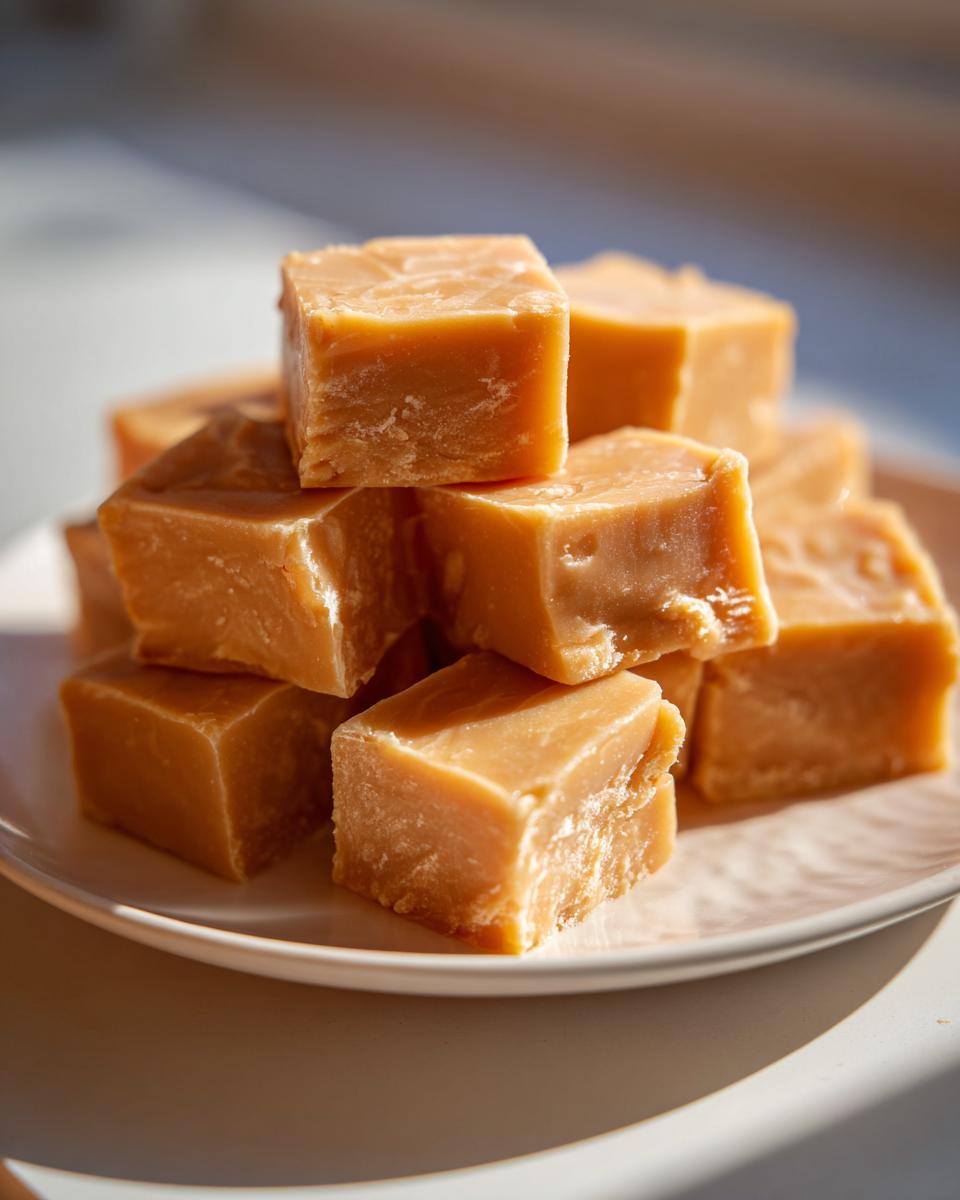
Even though this recipe is designed to be almost foolproof—because who needs stress when choosing a sweet treat?—there are definitely a few little tricks I’ve picked up that elevate this from good to absolutely legendary peanut butter fudge. Think of these as the little secrets that move a recipe from being just okay to being the one people rave about.
First, let’s talk about the sugar again—I can’t stress this enough. You absolutely must sift the powdered sugar. If you skip this, you’re introducing tiny hard pockets into a batter that needs to be perfectly streamlined to achieve that decadent, creamy peanut butter candy texture everyone loves. Sifting breaks up any clumps and aerates the sugar slightly, which helps it fold into the butter and peanut butter mixture without causing a gritty disaster.
Also, remember I mentioned using creamy peanut butter? That’s non-negotiable for this specific result. If you try to use a natural peanut butter where the oil sinks to the bottom, the fudge setting process gets totally thrown off. You’d end up adding way too much sugar to compensate, and the final texture would be crumbly instead of silky smooth.
Finally, for a presentation upgrade that takes zero extra effort in the mixing bowl, consider the optional chocolate drizzle. When the fudge is fully set, just melt 1/2 cup of semi-sweet chips with a tiny bit of coconut oil—it makes it spreadable. A thin layer over the top of your fudge before you cut it looks elegant, but it tastes like you spent hours in the kitchen! For more insider knowledge and process insights, feel free to browse the Gourmet Gaze Blog archives.
Variations for Your Peanut Butter Fudge
Okay, now that you have mastered the absolute simplest, creamiest version imaginable, it’s time to have some fun! While I stand by the four-ingredient classic because it’s just so pure, I know some of you are lookers for ways to level up your candy game for parties or just because you want chocolate in everything—and who am I to judge that desire?
This base is so sturdy and reliable that it can handle mix-ins beautifully. You can fold in mini chocolate chips right at the end with the vanilla, or even swap out half the creamy peanut butter for a crunchy variety if you like a little texture contrast in your confection. Just make sure whatever you add isn’t too heavy, or you might need an extra minute of mixing time.
Chocolate Layered Peanut Butter Squares Dessert
If you really want to make this treat look impressive—like it took true dedication—the chocolate layer is the answer. This is how you turn your simple treat into a show-stopping **Peanut Butter Squares Dessert**. Once your fudge has fully chilled and you’ve lifted it out of the pan, it’s ready for its gorgeous chocolate blanket.
Take about half a cup of good quality semi-sweet chocolate chips. Melt them gently with just one teaspoon of coconut oil—the oil is what keeps that chocolate layer fluid and glossy, preventing it from seizing up hard when it cools. You don’t want much oil, just enough to help it pour nicely.
Pour that melted chocolate slowly right over the set block of fudge. Gently tilt the fudge block so the chocolate coats the top evenly, or use an offset spatula to guide it. Let that set up for another 30 minutes in the fridge, then slice! It makes the contrast between the creamy inside and the snappy chocolate shell just divine. It’s effortless elegance, my friends.
Storage and Serving Suggestions for Classic American Fudge
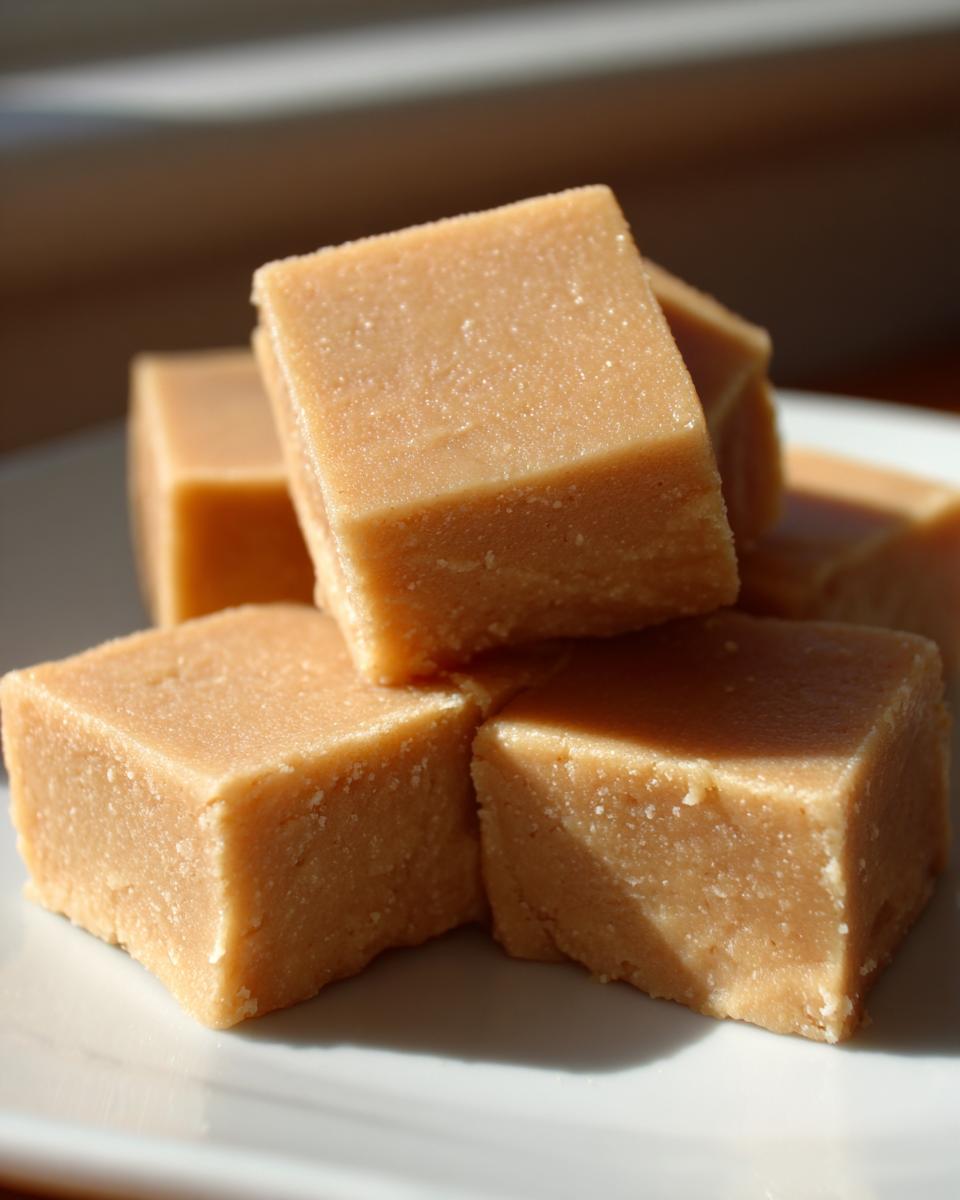
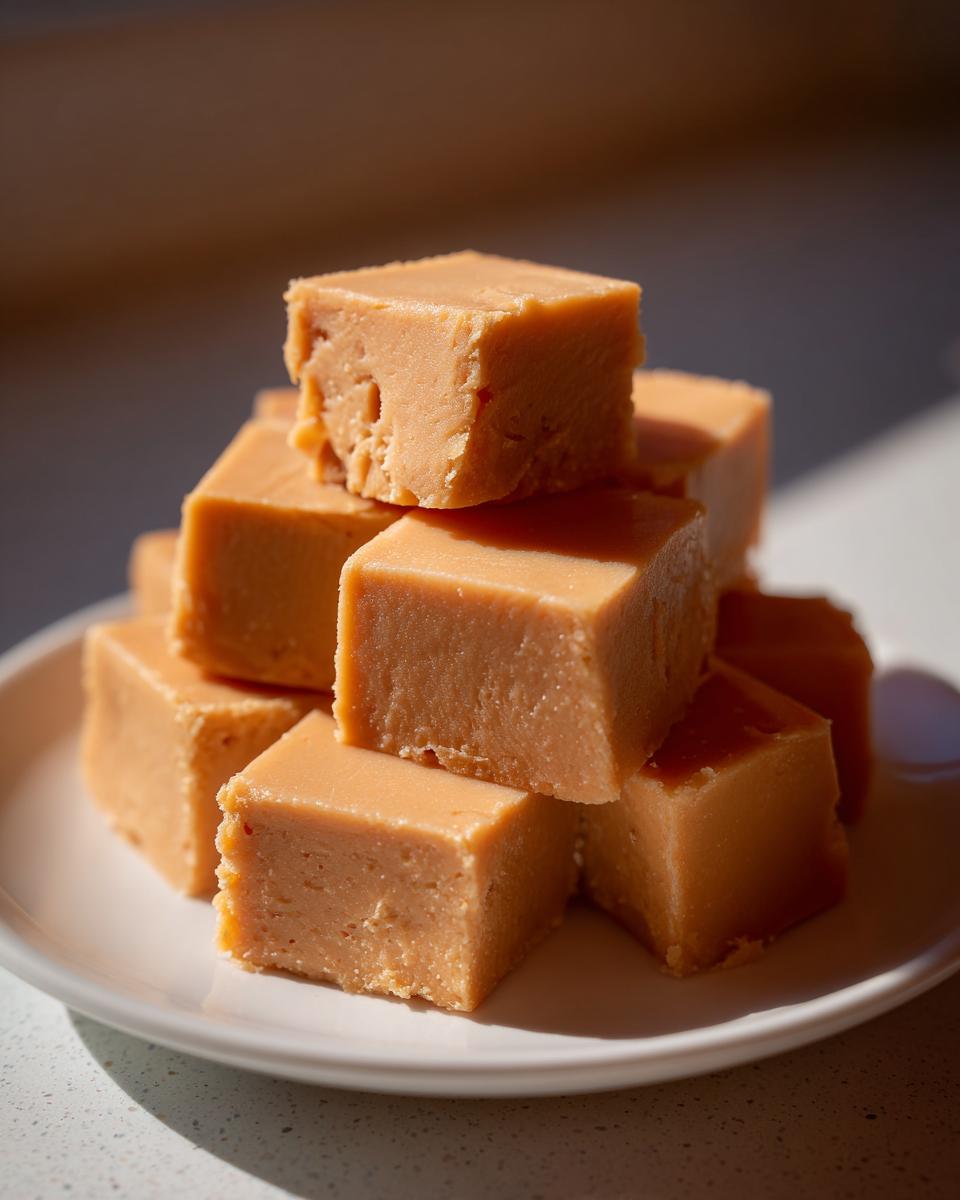
One of the best parts about making this incredibly rich peanut butter fudge is knowing you don’t have to devour it all in one sitting—though trust me, the temptation is real! Since this is a no-bake confection high in fat and sugar, it stores beautifully, keeping that wonderful texture intact for days. When you finish cutting your beautiful squares, you need to transfer them to an airtight container.
Because we used butter and peanut butter as the base, this Classic American Fudge stays firm and fresh best when kept in the refrigerator. Popping them into an airtight container keeps the flavors locked in and prevents them from absorbing any other smells in the fridge. They should stay perfect for up to two weeks this way. If you need to make a huge batch for a party or holiday event, they freeze really well too, just wrap the slices tightly in plastic wrap first.
When it comes time to serve, there’s a little trick I’ve learned. Fudge is always best when allowed to sit out on the counter for about 15 to 20 minutes before serving. Taking that slight chill off allows the texture to soften just a hair, maximizing that melt-in-your-mouth experience we worked so hard to achieve! They pair perfectly alongside a strong cup of coffee or espresso, or you can artfully arrange them on a platter surrounded by fresh berries for a beautiful dessert display. For more impressive ways to feature homemade sweets, take a look at my ideas for Appetizers and Snacks!
Frequently Asked Questions About Peanut Butter Fudge
I know you’re probably excited to get this gorgeous fudge into the oven—wait, no baking!—into the fridge, but before you go, I wanted to tackle a few little questions I always get asked about this recipe. It’s one of those simple sweets where the technique matters just as much as the ingredients, so thinking through these points will ensure your batch is a total triumph.
How do I prevent my peanut butter fudge from becoming grainy?
This is absolutely the number one concern people have, and honestly, it’s super rare with this specific no-bake method, provided you pay attention. Graininess usually happens because the sugar crystals didn’t dissolve or incorporate properly. You must, must, *must* sift your powdered sugar first; this breaks up the clumps immediately. Then, when mixing, beat the butter and peanut butter first until they are totally smooth, and only then add the sifted sugar slowly. Once it’s just combined and fluffy—stop mixing! Over-beating once the sugar is in there can actually work against you and tighten the mixture up too much.
Can this be made ahead for holiday peanut butter treats?
Yes, and frankly, I insist you do! This fudge actually tastes better after it has a day to settle in the fridge. It makes holiday entertaining so much easier because you can whip up a batch several days ahead of time. Just make sure you follow the proper storage guidelines we discussed earlier—keep it in an airtight container, in the refrigerator, and it will remain perfectly delicious and firm for gifting or serving. It’s one of those reliable recipes that takes the pressure off your day-of cooking!
What is the best peanut butter to use for this recipe?
For the creamiest texture, which is what we are aiming for in this peanut butter fudge, you need to stick with the shelf-stable, commercial creamy peanut butter—the kind that doesn’t require stirring because the oil already separates out. Those natural peanut butters with added oils are too variable in consistency. If you use a natural brand, you might find your fudge ends up too soft or needs a lot of extra powdered sugar, which affects the final flavor profile.
Do I have to chill the fudge for the full two hours?
Ideally, yes. You need that minimum two-hour chill time for the butter and fats to fully solidify and set up around the sugar. If you try to cut it earlier, even if it looks firm, it will likely collapse into a soft, sticky mess when you lift it out of the pan. Trust the process! Waiting those two hours guarantees those clean, perfect *Melt in Your Mouth Fudge* squares you’re dreaming about.
Nutritional Information for This Peanut Butter Fudge
Now, I know when we are talking about pure confection like this peanut butter fudge, we aren’t really concerned with hitting our daily vegetable quotas, are we? But for those of you who like to keep track—or maybe you’re just curious where all that rich flavor comes from—I’ve put together the estimated nutritional breakdown below. Please remember, because home ingredients can vary so much (the brand of peanut butter I use might be slightly different than yours), these numbers are a great guideline, but they are estimates based on the standard recipe ingredients.
This is dense, satisfying candy, so enjoy it mindfully! It’s one of those treats that truly delivers a big flavor experience in a small package, giving you that amazing payoff for just a few simple bites.
- Serving Size: 1 square
- Calories: 185
- Sugar: 22g
- Fat: 10g (Saturated Fat: 4g)
- Carbohydrates: 24g
- Protein: 3g
There’s your delicious breakdown! It’s loaded with energy (hello, sugar!) but also has a decent bit of protein from the peanuts. It’s the perfect fuel for a sweet moment.
Share Your Experience Making This Sweet Peanut Butter Confection
Now comes the part I genuinely love: hearing from you! Did you make this peanut butter fudge? Did it turn out that perfect, dreamy, melt-in-your-mouth consistency we aimed for? I poured my heart into making this recipe foolproof—especially when it comes to that creamy texture—and I truly want to know how it turned out in your kitchen.
Please, don’t be shy! Leave a comment below and tell me about your results. Did you add chocolate layers, or did you stick to the classic four ingredients? Your feedback helps me, and it helps other home cooks deciding whether this is the right treat for them. We are building a community here at Gourmet Gaze where we celebrate the simple, delicious wins, like nailing a perfect batch of Sweet Peanut Butter Confection.
If you take a photo of your beautiful, smooth squares, snap a picture! You can tag me on social media—I absolutely love seeing my recipes come to life in your homes. If you’re looking for more quick, reliable baking projects next time, don’t forget you can always get in touch via the Contact page. And if you enjoyed this recipe, I’d be thrilled if you shared it with a friend or saved it using a link like this one: a great resource for fudge!
PrintEasiest Ever, No-Bake Peanut Butter Fudge
This recipe delivers rich, creamy peanut butter fudge that melts in your mouth. It uses only four simple ingredients and requires no baking, making it a quick, foolproof dessert perfect for holidays or a sweet snack.
- Prep Time: 10 min
- Cook Time: 0 min
- Total Time: 2 hr 10 min
- Yield: About 36 small squares 1x
- Category: Dessert
- Method: No Bake
- Cuisine: American
- Diet: Vegetarian
Ingredients
- 1 cup (2 sticks) unsalted butter, softened
- 1 cup creamy peanut butter
- 4 cups powdered sugar, sifted
- 1 teaspoon vanilla extract
Instructions
- Line an 8×8 inch baking pan with parchment paper, leaving an overhang on the sides for easy removal. Lightly grease the paper.
- In a large bowl, beat the softened butter until smooth using an electric mixer.
- Add the peanut butter to the butter and mix on medium speed until fully combined and creamy. This step is key for a smooth texture.
- Gradually add the sifted powdered sugar, one cup at a time, mixing on low speed until incorporated. Once all sugar is added, increase the speed to medium and beat until the mixture is light and fluffy, about 1 minute. Do not overmix once the sugar is incorporated.
- Mix in the vanilla extract until just combined.
- Press the fudge mixture evenly into the prepared pan. Use a spatula or the back of a spoon to smooth the top surface.
- Refrigerate the fudge for at least 2 hours, or until firm enough to cut.
- Lift the fudge out of the pan using the parchment overhang. Cut into 1-inch squares. Store leftovers in an airtight container in the refrigerator.
Notes
- Sifting the powdered sugar prevents lumps and helps you achieve that smooth texture users seek in the best peanut butter fudge.
- Use creamy peanut butter for the smoothest result. Natural, oily peanut butter may require slight adjustments to the butter amount.
- For a glossy finish, you can melt 1/2 cup of semi-sweet chocolate chips with 1 teaspoon of coconut oil and spread a thin layer over the set fudge before cutting.
- This recipe is excellent for holiday peanut butter treats and makes a wonderful gift.
Nutrition
- Serving Size: 1 square
- Calories: 185
- Sugar: 22
- Sodium: 65
- Fat: 10
- Saturated Fat: 4
- Unsaturated Fat: 6
- Trans Fat: 0
- Carbohydrates: 24
- Fiber: 1
- Protein: 3
- Cholesterol: 15