
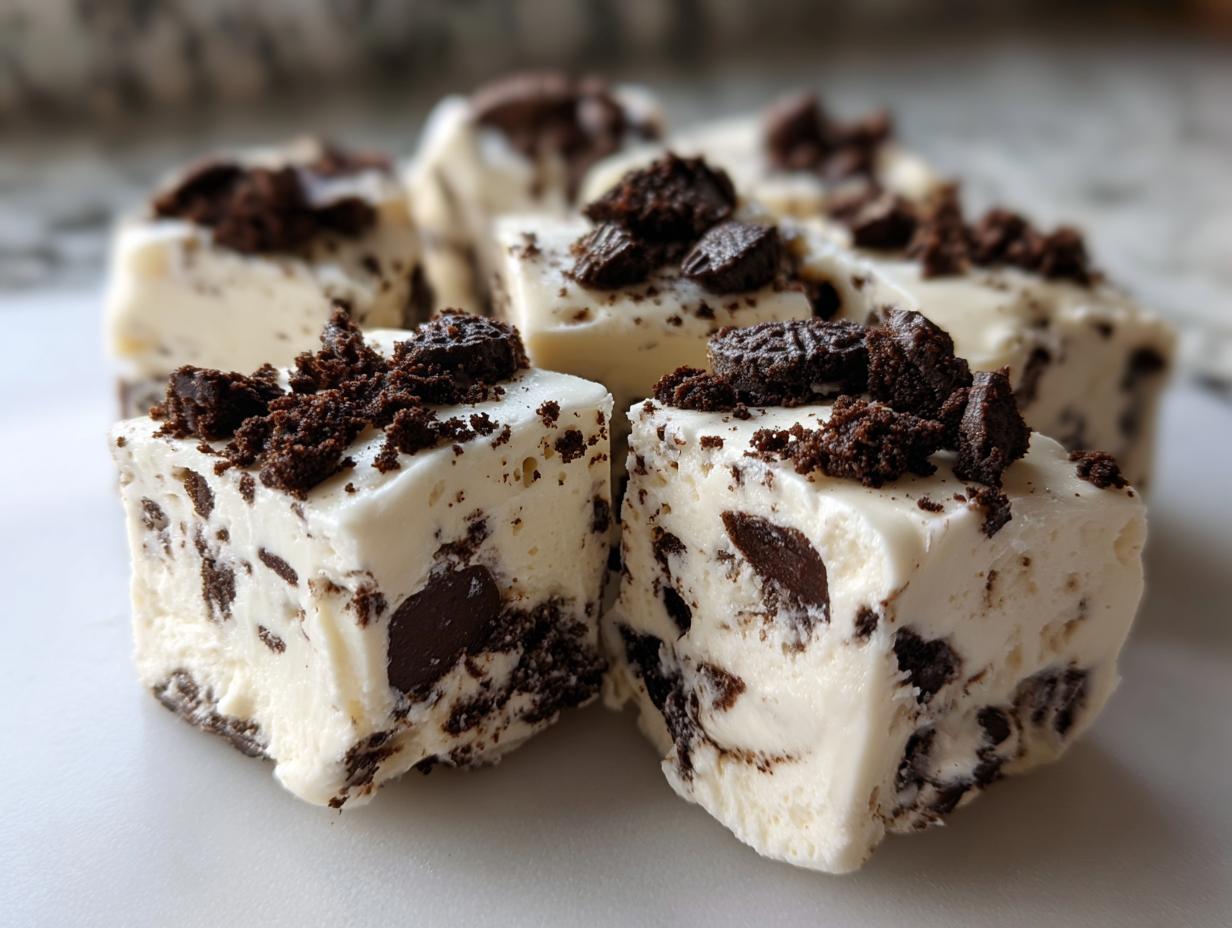

Sometimes, the most satisfying sweets are the ones that feel entirely too luxurious for how little work they require. If you’ve abandoned the idea of complicated candy making because you think it takes hours, I want to change your mind right now. I spent years chasing complicated recipes as a distraction from my corporate life, but I’ve learned the real joy comes from simple, reliable results. That’s why I am utterly thrilled to share this Easy 5-Ingredient No-Bake White Chocolate Oreo Fudge with you. This incredible oreo fudge comes together in about five minutes of actual work before it chills into creamy, perfect squares. It’s the kind of treat that makes you look like a confectionery genius!
- Why This Easy 5-Ingredient Oreo Fudge is a Must-Make
- Gathering Ingredients for Your Oreo Fudge
- Step-by-Step Guide to Making No Bake Oreo Fudge
- Tips for Success with Your Simple Candy Making
- Storage and Presentation for Homemade Candy Gifts
- Troubleshooting Common Oreo Fudge Issues
- Frequently Asked Questions About This Quick Fudge Recipe
- Estimated Nutrition for Your Creamy Fudge Squares
- Share Your Favorite Oreo Fudge Creations
Why This Easy 5-Ingredient Oreo Fudge is a Must-Make
I know, I know. Fudge sounds fussy, right? Like something you only attempt near Christmas. But seriously, this recipe rewrites the book on No Bake Fudge Recipes. We are hitting all the high notes here: speed, minimal cleanup, and maximum flavor payoff. It’s the kind of magic that keeps me—a guy who used to survive on takeout—excited about dessert!
Speed and Simplicity: The Ultimate Quick Fudge Recipe
This is where the “easy” part really shines. After you gather your five core items, you are genuinely looking at less than five minutes of actual mixing time. It’s the perfect solution when you suddenly realize you need a last-minute contribution to a potluck or just need a Quick Fudge Recipe to handle an unexpected sweet craving. No complicated tempering, no candy thermometer needed. Wow!
Flavor Profile of Our Creamy Oreo Fudge Squares
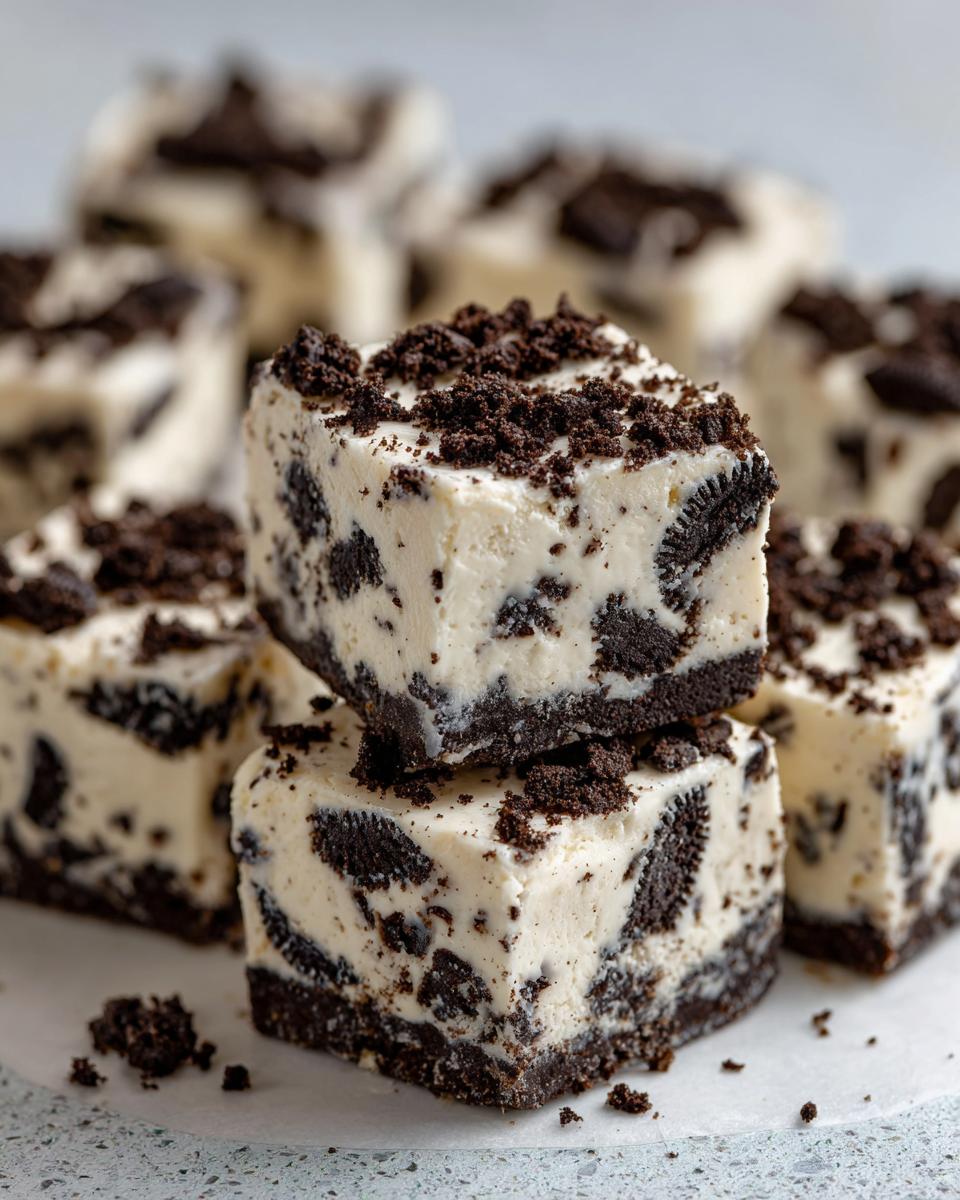
When this sets up, it achieves that ideal, melt-in-your-mouth texture. You get the sweet, slightly vanilla flavor from the white chocolate base, which is perfectly cut by the familiar crunch and dark chocolate punch of the Oreos. These Creamy Fudge Squares are intensely satisfying without being cloyingly sweet. It’s literally cookies and cream in the densest, most luxurious format possible.
Gathering Ingredients for Your Oreo Fudge
When a recipe is this simple, the quality of your few ingredients really matters—this is one of my biggest lessons learned coming from the corporate world into the kitchen! Since we are only using five core components, let’s make sure they are the right ones to guarantee that flawless texture.
- 14 ounces sweetened condensed milk (Don’t mistake this for evaporated milk; we need that thick sweetness!)
- 24 ounces white chocolate chips
- 1 teaspoon vanilla extract
- 1 package (about 14.3 ounces) Oreo cookies, crushed
- 1/2 cup extra crushed Oreo cookies for topping (totally optional, but you know I always say yes to more crunch)
Ingredient Notes and Substitutions for Perfect Oreo Fudge
For the smoothest melt possible, skip those generic baking wafers if you can. I strongly recommend using high-quality white chocolate chips or even chopping up a good bar of white baking chocolate. This helps us achieve that beautiful, glossy finish when we melt it.
Now, if you’re planning ahead for the holidays or just love that cool kick, here’s a neat trick for a quick flavor switch. When you add the vanilla, toss in about 1/4 teaspoon of peppermint extract instead. That turns this into instant, fantastic Holiday Fudge that your neighbors (and you!) will devour.
Step-by-Step Guide to Making No Bake Oreo Fudge
This is where we turn simple ingredients into that gorgeous, decadent oreo fudge. Don’t let the word “fudge” scare you off; this is so straightforward you’ll wonder why you ever bought it from a candy shop. Forget the stovetop stress! We are keeping this perfectly smooth and easy, just like I learned when I first started experimenting outside of spreadsheets.
Preparing the Pan and Melting the White Chocolate Fudge Base
First things first: get your 8×8 inch dedicated pan ready. You need to line it with parchment paper, making sure you leave a nice overhang, or “handles,” sticking up on two sides. This parchment is your friend; it lets you lift the whole block out later without a wrestling match. Go ahead and grease that parchment lightly, too, just for insurance. Next, we handle the chocolate. Put your white chocolate chips in a microwave-safe bowl. Microwave in quick bursts—30 seconds at a time—stirring thoroughly between each one. Stop right when it’s smooth. If you try to melt it all at once, you’ll end up with seized, grainy chocolate, and trust me, that’s a mess you don’t want.
Combining and Setting Your Cookies and Cream Treats
Once that chocolate is liquid magic, stir in one whole can of sweetened condensed milk and the vanilla extract until it’s perfectly uniform. Now, fold in the crushed Oreos—make sure they are evenly distributed throughout the mixture. Pour that creamy goodness right into your prepared pan and smooth the surface with an offset spatula. If you saved some extra cookie crumbs, sprinkle them on top now and press them gently so they stick! We need patience for the final step: chill this beauty for a minimum of two hours. You need it firm so you can lift it out and slice those beautiful Cookies and Cream Treats into neat squares. If you’re looking for more stovetop magic, check out my recipe for chocolate fudge frosting when you are ready to move beyond no-bake!
Tips for Success with Your Simple Candy Making
Even though this oreo fudge is ridiculously easy—seriously, it’s practically foolproof—a couple of little pointers will elevate it from ‘good’ to ‘I can’t believe you didn’t buy this’! Since we are focusing on texture here, these small adjustments really deliver that creamy, dense result we’re aiming for.
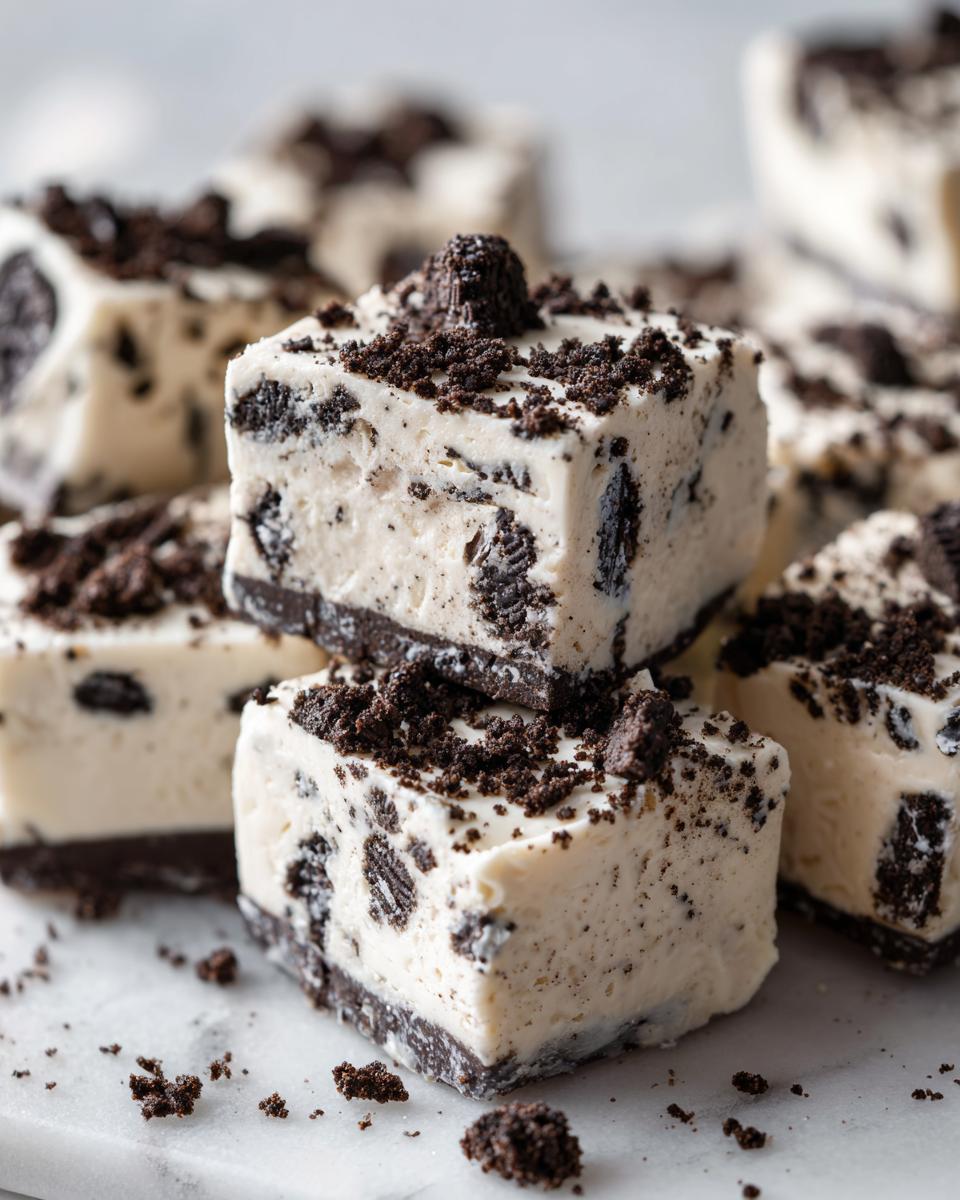
First for the Oreos: stop fiddling around trying to finely crush them in a food processor if you don’t have to. I’ve found the fastest, most satisfying way to get that perfect mix of fine dust and chunky bits is the old-school method. Toss the entire package of cookies into a large, sturdy zip-top bag. Get some air out, seal it up, and then grab a rolling pin—or even the bottom of a heavy mug—and just go to town on them! You want textural variance for that great cookies and cream feel later.
When you are folding in the cookies, be gentle! This is crucial for true fudge texture. If you aggressively mix the crushed cookies into the white chocolate base, you might accidentally deflate some of the air that the melted ingredients are holding. Just use a spatula and gently ‘fold’ them in until they are dispersed. You should still see streaks of white chocolate mix and cookie chunks, not one uniform grey mass.
Also, don’t try to cheat the chilling time. I know we all want that Quick Sweet Snack *now*, but fudge needs that time—at least two hours—to firm up properly. If you cut it warm, it will stick to your knife and smear everywhere. If you need it faster, you can place it in the coldest part of the fridge, but two hours at room temperature or slightly cooler is often best for the absolute creamiest bite. It’s worth the wait, I promise!
If you are looking for more simple, reliable snack ideas that focus on beautiful presentation, take a peek at my favorites over in my collection of appetizers and snacks. Happy making!
Storage and Presentation for Homemade Candy Gifts
Once your delicious oreo fudge is firm—and resisting tasting it is the hardest part, I swear—it’s time to prep it for storage or gifting. Remember those parchment paper “handles” we left dangling out of the pan? Pull them toward the center gently. This lifts the entire solid block right out in one piece. It’s like magic, and it saves your beautiful squares from sticking to the bottom! You can see a great visual example of this technique over at The First Year Blog.
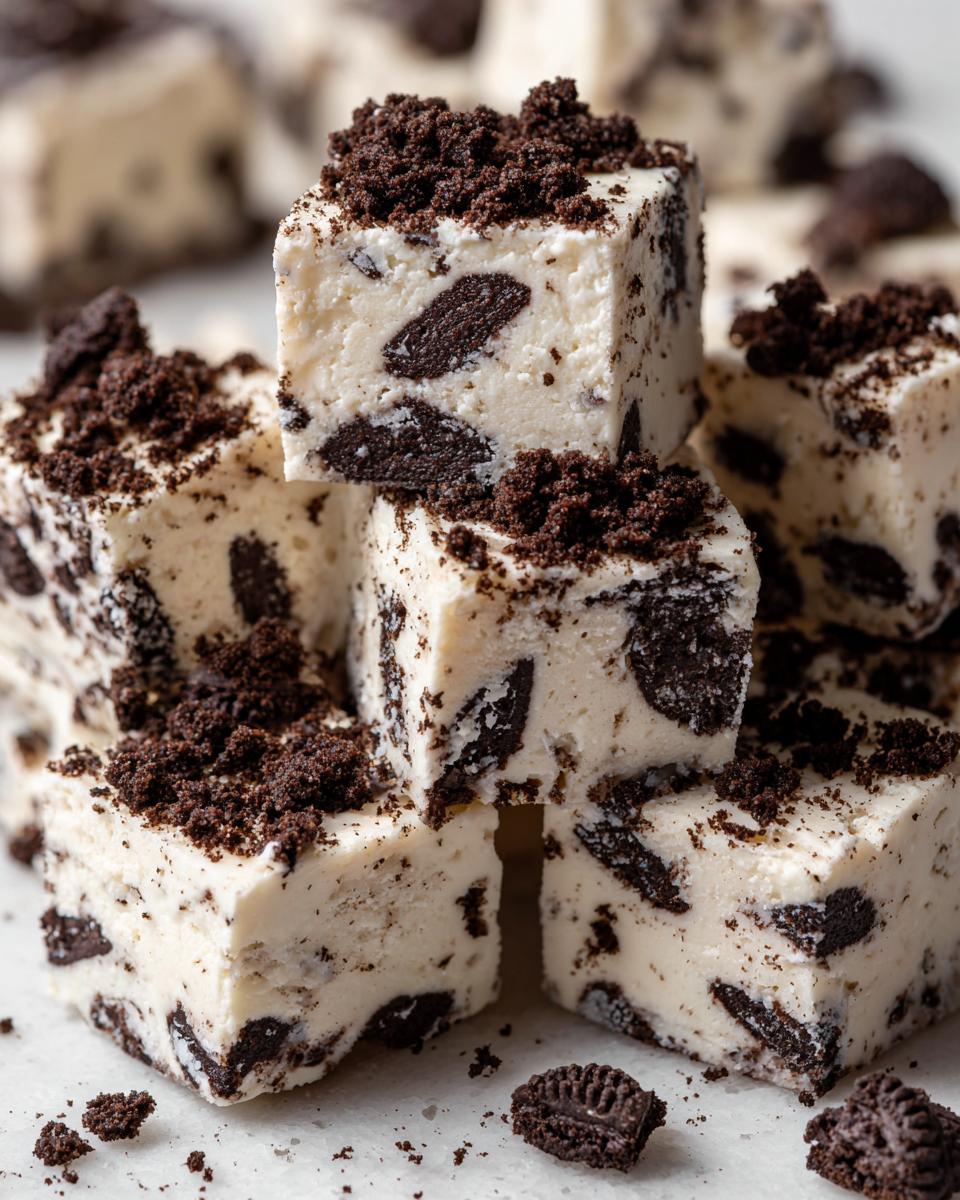
For presentation, especially if you are packaging these gorgeous Homemade Candy Gifts, cut them into uniform 1-inch squares. They look fantastic layered in small cellophane bags tied with a festive ribbon. For simple storage, just layer them in an airtight container. Pro tip: place small squares of wax paper between the layers to prevent the creamy tops from sticking to the bottom of the next layer. They last great at room temperature for about a week, though I’ve never had a batch last that long myself!
Troubleshooting Common Oreo Fudge Issues
Even in simple baking, sometimes things don’t go exactly to plan. That’s okay! When I was first figuring out how to transition from spreadsheets to something truly delicious, my fudge often had hiccups. Knowing how to fix them fast means you don’t waste those fantastic ingredients. Dealing with a less-than-perfect batch of oreo fudge is just part of the learning curve, and I’ve got you covered.
Problem: My Fudge Won’t Firm Up in the Fridge!
This usually happens for one of two reasons, and it’s almost always solvable. First, and most often, you didn’t use sweetened condensed milk; maybe you grabbed evaporated milk by accident? Evaporated milk lacks the necessary high sugar content to set properly, and adding more sugar won’t help much once it’s mixed. If you’re certain you used the right can, it means the mixture was too warm when it went into the fridge, or it hasn’t been in chilling long enough. Give it another hour or two, and if it’s still too soft, you can gently warm it back up and try adding a tiny bit more melted white chocolate to help re-structure it before chilling again—though that means you’ll need extra topping!
Problem: My Chocolate Seized When I Melted It.
Oh, the dreaded seizing! This is heartbreaking when you’re making something creamy like this oreo fudge. Seizing happens when a tiny bit of water or moisture gets into your melting chocolate while you are heating it. That small amount of water causes the cocoa solids to bind up instantly, turning your smooth liquid into a gritty paste. If this happens, don’t throw it out! Whisk in a tablespoon of neutral oil or vegetable shortening, and keep whisking vigorously over very low heat. Sometimes, adding a *teaspoon* of hot water can save it, turning it into an odd, but still edible, ganache consistency. Next time, make sure your bowl and spatula are bone dry before you start that microwave step!
Problem: The Fudge Tastes Grainy or Gritty.
If your beautiful white chocolate base tastes sandy, that means it overheated. When white chocolate gets too hot, the sugar separates from the cocoa butter and turns grainy. The fix here is less about recovery and more about prevention for the next batch: remember those 30-second bursts in the microwave? Stick to them! For this batch, sometimes a tiny splash of heavy cream whisked in vigorously can help smooth out the texture slightly, but honestly, for this specific cookies and cream treats recipe, the best move is usually just to chill it thoroughly and enjoy it as a slightly textured, but still sweet, snack.
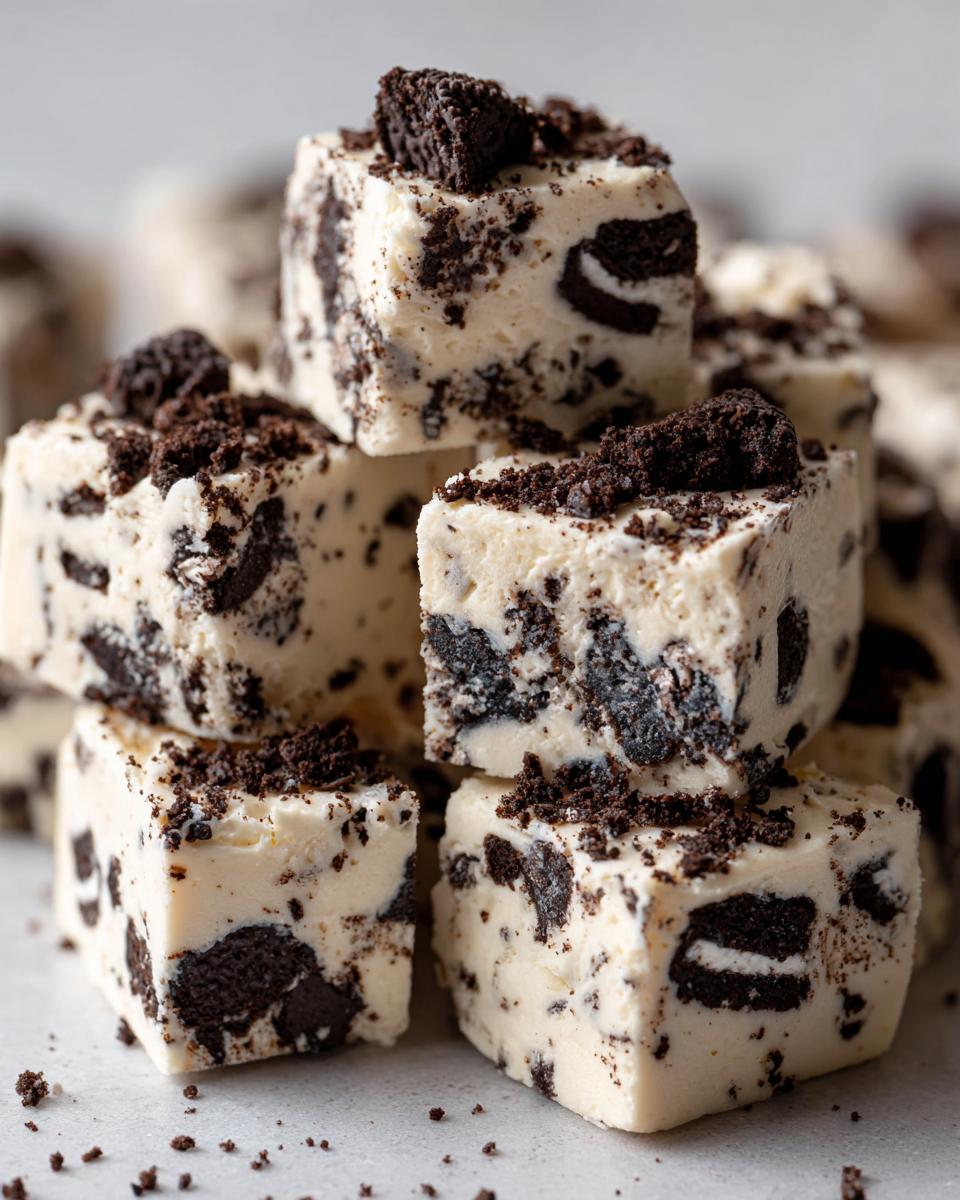
Frequently Asked Questions About This Quick Fudge Recipe
I know you might have a few lingering questions, especially if this is your first time diving into Simple Candy Making. When I was learning, I always wanted to know every little detail before I committed, so here are the common ones about this ridiculously simple recipe. It’s honestly one of my favorite Easy Dessert Ideas because it handles substitutions so well!
Can I make this oreo fudge with regular milk chocolate chips?
That is a fantastic question! You absolutely can swap out the white chocolate, but you need to know it changes the whole vibe. This recipe is designed specifically around the sweet, creamy, slightly vanilla base of white chocolate that lets the Oreo flavor shine through—that’s what makes it a classic White Chocolate Fudge experience. If you use milk chocolate chips instead, the flavor will be much richer and more chocolate-heavy. The fudge will likely be a bit softer too, since milk chocolate has a lower cocoa butter ratio than pure white chocolate. It will still be delicious, just different!
How long does this no bake fudge keep?
This is wonderful news for people like me who bake big batches and like to keep treats on hand—it makes amazing Homemade Candy Gifts, too! Because we use sweetened condensed milk, this fudge stays quite fresh. Store it tightly sealed in an airtight container at room temperature for up to a week. If your kitchen is really warm, or if you need it to last longer, pop it in the fridge. Chilling solidifies it a bit more, so let it sit on the counter for about 15 minutes before serving if you chill it, just to bring back that perfectly creamy texture. Knowing how easily this stores is why I always recommend it for Beginner Fudge Recipes; there’s no rushing to eat it all!
If you are hungry for even more guidance on reliability and technique in the kitchen, feel free to browse through my latest posts on the Gourmet Gaze blog archives. Happy sweet making!
Estimated Nutrition for Your Creamy Fudge Squares
When you are making something this rich, it is smart to know the basics, though honestly, who is counting when Oreos are involved? Please keep in mind that these numbers are an educated estimate based on the five main ingredients we used here. Since this is a no bake fudge recipe, the calories pack a satisfying punch in every bite!
- Serving Size: 1 square
- Calories: 175
- Sugar: 18g
- Fat: 10g
- Protein: 2g
- Carbohydrates: 20g
This data gives you a good baseline, especially if you are planning these delightful creamy fudge squares ahead of time for guests or packing them as easy snacks. They are certainly a treat!
Share Your Favorite Oreo Fudge Creations
Honestly, seeing your creations is the best part of my day. After I left the world of spreadsheets behind, the connection with fellow cooks is what truly fuels Gourmet Gaze. I spent so many years creating content that was technically perfect but lacked heart. This oreo fudge is pure heart, and I can’t wait to see how you make it your own!
If you managed to whip up a batch of this incredibly simple, no-bake delight, please take a moment to let me know how it went. Your feedback matters so much to me. Did you add that peppermint twist for the holidays? Did you manage to find the perfect way to slice those creamy squares?
I’ve included a rating system below the notes section—please click those stars! Five stars means you think this is absolutely one of the best, easiest desserts you’ve ever made. Even if you only gave it four stars, I want to know why so I can refine my techniques for future recipes! Any suggestions, pictures, or variation ideas you have are welcome in the comments below. You can always reach out directly through my contact page too, if you have a private question.
Thank you again for pulling up a chair at this table. Let’s keep making food an adventure, not a chore. Happy cooking!
PrintEasy 5-Ingredient No-Bake White Chocolate Oreo Fudge
Make this rich, creamy Oreo fudge using just five simple ingredients. This no-bake recipe sets quickly, delivering a satisfying cookies and cream treat perfect for last-minute desserts or homemade candy gifts.
- Prep Time: 10 min
- Cook Time: 0 min
- Total Time: 2 hr 10 min
- Yield: About 64 small squares 1x
- Category: Dessert
- Method: No-Bake
- Cuisine: American
- Diet: Vegetarian
Ingredients
- 14 ounces sweetened condensed milk
- 24 ounces white chocolate chips
- 1 teaspoon vanilla extract
- 1 package (about 14.3 ounces) Oreo cookies, crushed
- 1/2 cup extra crushed Oreo cookies for topping (optional)
Instructions
- Line an 8×8 inch baking pan with parchment paper, leaving an overhang on two sides for easy removal. Lightly grease the paper.
- Place the white chocolate chips in a microwave-safe bowl. Microwave in 30-second intervals, stirring well after each interval, until the chocolate is completely smooth. Do not overheat.
- Stir the sweetened condensed milk and vanilla extract into the melted white chocolate until fully combined and smooth.
- Fold in the 1 cup of crushed Oreo cookies until they are evenly distributed throughout the fudge mixture.
- Pour the mixture into the prepared baking pan and spread it into an even layer using a spatula.
- Sprinkle the remaining 1/2 cup of crushed Oreos over the top, pressing them lightly into the surface.
- Refrigerate the fudge for at least 2 hours, or until firm enough to cut.
- Use the parchment paper overhang to lift the fudge out of the pan. Cut the fudge into 1-inch squares. Store in an airtight container.
Notes
- For the smoothest melt, use high-quality white chocolate chips or chopped white baking chocolate.
- If you prefer a peppermint flavor for holiday fudge, add 1/4 teaspoon of peppermint extract along with the vanilla extract.
- You can crush the Oreos by placing them in a zip-top bag and crushing them with a rolling pin for a quick method.
Nutrition
- Serving Size: 1 square
- Calories: 175
- Sugar: 18
- Sodium: 95
- Fat: 10
- Saturated Fat: 6
- Unsaturated Fat: 4
- Trans Fat: 0.1
- Carbohydrates: 20
- Fiber: 0.5
- Protein: 2
- Cholesterol: 5