
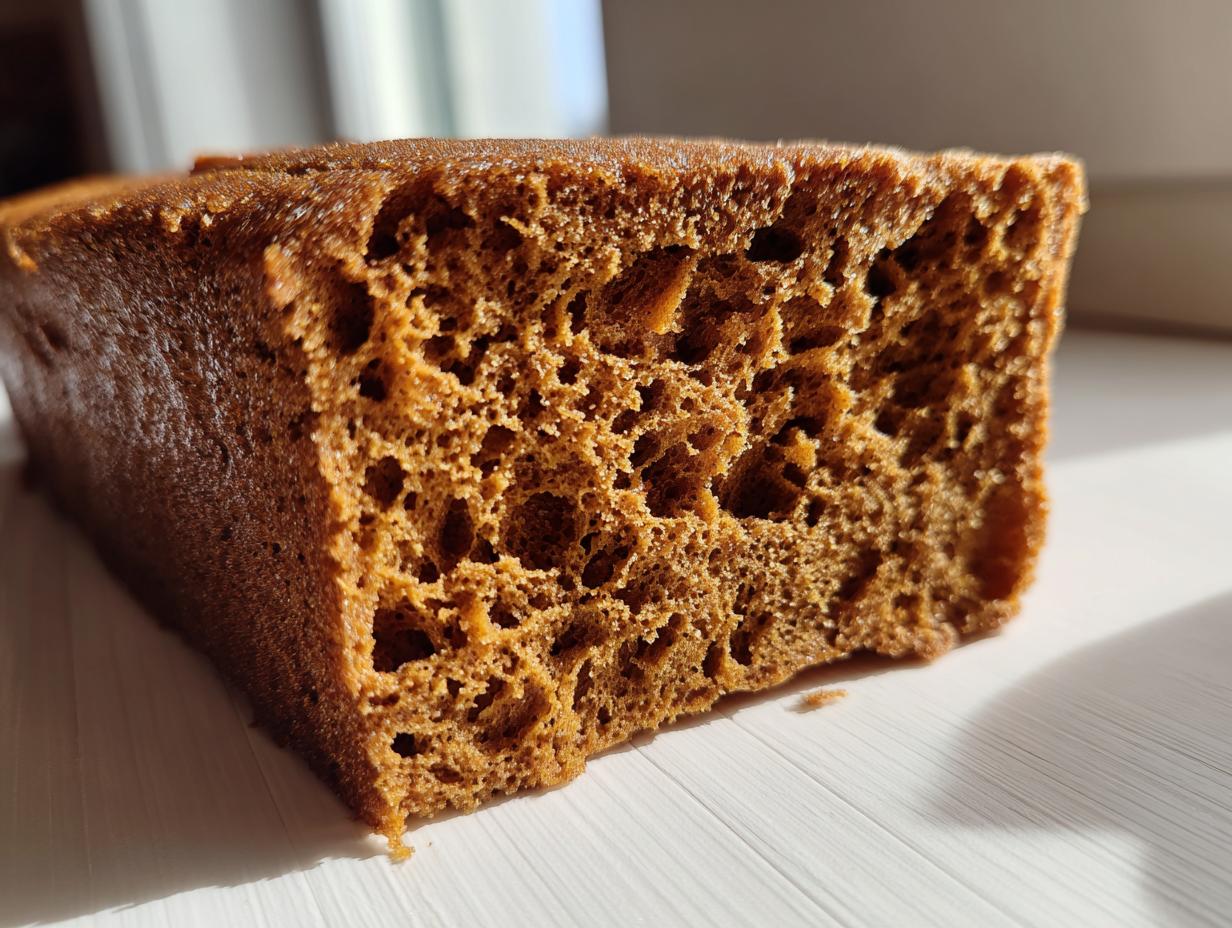

Oh, the holiday baking drama! We’ve all been there, right? You spend an entire afternoon cutting, baking, and meticulously assembling your gorgeous gingerbread house, only to wake up the next morning to find one wall has silently collapsed into a sugary heap. It’s heartbreaking for something that should be pure, festive joy. Trust me, I’ve had more kitchen disasters trying to erect tiny candy walls than I care to admit before I cracked the code. That’s why I developed this ultimate, sturdy gingerbread house recipe. My pledge here at Gourmet Gaze, as you can read more about on our About Page, is that you get reliable results every single time, especially when it comes to creating a show-stopping, standing structure for your festive family baking activity. Forget the crumbling foundation; this dough is built to last the entire season.
- Why This Gingerbread House Recipe Is Your Best Christmas Baking Project
- Ingredients for the Ultimate Sturdy Gingerbread House Recipe
- Preparing the Classic Spiced Gingerbread Dough for Your Holiday Centerpiece Recipe
- Baking and Trimming Pieces for Your Gingerbread House Recipe
- Assembly Secrets: How to Build a Gingerbread House That Stands
- Tips for Success with Your Gingerbread House Recipe
- Storage and Display for Your Edible Holiday Craft
- Frequently Asked Questions About This Gingerbread House Recipe
- Making This Gingerbread House Recipe Part of Your Winter Baking Tradition
Why This Gingerbread House Recipe Is Your Best Christmas Baking Project
Listen, if you’re tackling a gingerbread house, you aren’t just baking cookies; you’re embarking on a serious architectural assignment! That’s why this is my go-to Christmas baking project. The number one complaint I hear involves spreading—you cut a perfect wall, bake it, and bam! It looks like a little gingerbread puddle. We are avoiding that entirely here because this formula is specifically engineered as a no spread cookie recipe. You need structure, not softness, when you are building a holiday centerpiece.
Structurally, this dough has slightly less fat and a higher flour ratio than a standard edible cookie recipe. That slightly tougher texture is exactly what we need for walls that stay plumb. When you follow the chilling instructions—and please, please follow them—you activate the necessary resistance in the dough.
Achieving Structural Integrity with Sturdy Gingerbread Dough
The magic behind these strong walls is found in two places: the ratio of our dry ingredients and how cold we keep the dough. We are looking to create a homemade gingerbread construction material, not a chewy dessert cookie. To ensure success, I always recommend that once the dough comes together, you should be able to crush a tiny piece between your fingers and have it feel stiff—not sticky or oily at all. If it feels soft when you wrap it for the fridge, you’ll get spreading. That chill time stiffens the butter granules just enough so they don’t melt too fast when they hit the heat!
Ingredients for the Ultimate Sturdy Gingerbread House Recipe
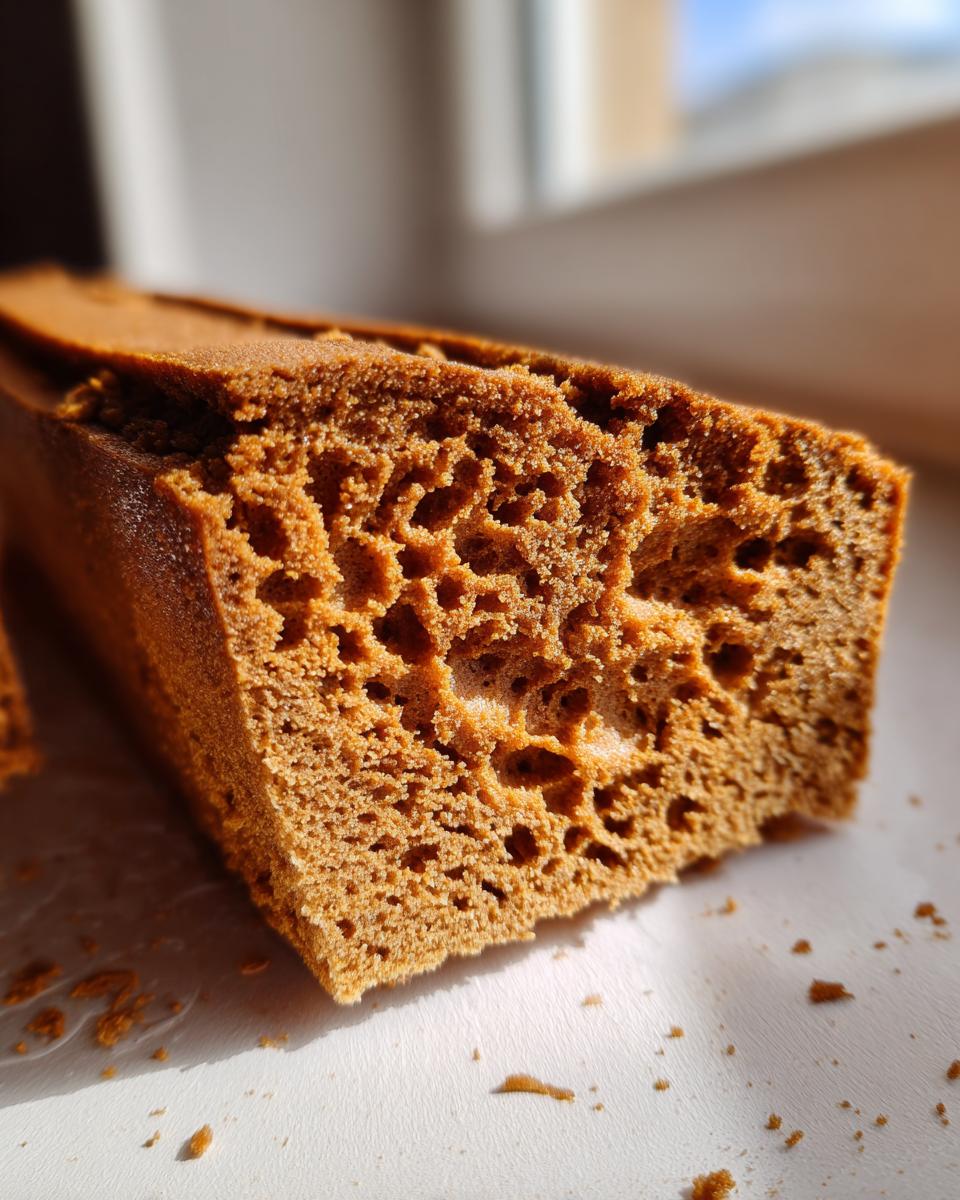
Okay, let’s talk supplies! For this masterpiece—which needs to be reliable, remember?—you can’t just wing it. The right balance of spices makes this the best classic spiced gingerbread scent filling your kitchen. You’ll need precision here so we don’t get spreading later on.
- 3 cups all-purpose flour (Make sure you spoon and level this! Scooping straight from the bag packs it in too tightly.)
- 1 teaspoon ground ginger (Measure this carefully; it’s the star!)
- 1 teaspoon ground cinnamon
- 1/2 teaspoon ground cloves
- 1/2 teaspoon ground nutmeg
- 1/2 teaspoon salt
- 1/2 cup (1 stick) unsalted butter, softened to room temperature (Crucial for creaming properly later!)
- 1/2 cup granulated sugar
- 1 large egg, room temperature (Using room temp eggs emulsifies better.)
- 1/2 cup molasses (Use dark molasses if you have it for richer color!)
- 1 teaspoon vanilla extract
That’s it for the dough structure! Next, we get into the actual mixing process, and trust me, the order matters immensely when you are aiming for a solid foundation.
Preparing the Classic Spiced Gingerbread Dough for Your Holiday Centerpiece Recipe
Now that we have our weapons—I mean, ingredients—laid out, it’s time for the actual mixing, which follows the usual creaming method we all know and love. Remember I mentioned precision? This applies heavily to the spices needed for that perfect classic spiced gingerbread aroma. Whisk together your dry stuff—flour, ginger, cinnamon, cloves, nutmeg, and salt. Get it evenly distributed! Meanwhile, cream that softened butter and sugar until it looks light—we need those air pockets for texture, even in a sturdy dough.
Then we beat in the egg, the molasses (pour slowly; molasses is sticky!), and the vanilla. Add the dry mixture to the wet mixture gradually. Mix only until it barely comes together into a stiff dough. I cannot stress this enough: Stop mixing when it’s just combined! Overmixing is the enemy of a treat that needs structural integrity.
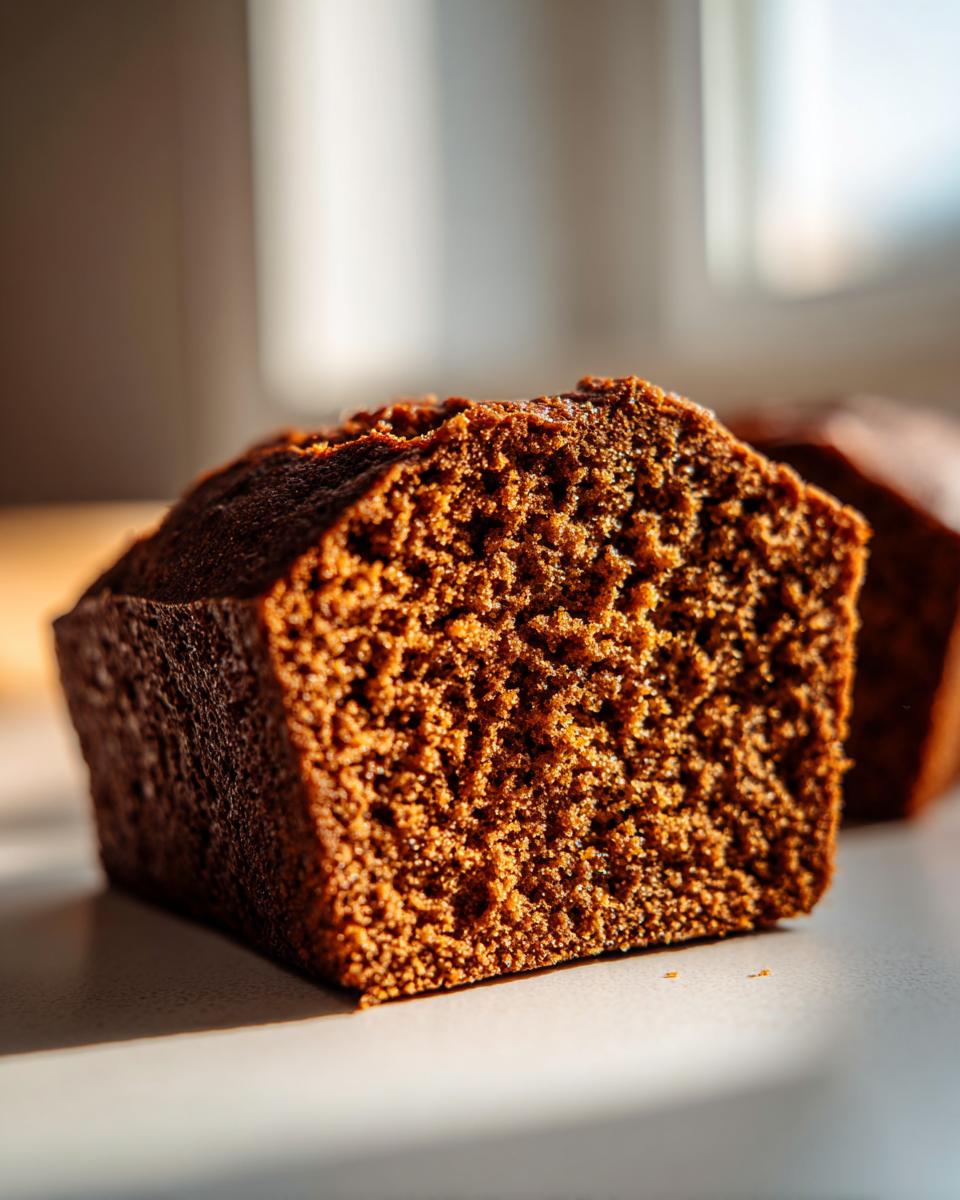
I learned this the hard way, years ago. I was rushed before a party, skipped the chilling step altogether, and just tried rolling the dough immediately. Wow. The walls looked great on the sheet pan, but even at 350°F, they ballooned outward. I ended up with four wonky trapezoids instead of straight walls. Never again! That’s why we chill.
Crucial Chilling Steps for a No Spread Cookie Recipe
This step is non-negotiable if you want your house to stand tall and proud for the whole season. You’re aiming for rock-solid dough before it ever sees the oven. After dividing the dough into two disks and wrapping them tightly, they need a minimum of two hours in the fridge. If you can manage it—and I highly recommend this for a foolproof result—let it chill overnight. This chilling process allows the flour to fully hydrate and the fats to firm up completely. Cold dough resists spreading in the oven far better than room temperature dough, which is absolutely essential for making sure your pieces fit together neatly when you start assembling your holiday centerpiece recipe.
Baking and Trimming Pieces for Your Gingerbread House Recipe
Alright, the dough is cold, firm, and ready for its moment in the oven! Preheat that oven to 350°F (175°C) and get those baking sheets lined with parchment paper. This stops any sticking, which would be a disaster after all that chilling work.
Roll out one disk of your chilled dough to about 1/4 inch thickness on a lightly floured surface. Cut out your walls, roof pieces—whatever your template dictates. Bake these amazing walls for about 10 to 14 minutes. Watch them closely! You want them firm and set around the edges, but not overly dark. They should feel hard when you gently nudge them.
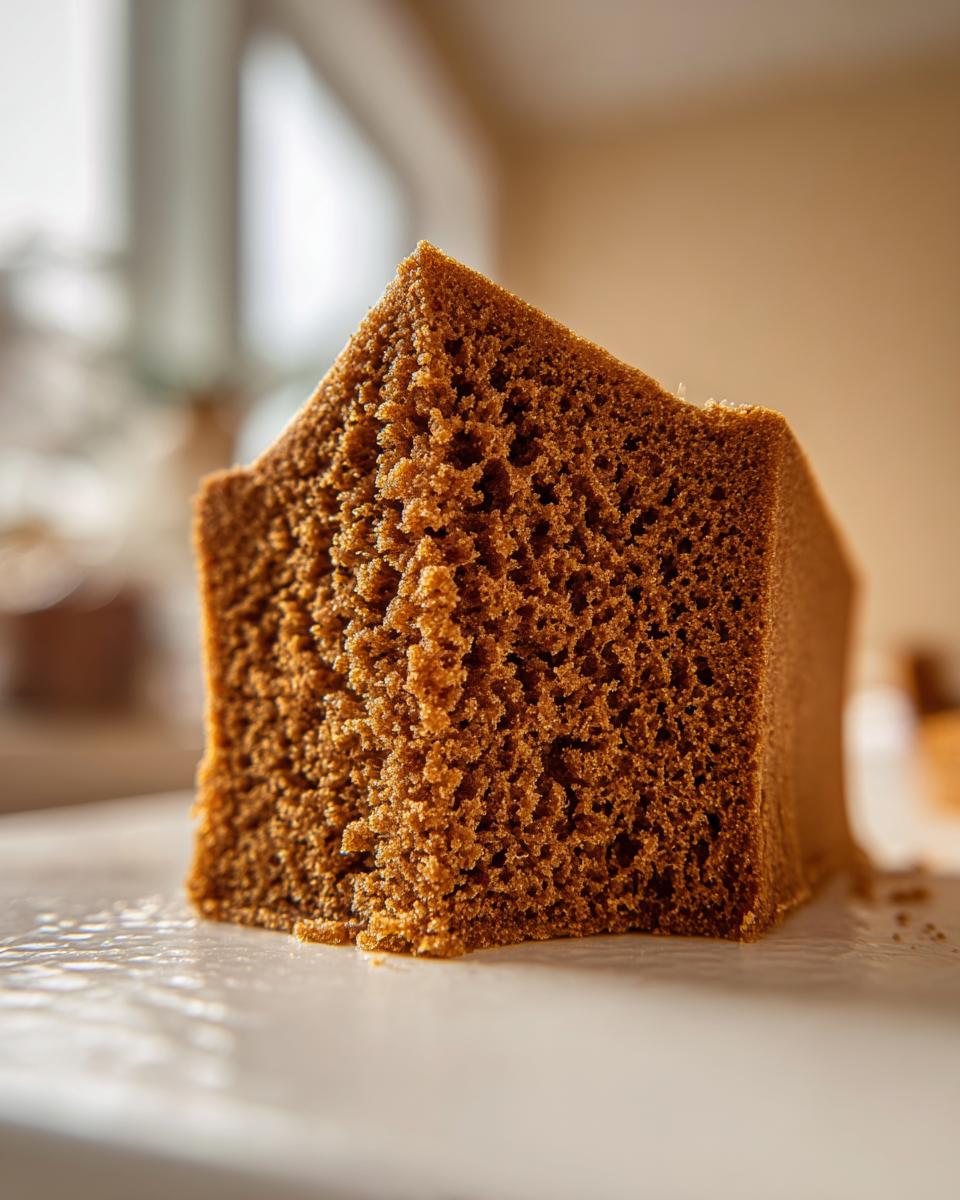
Now, here is the secret handshake for anyone looking to master how to build a gingerbread house that looks professional: You must trim them while they are hot! Seriously, don’t wait. As soon as those hot pieces come out of the oven, lay your template right back on top and use a sharp knife to quickly trace and trim any piece that puffed up or spread even a tiny bit. This instantly gives you those perfectly straight edges we need for assembly later.
Let those trimmed pieces cool down completely on the baking sheet—don’t rush this! If you move them too soon, they might warp or even crack. We need them fully hardened before we move on to gluing things together.
Assembly Secrets: How to Build a Gingerbread House That Stands
We’ve baked the walls, we’ve trimmed them perfectly, and now it’s time for the fun—and potentially stressful—part: making sure your masterpiece actually defies gravity! Remember, success in learning how to build a gingerbread house hinges entirely on patience right now. Your gingerbread pieces absolutely must be completely cool and rock-hard before you even think about applying any icing. Seriously, even slight warmth can cause the icing ‘glue’ to soften prematurely.
This is where the frosting becomes construction material—it needs to be strong enough to support the roof! You’ll be using a thick batch of royal icing to bond the edges together. Once you start building, work slowly. Apply a generous bead of icing to two adjoining walls, press them together firmly, and hold them in place for a solid minute or two. Use cans or small jars to prop up walls if you need to, giving them support while the icing sets up enough to hold them on its own.
The Best Royal Icing Recipe for Gingerbread Construction
If you’re using any of my lighter frostings, you’re going to end up with a leaning tower of Pisa, so ditch those immediately for assembly! You need that ultra-stiff royal icing—the kind that dries rock-solid, almost like cement. I detail my favorite version over here, but the key is consistency: it should be thick enough that when you roll a ball of it, it holds its shape perfectly without melting. This strong glue is what ensures your gingerbread structure becomes a lasting holiday centerpiece recipe rather than a quick weekend smash.
Once the walls are up and secure, let that cement dry for a few hours—preferably overnight—before even attempting to place the roof pieces on top. Give it time to cure!
Tips for Success with Your Gingerbread House Recipe
Even with the best dough, sometimes things still need a little nudge in the right direction, especially when you are dealing with a complex edible holiday craft like this. Having made so many of these structures, I’ve gathered a few extra tricks—little notes I added in the margin of my own recipe card over the years—to make sure your experience is seamless and fun, not frustrating.
First, let’s talk about that dough softening issue. Sometimes, even after chilling, if your kitchen is warm or you’ve been working with a piece for a while, it can get a little floppy. If you notice the dough getting sticky or soft while you’re cutting out your pieces, stop immediately! Don’t just keep forging ahead. Slide the whole sheet of dough—templates and all—back into the refrigerator for about 15 minutes. This quick chill resets the firmness and ensures you maintain those perfectly straight edges we worked so hard to create.
Another tip—and this one is pure efficiency—is to always bake extra pieces! Since this is an elaborate process, mistakes happen, or maybe you just want to build a small fence or a couple of extra trees to make your holiday centerpiece recipe look absolutely stunning. Bake a few extras of the simplest shapes, like squares or small rectangular panels. By the time the main structure is done drying, you’ll have sturdy, ready-made extras for extra flair around the base.
Finally, remember the golden rule of decoration timing: Assemble, wait, then decorate! Try not to smother your walls with heavy candy when the icing is still curing. Wait until the structure is fully set, maybe even the next day, before you start sticking on all those gumdrops and candy canes. Heavy decorations applied too soon can weigh down the fresh icing joints, causing bowing or leaning. Patience, my friends, is the best ingredient for a winning gingerbread build!
Storage and Display for Your Edible Holiday Craft
Congratulations! You’ve built a beautiful, sturdy dream home, and now you want it to last past Christmas Eve. Since we used a structure-focused gingerbread house recipe, this creation is quite durable, but you still need to treat it right. The key to keeping your edible holiday craft looking pristine is humidity control.
Keep your finished gingerbread house in a cool, dry location away from direct sunlight or heat sources—never near a fireplace or a sunny window! Heat softens the icing glue and the gingerbread itself, inviting structural collapse. If you manage to keep it out of harm’s way and away from hungry little hands (which is the real challenge!), your decorated house should look fantastic as a centerpiece for weeks, easily lasting through the entire holiday season.
Frequently Asked Questions About This Gingerbread House Recipe
I get so many questions about this specific recipe after the holidays hit because everyone wants that sturdy base! It’s different from a normal cookie recipe, so asking questions is smart. I’ve pulled a few of the most common ones I see come through my email about this project.
Can I make this dough ahead of time?
Absolutely, and in fact, I encourage it! This dough is perfect for making ahead, which takes a lot of pressure off that busy day you set aside for construction. You can chill the dough for up to three days in the refrigerator before rolling it out. Just make sure it really comes back to room temperature for about 30 minutes before you try rolling it, otherwise it will crack on you. Planning ahead is key for any great easy holiday baking tutorial!
My pieces spread when I baked them—what went wrong?
This is the eternal struggle! If your walls spread, it almost always boils down to two things: you either added too much liquid (usually molasses or egg) or, more likely, you didn’t chill the dough long enough. When the dough hits that 350°F heat, if the fat hasn’t fully solidified during chilling, it melts too fast and allows the dough to flatten. Make sure you chill it overnight if you can!
Can I use this sturdy gingerbread dough for regular cookies?
Well, yes and no. You *can*, but you shouldn’t expect a chewy, soft cookie! This dough is designed for structural support; it bakes up crisp and firm. If you want a soft, flavorful cookie you can eat by the dozen, you’ll need a softer recipe. This one is strictly for building your glorious gingerbread house!
What is the key to assembly if I feel rushed?
Don’t rush the drying time for the walls and roof! Seriously. If you try to put the roof on when the walls are barely set, they will lean. Use little supports—a spice jar or a stack of books—to hold the walls steady while the icing dries for an hour before you even touch the roof pieces. It’s worth the wait!
Making This Gingerbread House Recipe Part of Your Winter Baking Tradition
At the end of the day, the beautiful, sturdy house you’ve constructed isn’t just a decoration; it’s the centerpiece of our favorite holiday memories. When you use this gingerbread house recipe, you’re not just following directions; you’re participating in a wonderful, **festive family baking activity**. The smell of ginger and clove floating through the house really signals that the magic of the season has arrived, and I hope this reliable dough makes that process joyful rather than stressful!
These sturdy creations become a yearly touchstone, a delicious landmark on your mantlepiece that connects you to Christmases past. We share these recipes because they build more than just walls—they build tradition. Now that you have the blueprint for a standing structure, I can’t wait to see what you create!
Show me your stunning holiday centerpiece creations! Tag me in your photos, or better yet, drop a comment below and let me know how your first construction went. I always love hearing about your kitchen adventures over at the Contact Page!
PrintThe Ultimate Sturdy Gingerbread House Recipe: Perfect Dough for Building & Assembly Guide
Create a holiday centerpiece that lasts with this foolproof gingerbread dough, designed specifically for structural integrity. This recipe ensures your gingerbread house stays standing from start to finish, perfect for your festive family baking activity.
- Prep Time: 45 min
- Cook Time: 14 min
- Total Time: 3 hours 19 min
- Yield: One standard house structure
- Category: Dessert
- Method: Baking
- Cuisine: American
- Diet: Vegetarian
Ingredients
- 3 cups all-purpose flour
- 1 teaspoon ground ginger
- 1 teaspoon ground cinnamon
- 1/2 teaspoon ground cloves
- 1/2 teaspoon ground nutmeg
- 1/2 teaspoon salt
- 1/2 cup (1 stick) unsalted butter, softened
- 1/2 cup granulated sugar
- 1 large egg
- 1/2 cup molasses
- 1 teaspoon vanilla extract
Instructions
- In a large bowl, whisk together the flour, ginger, cinnamon, cloves, nutmeg, and salt. Set aside.
- In a separate bowl, cream the softened butter and sugar together until light and fluffy. Beat in the egg, molasses, and vanilla extract until combined.
- Gradually add the dry ingredients to the wet ingredients, mixing on low speed until a stiff dough forms. Do not overmix.
- Divide the dough in half, flatten each half into a disk, wrap tightly in plastic wrap, and chill in the refrigerator for at least 2 hours, or preferably overnight. This chilling step is crucial for a no spread cookie recipe.
- Preheat your oven to 350°F (175°C). Line baking sheets with parchment paper.
- Roll out one disk of dough on a lightly floured surface to about 1/4 inch thickness. Cut out your desired house pieces using templates.
- Place the cut pieces onto the prepared baking sheets. Bake for 10 to 14 minutes, depending on thickness, until the edges are firm and the pieces are set.
- Immediately after removing the pieces from the oven, place your templates over the hot gingerbread and trim the edges with a sharp knife to ensure straight, clean lines for easy assembly.
- Let the pieces cool completely on the baking sheet for at least 30 minutes before attempting to move them. They must be fully cooled and hard before construction.
- Prepare your royal icing (the glue). Once the pieces are cool, assemble the house using the stiff icing, holding pieces in place until the icing sets enough to support them. Allow the structure to dry completely before decorating.
Notes
- For the strongest edible holiday craft, use a thick royal icing recipe for assembly. Let the structure dry for several hours, or even overnight, before adding heavy candy decorations.
- If your dough feels too soft when rolling, return it to the refrigerator for 15 minutes. This dough is formulated for construction, not softness.
- Bake extra pieces for practice or for making decorative elements like fences or trees.
Nutrition
- Serving Size: 1 piece (unspecified)
- Calories: 250
- Sugar: 18
- Sodium: 150
- Fat: 10
- Saturated Fat: 6
- Unsaturated Fat: 4
- Trans Fat: 0
- Carbohydrates: 38
- Fiber: 1
- Protein: 4
- Cholesterol: 45